Creating the pants
Despite the trouble the cosplay guide gave me, altering the pants was at least a completely additive process instead of things being much
worse if I had discovered that the panel shapes extended somehow and would then have to be replaced, so I'm just happy to have completed
the pants in the end. I also learned the hard way to never trust such cosplay guides again and do my own damn research from now on.


Thanks to
The poor little deer who became a pair of pants.
Jørn Jensen Lærhandel for selling the poor little deer's epidermis.
Project duration
1 month, 2 weeks, 2 days.
Costs spent
Deer skin - Standard sorting - 630,42 NOK.
Deer skin - Third sorting - 340,20 NOK.
Contact adhesive - 69,90 NOK.
Cotton twine - 7,44 NOK.
Dark brown fabric dye - 0 NOK - Excess from Aloy's tunic.
Thick sewing thread - 0 NOK - Excess from Anakin Skywalker's tabards.
Invisible zipper - 45 NOK.
Stretchy jersey fabric - 139 NOK.
Elastic strap - 49 NOK.
Brass pipe - 0 NOK - Already available.
Total - 1280,96 NOK.
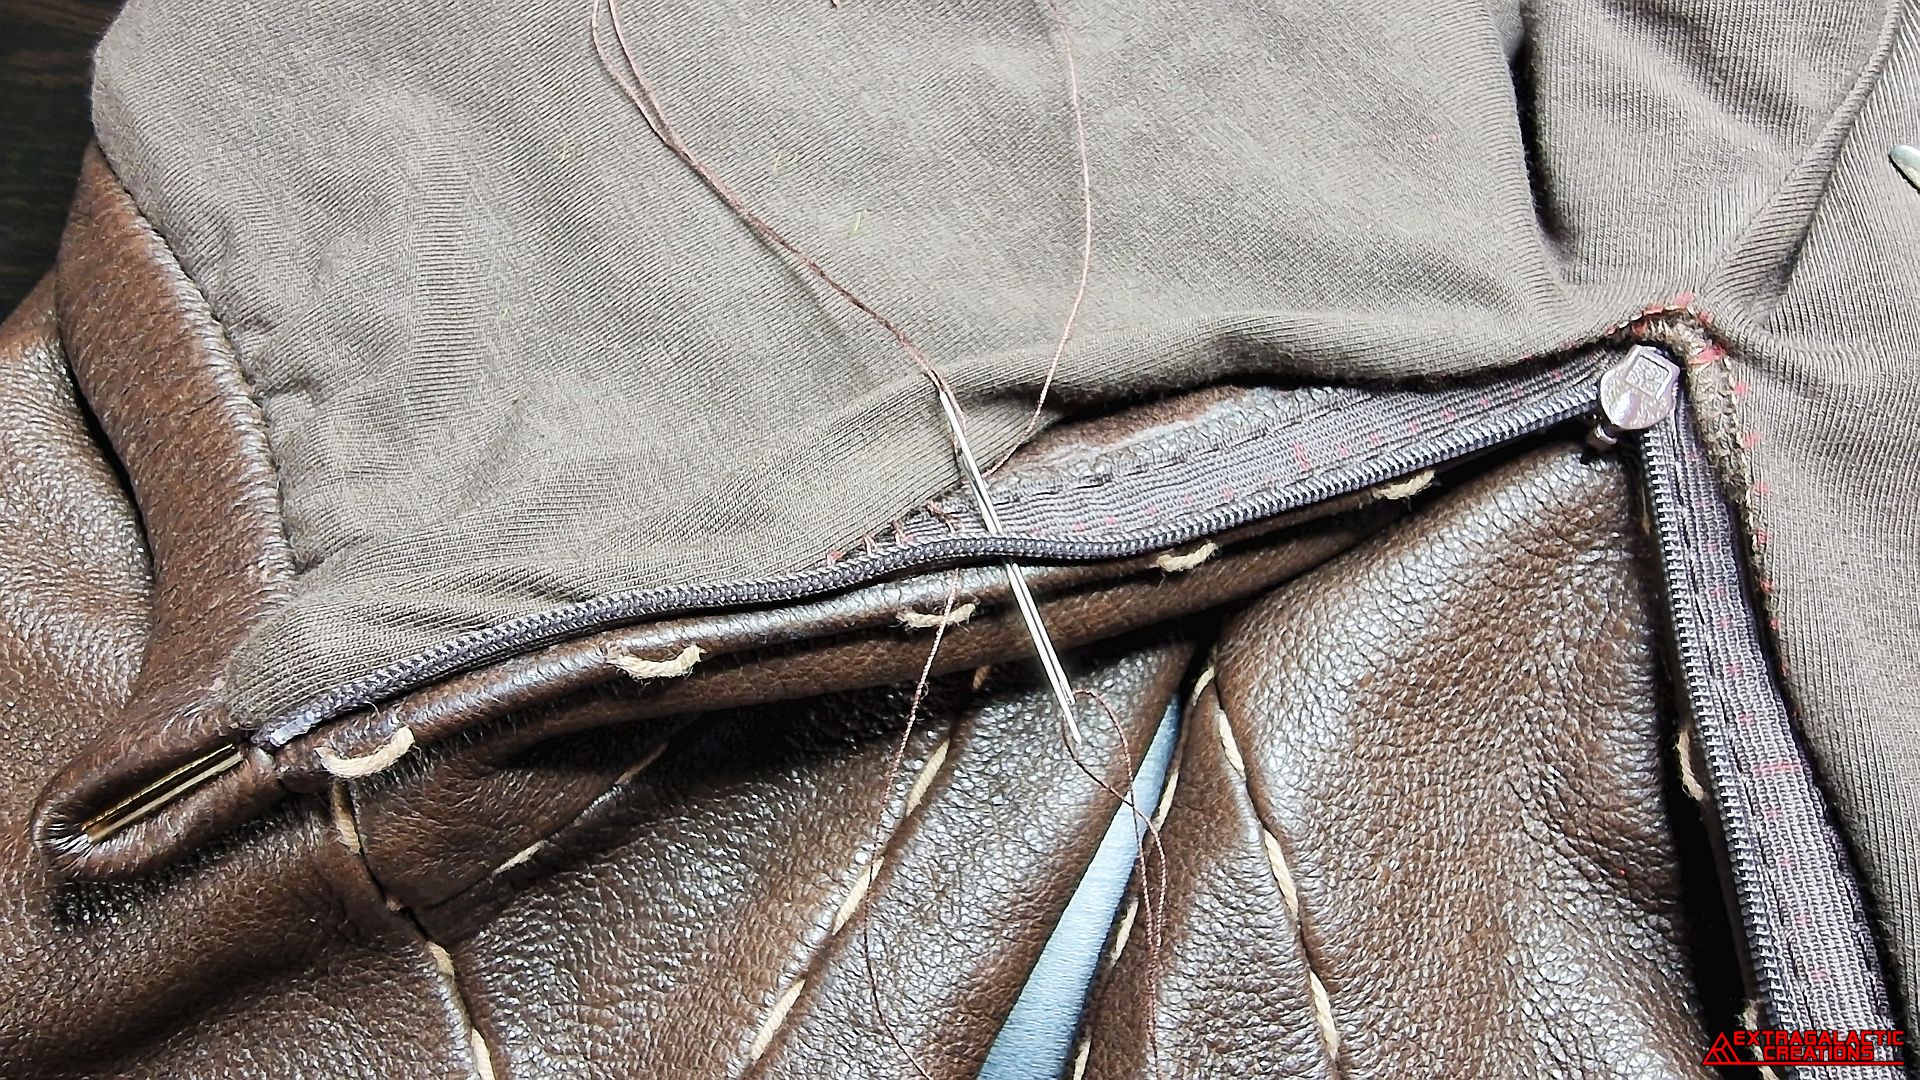
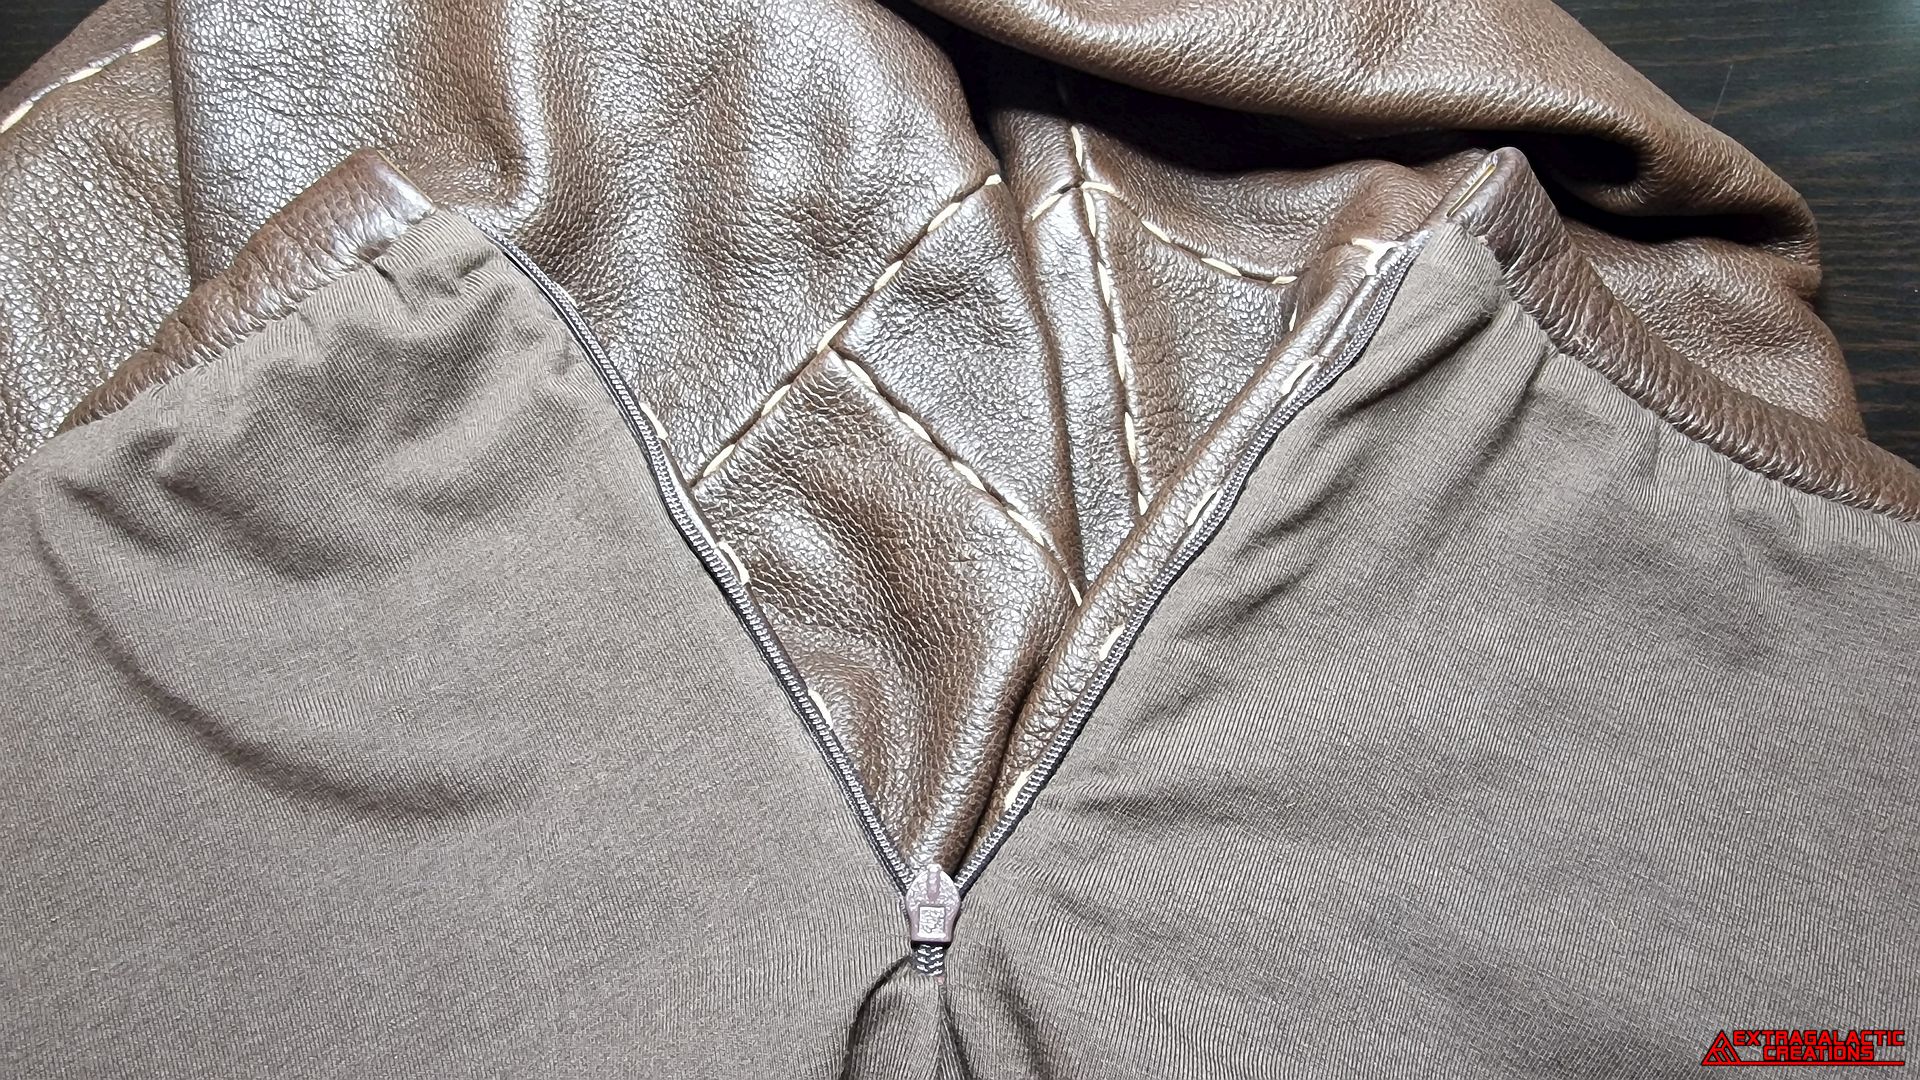
All that was left was to once again sew the lining down to the zipper.
If you found this project tutorial helpful, please support my future projects on Patreon.
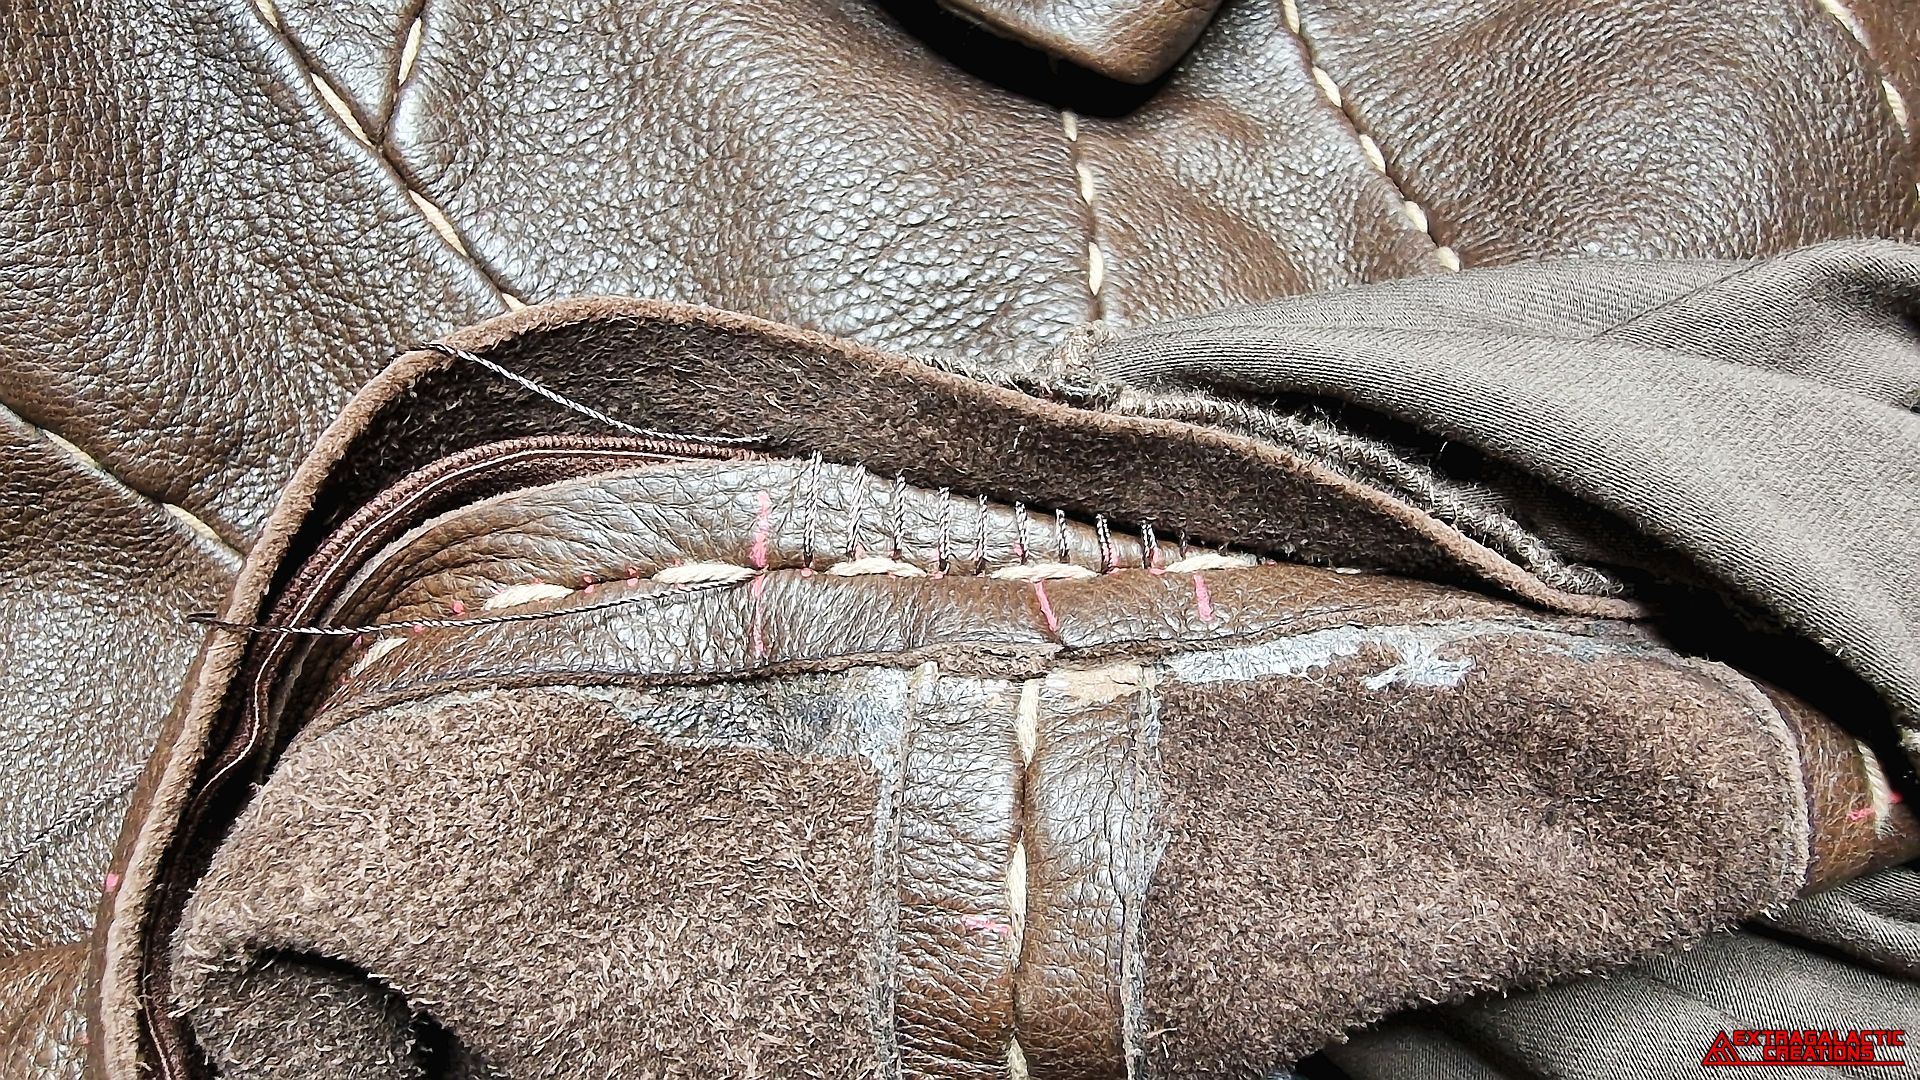
Then came the fun part of using two needles at the same time to hand
sew the lining to the waistband while also sewing them to the rest of
the pants, tightening the stitches bit by bit as I go along.
The second seam allowance of the waistband was also sewn on
pointing downwards to keep the waistband as thin and elastic as
possible.
And with all the many stitches hidden in place, everything was once
again neat and seamless.
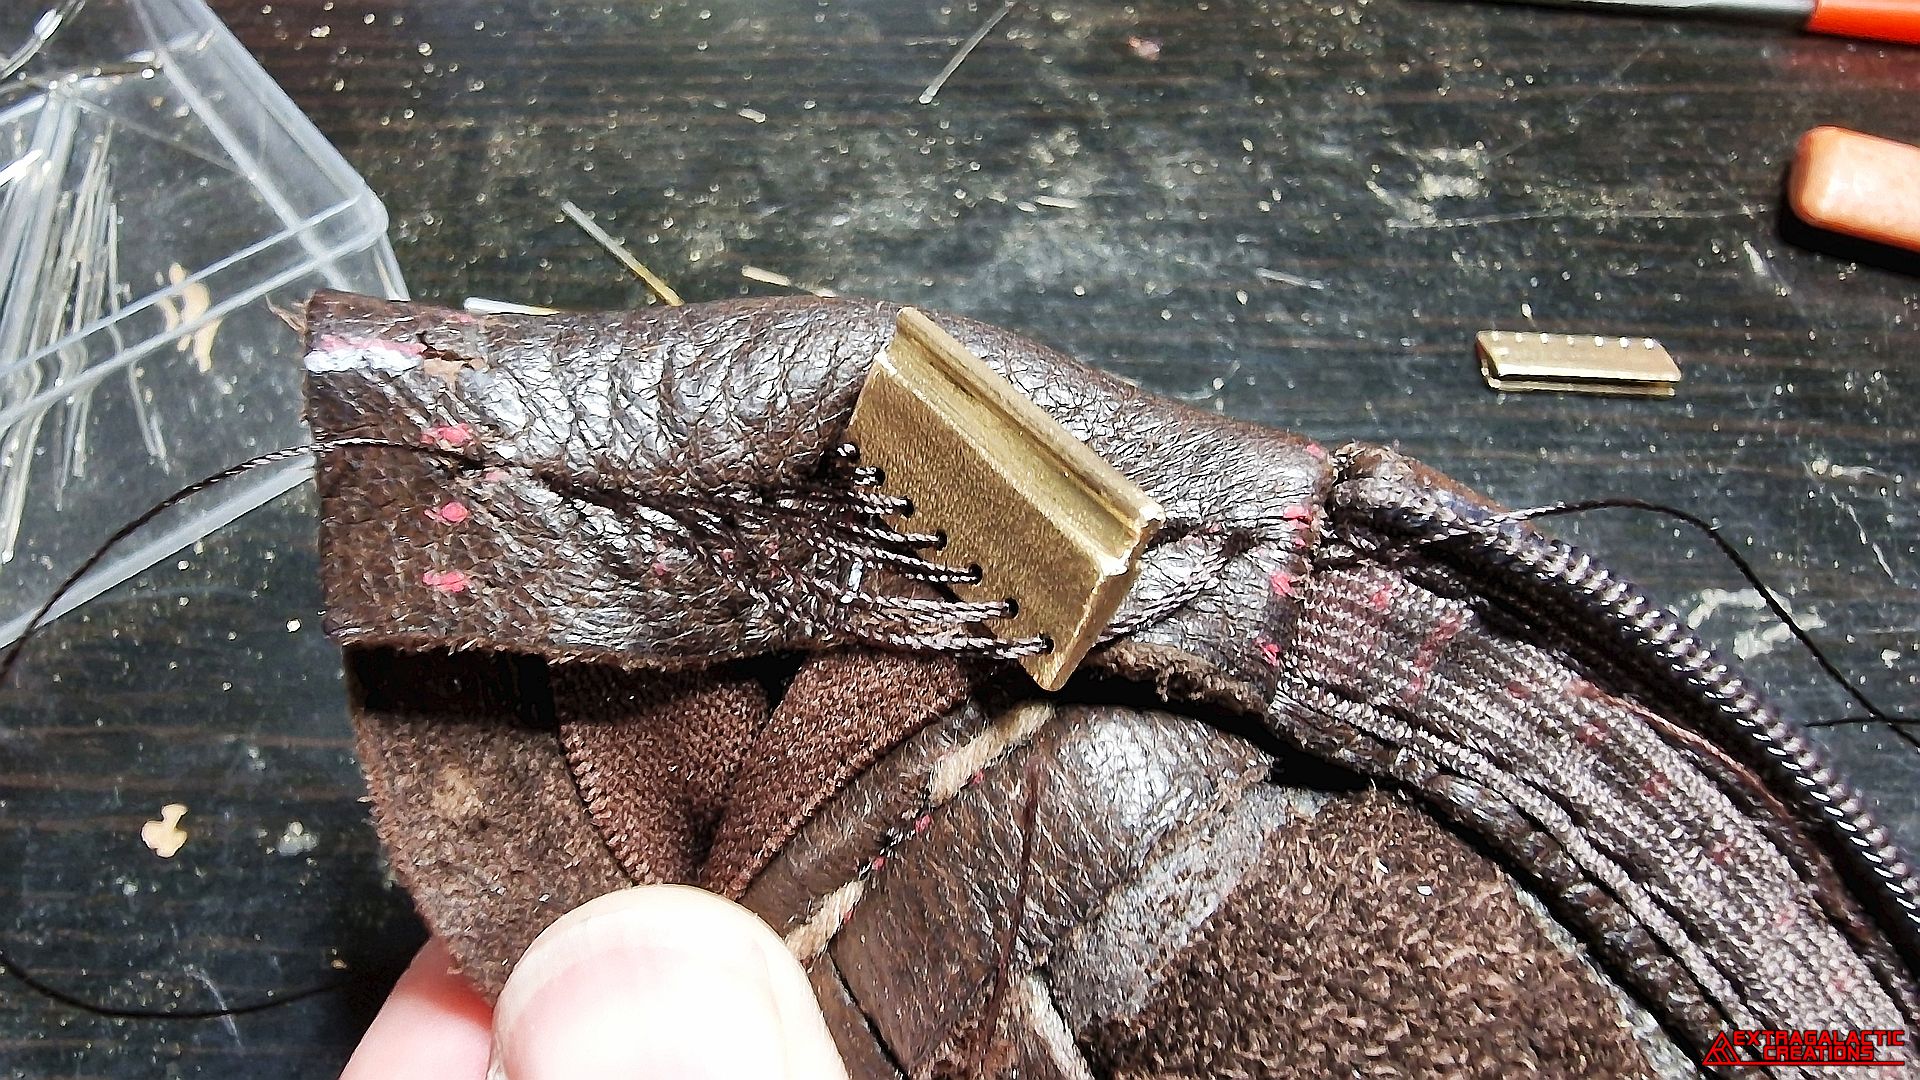
The male end of the sliding clasp had to be fully sewn to the edge of
the waistband before tightening all the stitches since it would
otherwise be impossible to sew down this rigid metal part.
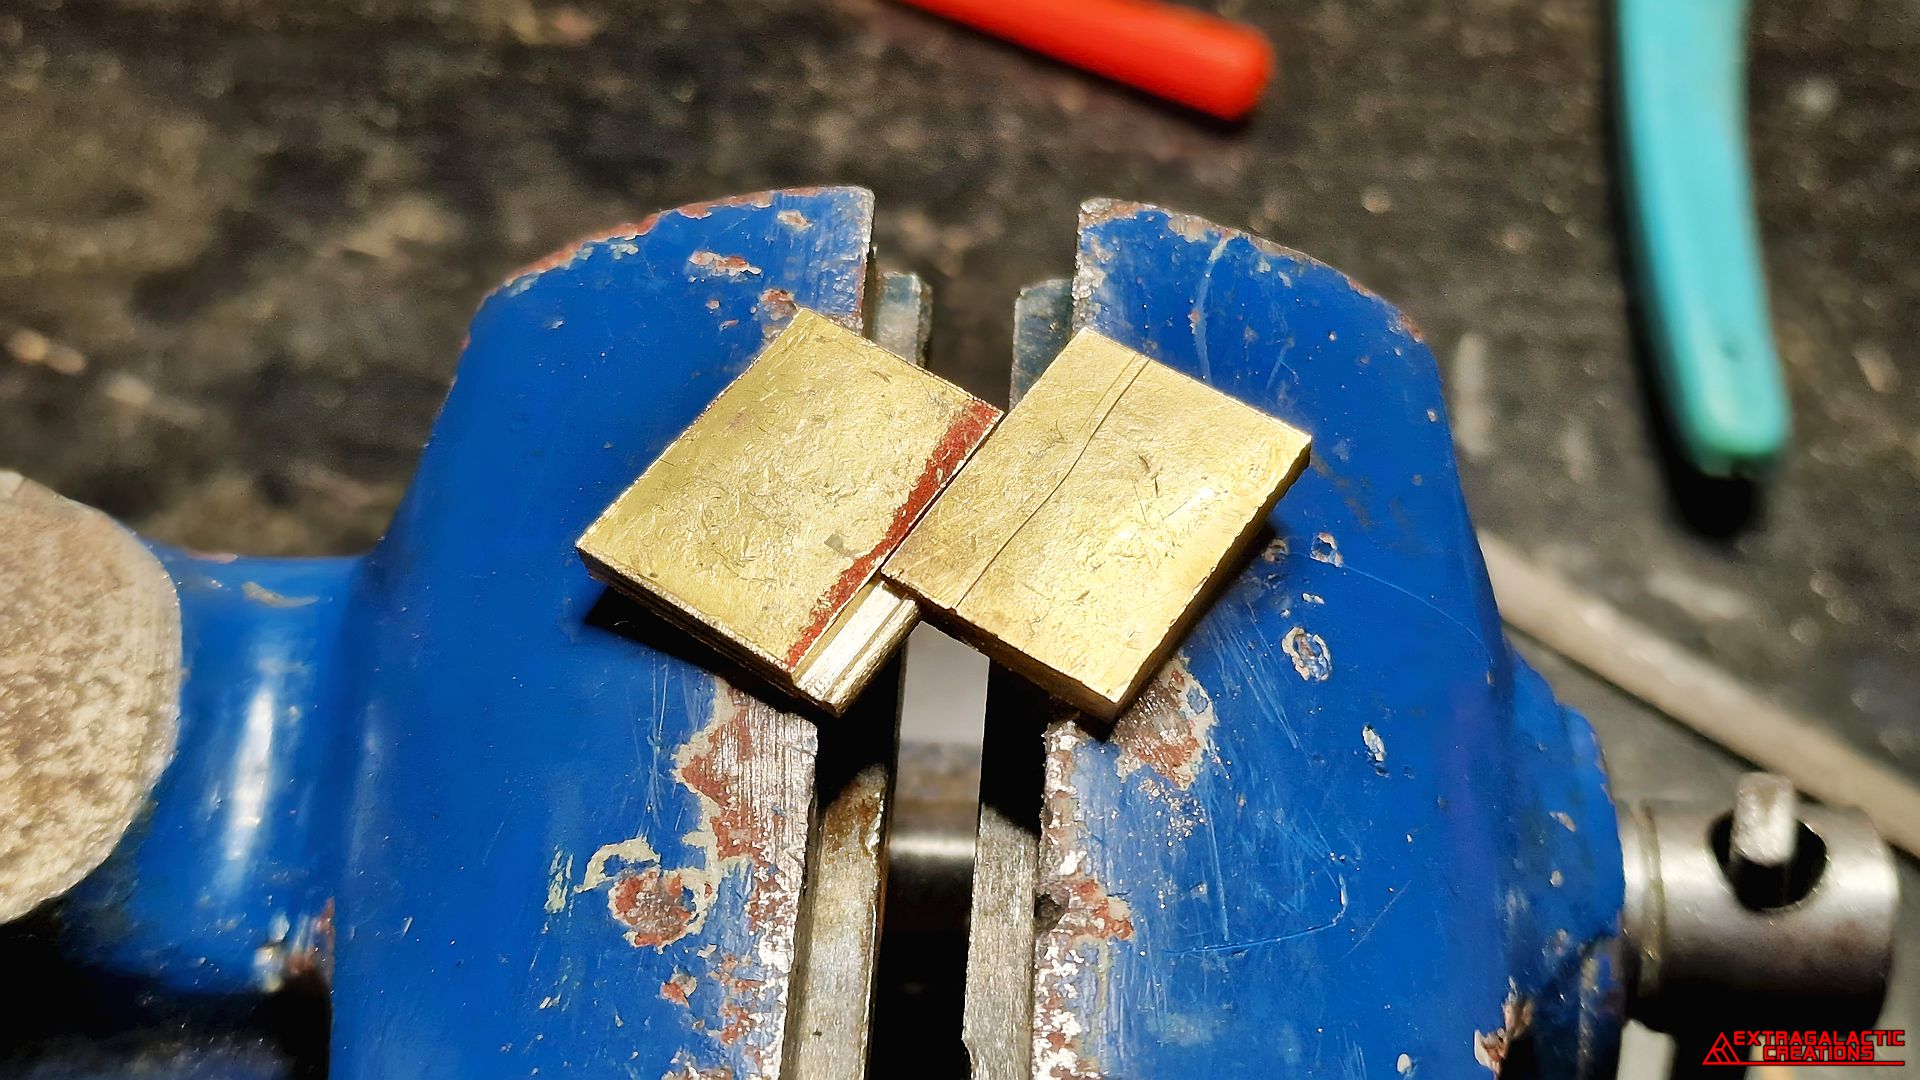
A hole was drilled through the top of one of the squares, and a slit
was cut down into the hole, making the female end of the sliding
clasp.
If only there was some sort of sliding metal clasp that could be sewn
to the edges of an elasticated waistband to keep it together, I
wouldn't have to make one myself.
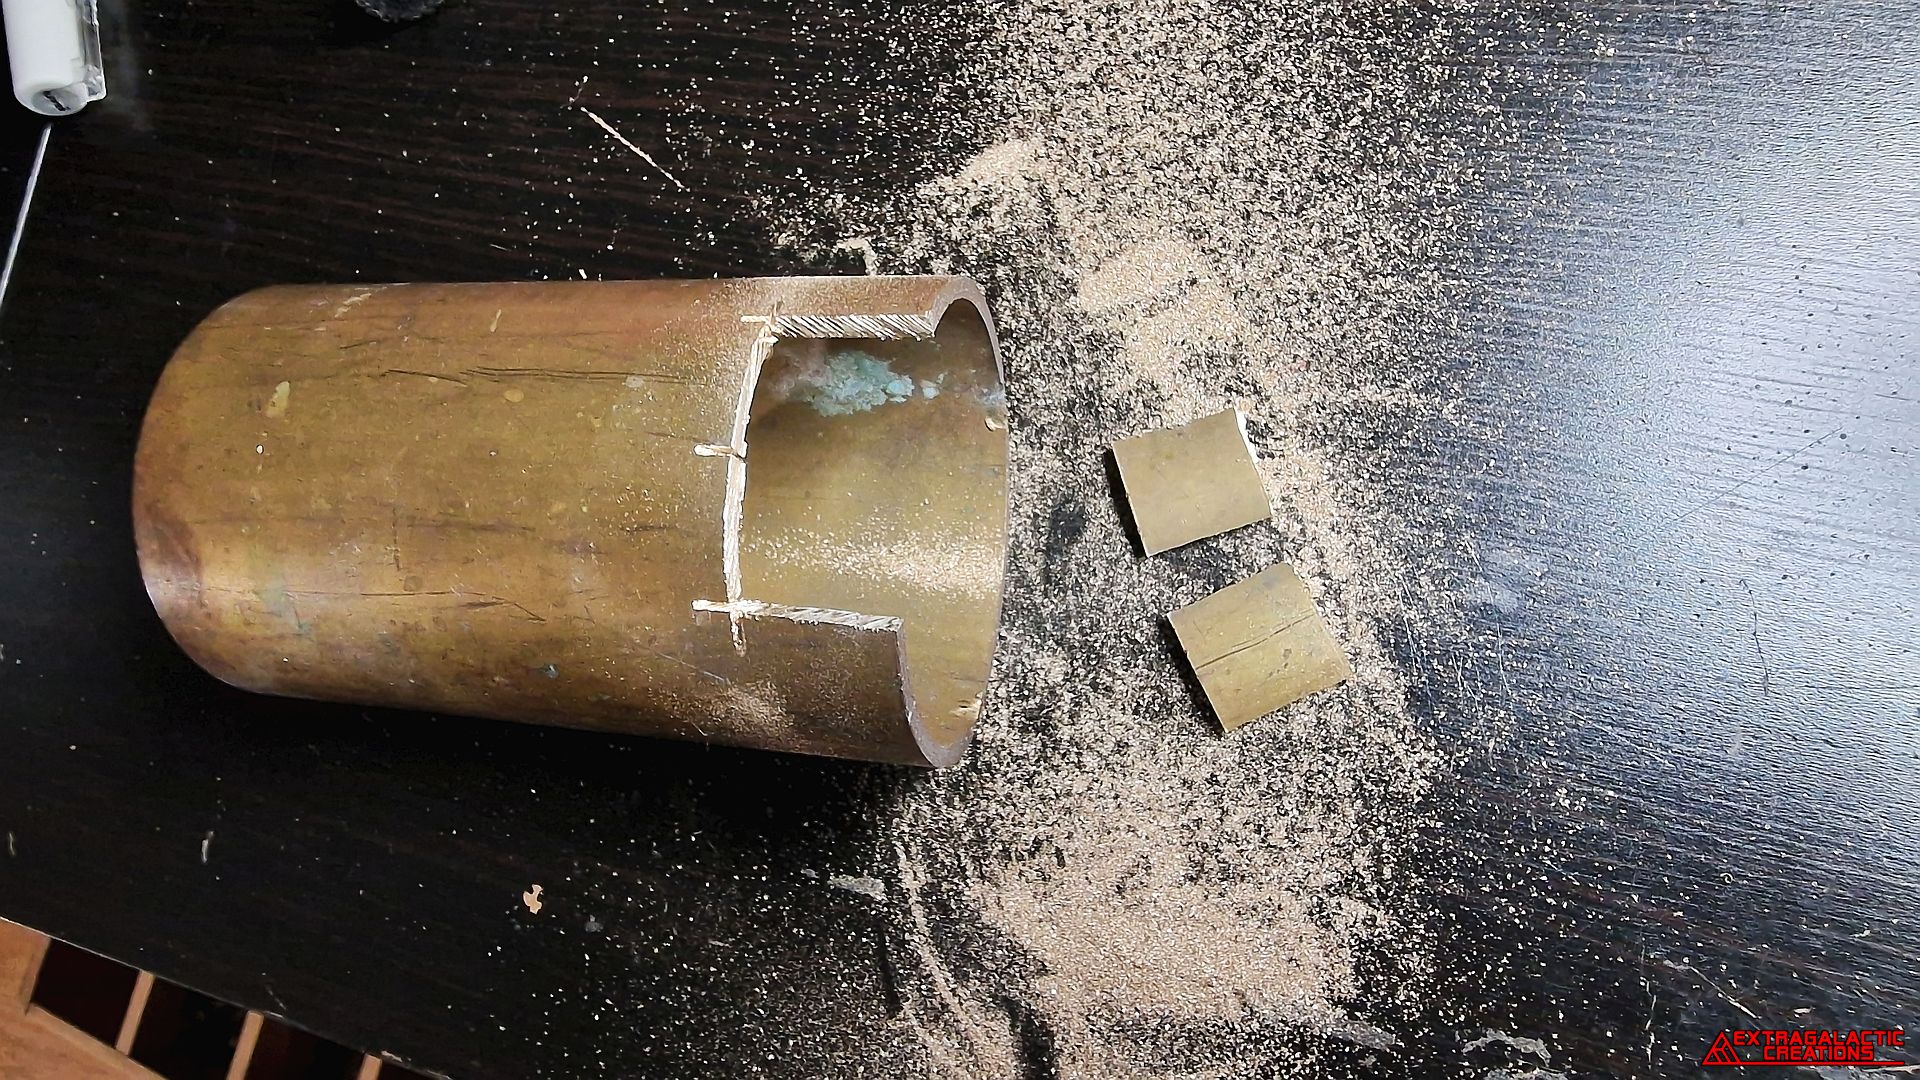
Two square pieces were cut from a thick brass tube to make the
required sliding clasp.
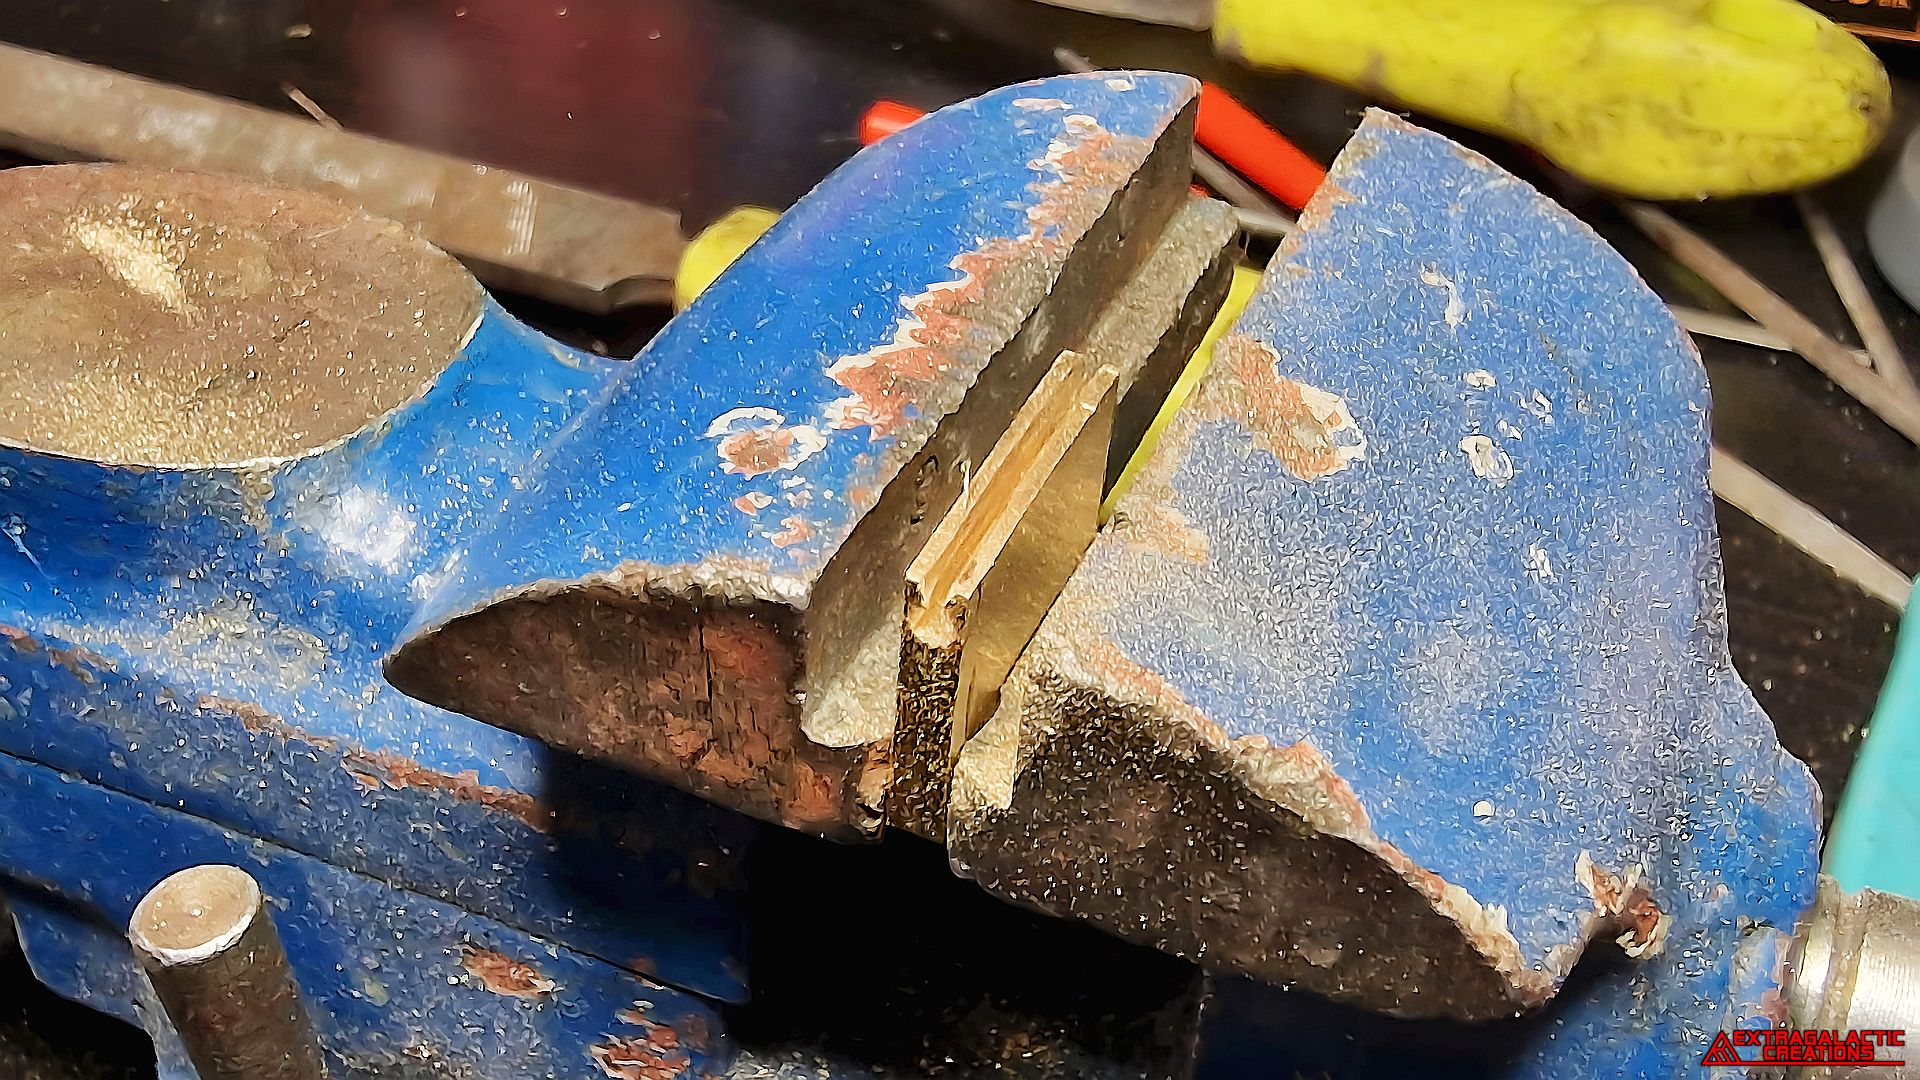
Both ends were colored with a permanent marker to see where to
carve away more clearance to make them slide together as smoothly
as possible.
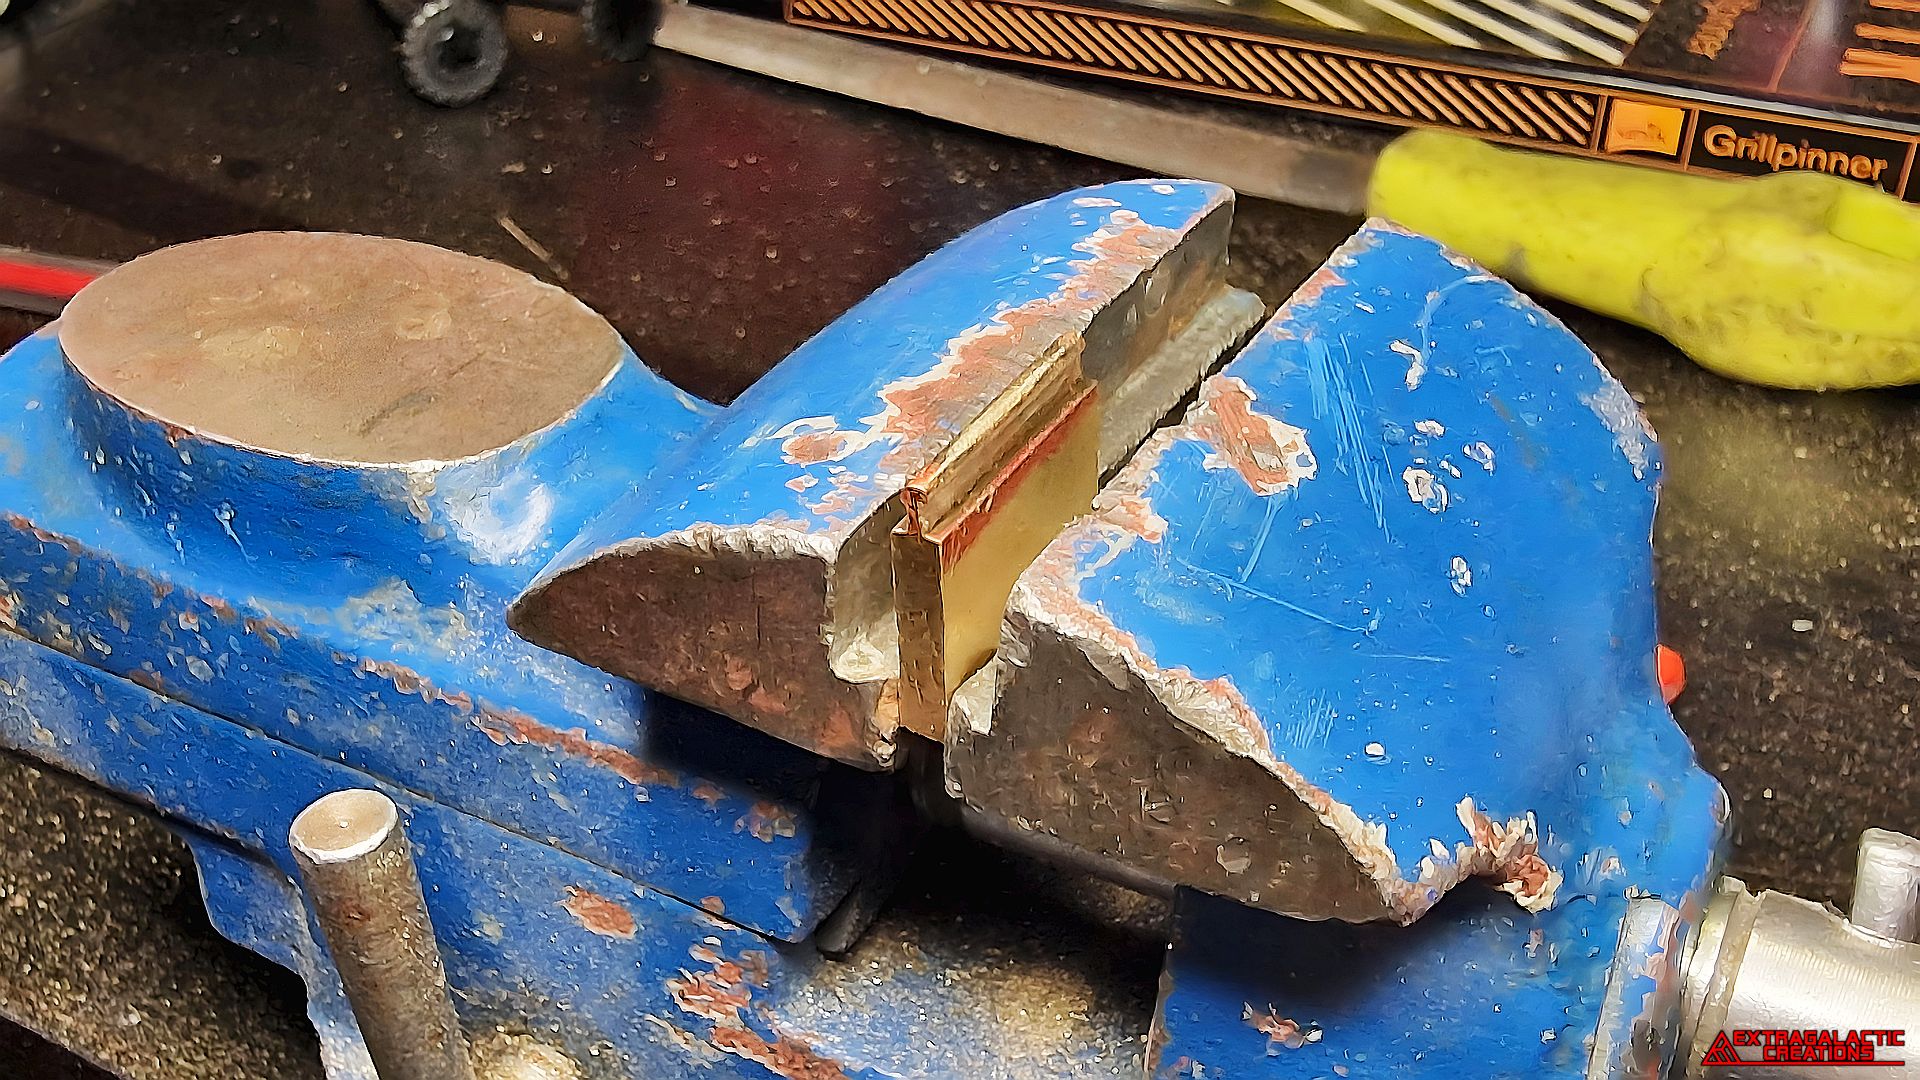
The top of the other square was carved into a sort of key shape,
making it the male end of the sliding clasp.
I also find it funny how they are purely identified by which genitalia
they sort of resemble.
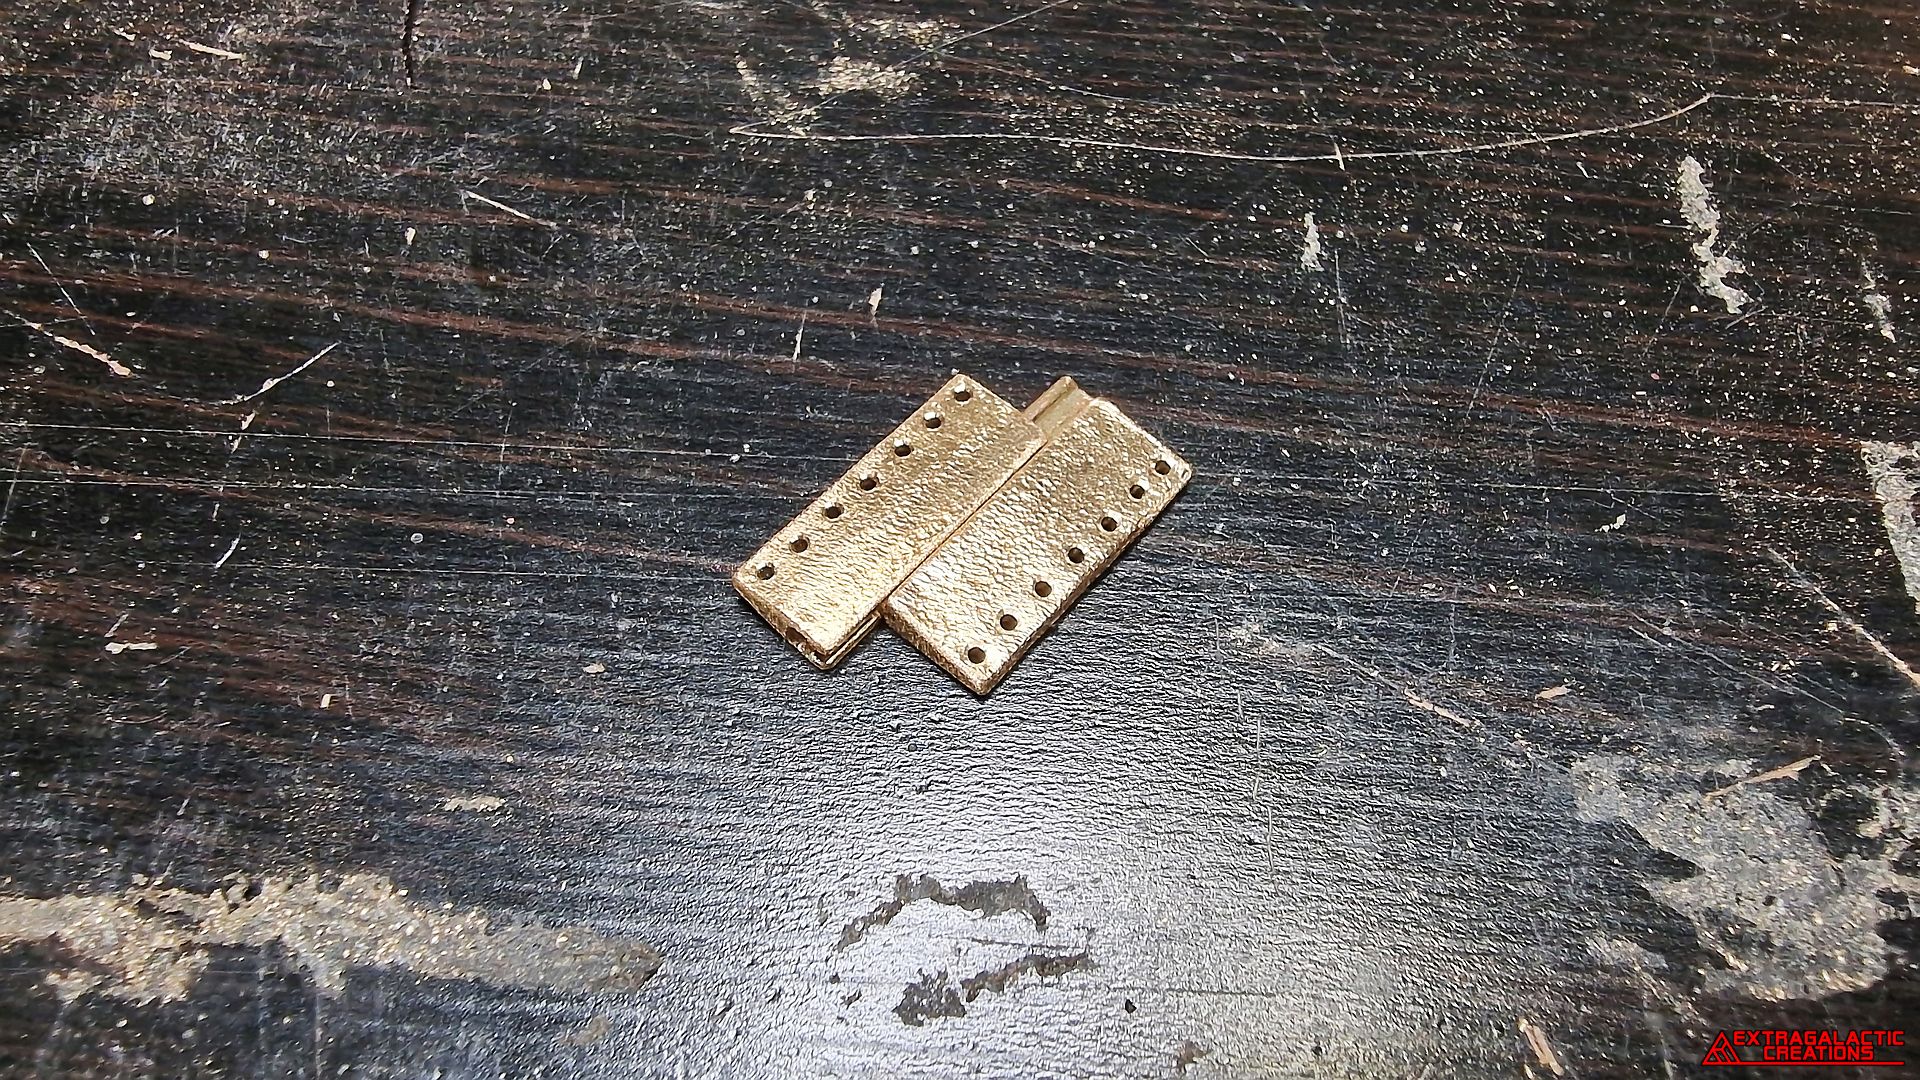
After cutting the sliding clasp down to the right width, seam holes
were drilled through each part before giving them a rustic hand made
look with a small grinding bit on a rotary tool.
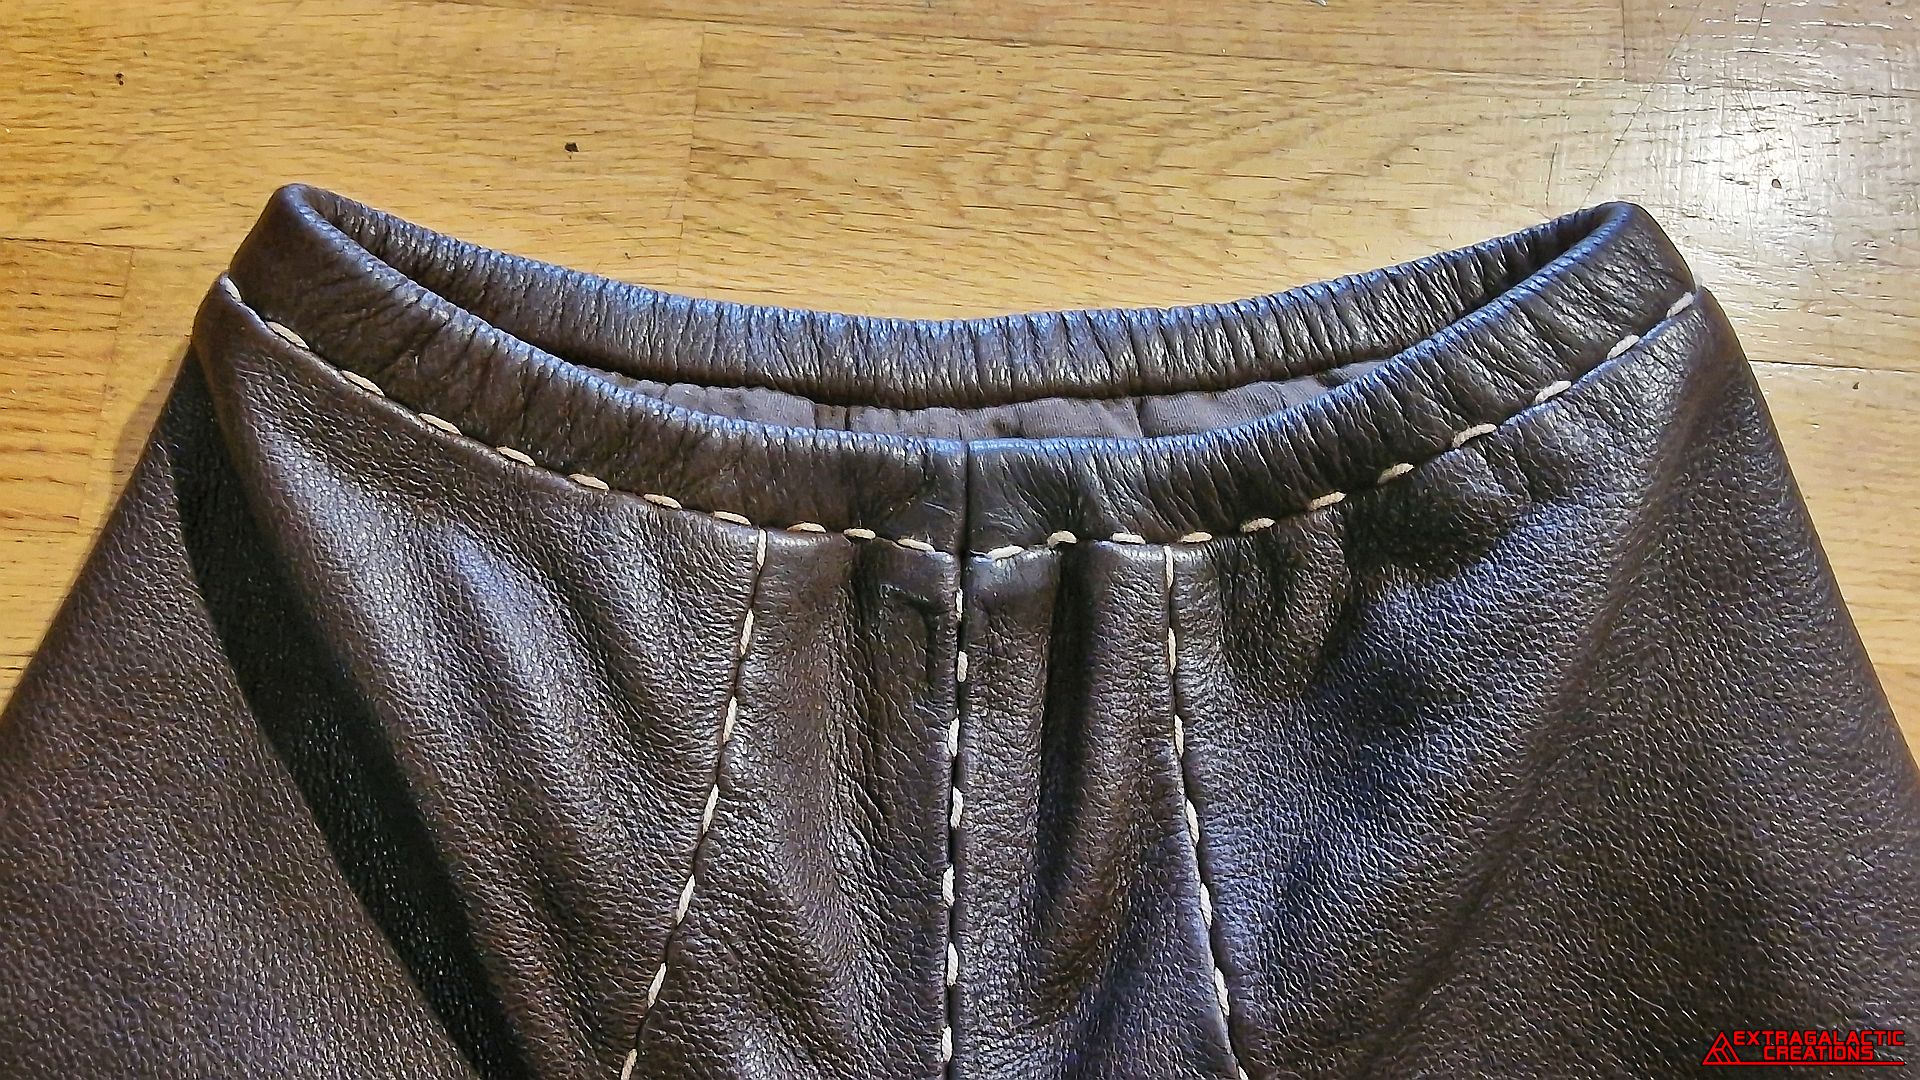
Now the pants were equipped with the appropriate elasticated
waistband that the cosplay guide damn well should have told me
about in the first place.
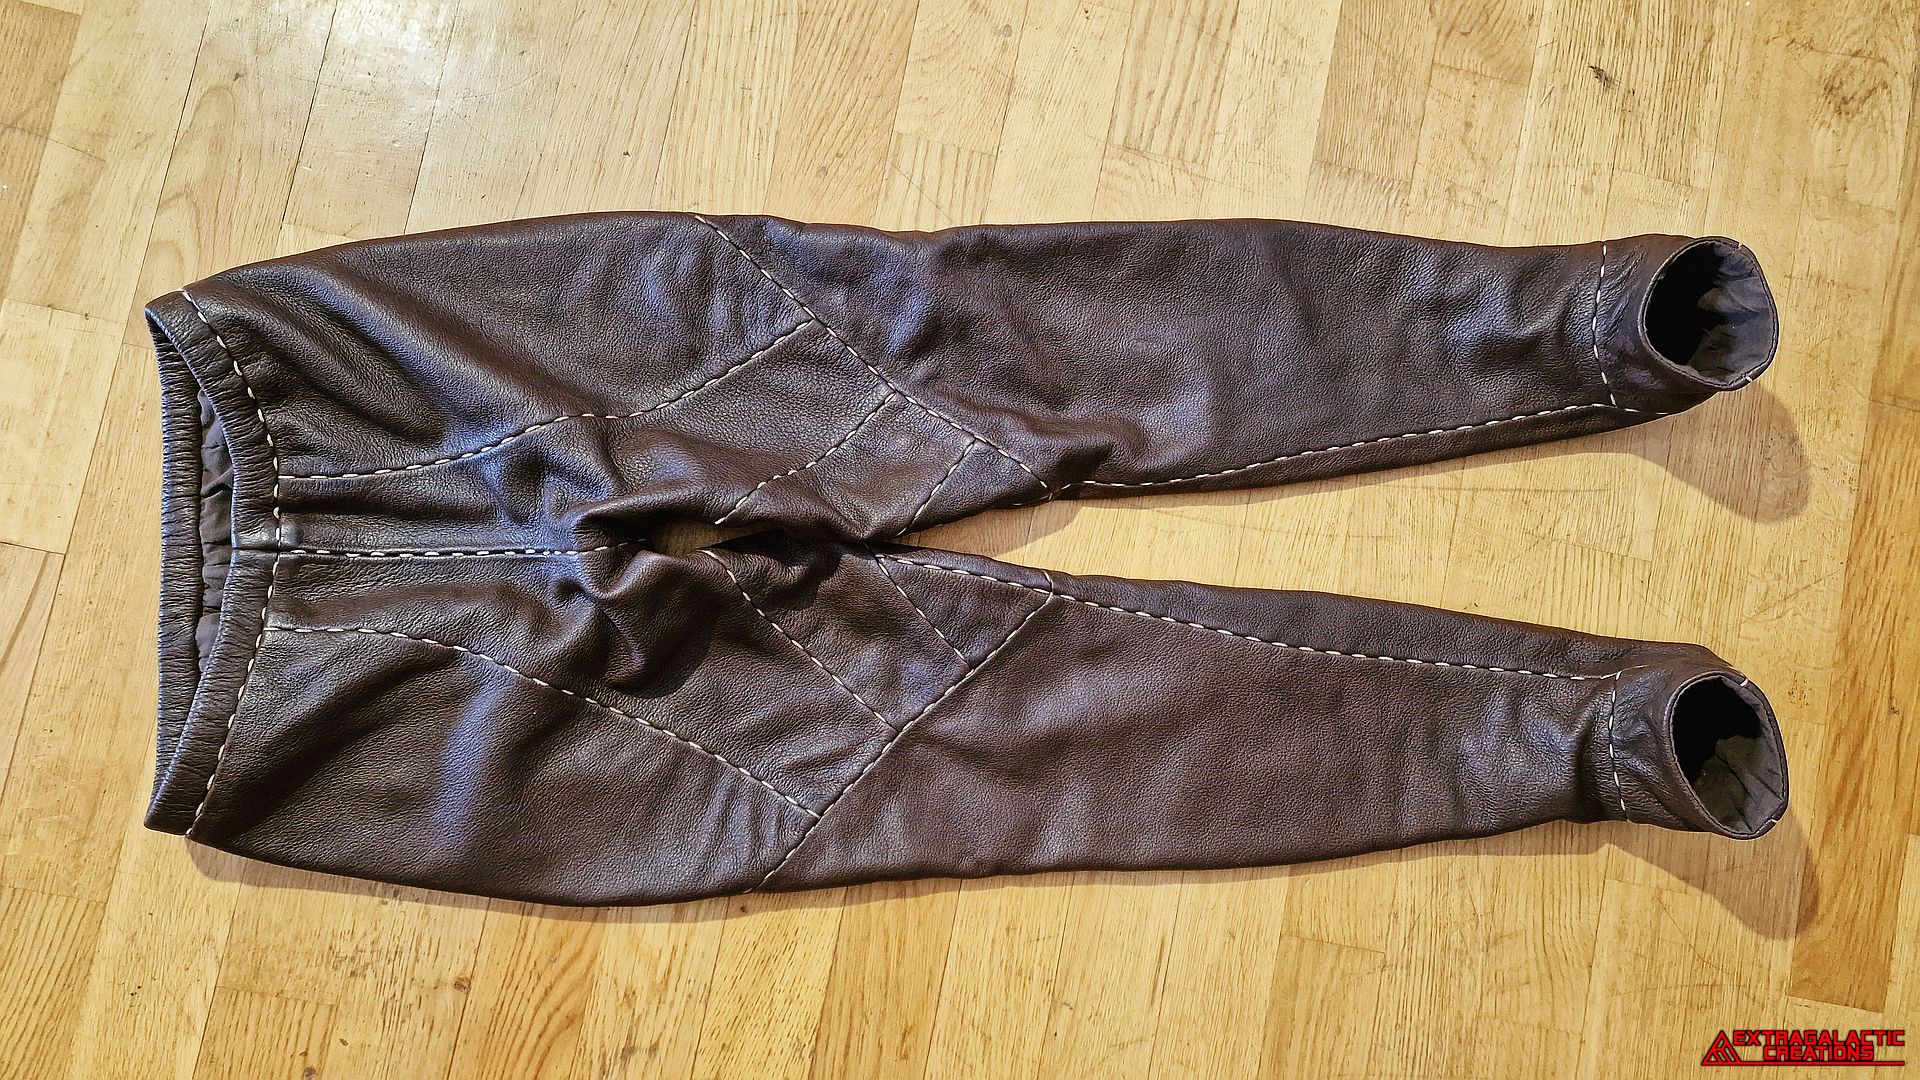
And with the hidden sliding clasp slid together and the hidden zipper
all zipped up, Aloy's pants are once again completed for the second
time or whatever.


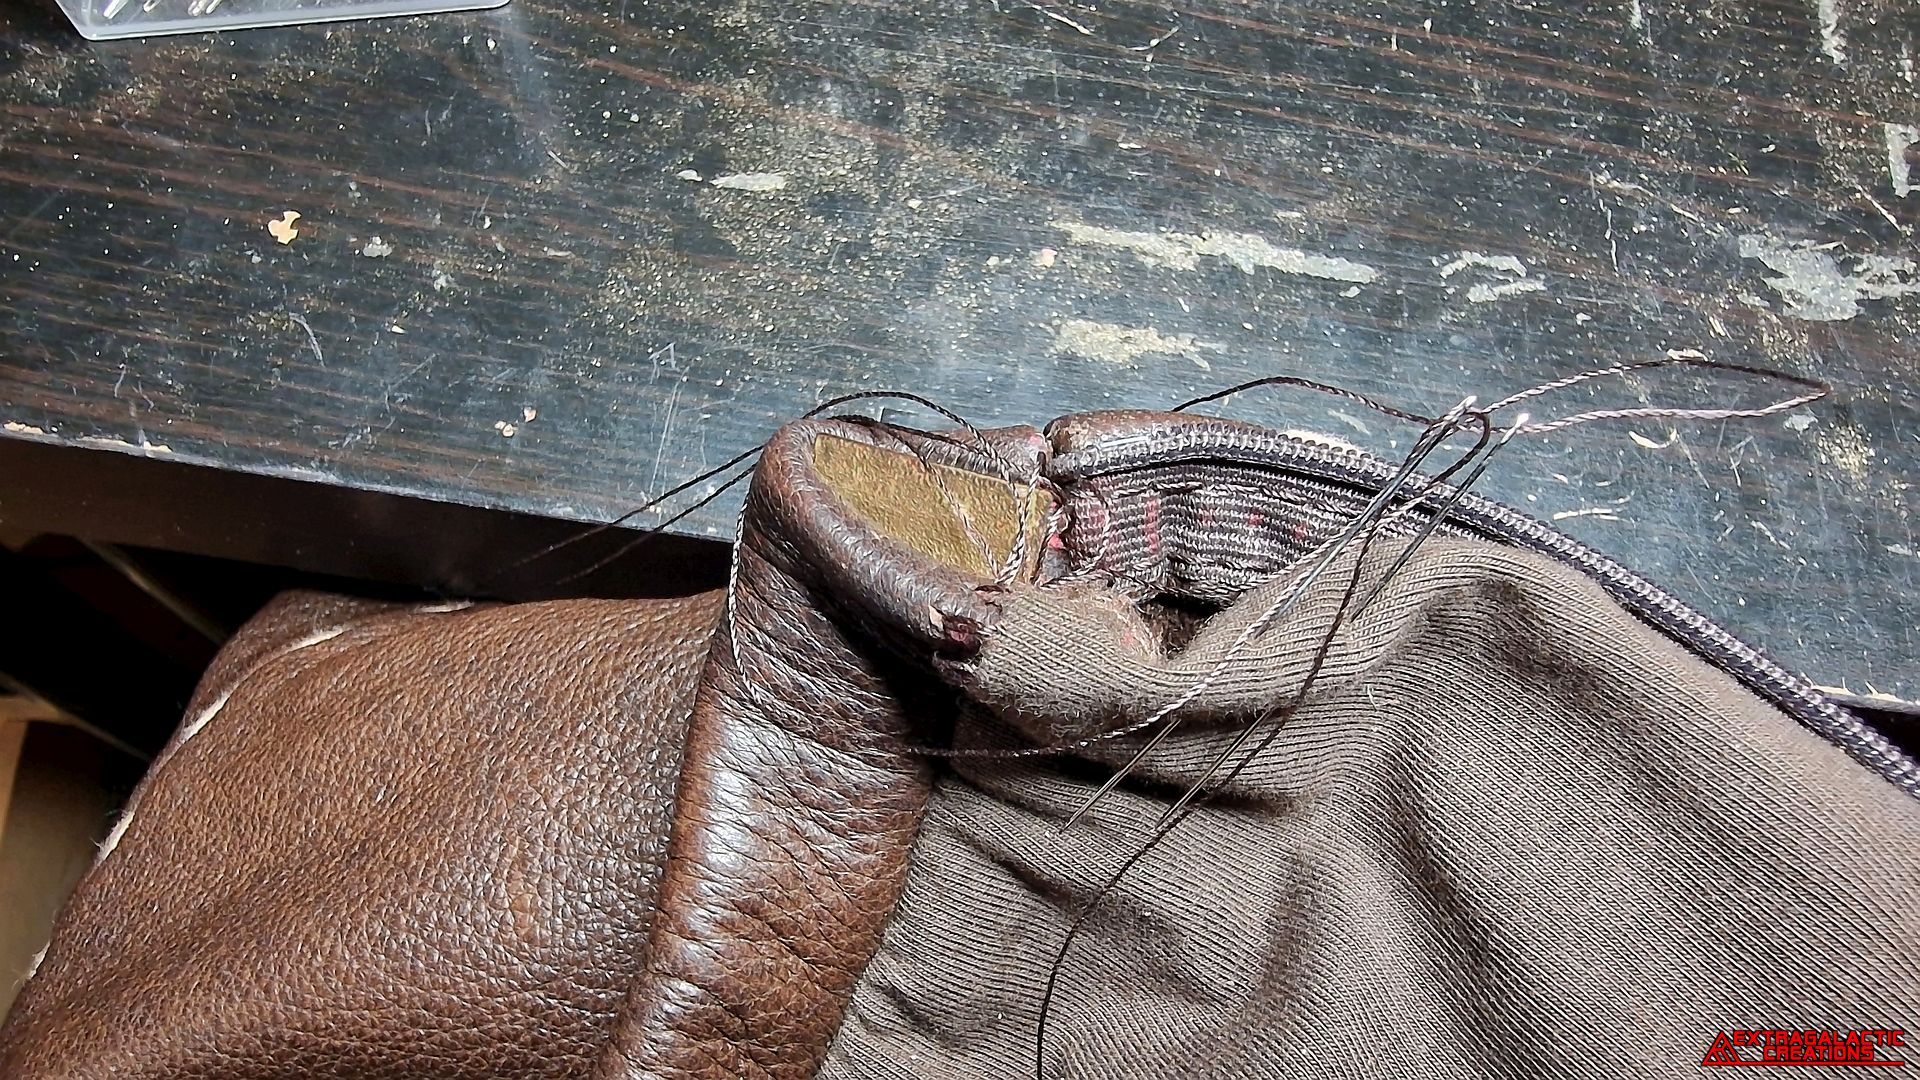
All of that had to then be sewn together with the female end of the
sliding clasp before all the stitches could be tightened together.


