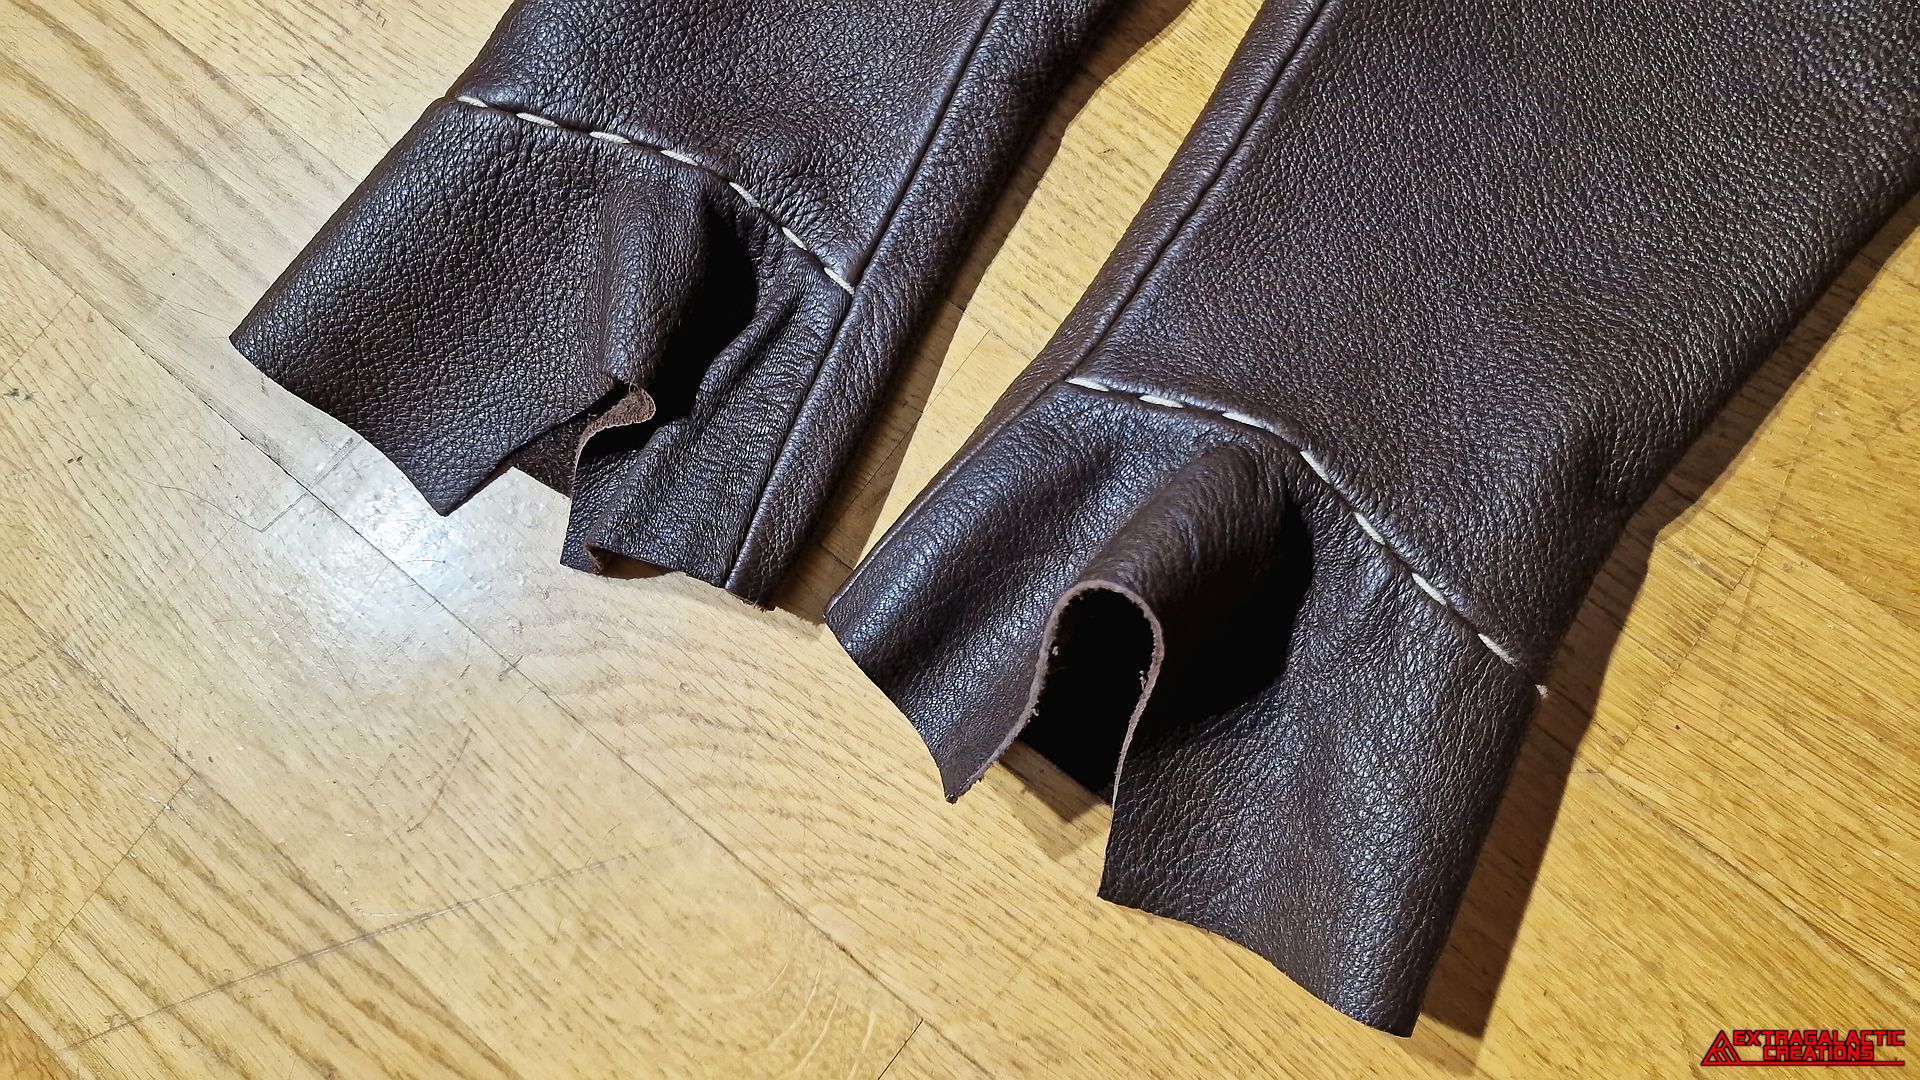
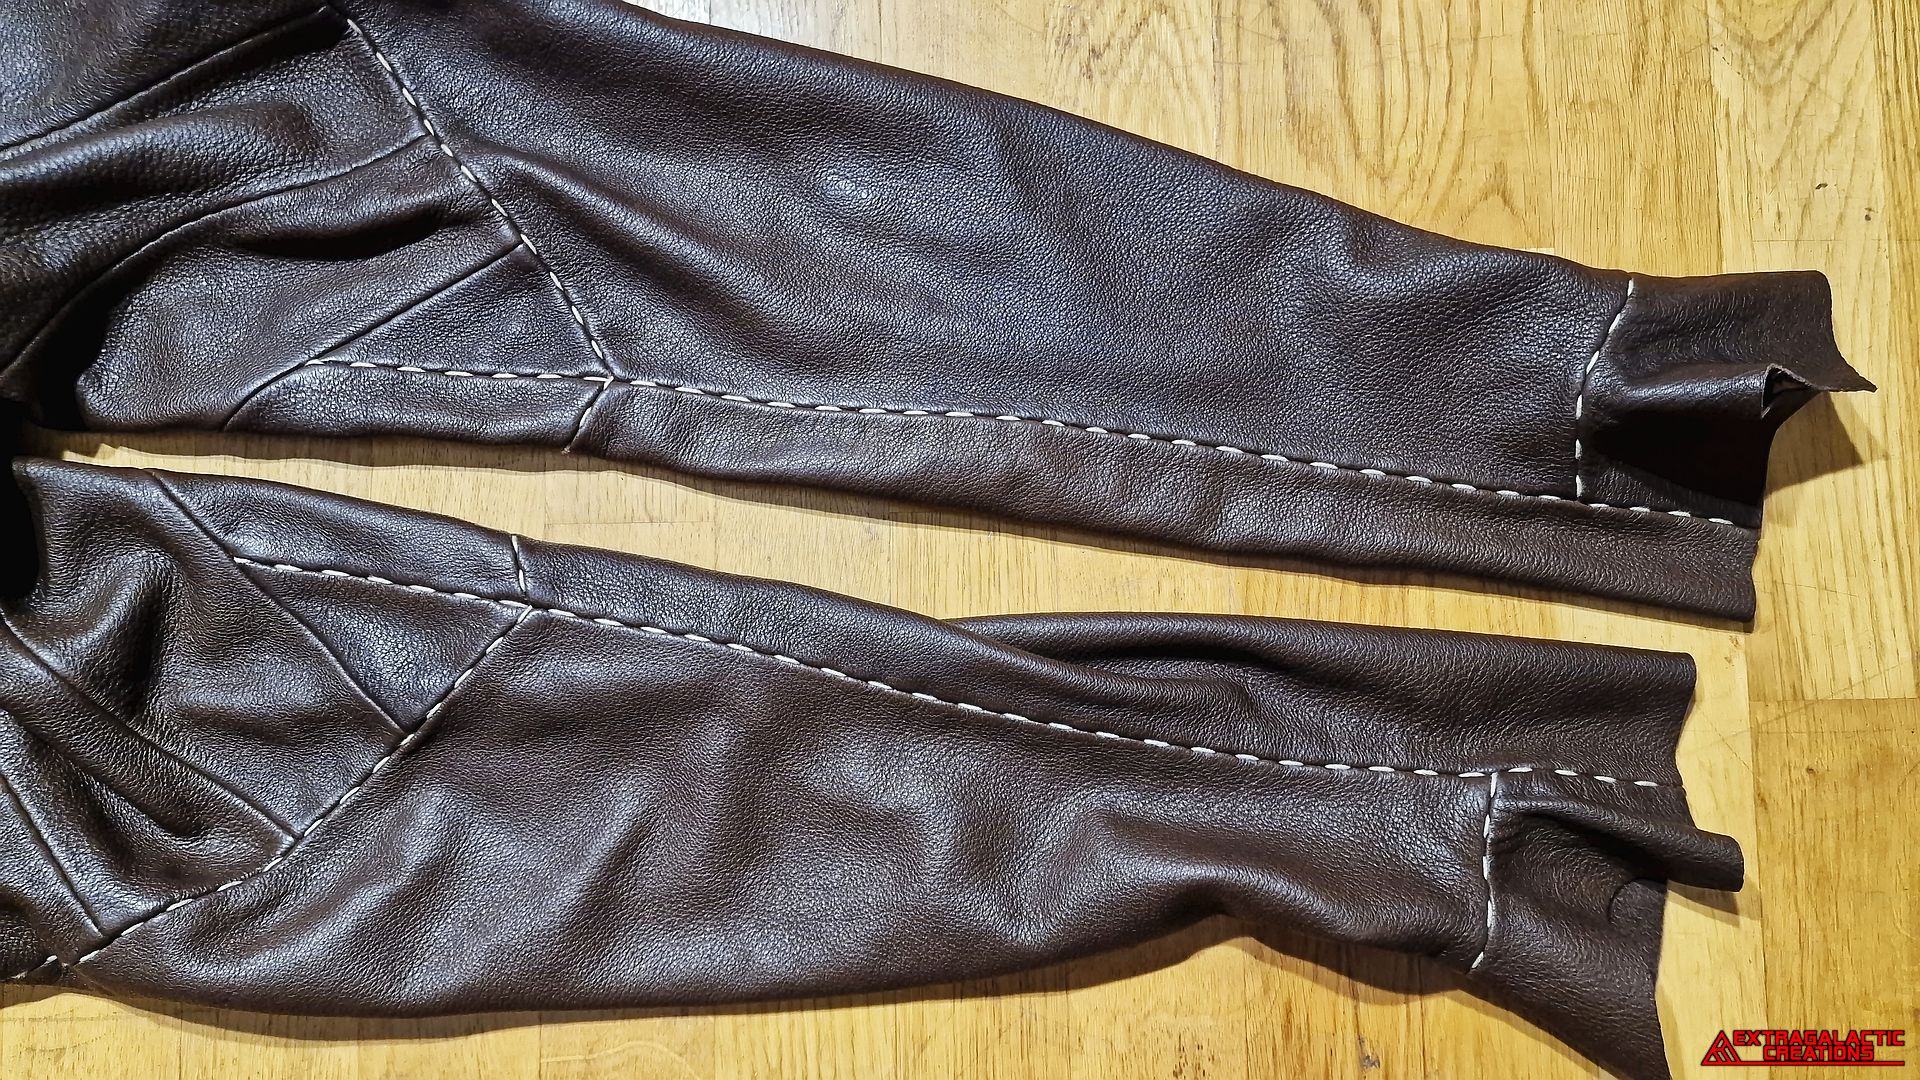
Aloy's pants are the innermost piece of clothing that everything else has to be fitted around, so I would have to make them first either way,
something I wanted to do with a whole new way of pattern making that I had never tried before.
Creating the pants


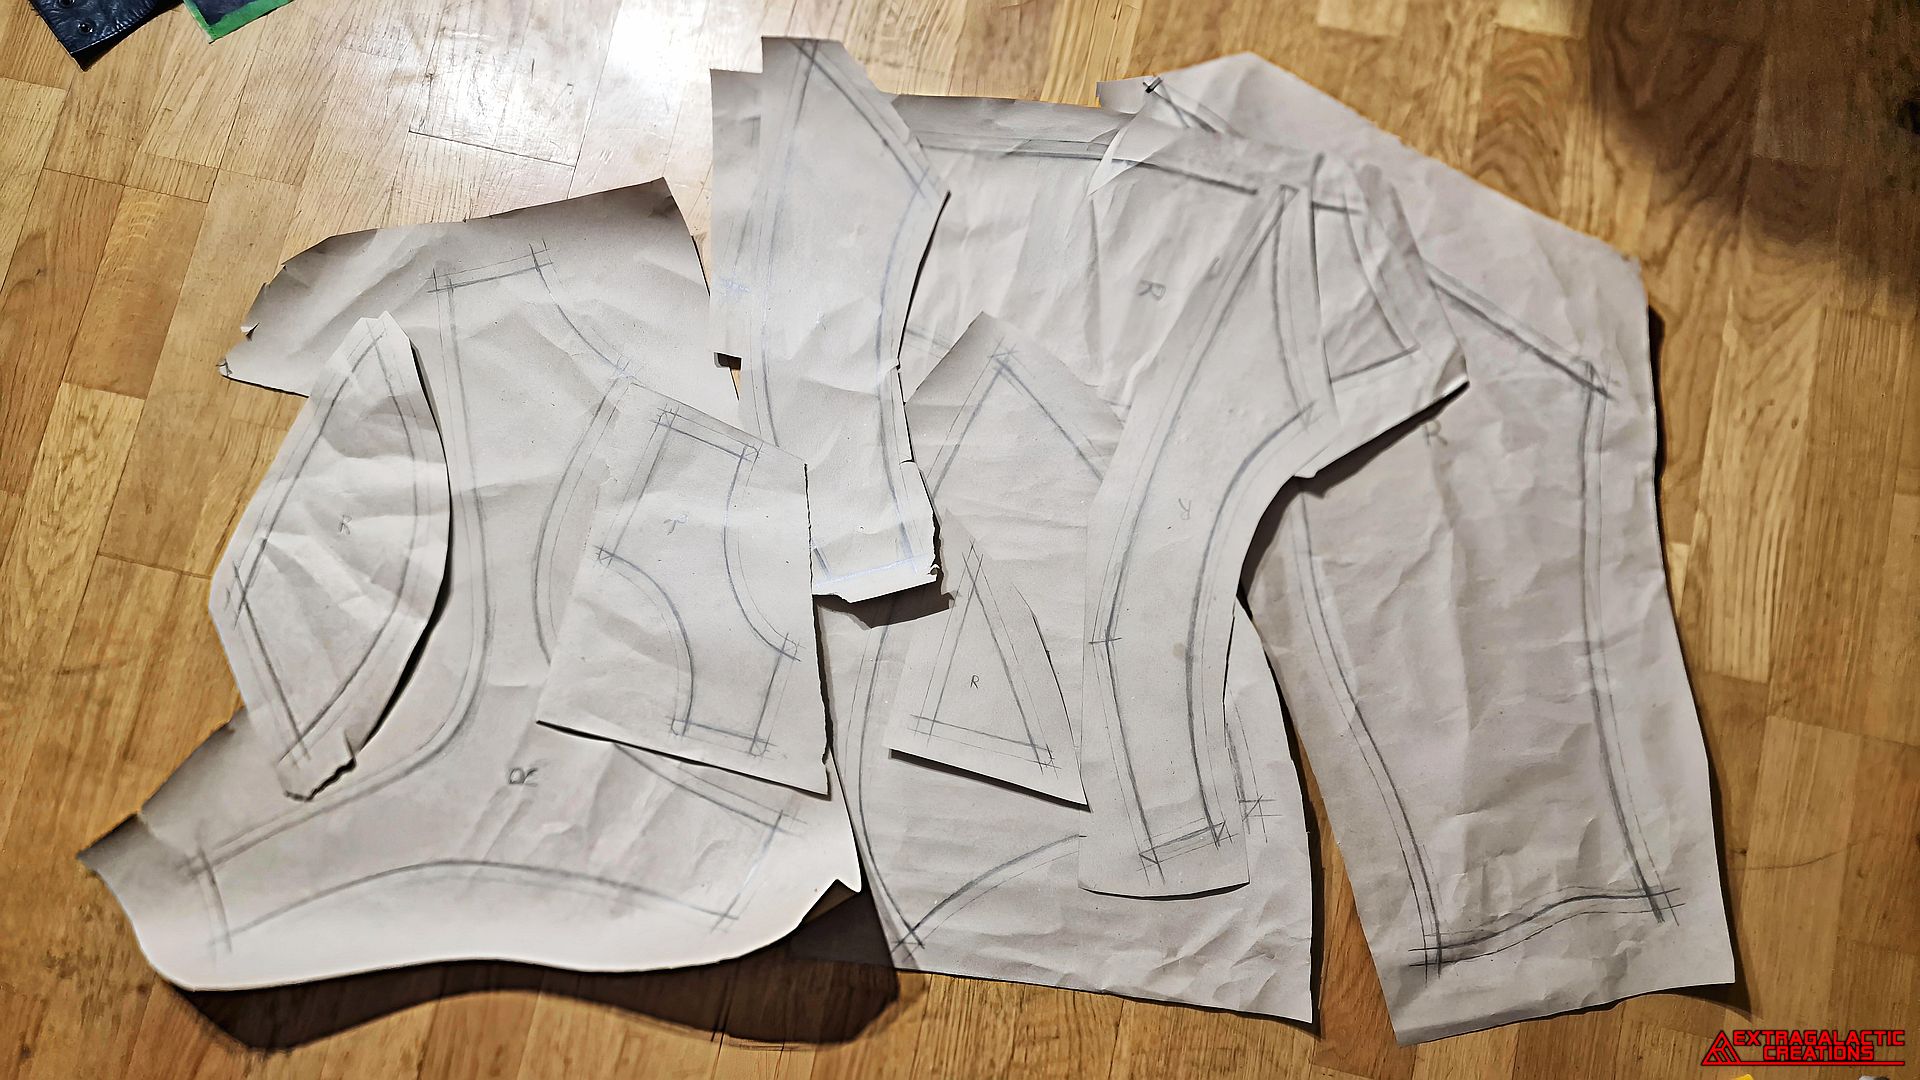
With all the seam allowances in place around the panel shapes, all the
patterns were completed and ready to be cut out.
In case anyone wants to ask me for these patterns, I'm sorry to say
that they were unfortunately eaten by a rampant ravager.
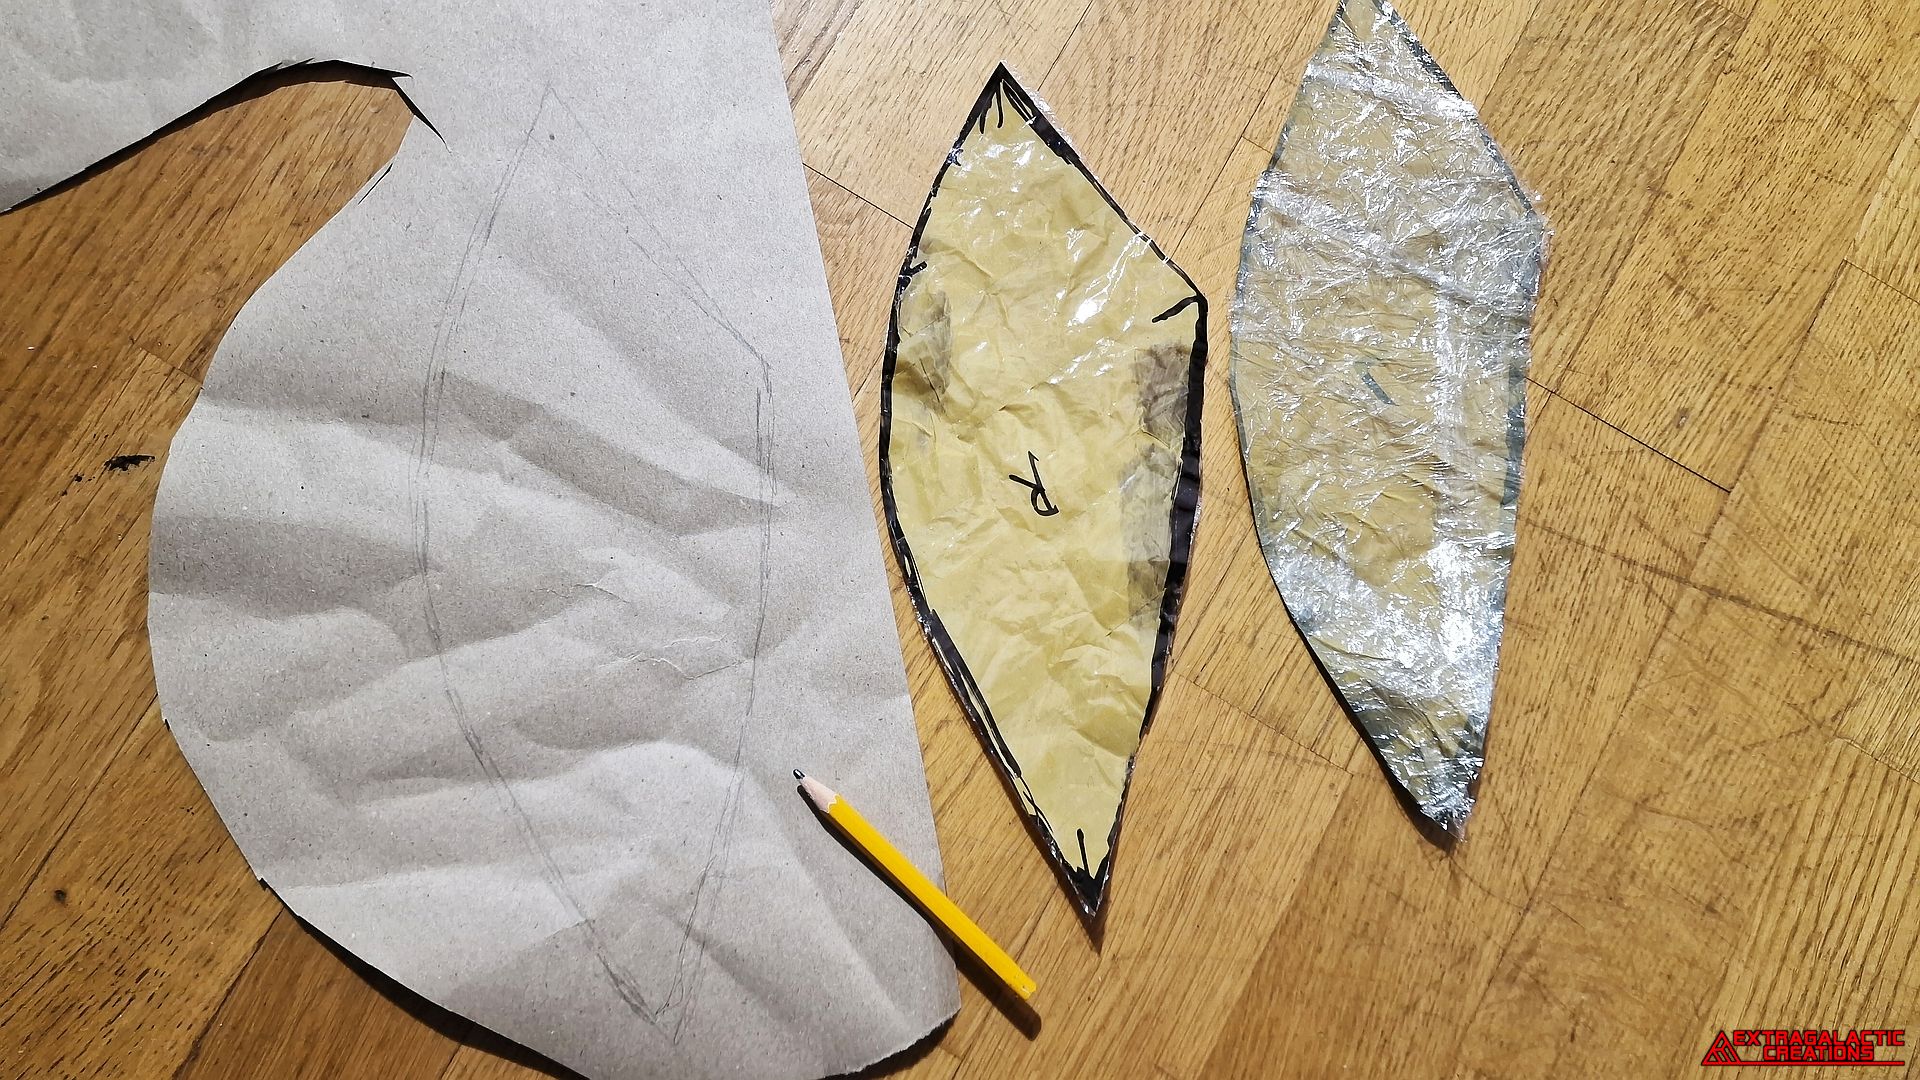
To make one symmetrical pattern that could be used for each side of
the pants, I traced around both raw patterns onto a sheet of paper to
combine their shapes.
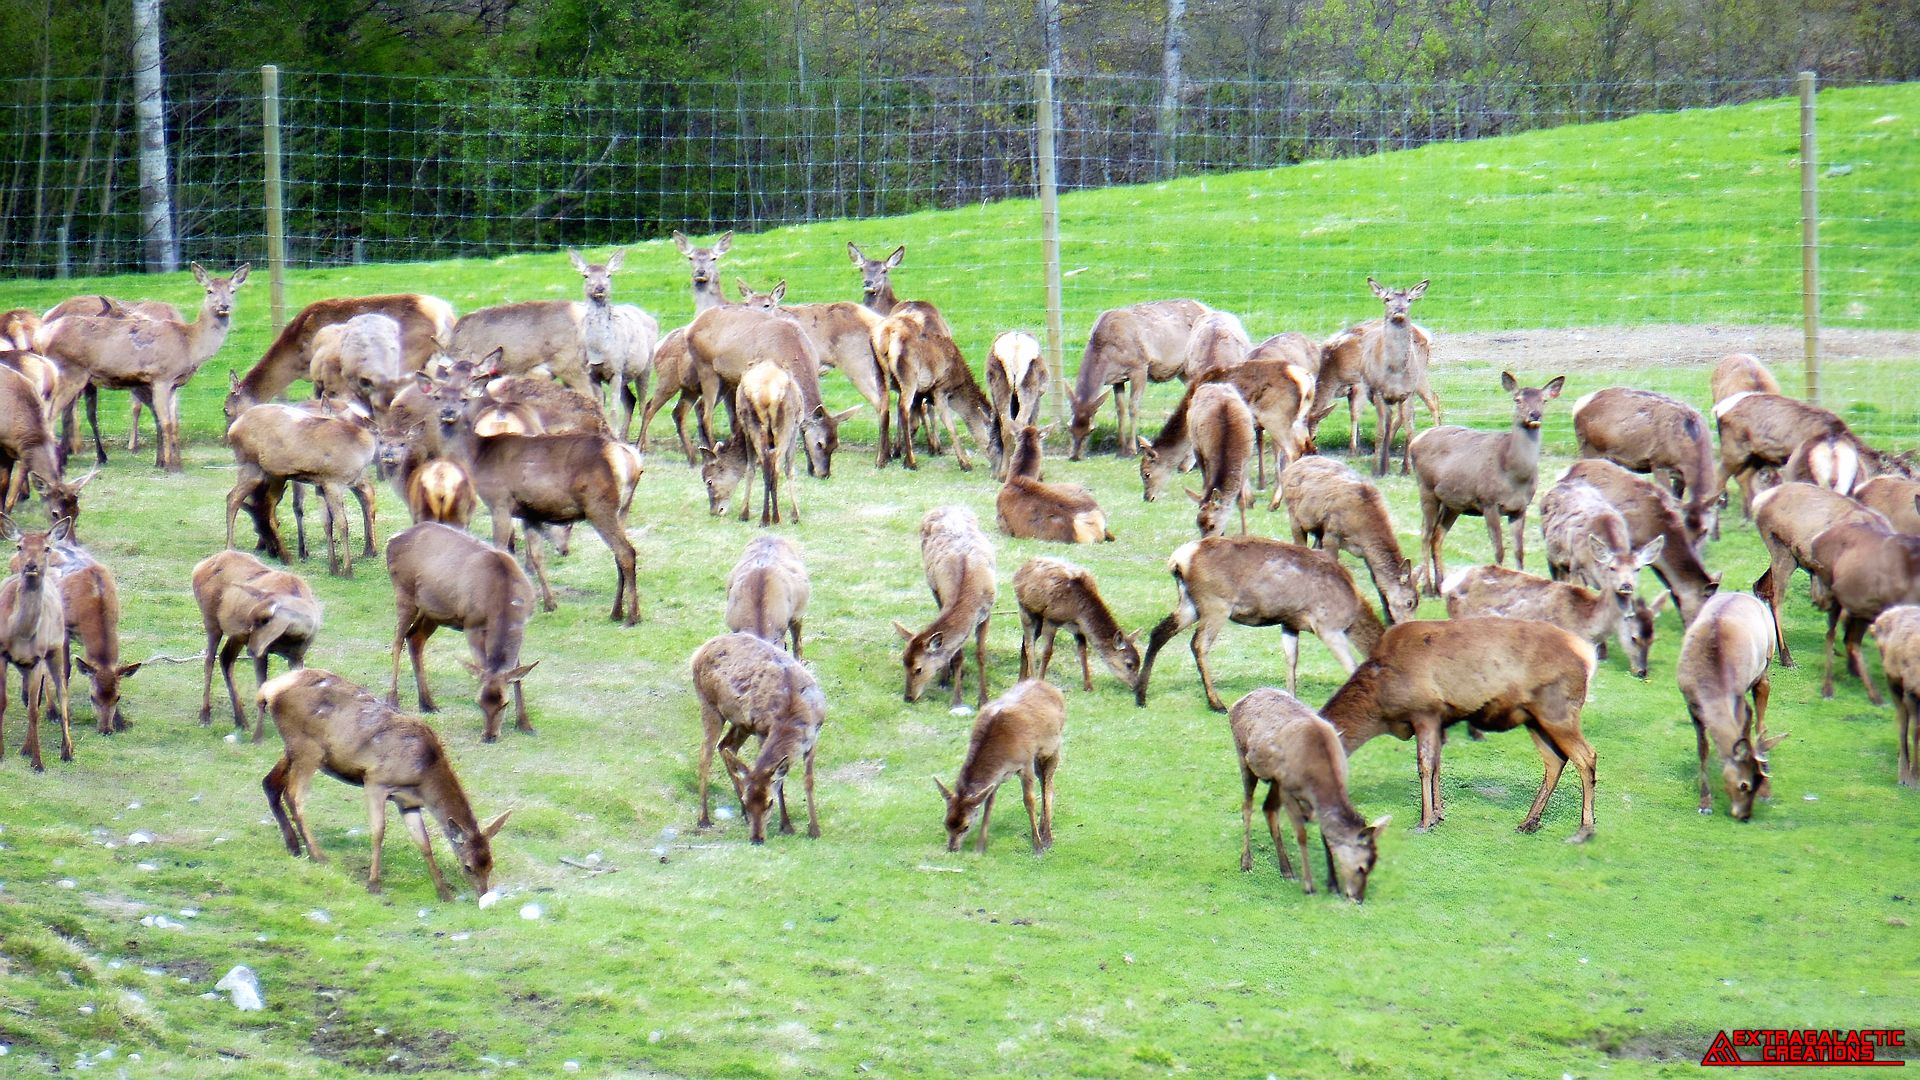
Now all I needed was the outer layers from a couple of poor
defenseless creatures, and decided that deer would probably be the
right amount of foresty for Aloy's nature wandering pants.
Though, I never did encounter any deer during Aloy's adventures.
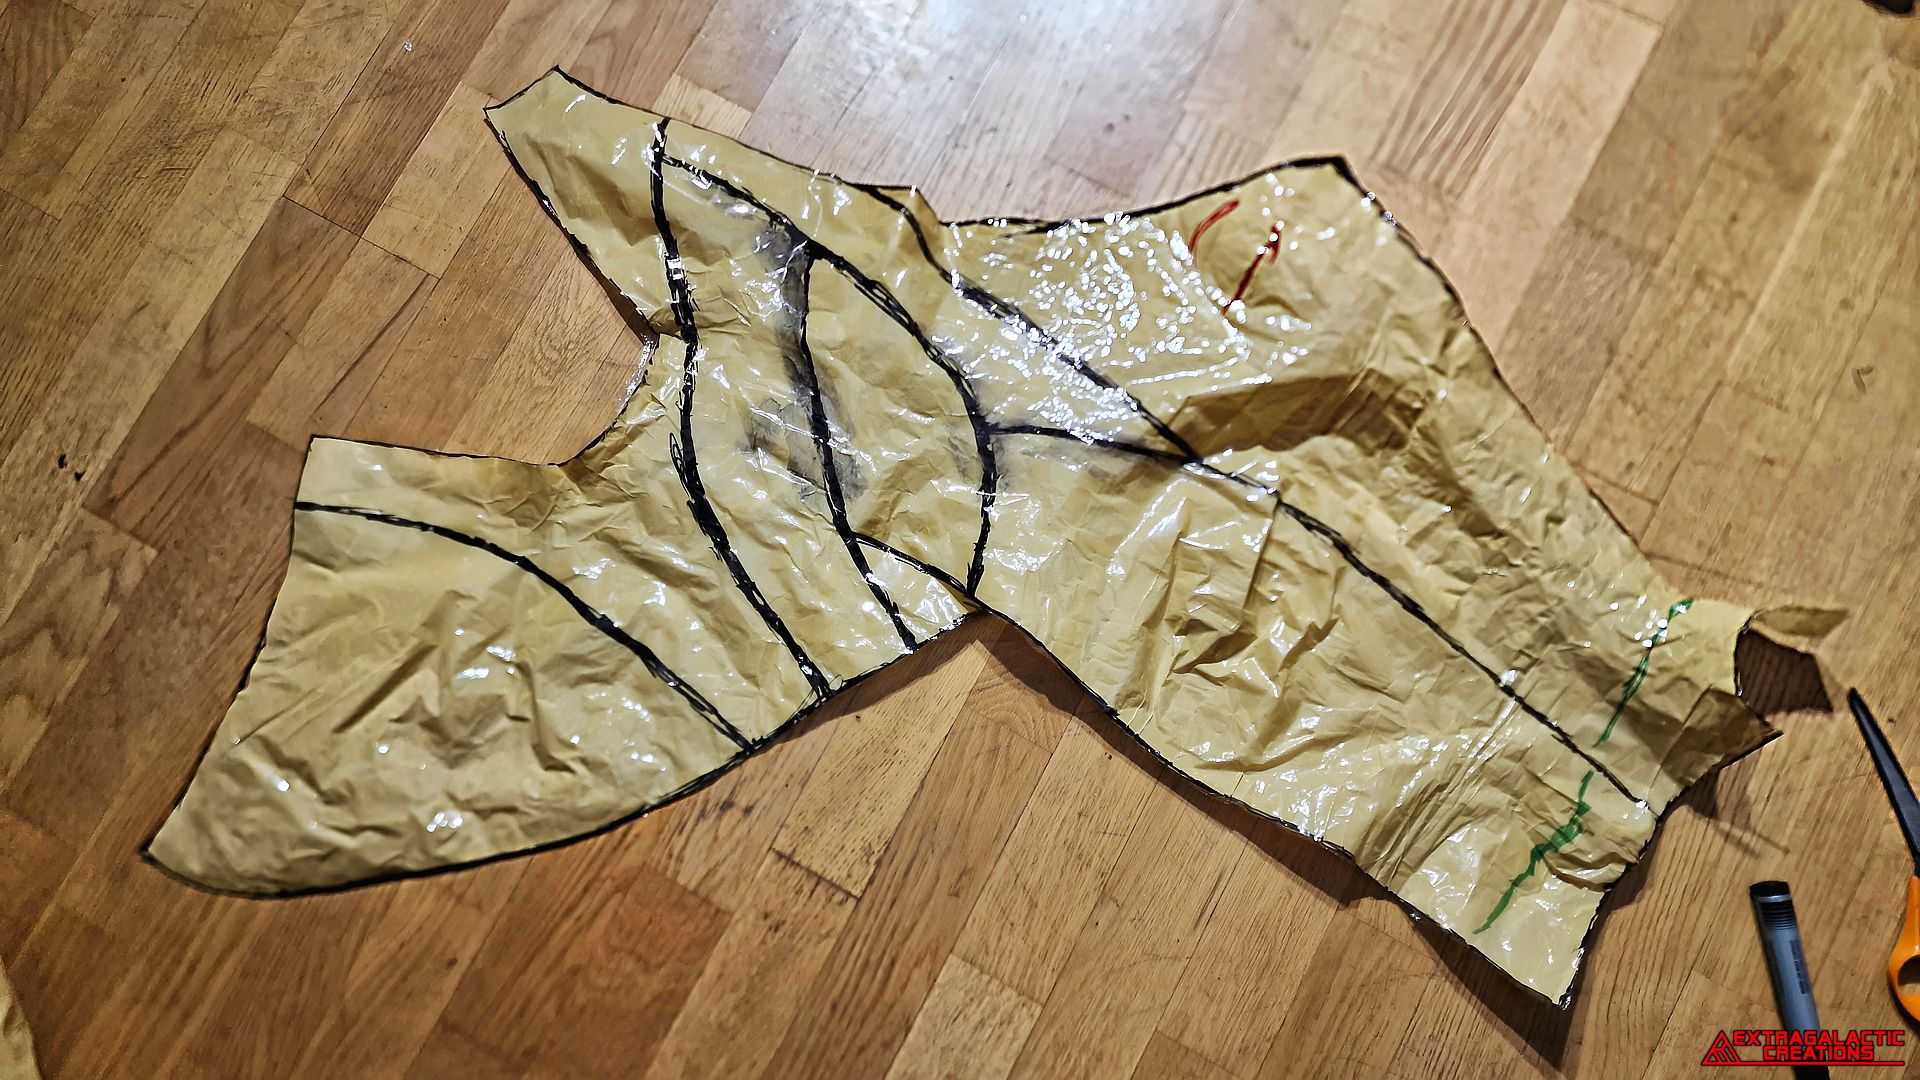
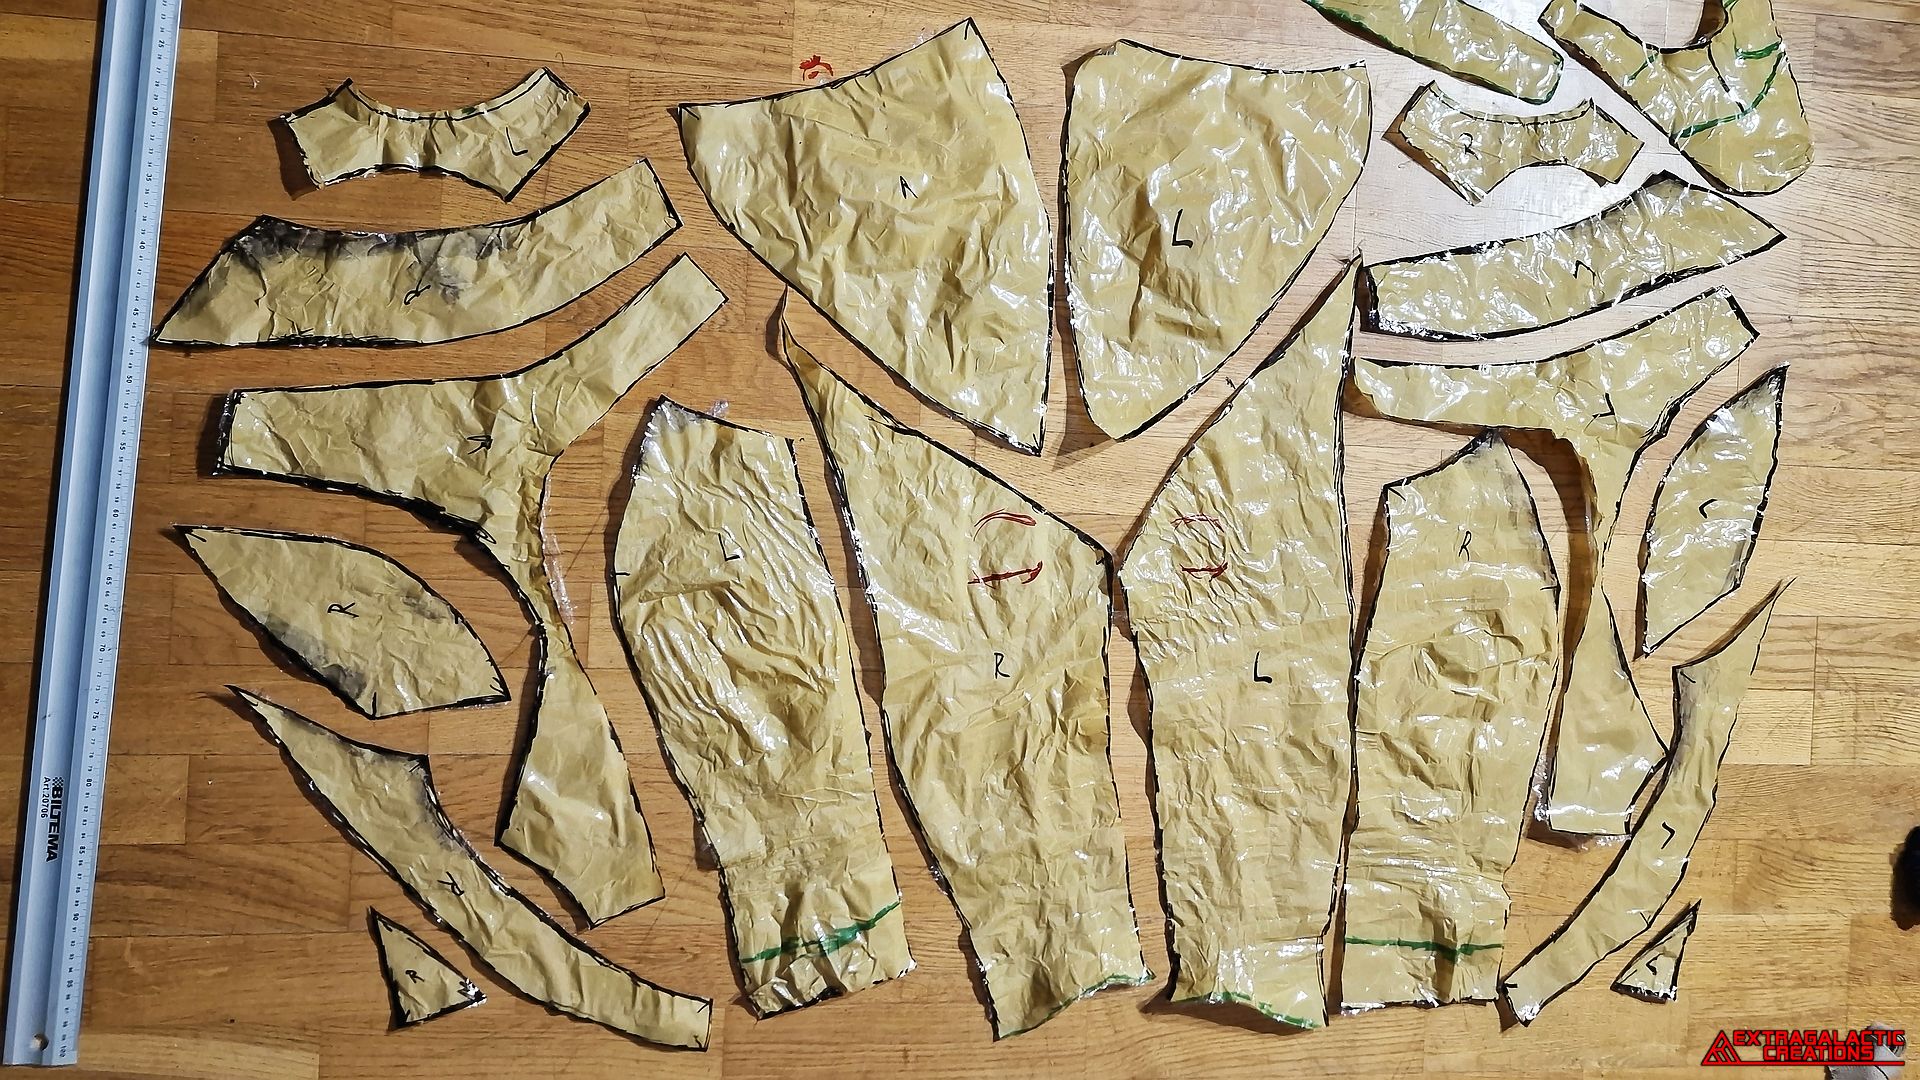
After a lot of cutting, all the raw pants panel patterns were separated
and ready to be made into the final paper patterns.
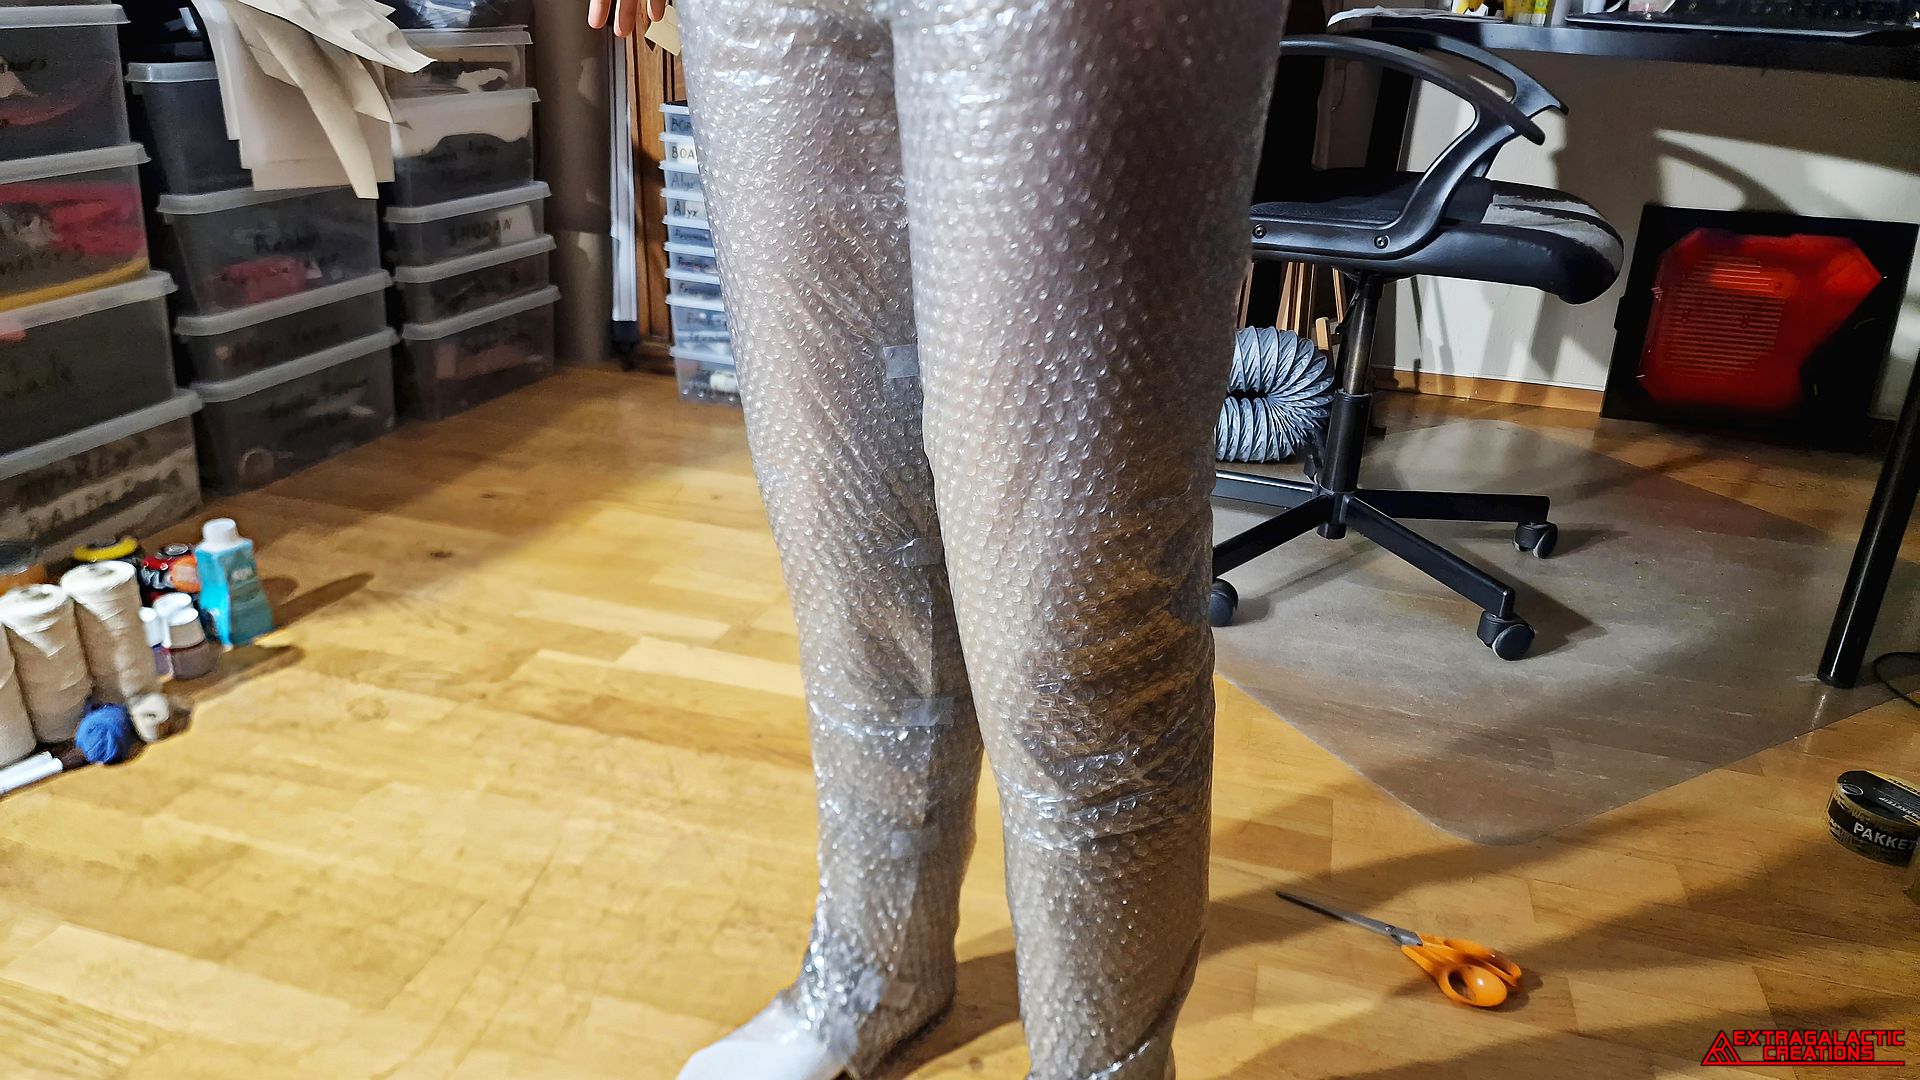
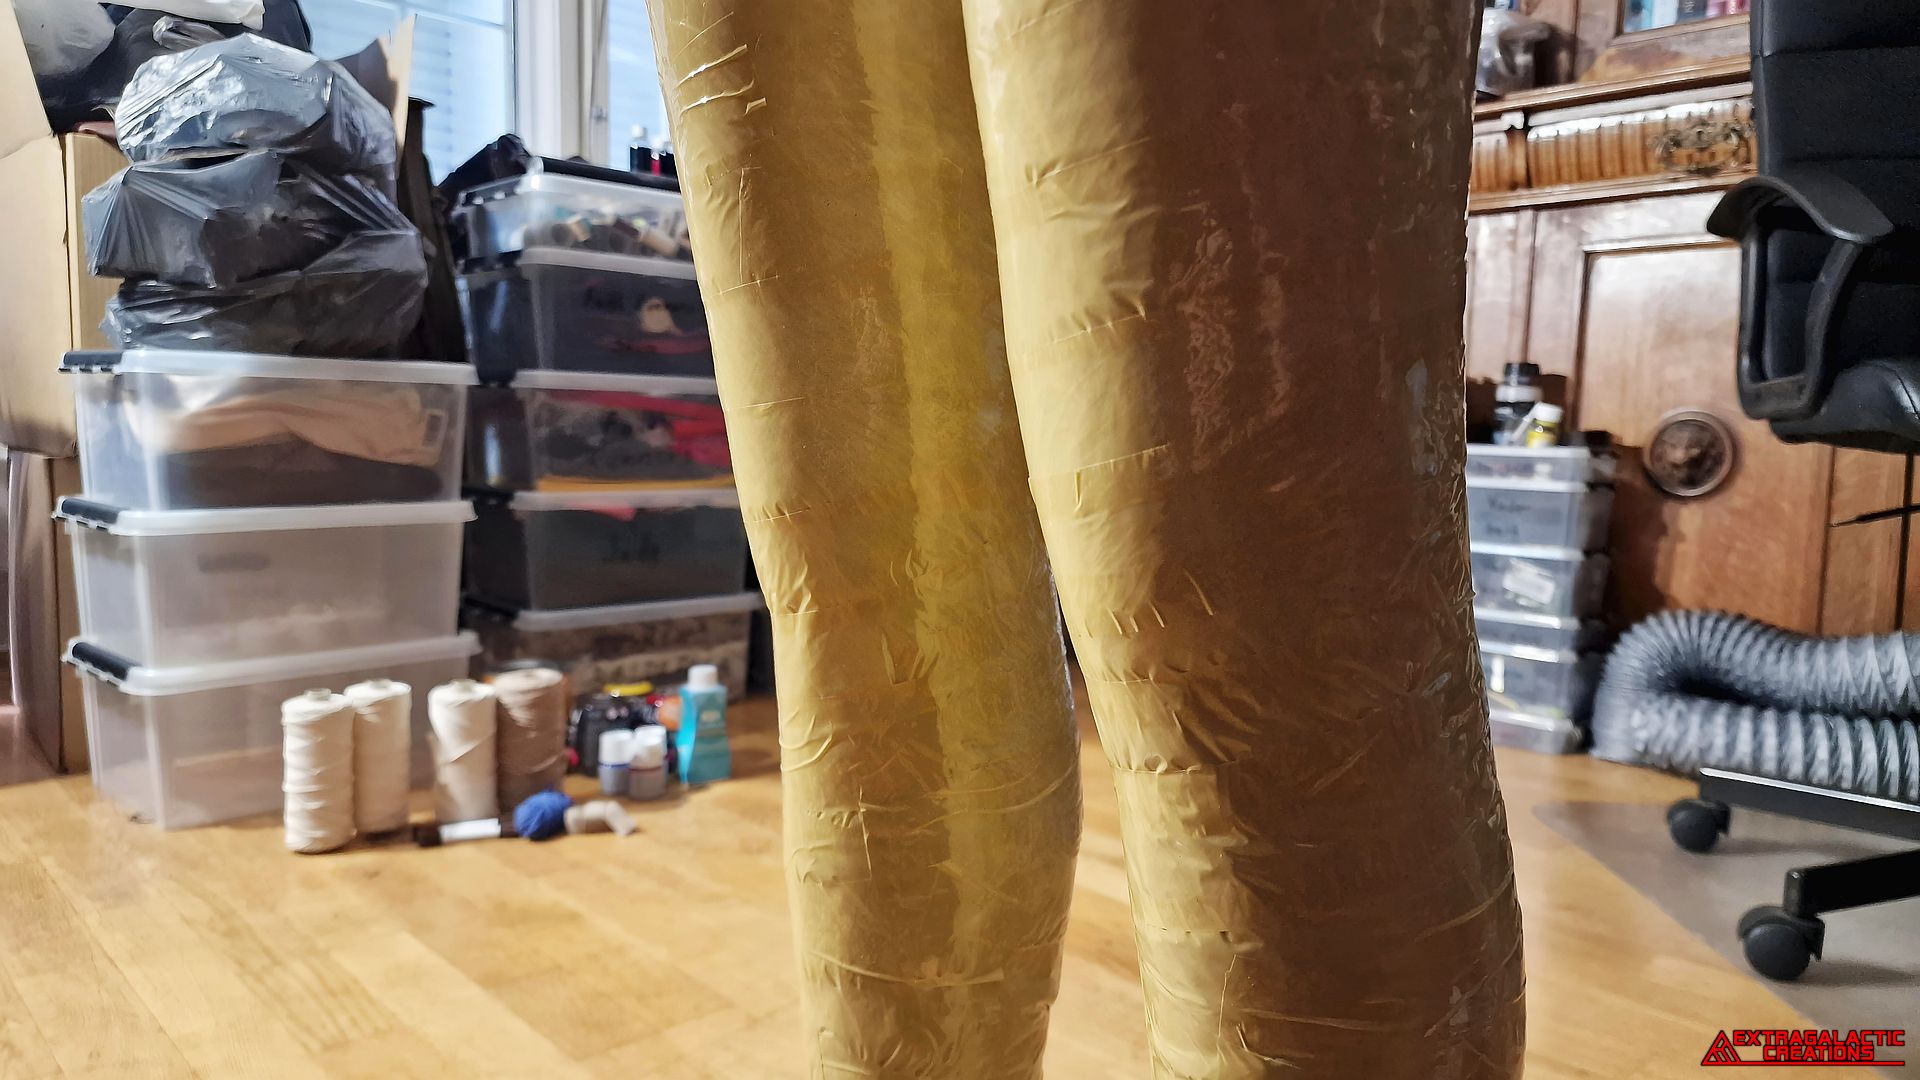
Wrapping up the bubble wrap with plastic film and packing tape would
make the base surface to draw the pants pattern onto.
Instead of simply wrapping plastic film and packing tape around a pair
of legs and guessing how much bigger to make the pattern from that,
I wrapped layers of bubble wrap around the legs until it reached the
required size of the pants that I could then make the pattern around.
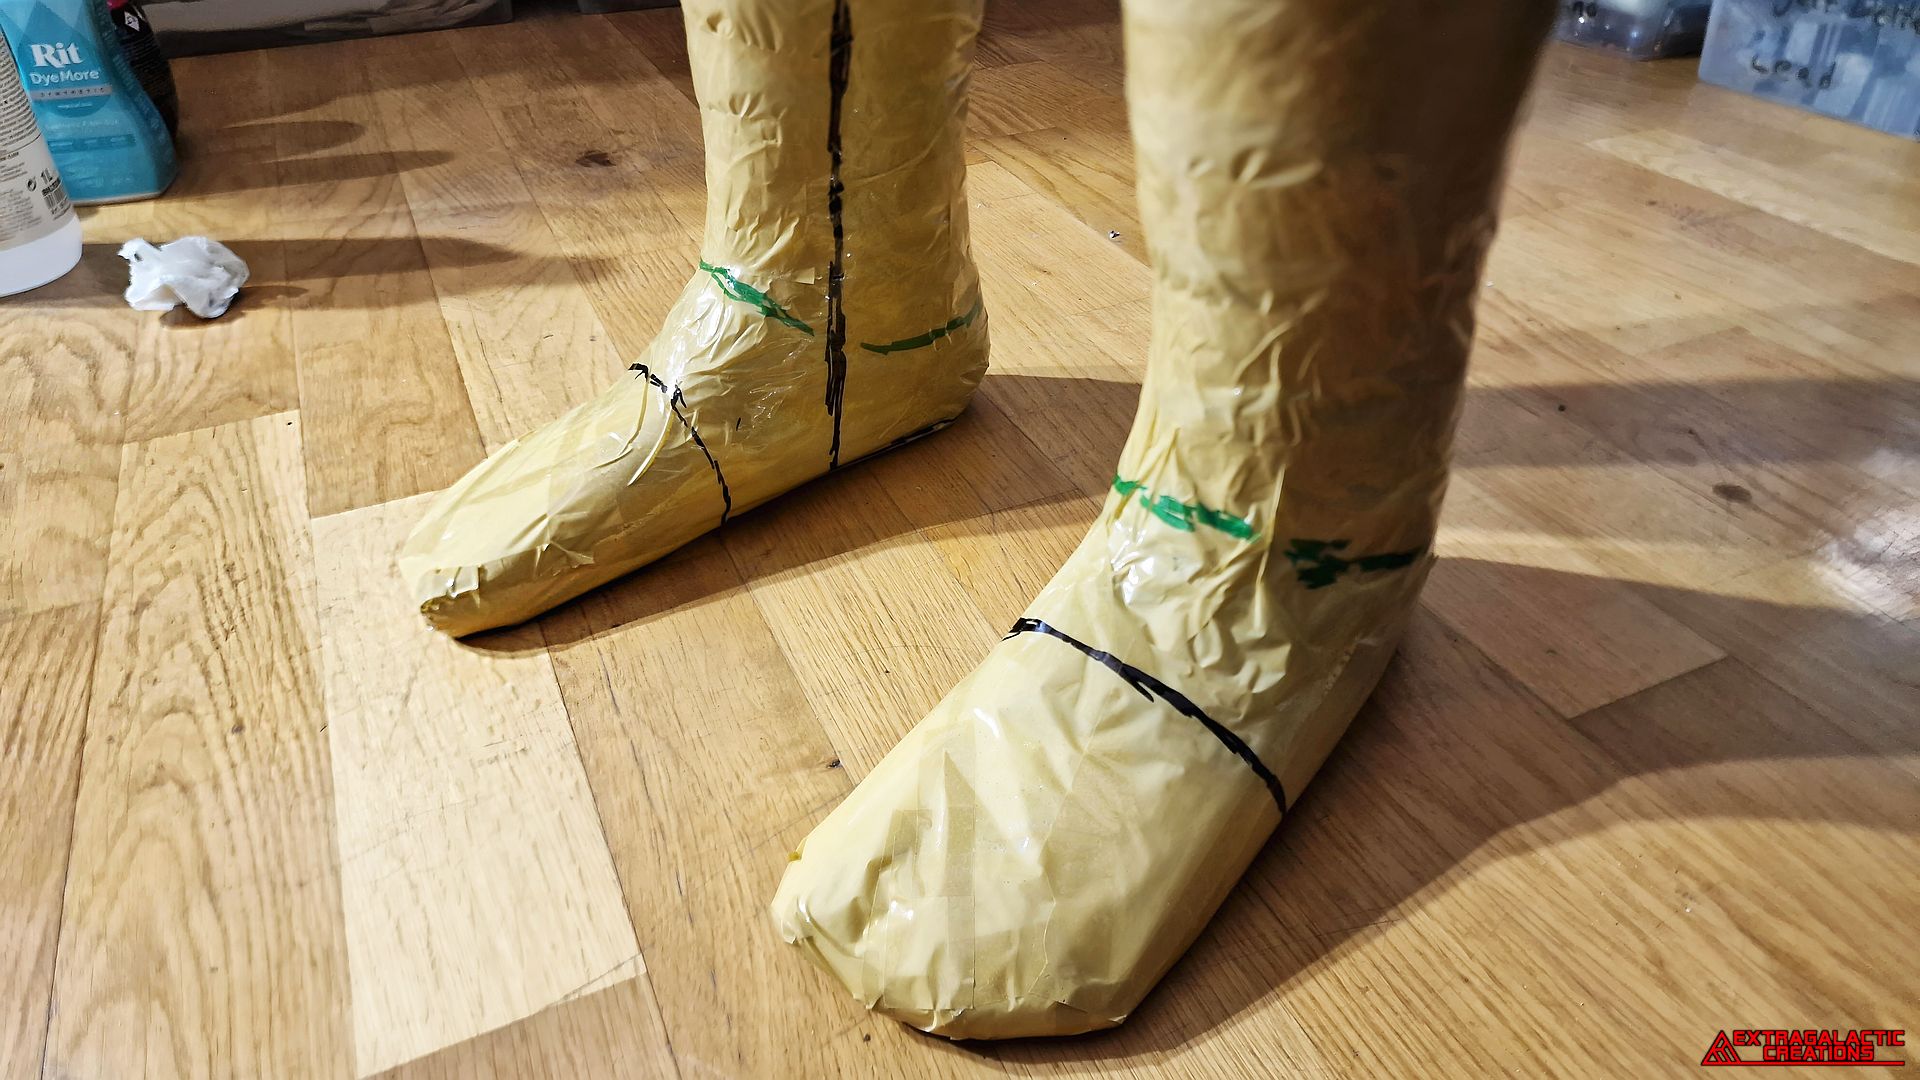
Since there is no way other than with video game logic that Aloy's
pants stay tucked into her shoes without slipping out, I thought it
would be best to make my own custom extension to go underneath
her feet to hold the pants into place.
A green marker was used to show the openings of the shoes so I
could draw up a new pattern around them.
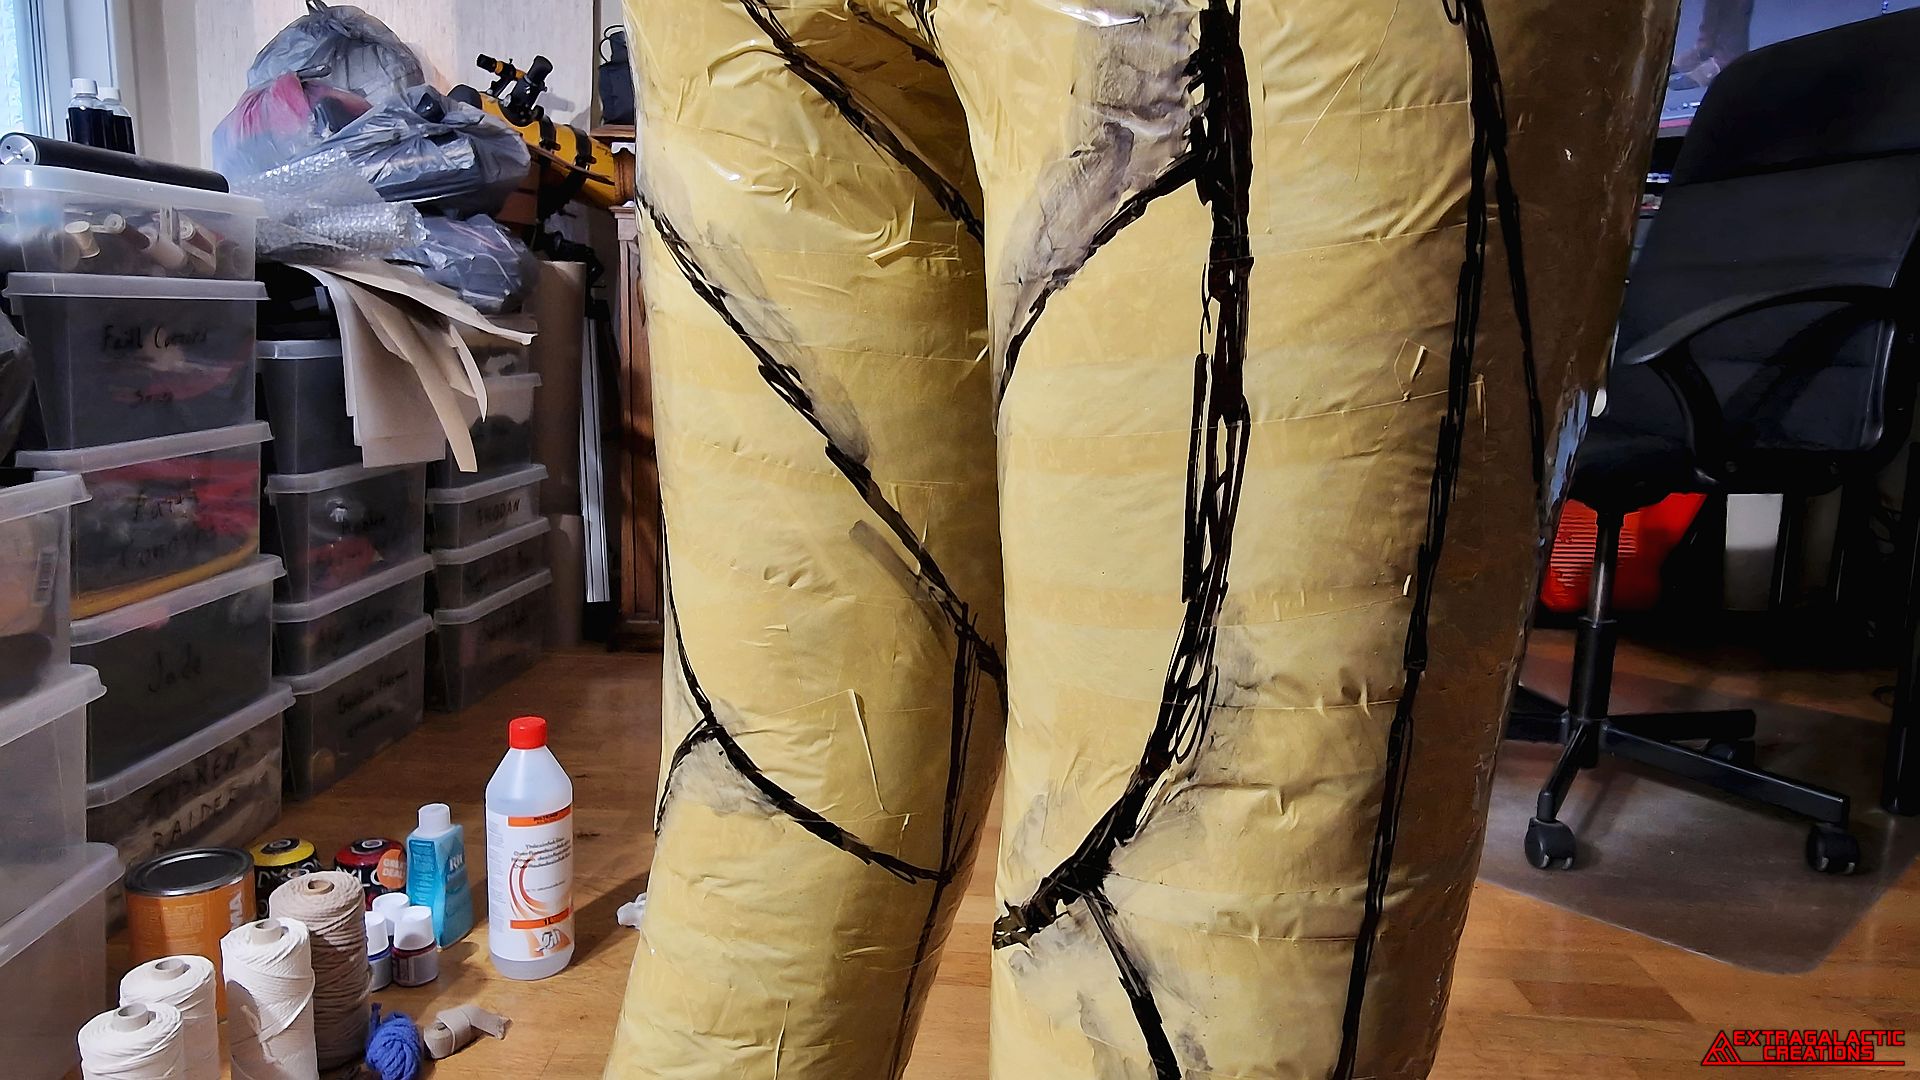
A black permanent marker was used to draw the pants pattern, and it
was easily wiped away for readjustments with some rubbing alcohol
on a piece of paper.
With all the various pattern lines in place, I could start cutting them
all apart with a pair of scissors.
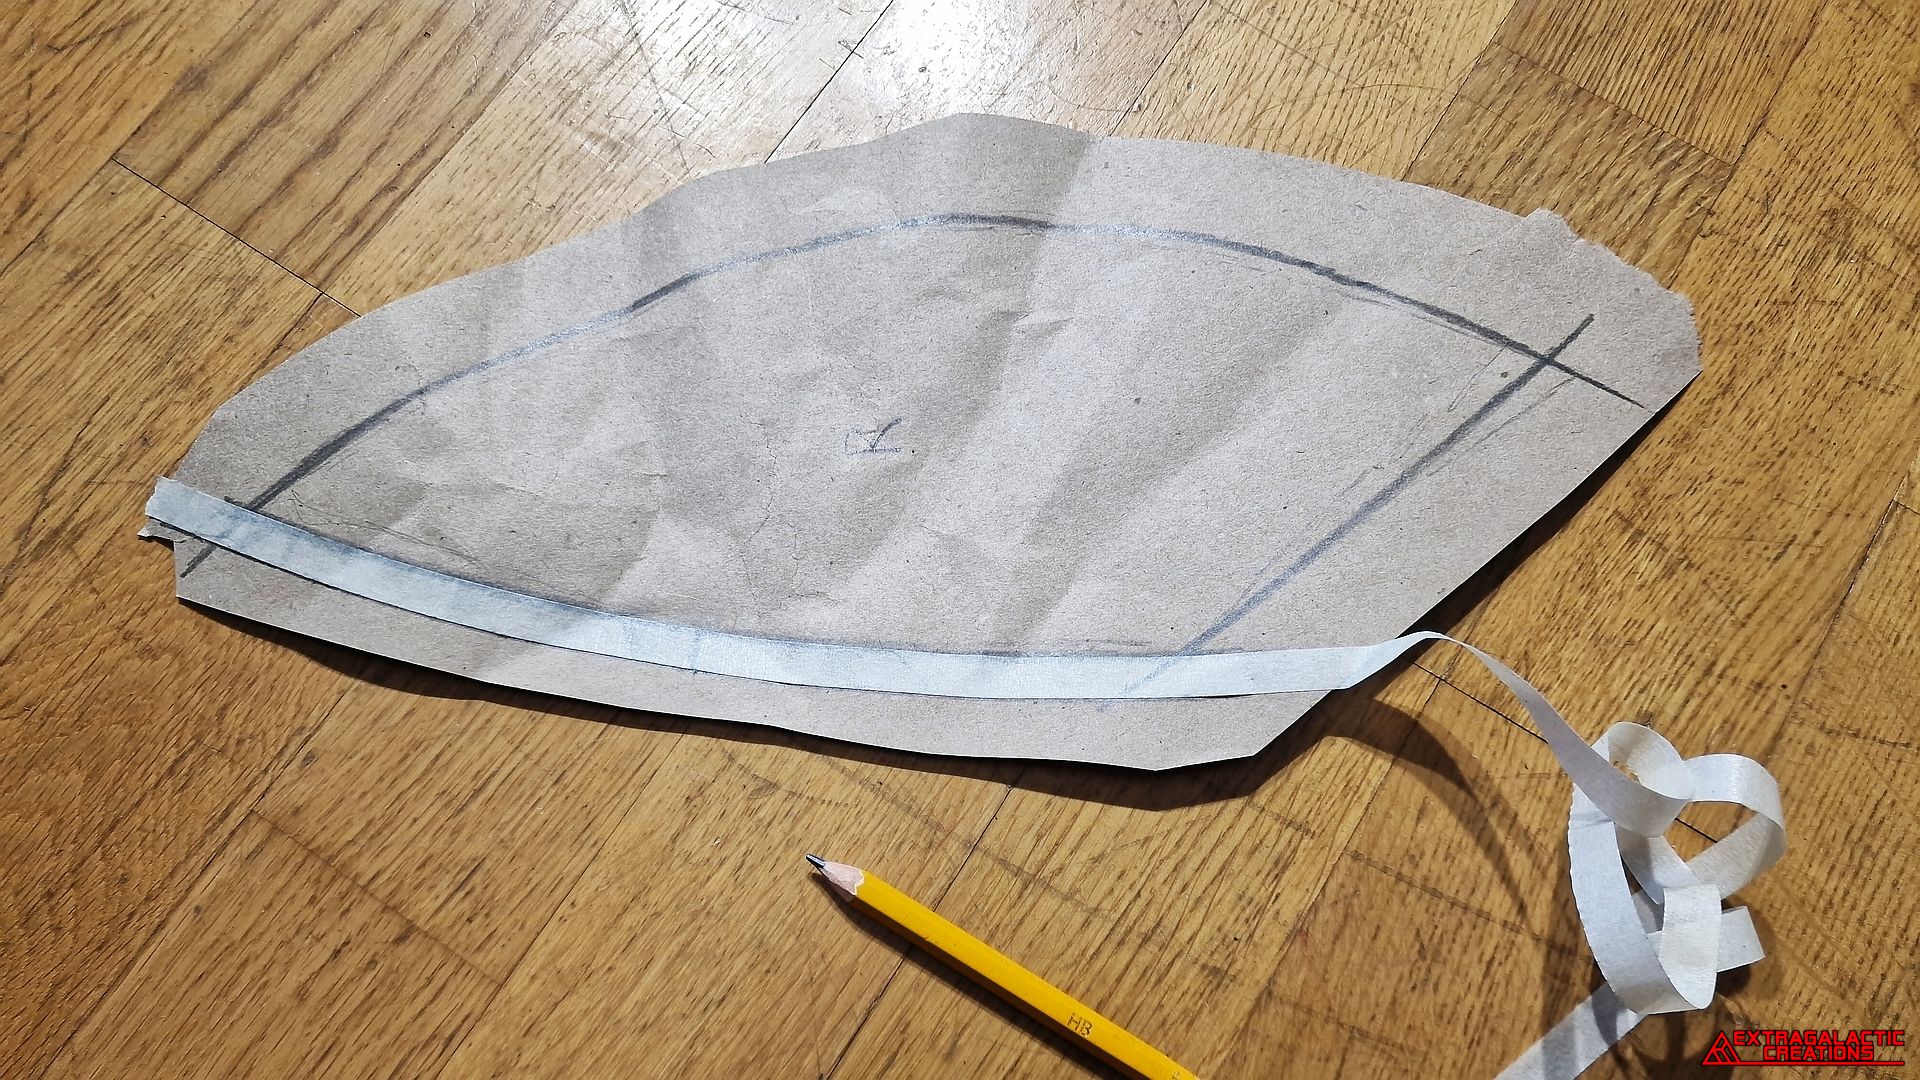
To make it easier to draw a 10 millimeter wide seam allowance around
the whole pattern, I simply stuck a strip of masking tape around the
pattern and traced against its edge.
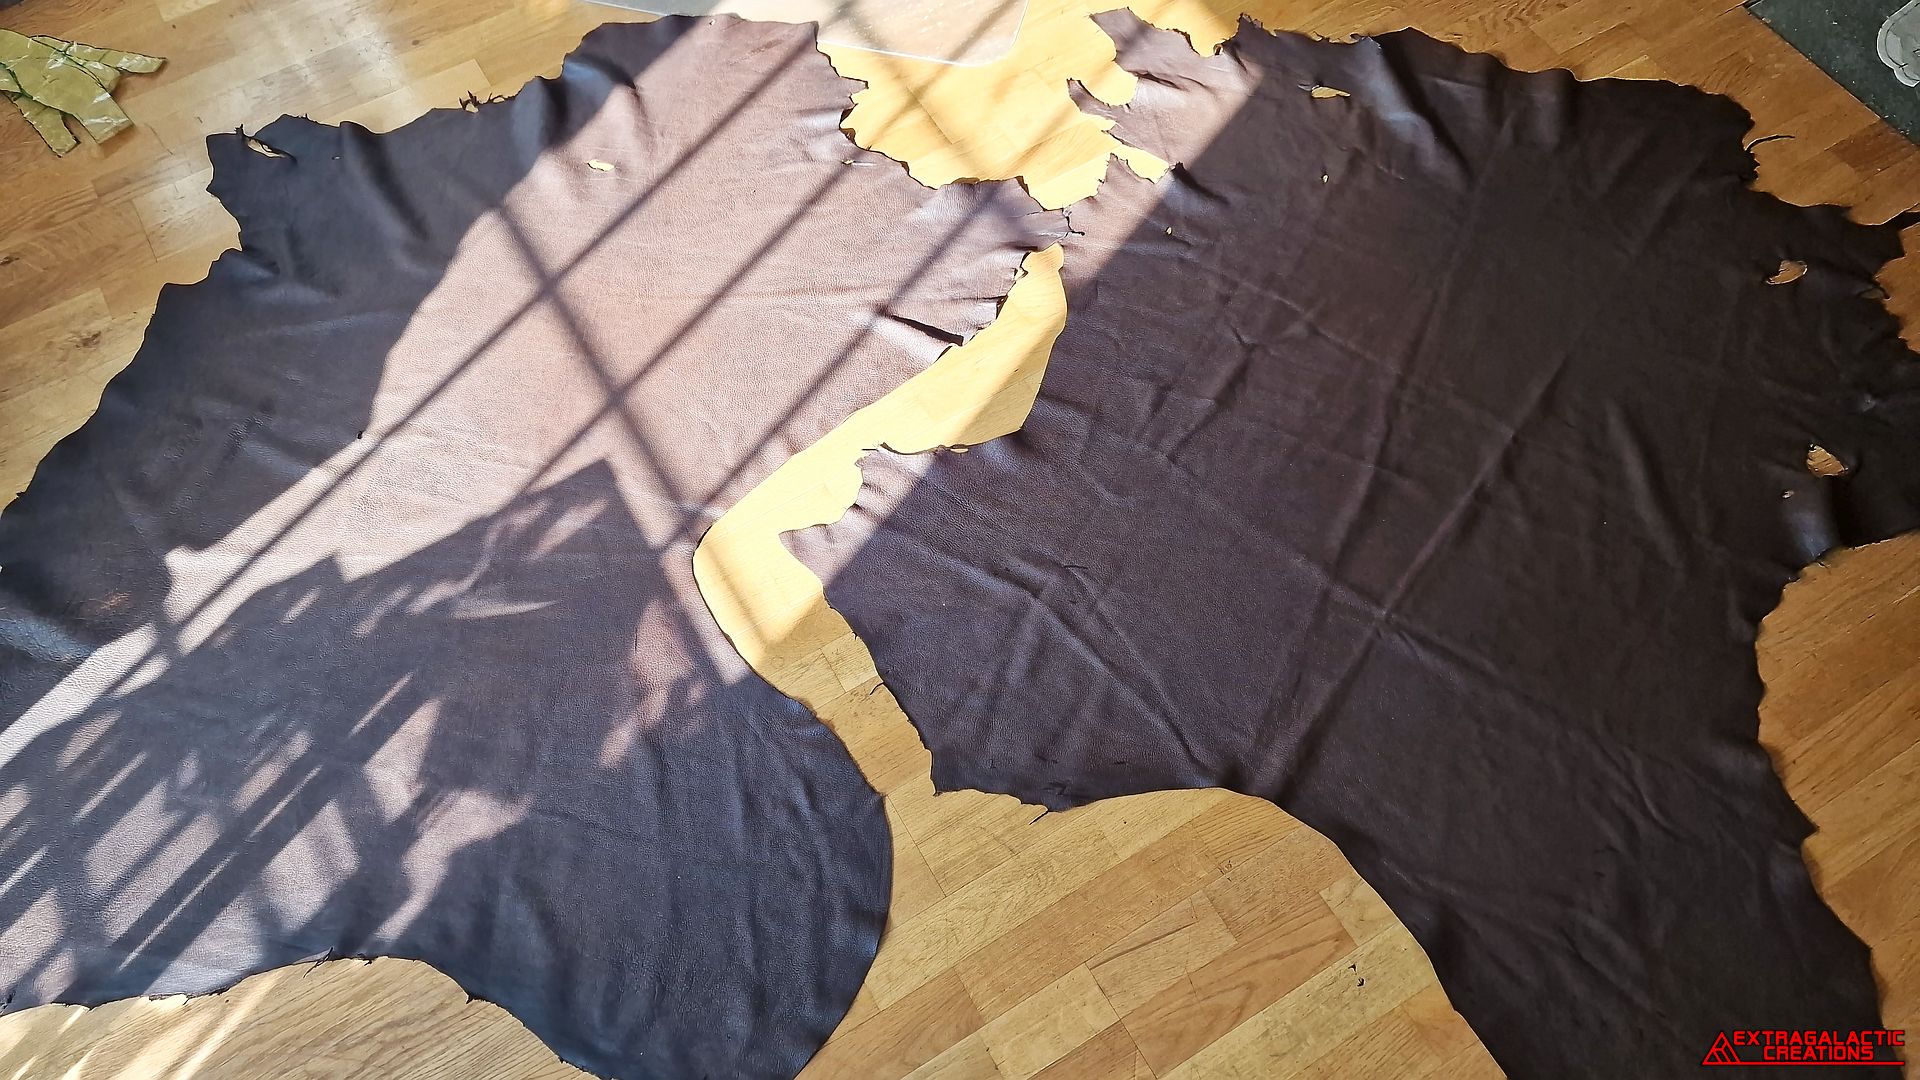
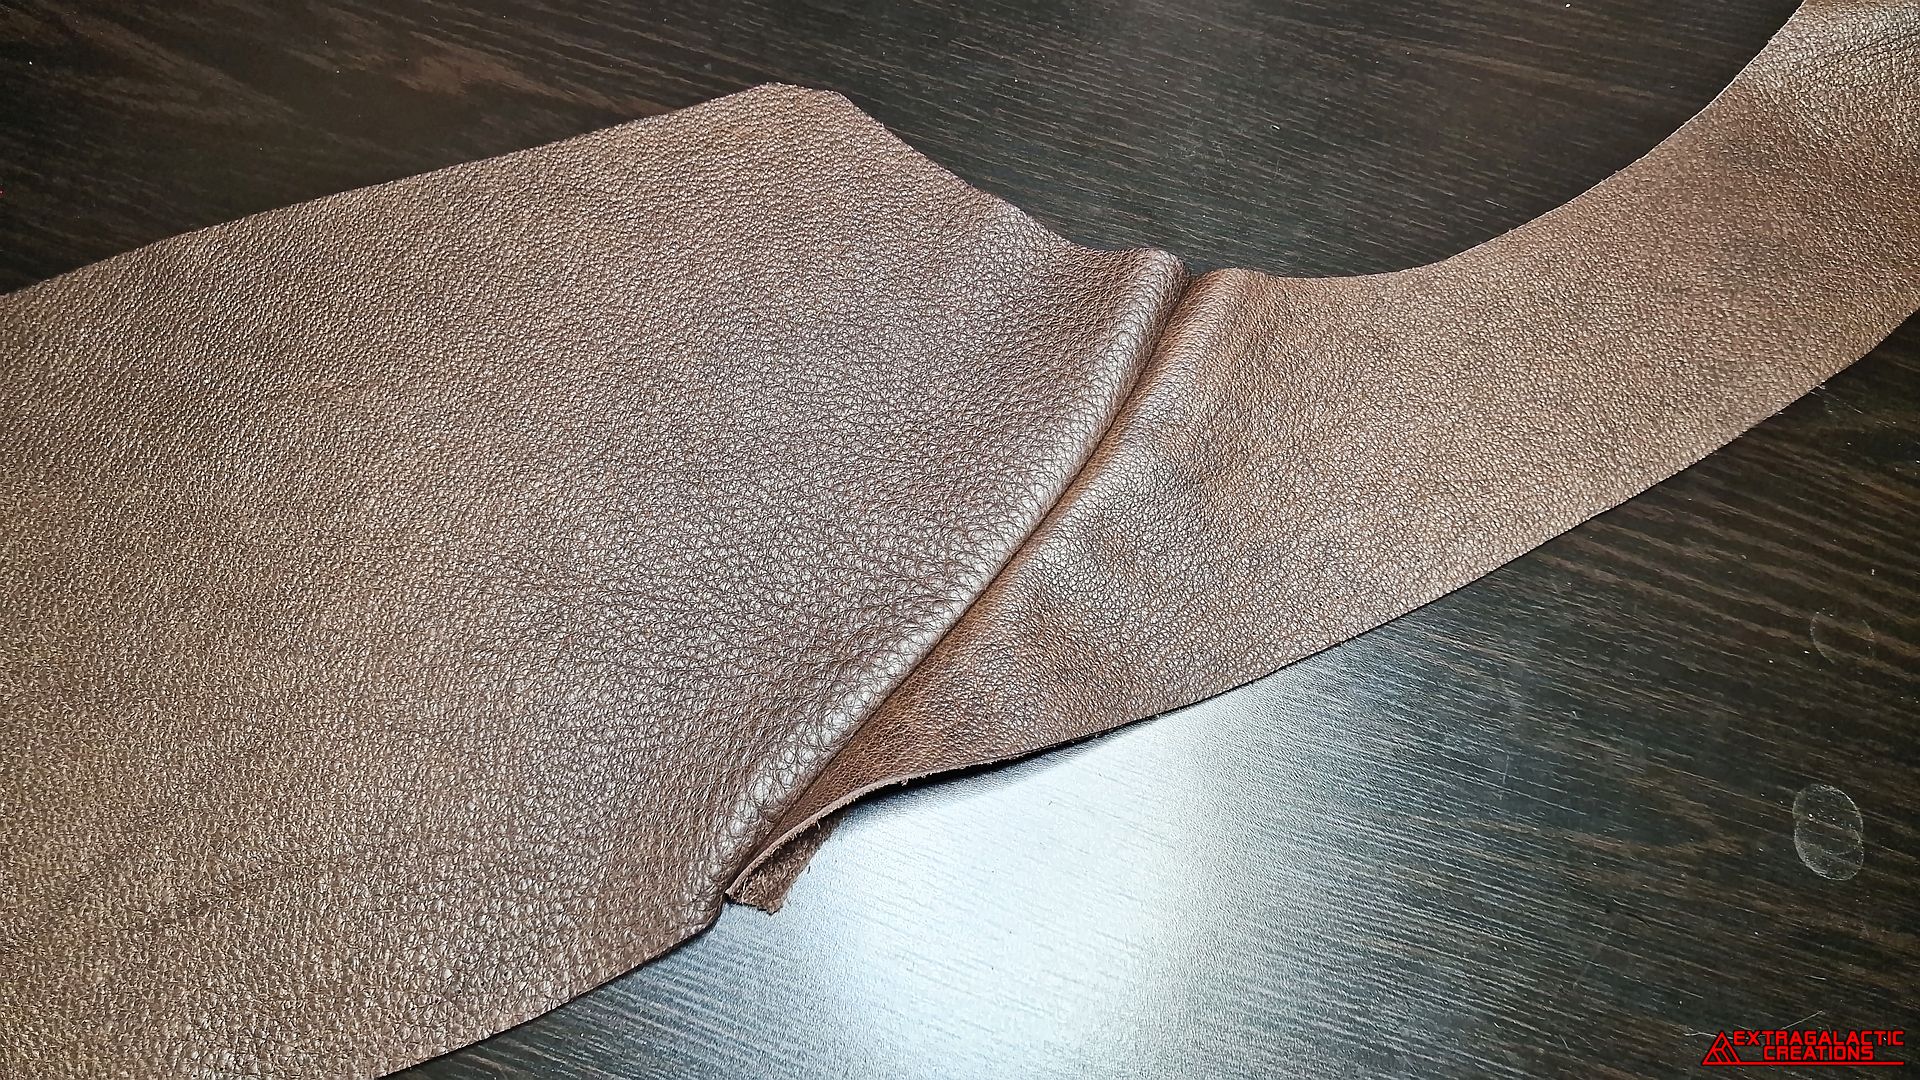
After a couple of deer had been shot in the head and stripped of their
epidermal layers, they were soaked into various chemicals to prevent
them from rotting away and dyed to a lovely shade of brown.
Their uneven coloring was even exactly what I wanted for this project
to match the look of the original pants.
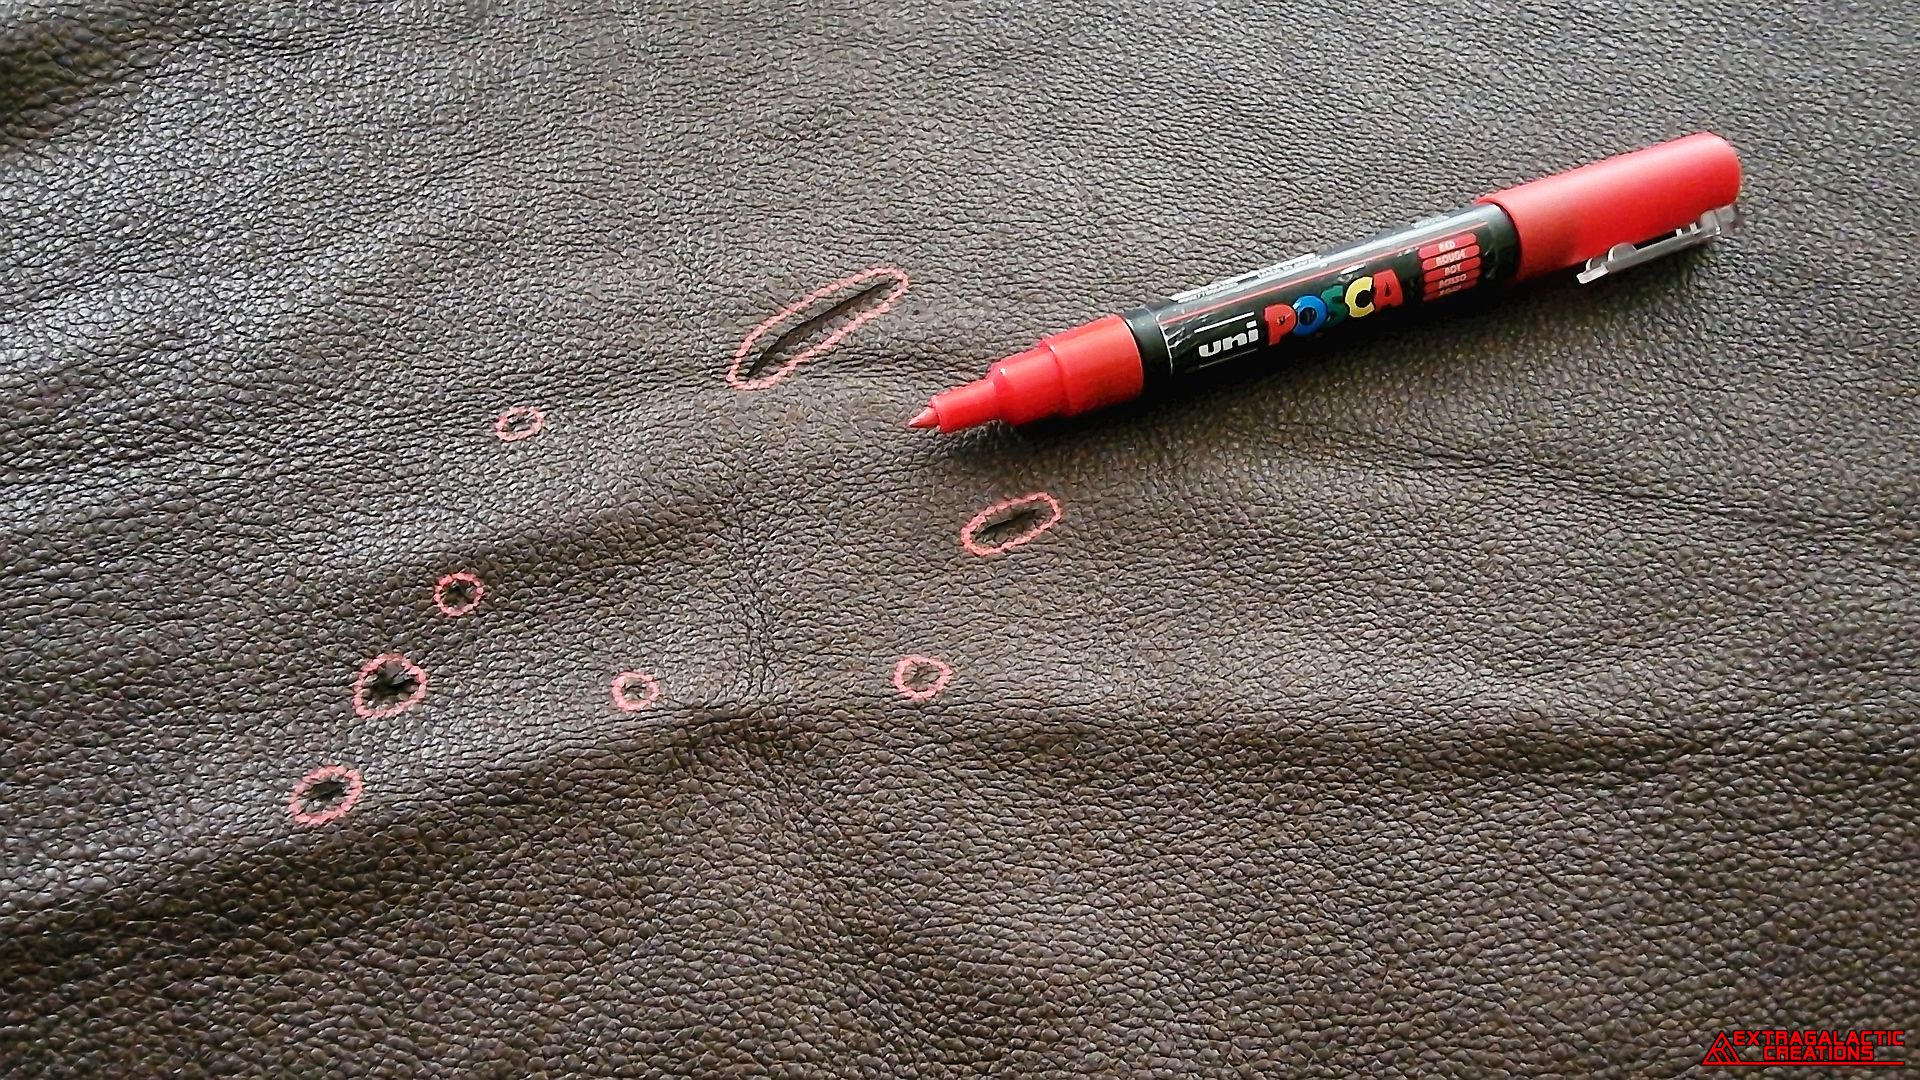
One of the deer might have been mauled by a Sawtooth and had
scratches all over, so I drew around the scratches with a paint pen to
avoid them more easily with my patterns.
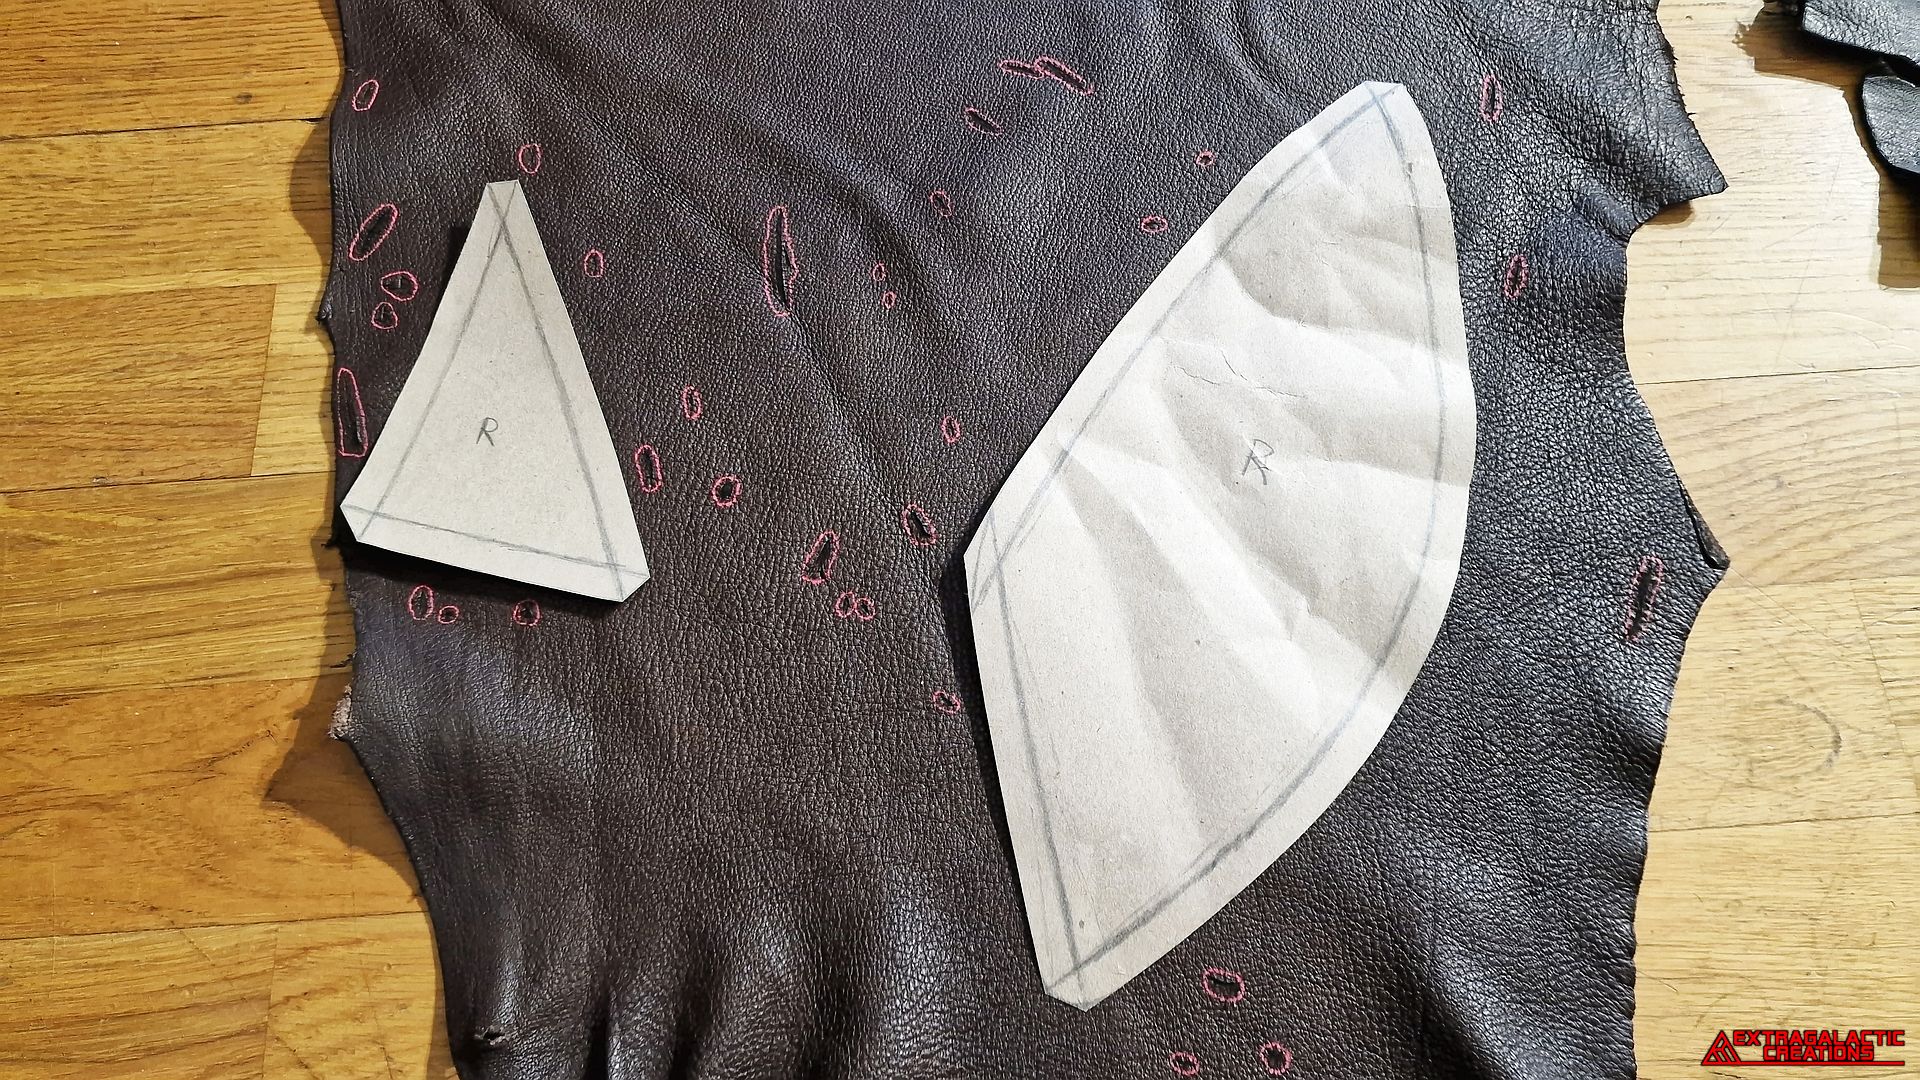
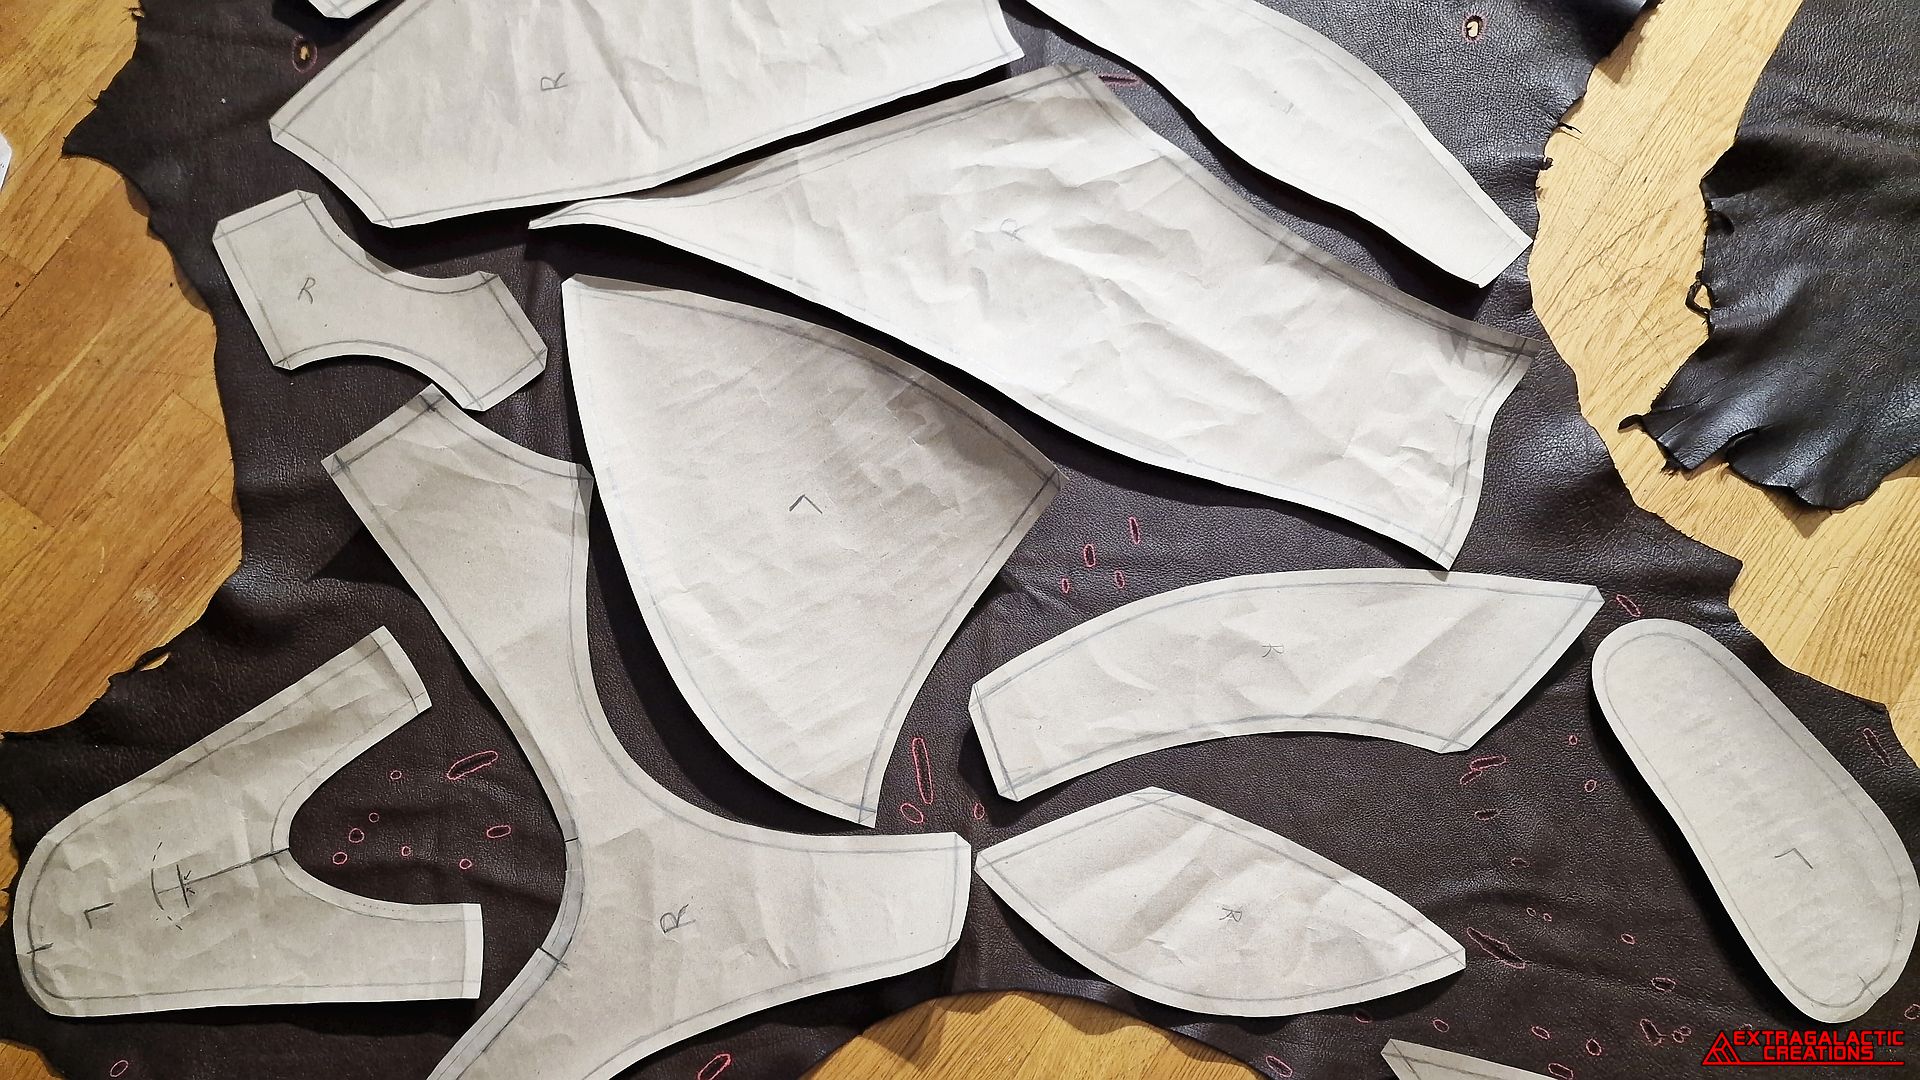
The patterns were placed where ever they would fit in between all the
scratches I had marked up earlier.
Eventually all the panel patterns found their placement and were
traced around with a pen.
I also decided for the sake of honoring the poor deer to only make one
side of each panel from each skin to properly intermingle the two.


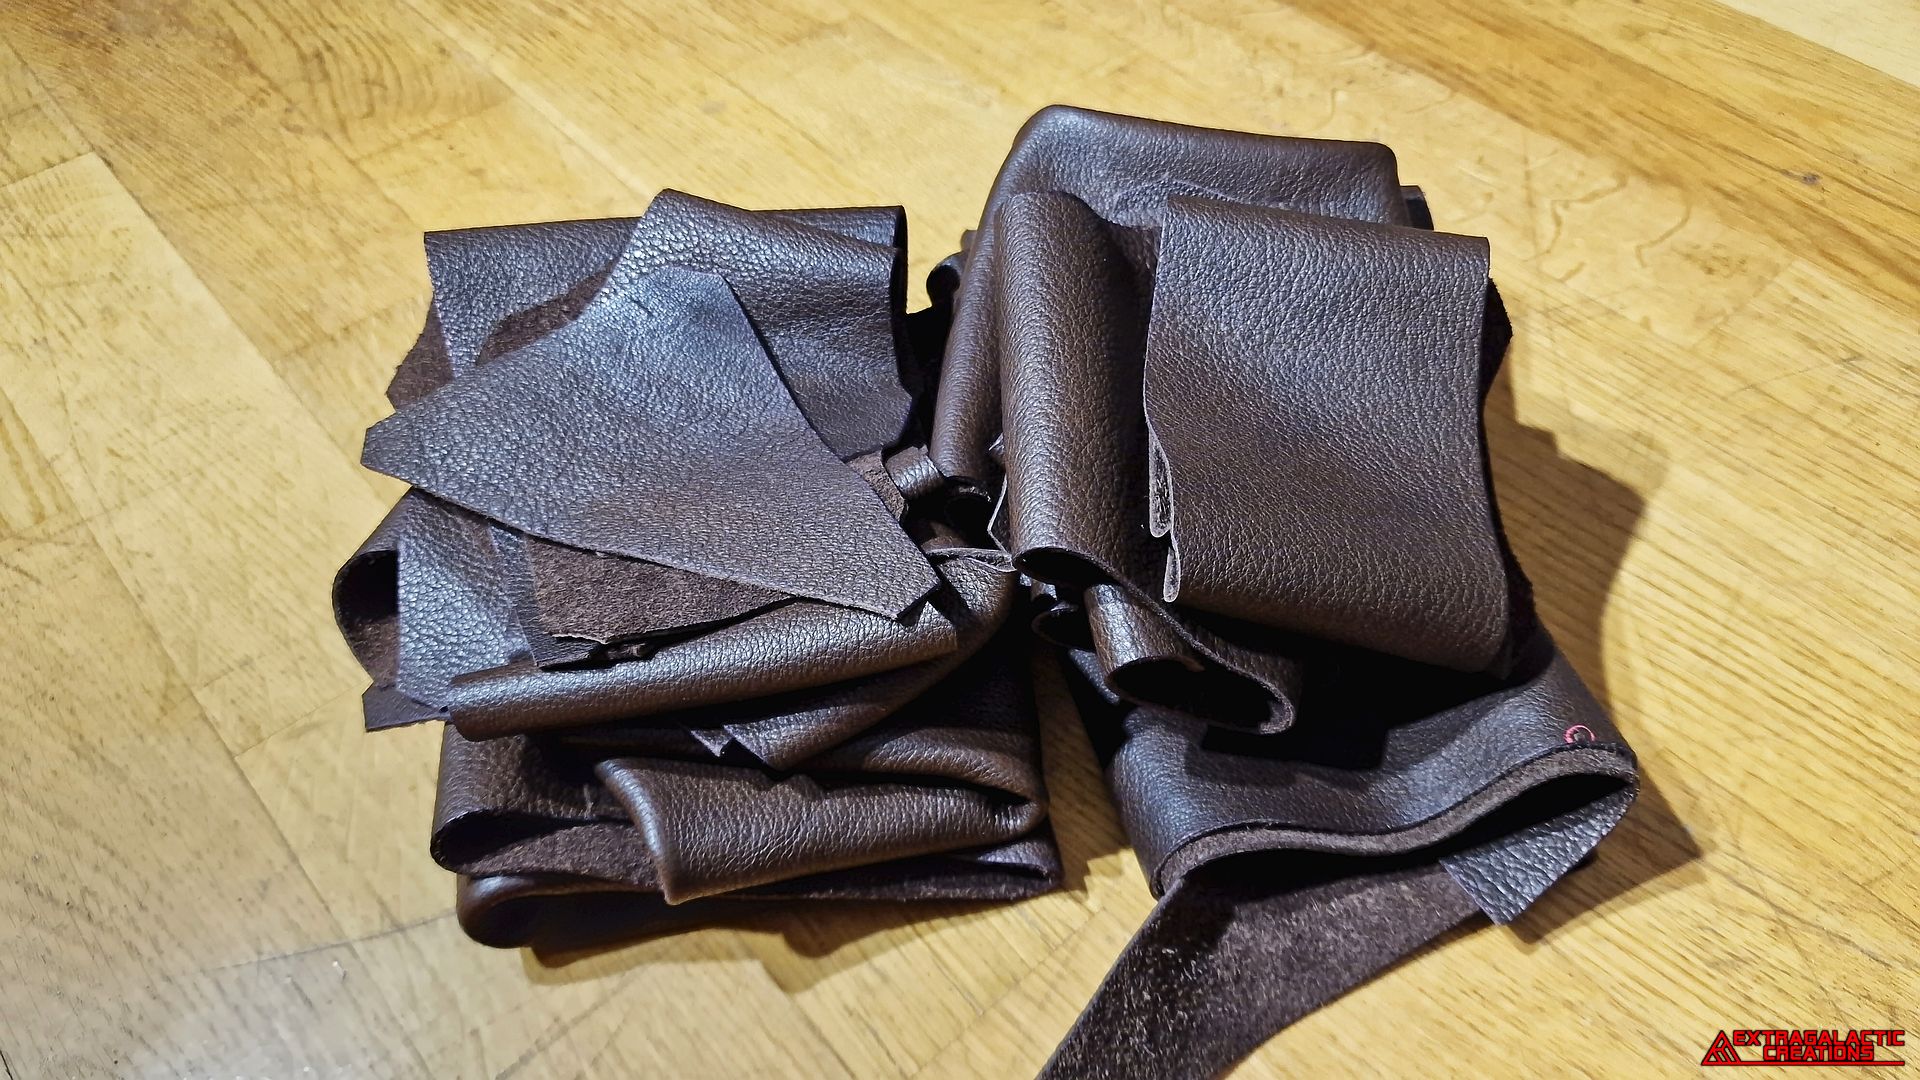
The panels were carefully cut out with a pair of scissors into this
lovely pile of dead skin.
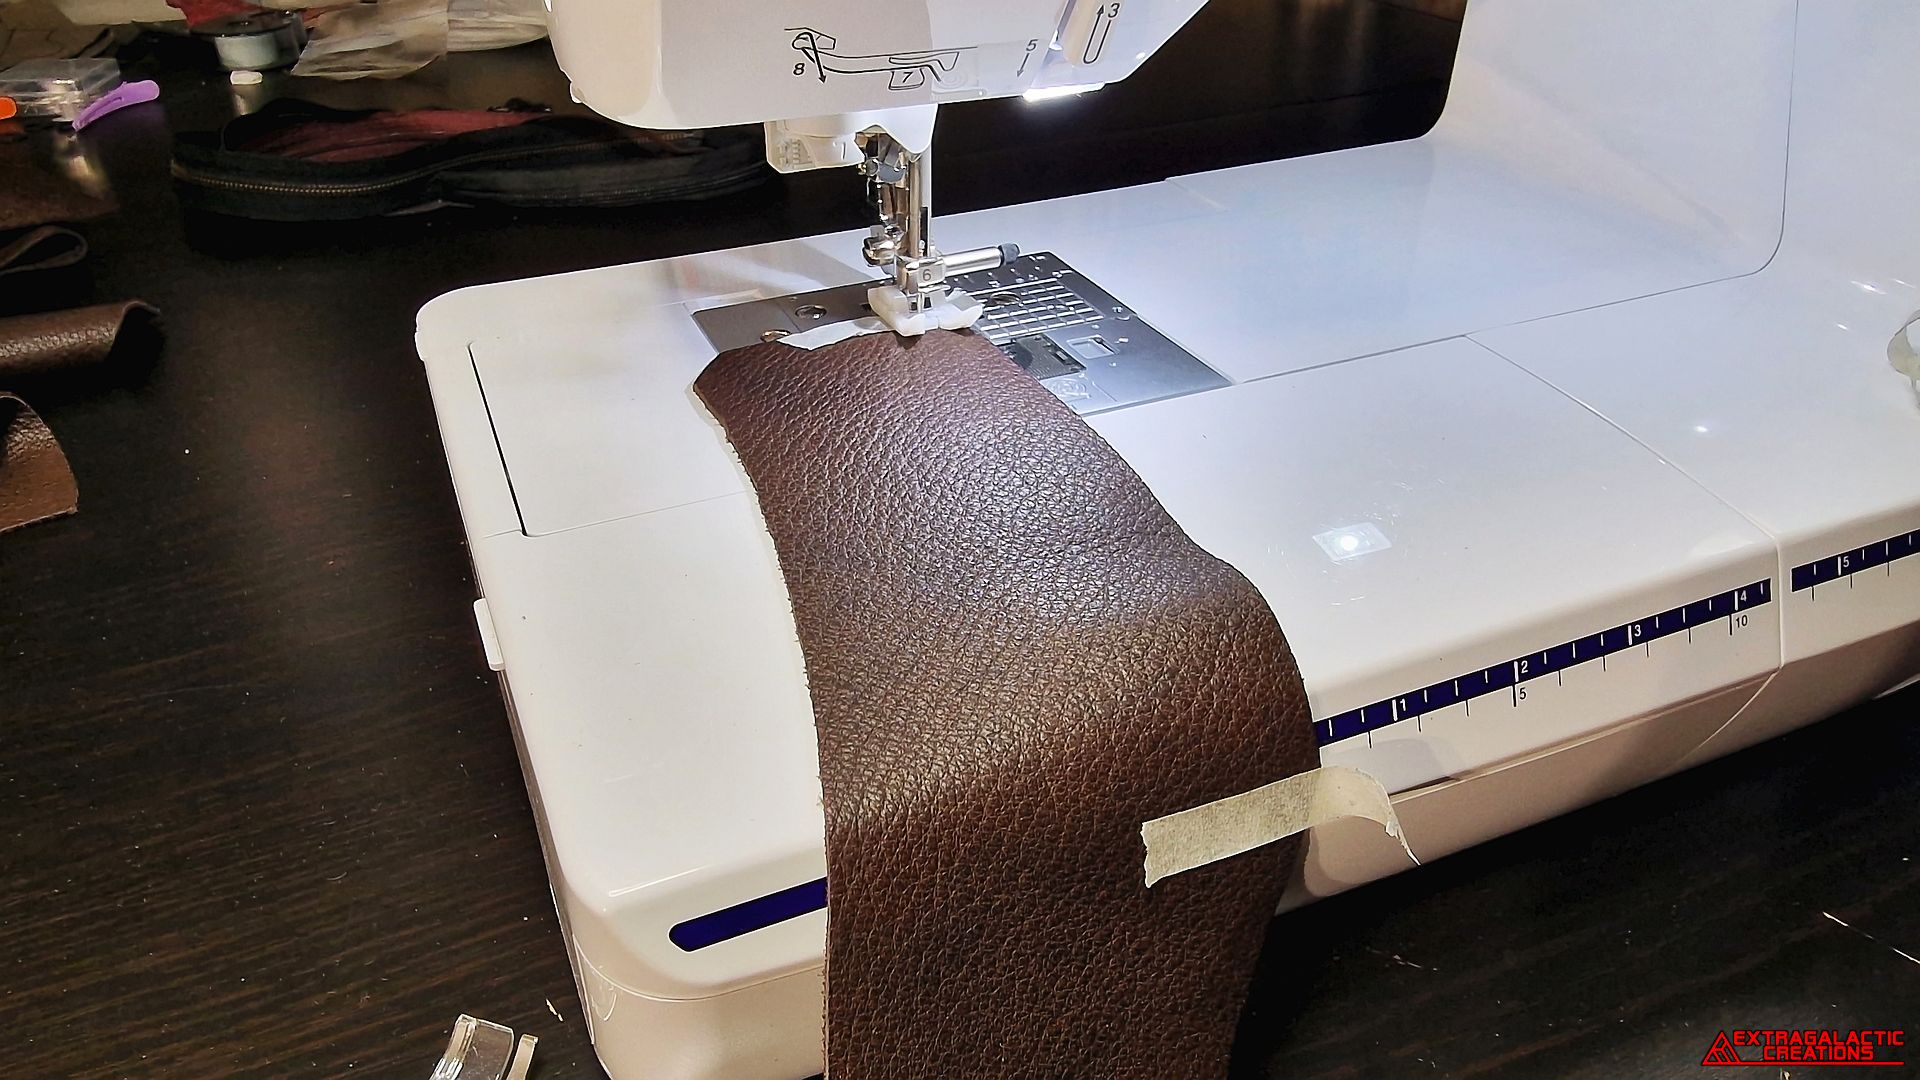
I wanted to hand sew the panels together to have more control of the
process, but could at least make all the seam holes with the needle of
a sewing machine without any thread installed.
I had made the seam allowance a bit wider around the front where I
wanted to sew on a completely hidden zipper, since it would be nice
to make the pants actually wearable.
A pen was used to show where to make the seam holes for the zipper.
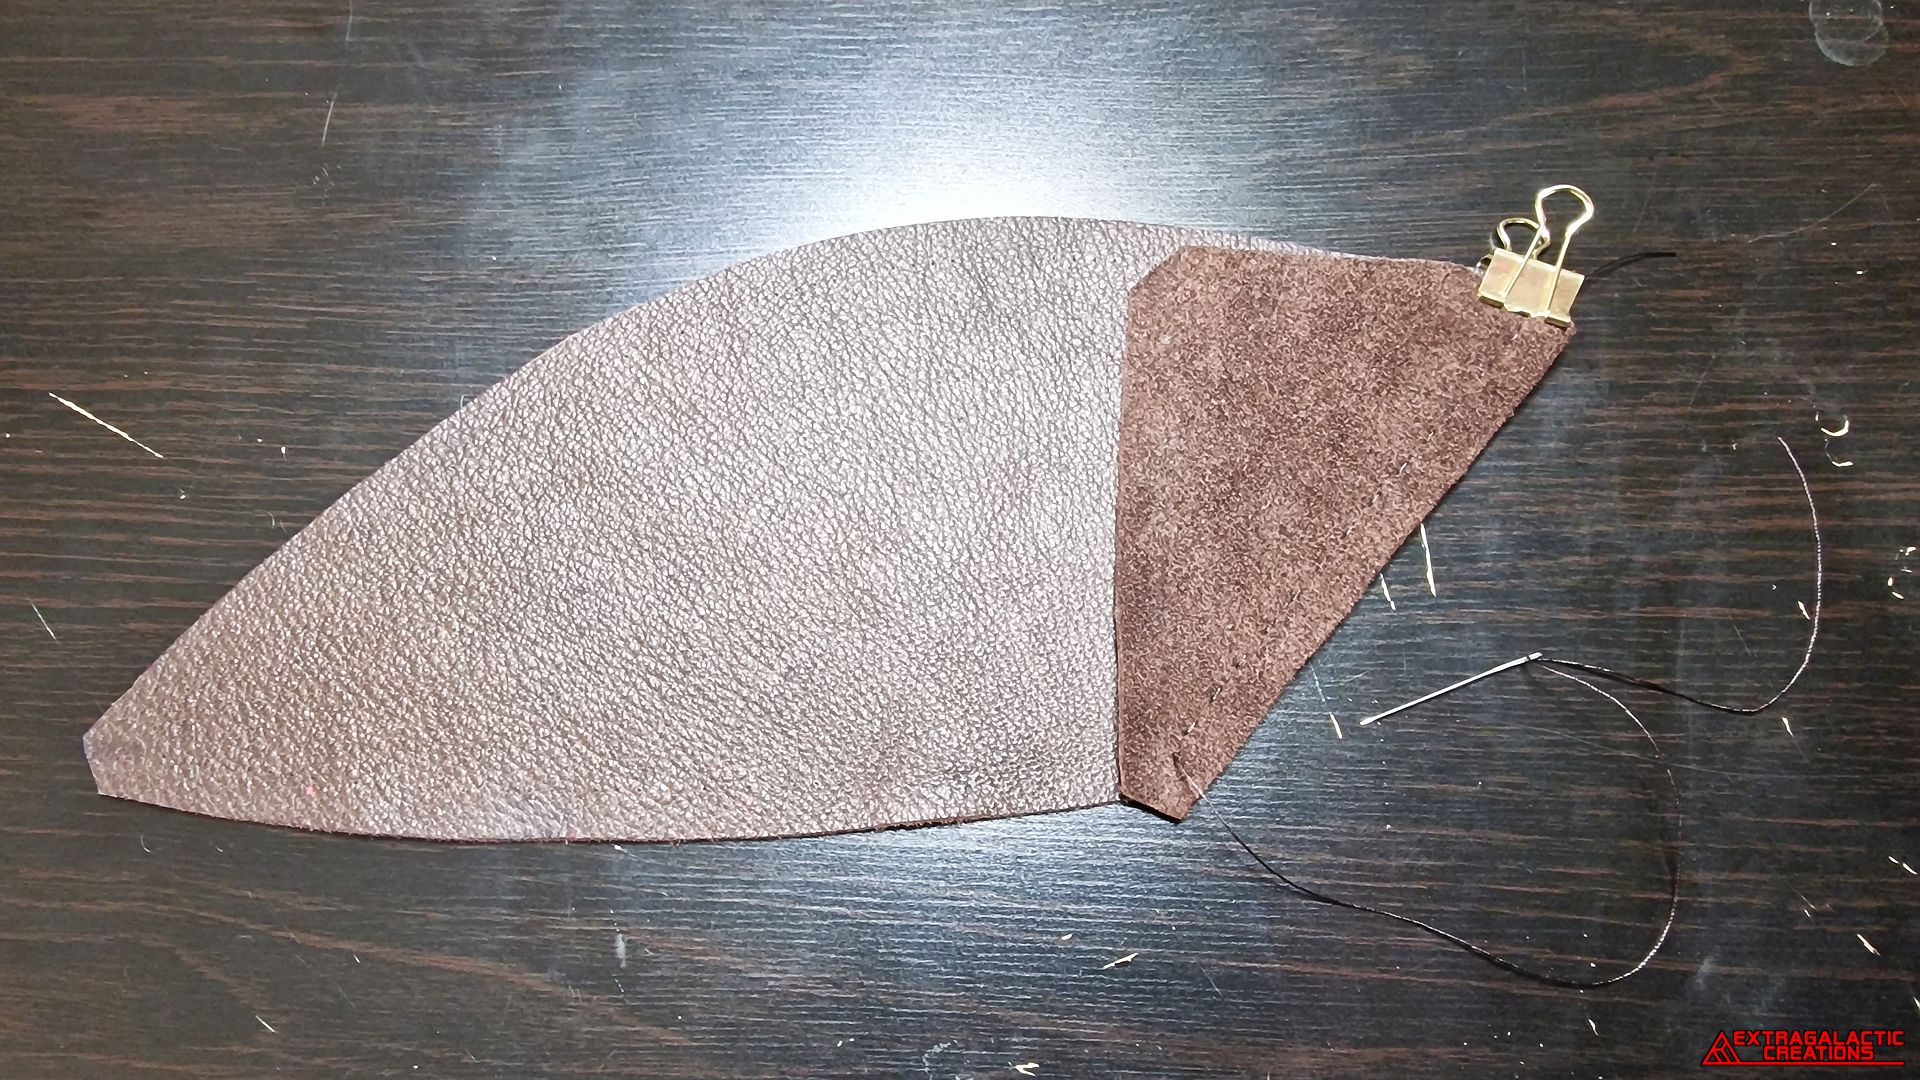
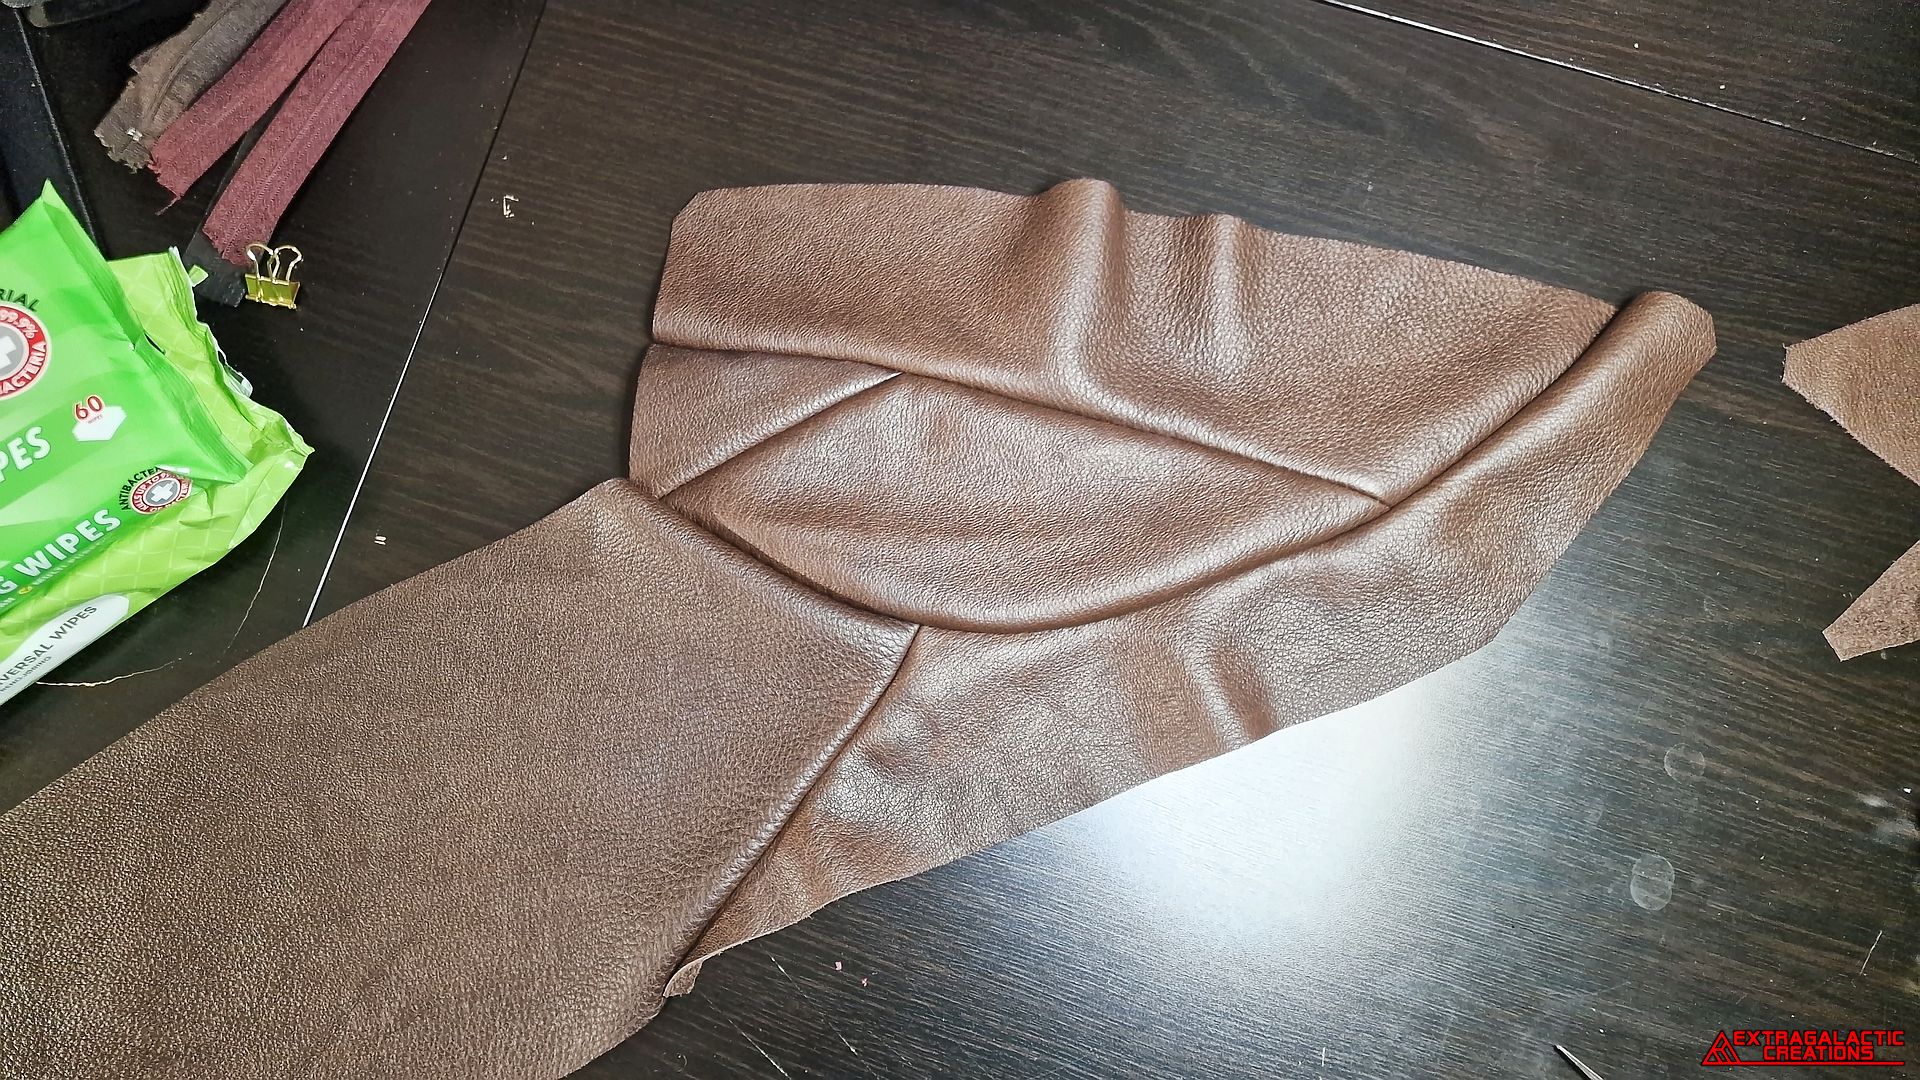
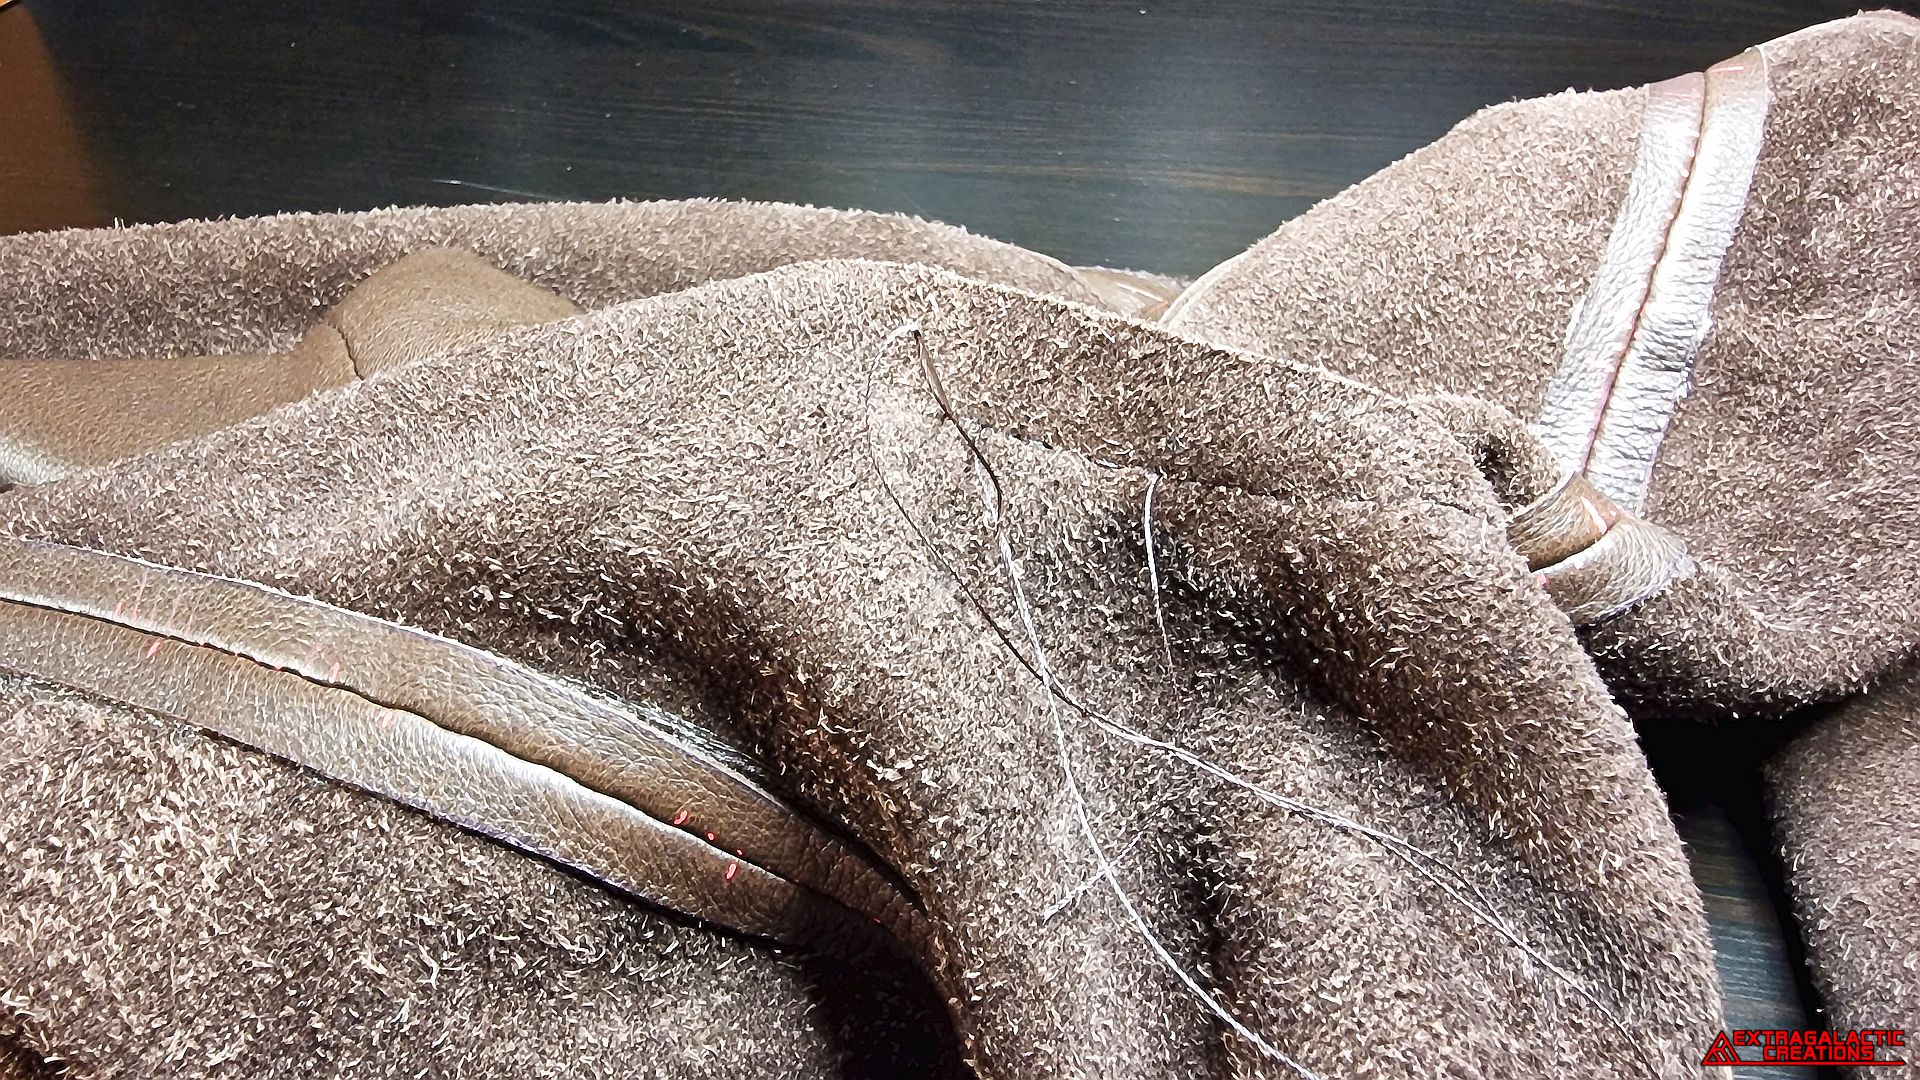
To start hand sewing the panels together, the lower spegackle was
sewn onto the bottom of the scrimfoop with a thick ladder stitch.
The middle spegackle was then sewn onto the sides of the scrimfoop
and the lower spegackle.
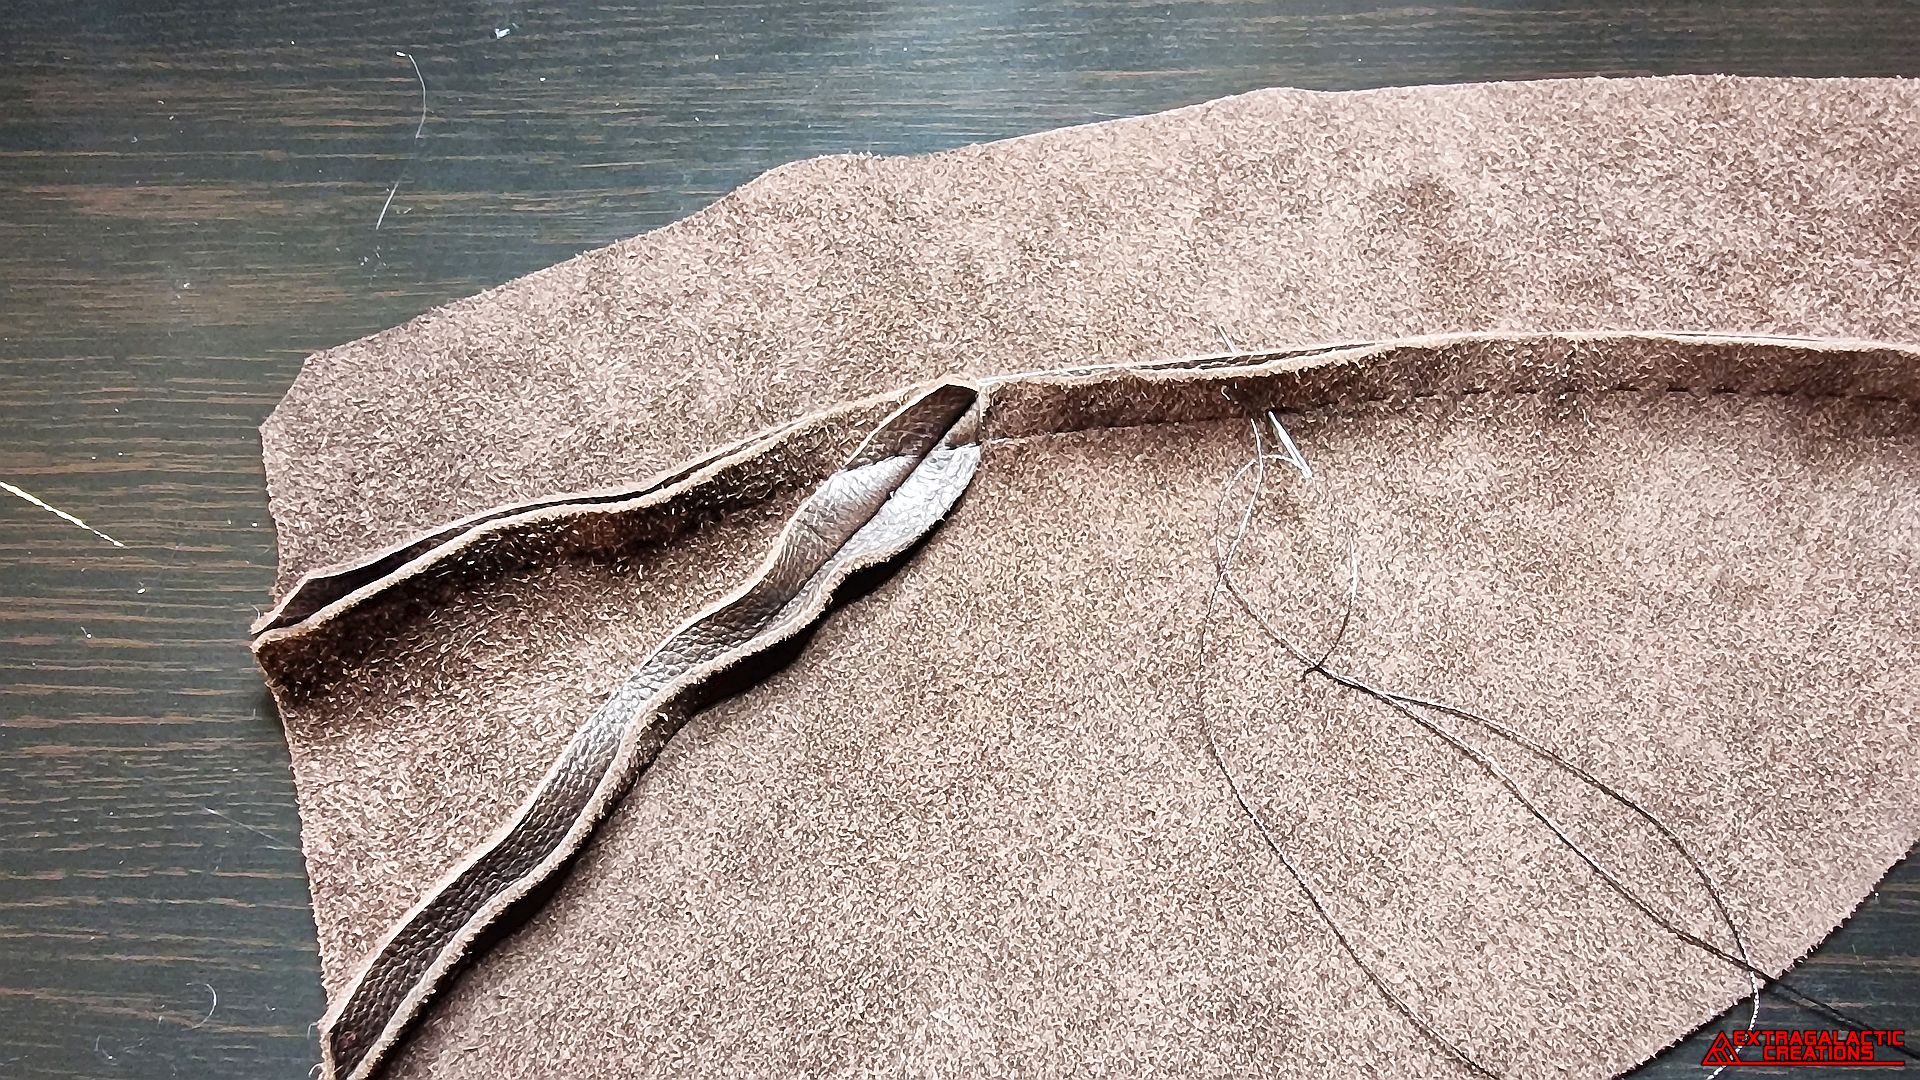
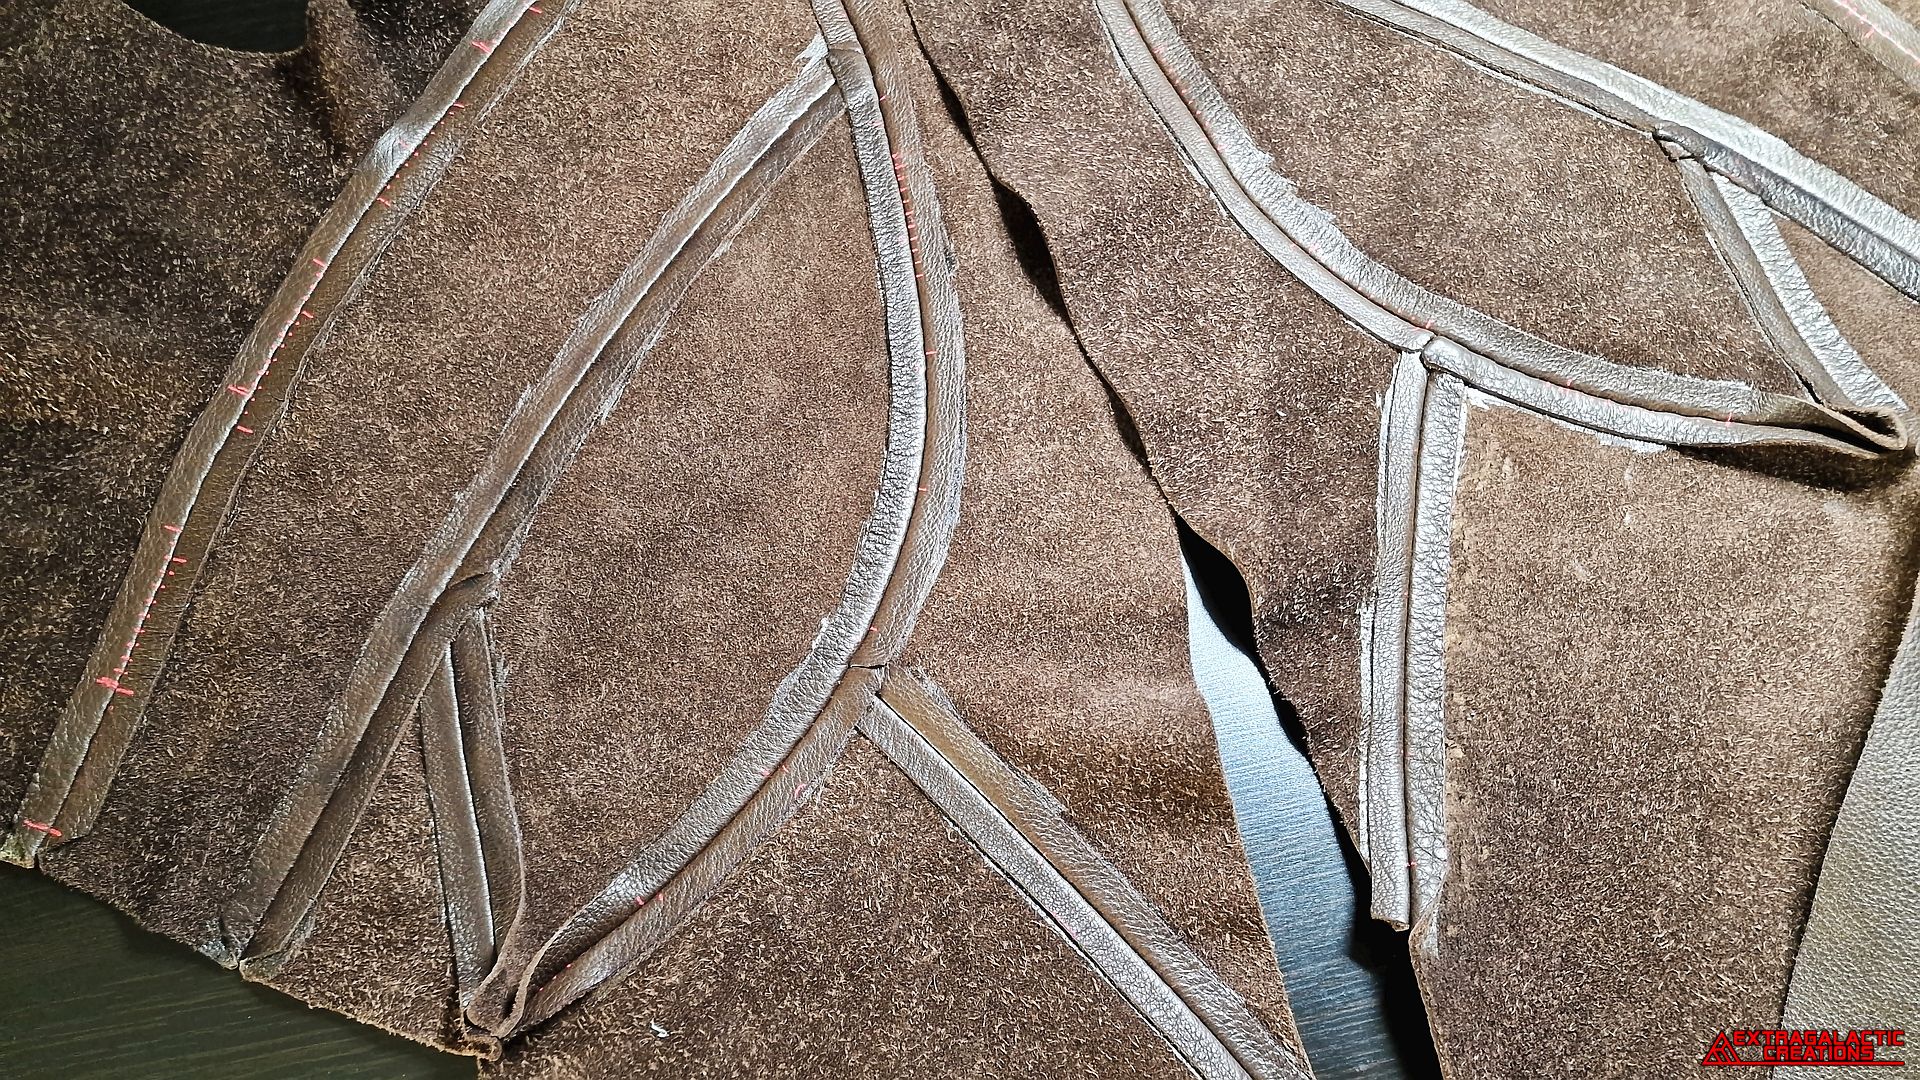
I had to be careful to properly flatten the seam allowances of the
lower spegackle and the scrimfoop before sewing the middle
spegackle over them to prevent any thick corners or lumpy sections.
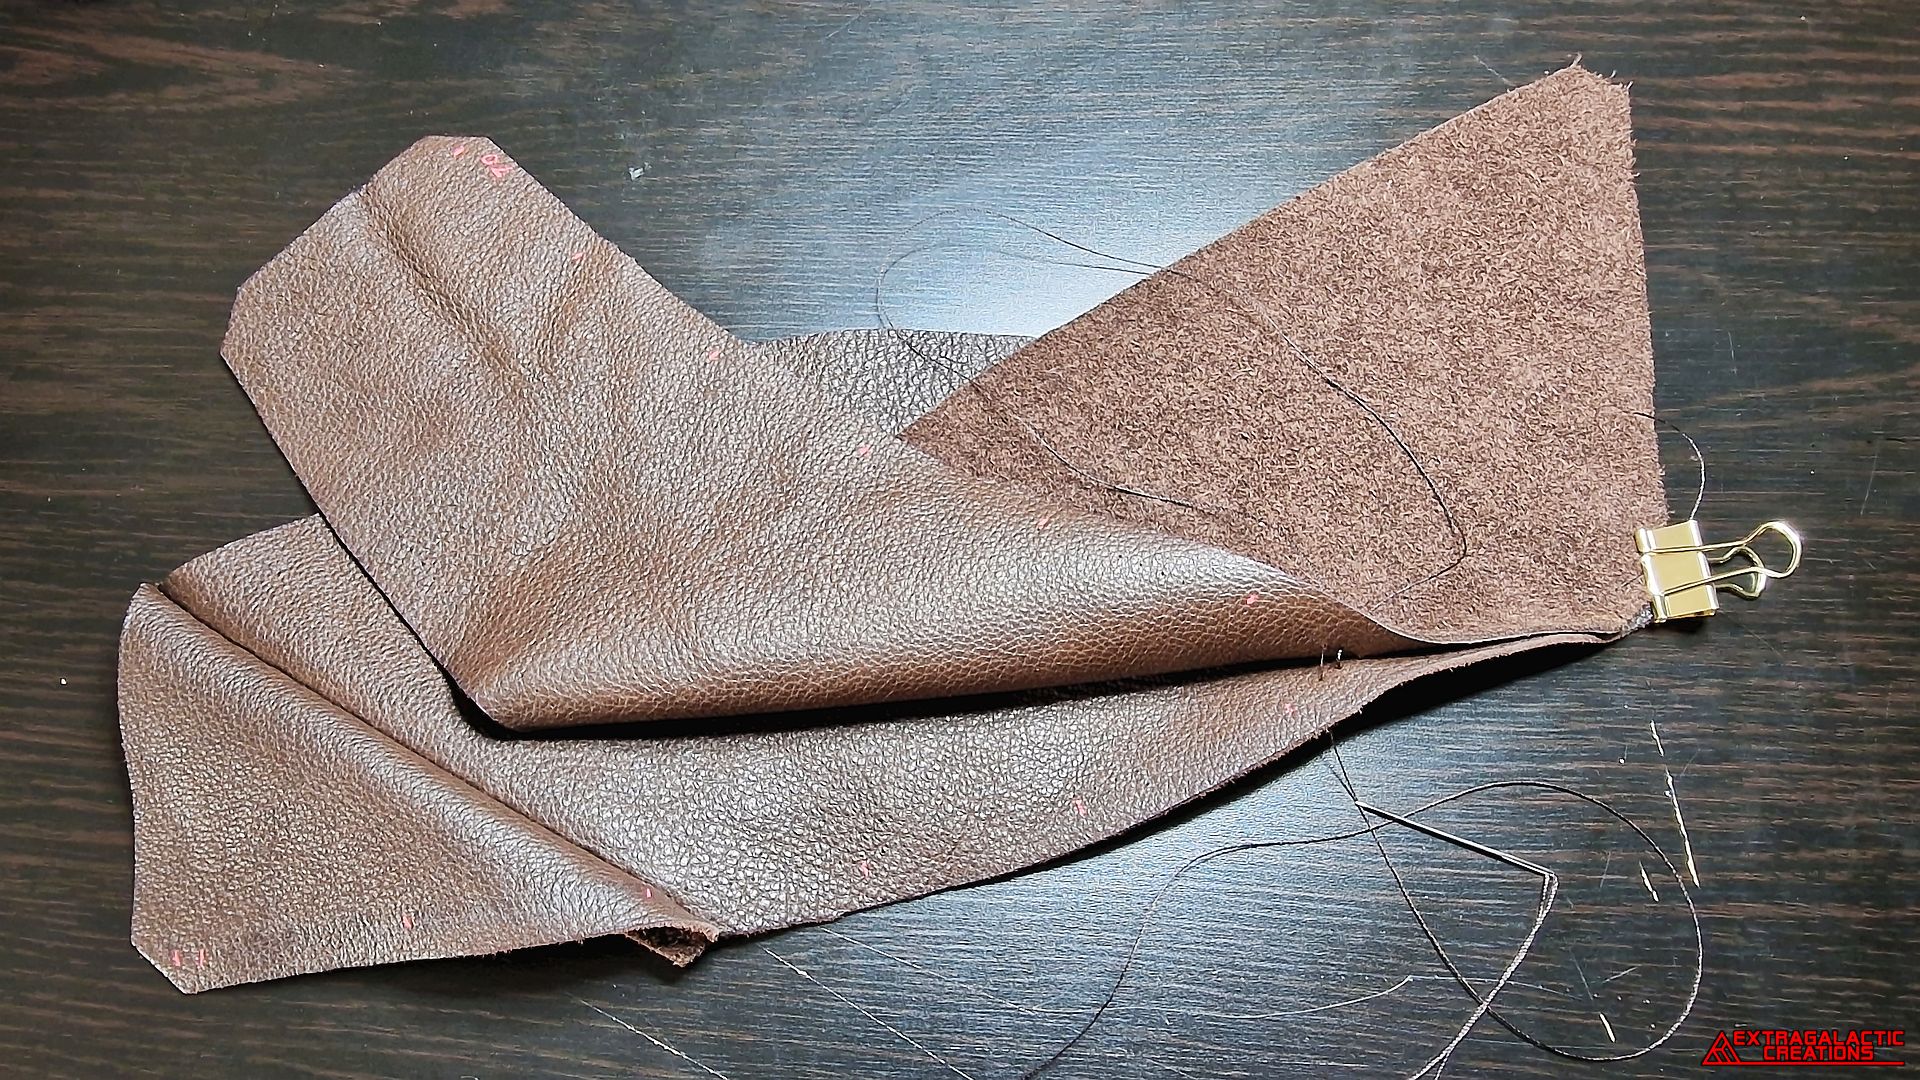
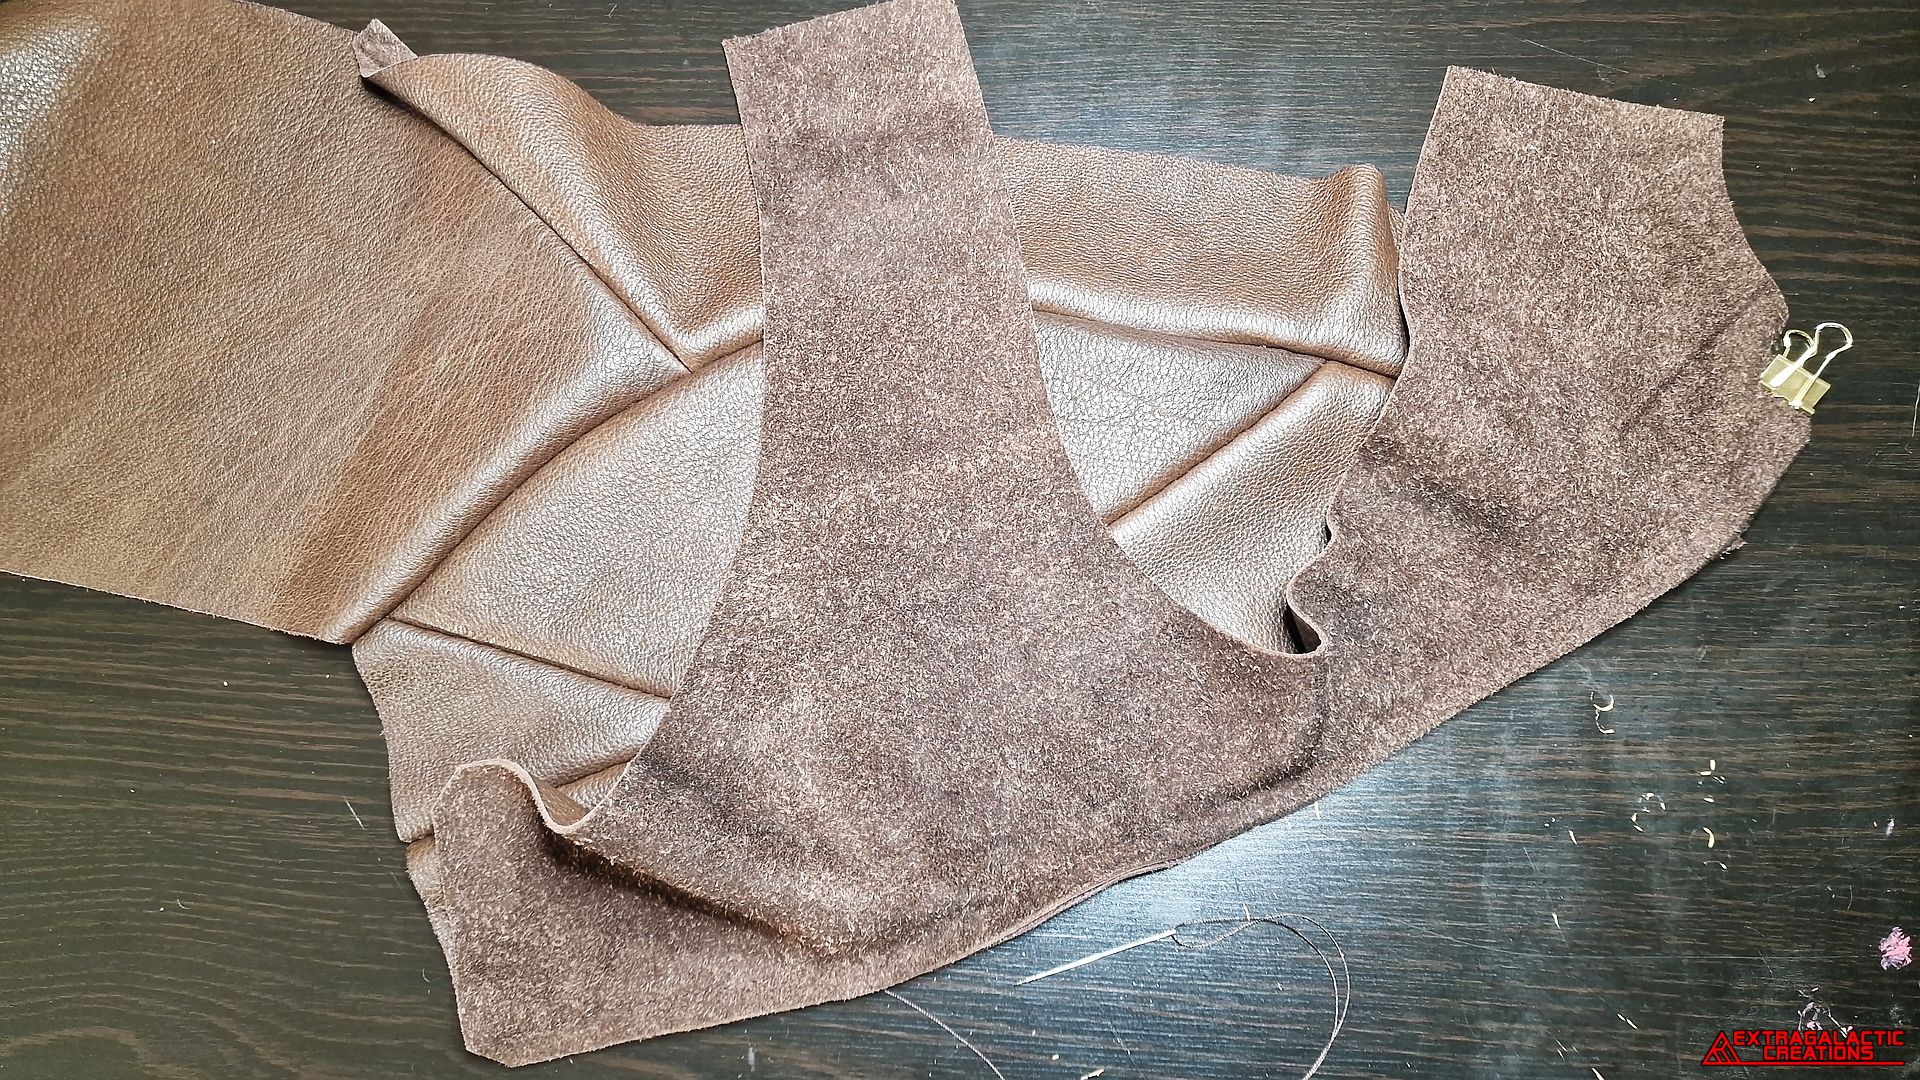
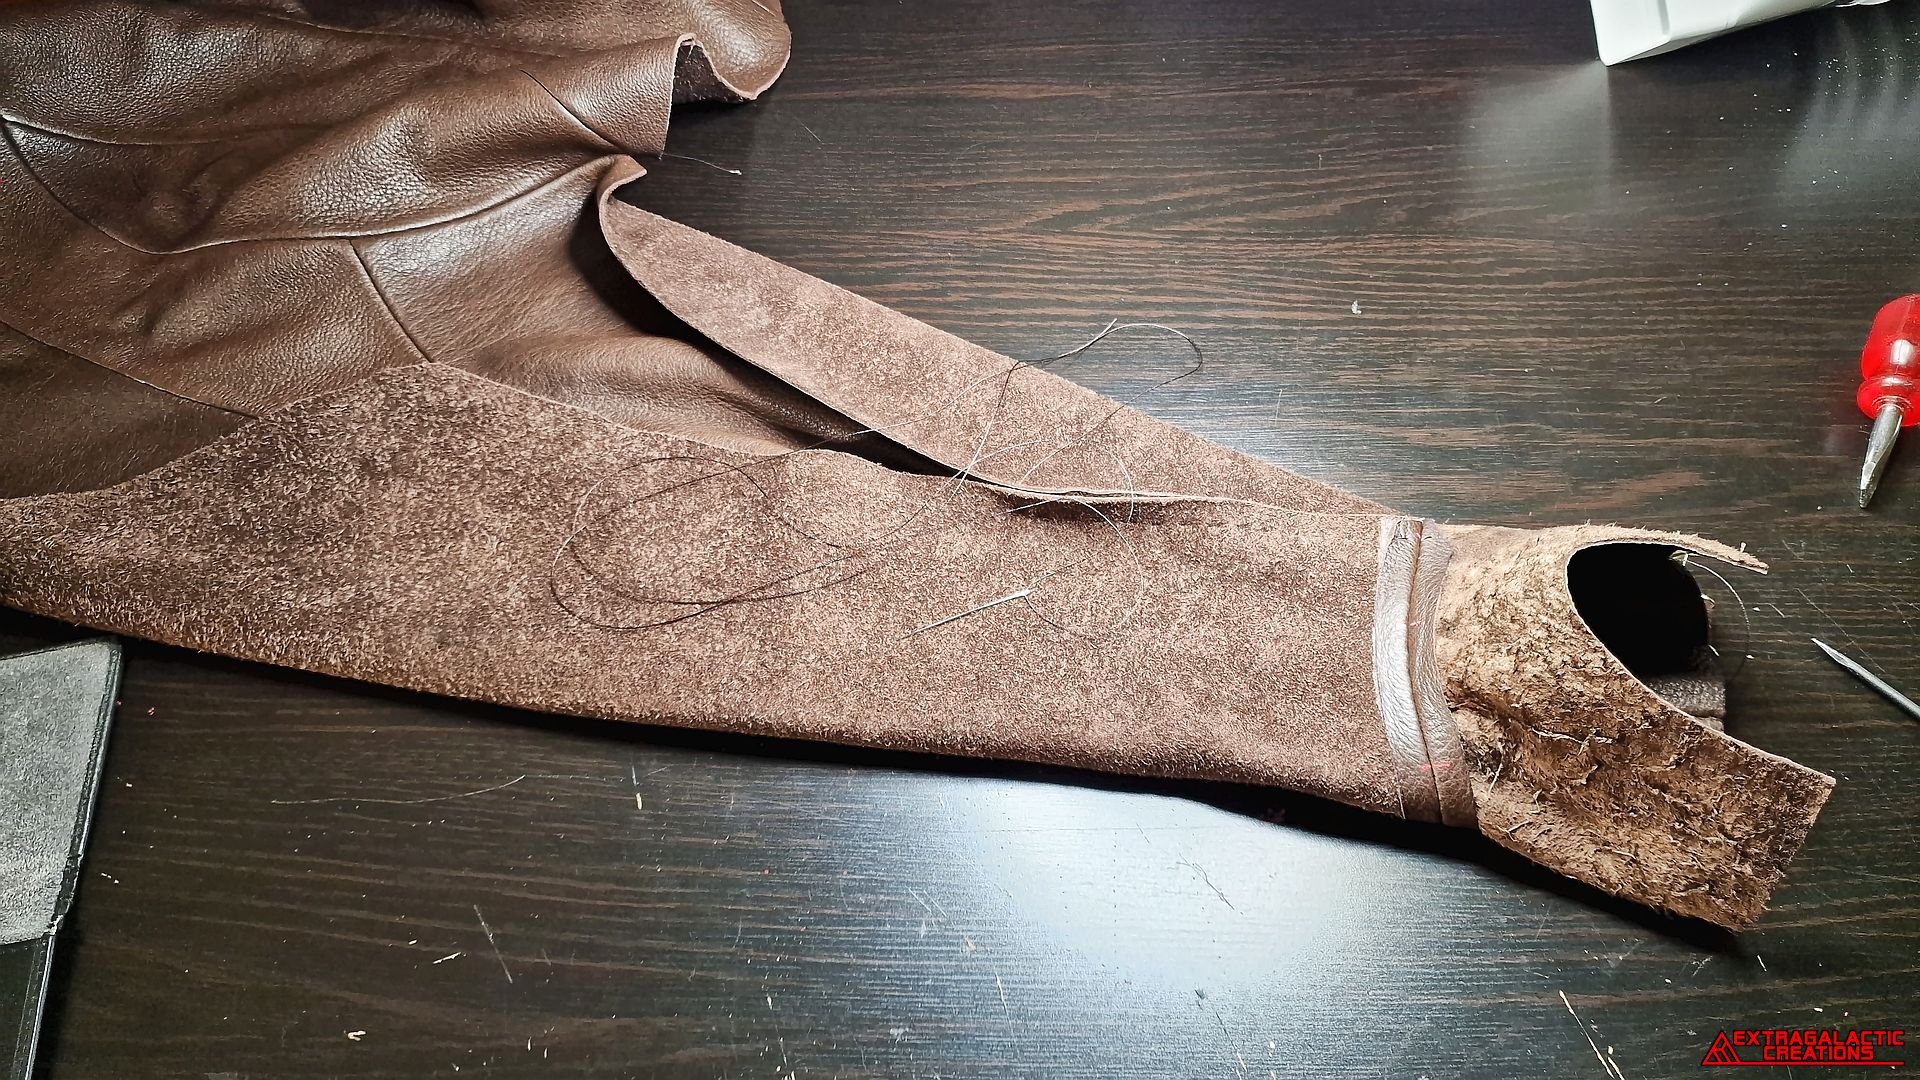
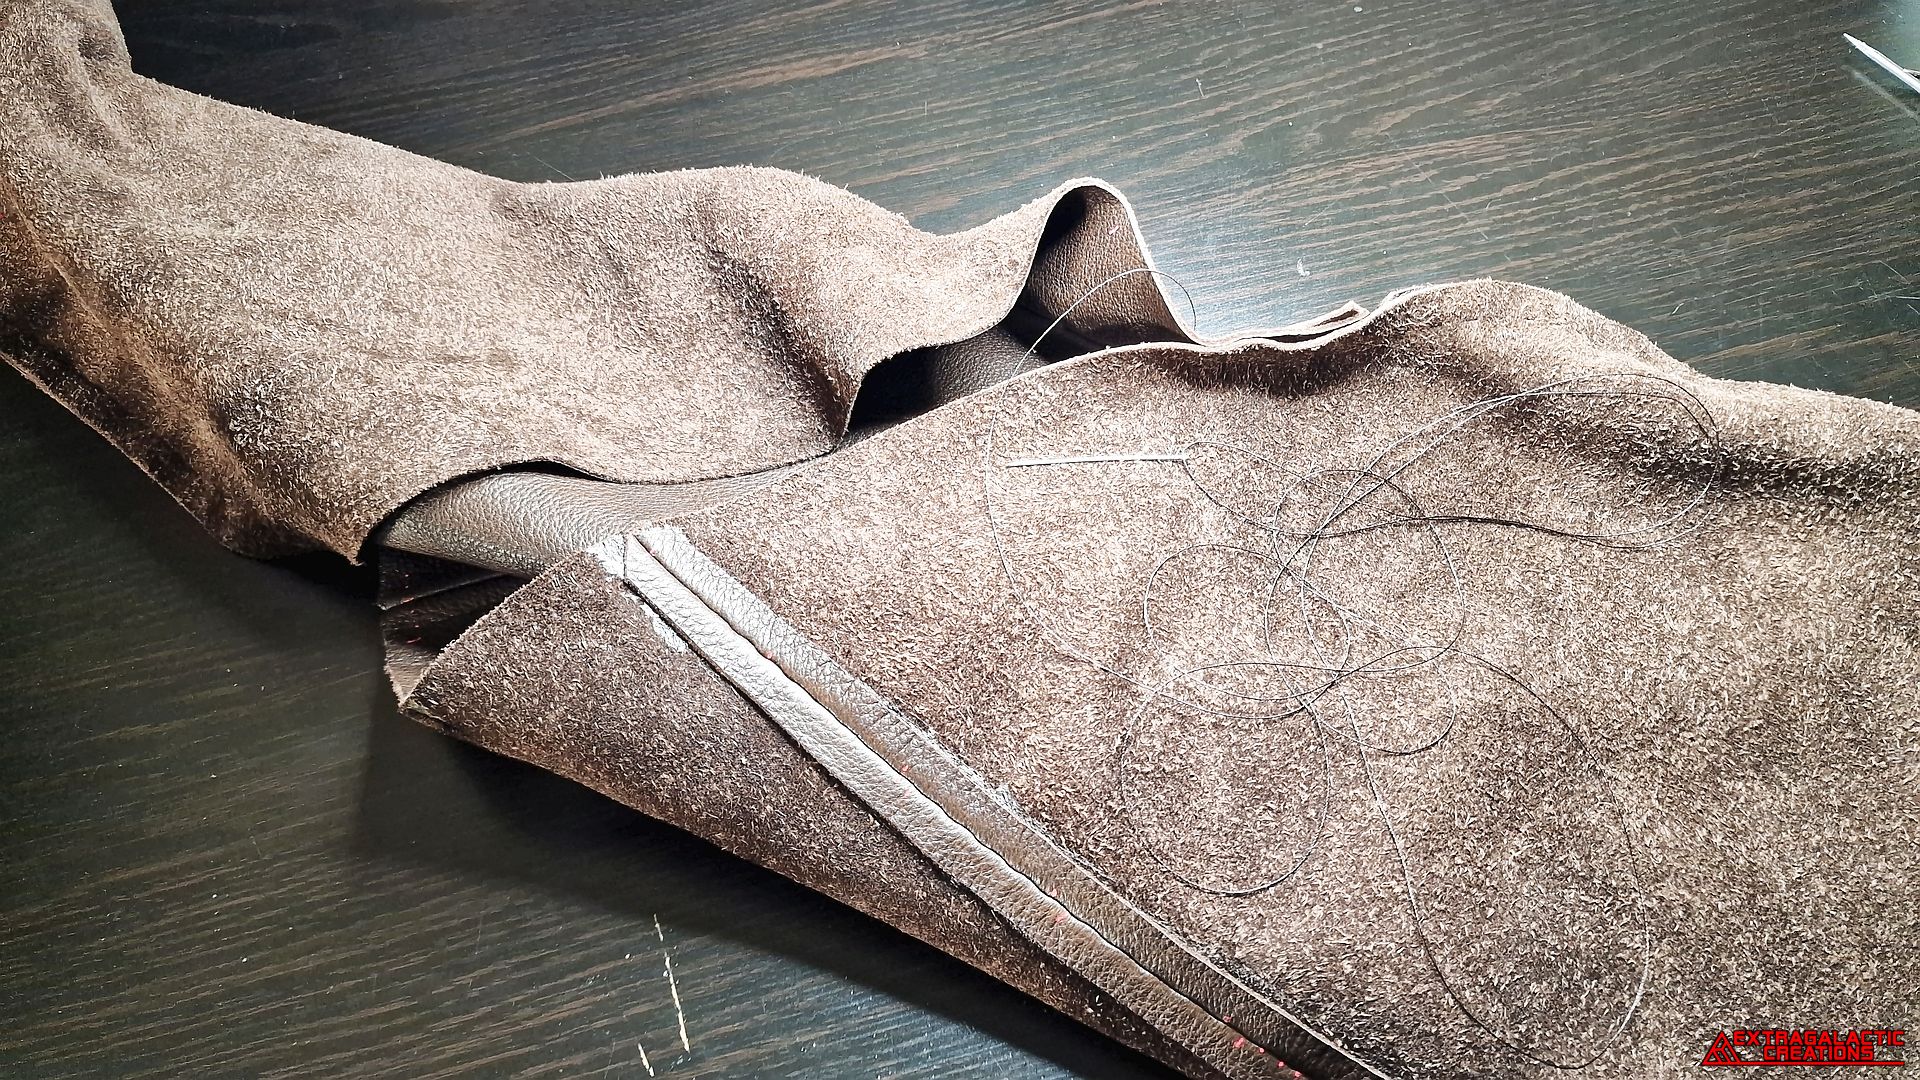
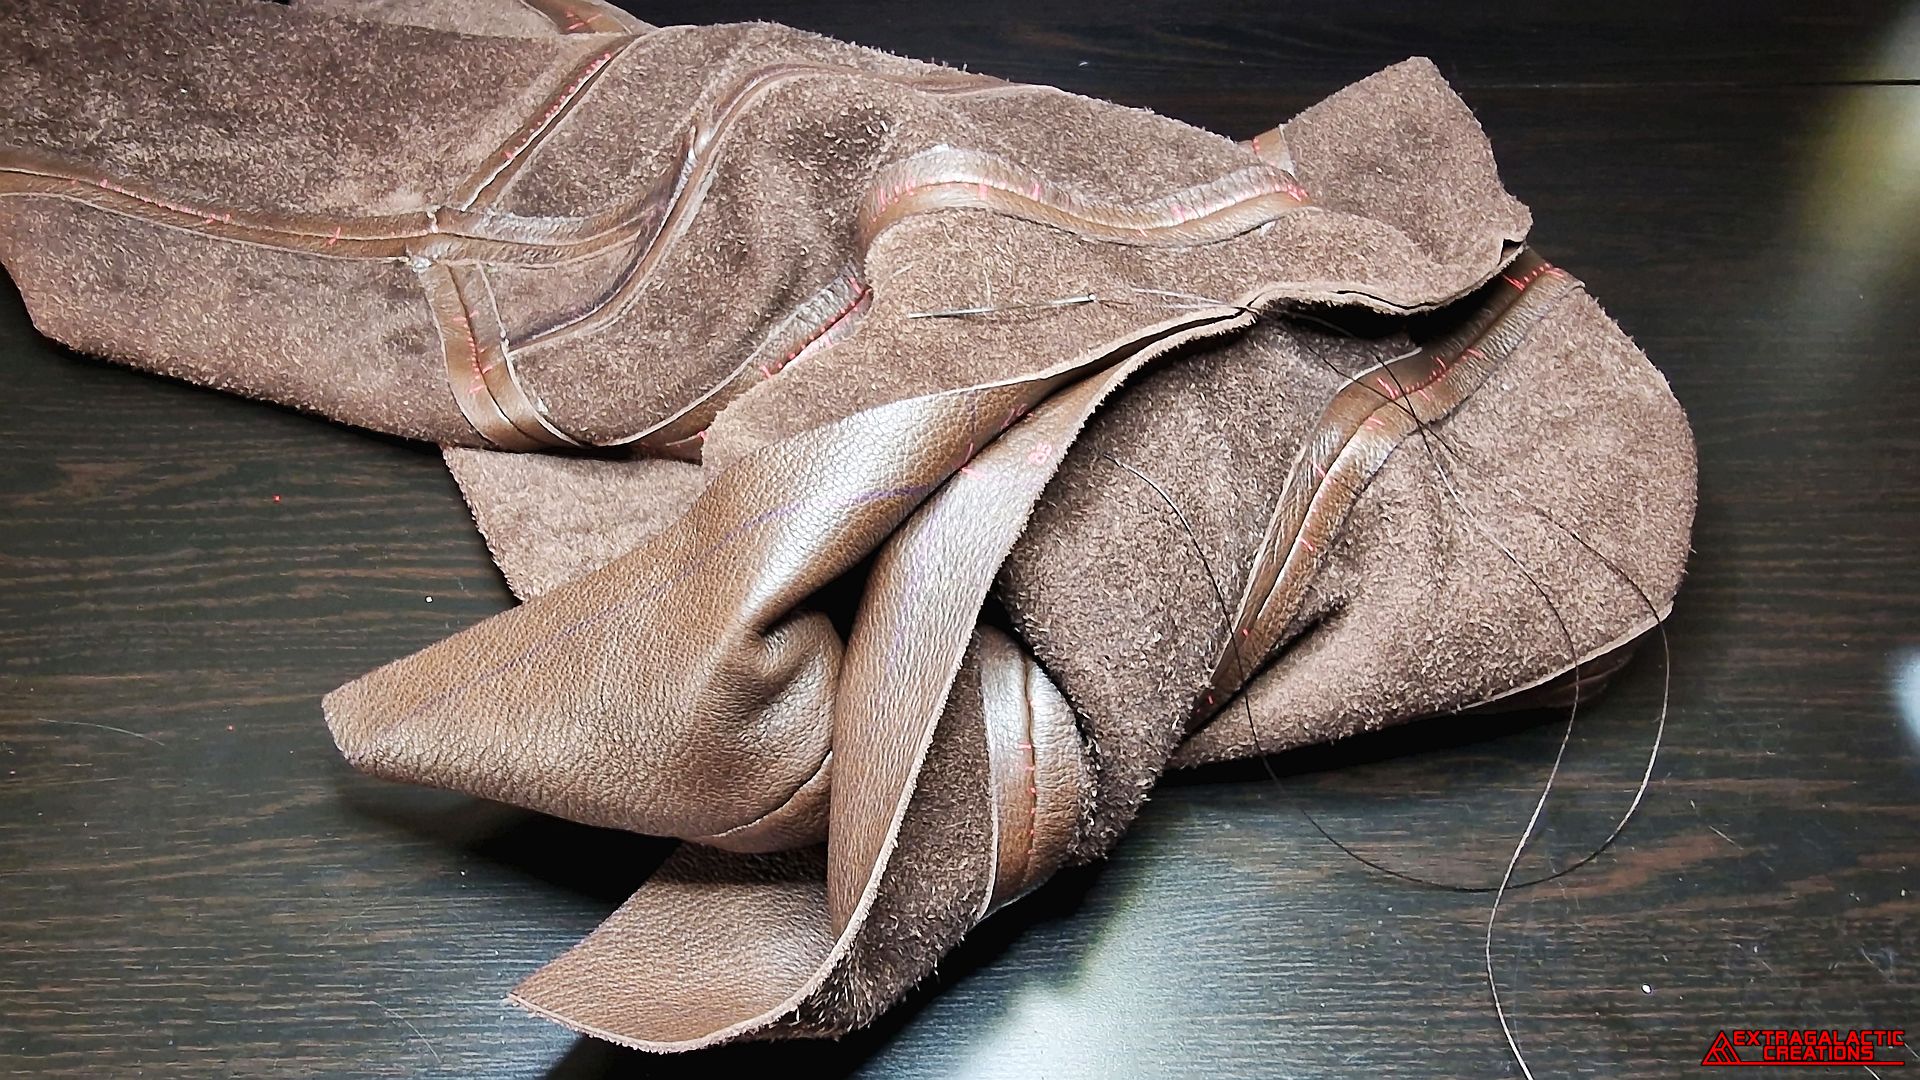
Leaving the previous panels, the polsuglop was hand sewn to the
banofleg before they could be sewn to the rest.
The new panel of the polsuglop and the banofleg were sewn onto the
old panel along the edges of the middle spegackle and the scrimfoop.
The upper spegackle section of the triphloogus was sewn onto the
edge of the middle spegackle.
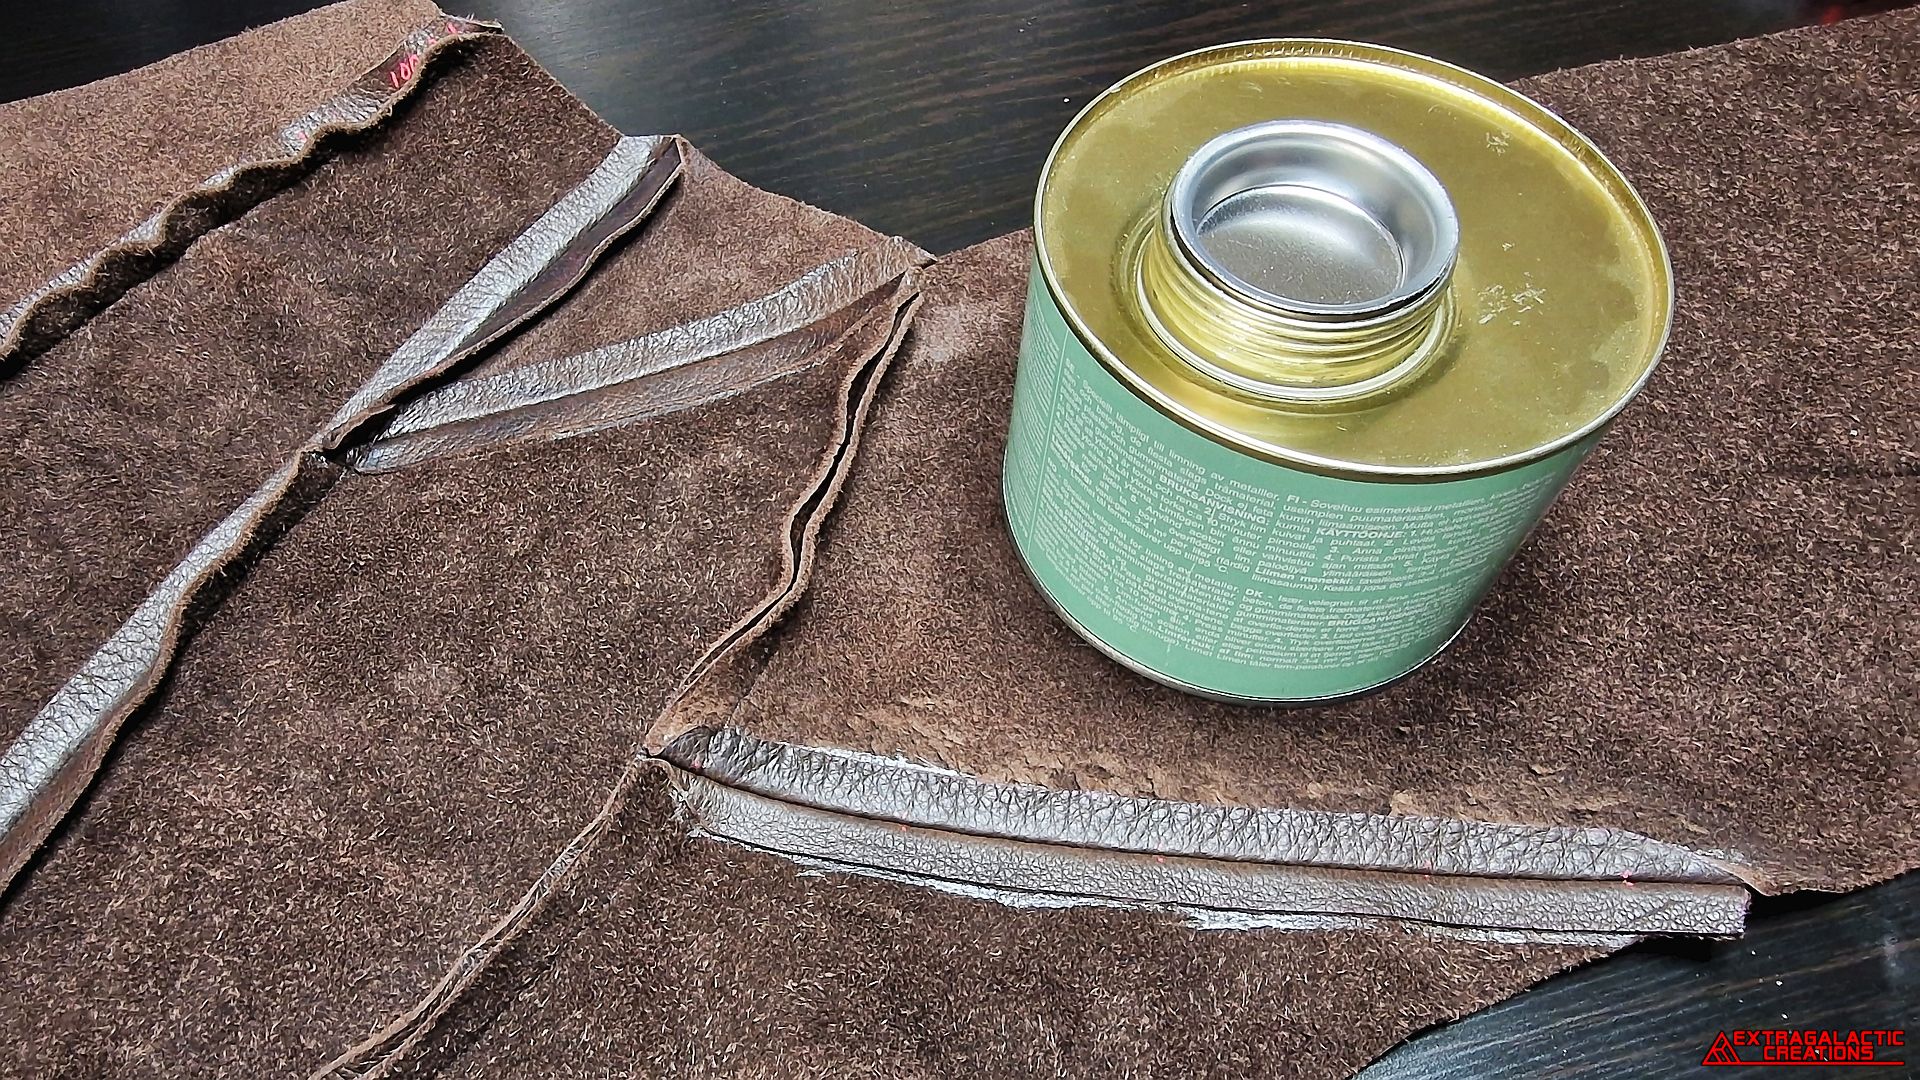
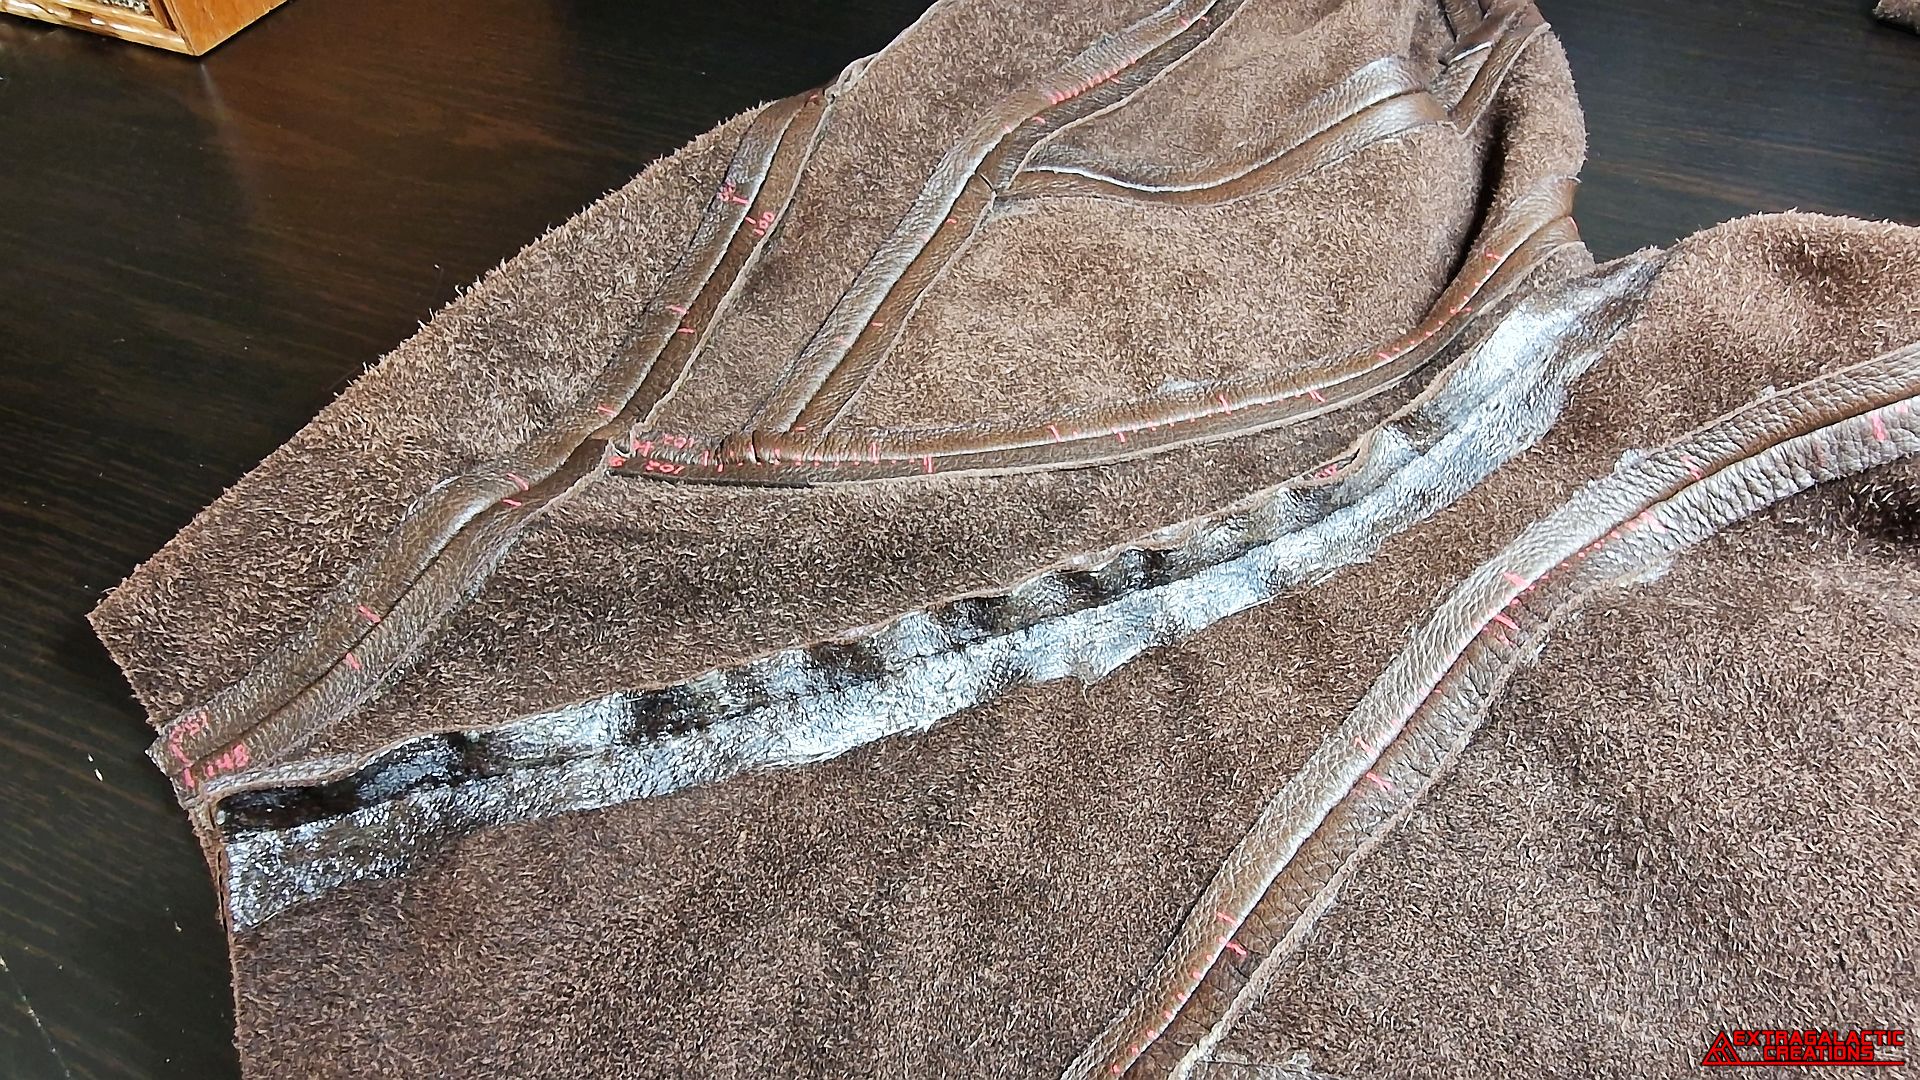
Before sewing together any more panels, I wanted to start gluing
down the seam allowances of the panels with contact adhesive.
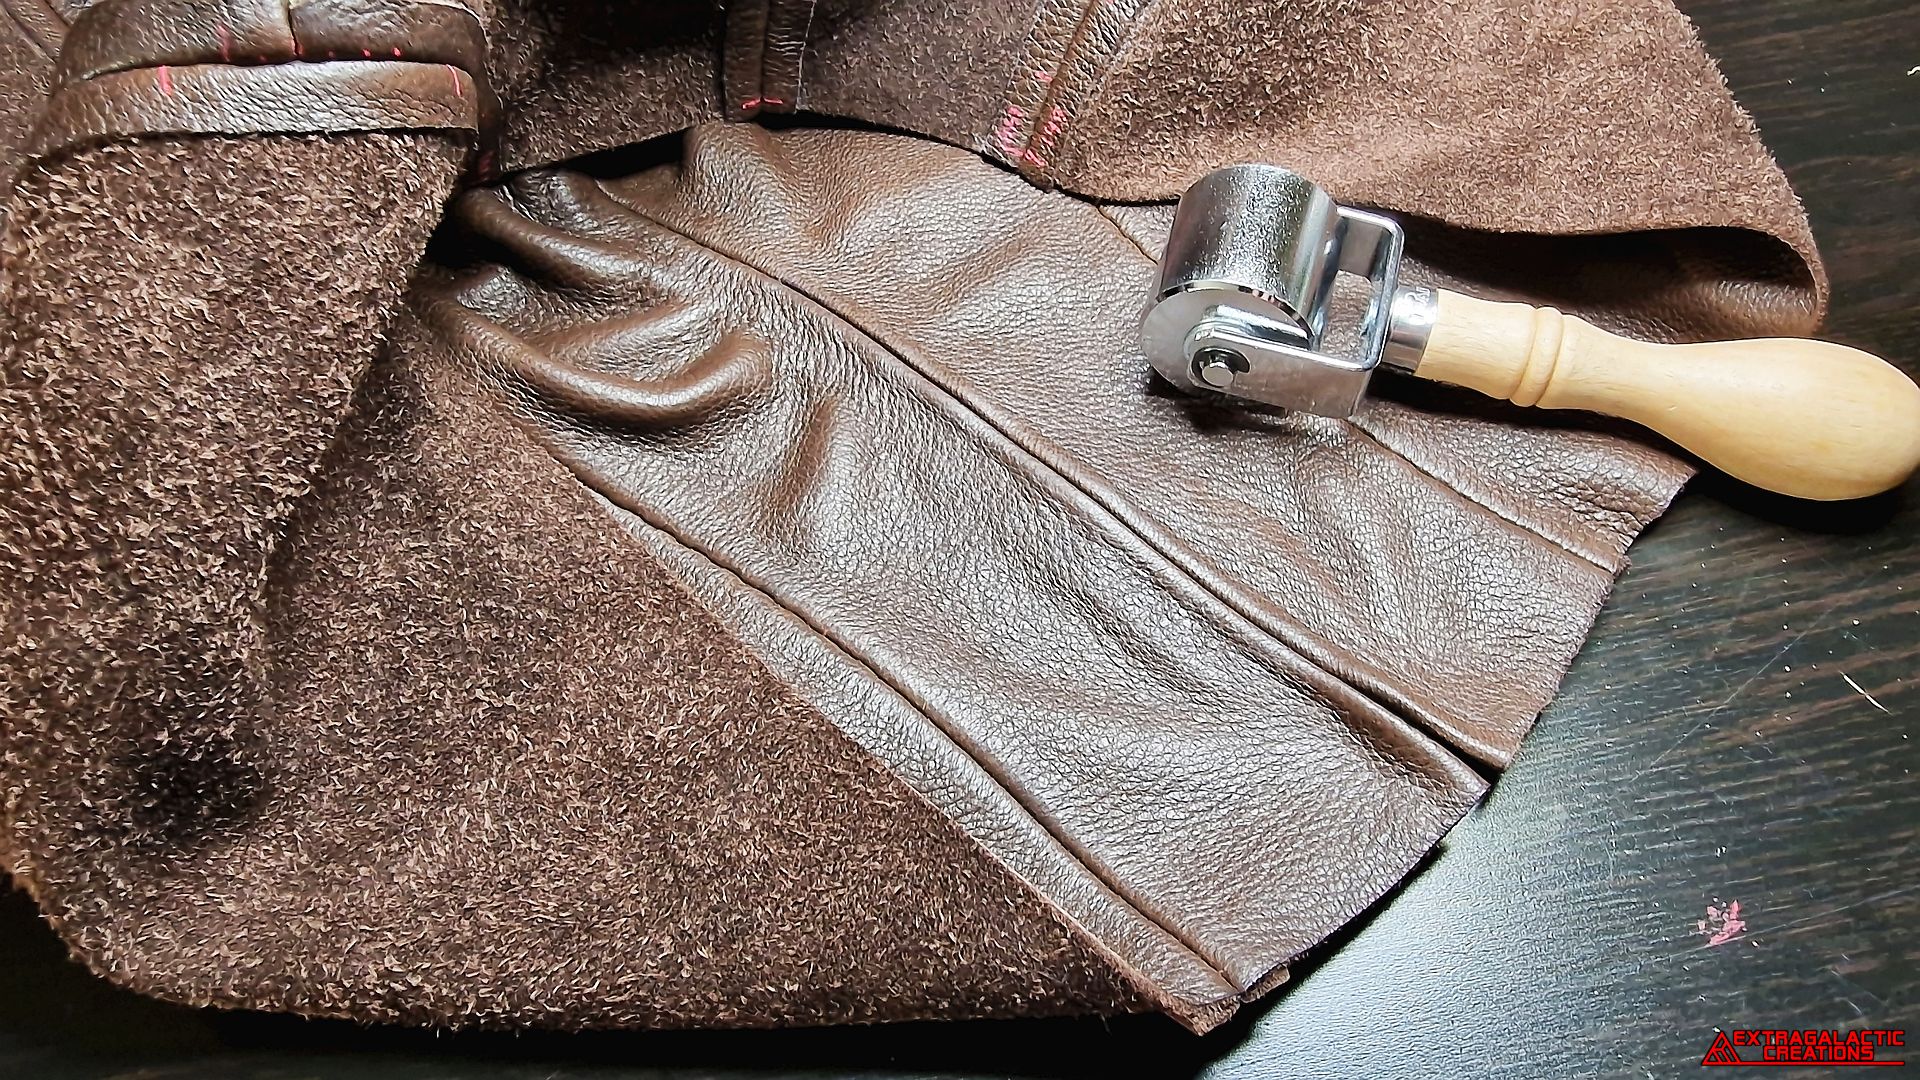
A steel roller was also used to neatly flatten down the seam
allowances while gluing them down into place.
The rumpitimus could now be sewn onto the snoplatipus section of
the triphloogus.
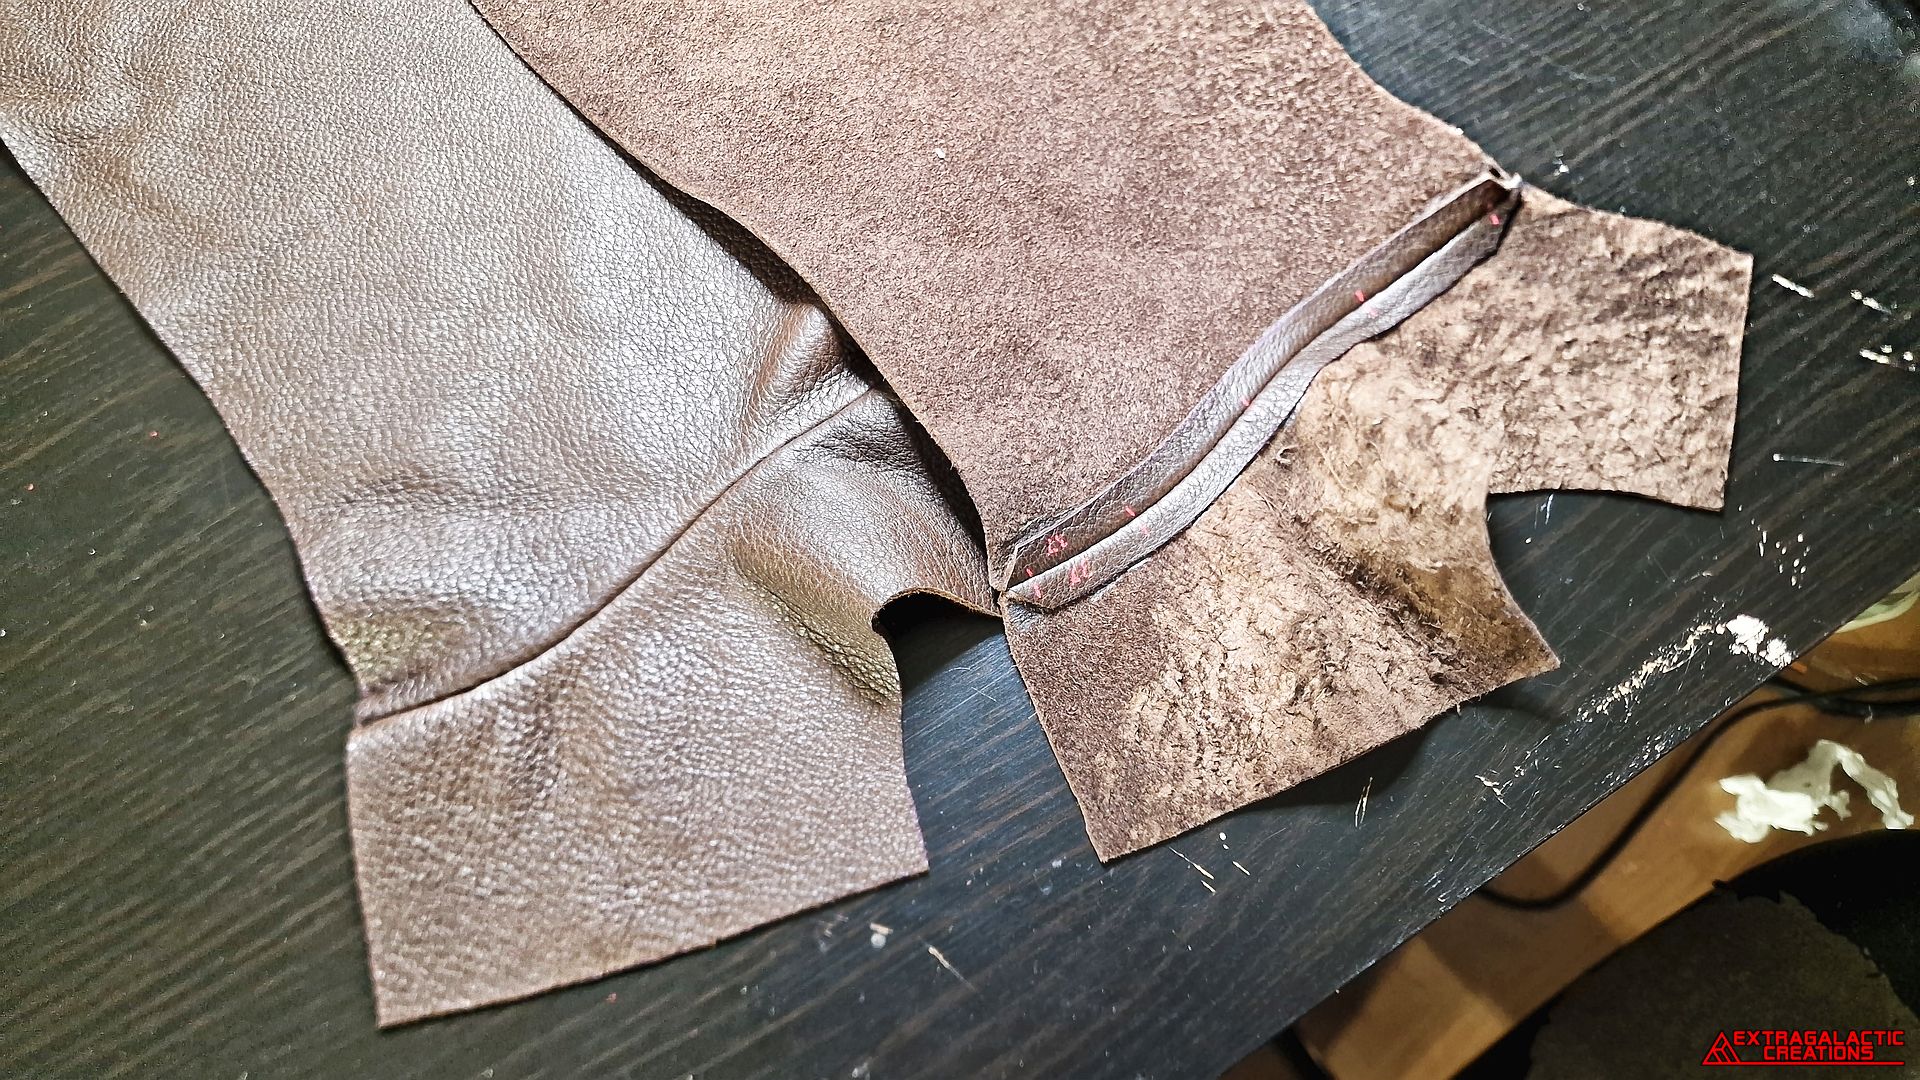
The custom vesnooley I made to keep the pants tucked into the shoes
were sewn onto the bottom edge of the jaropnus.
The vesnooley and the jaropnus could now be sewn onto the edges of
the polsuglop and the banofleg.
The upper edges of the jaropnus and the banofleg were sewn onto the
edges of all the spegackles.
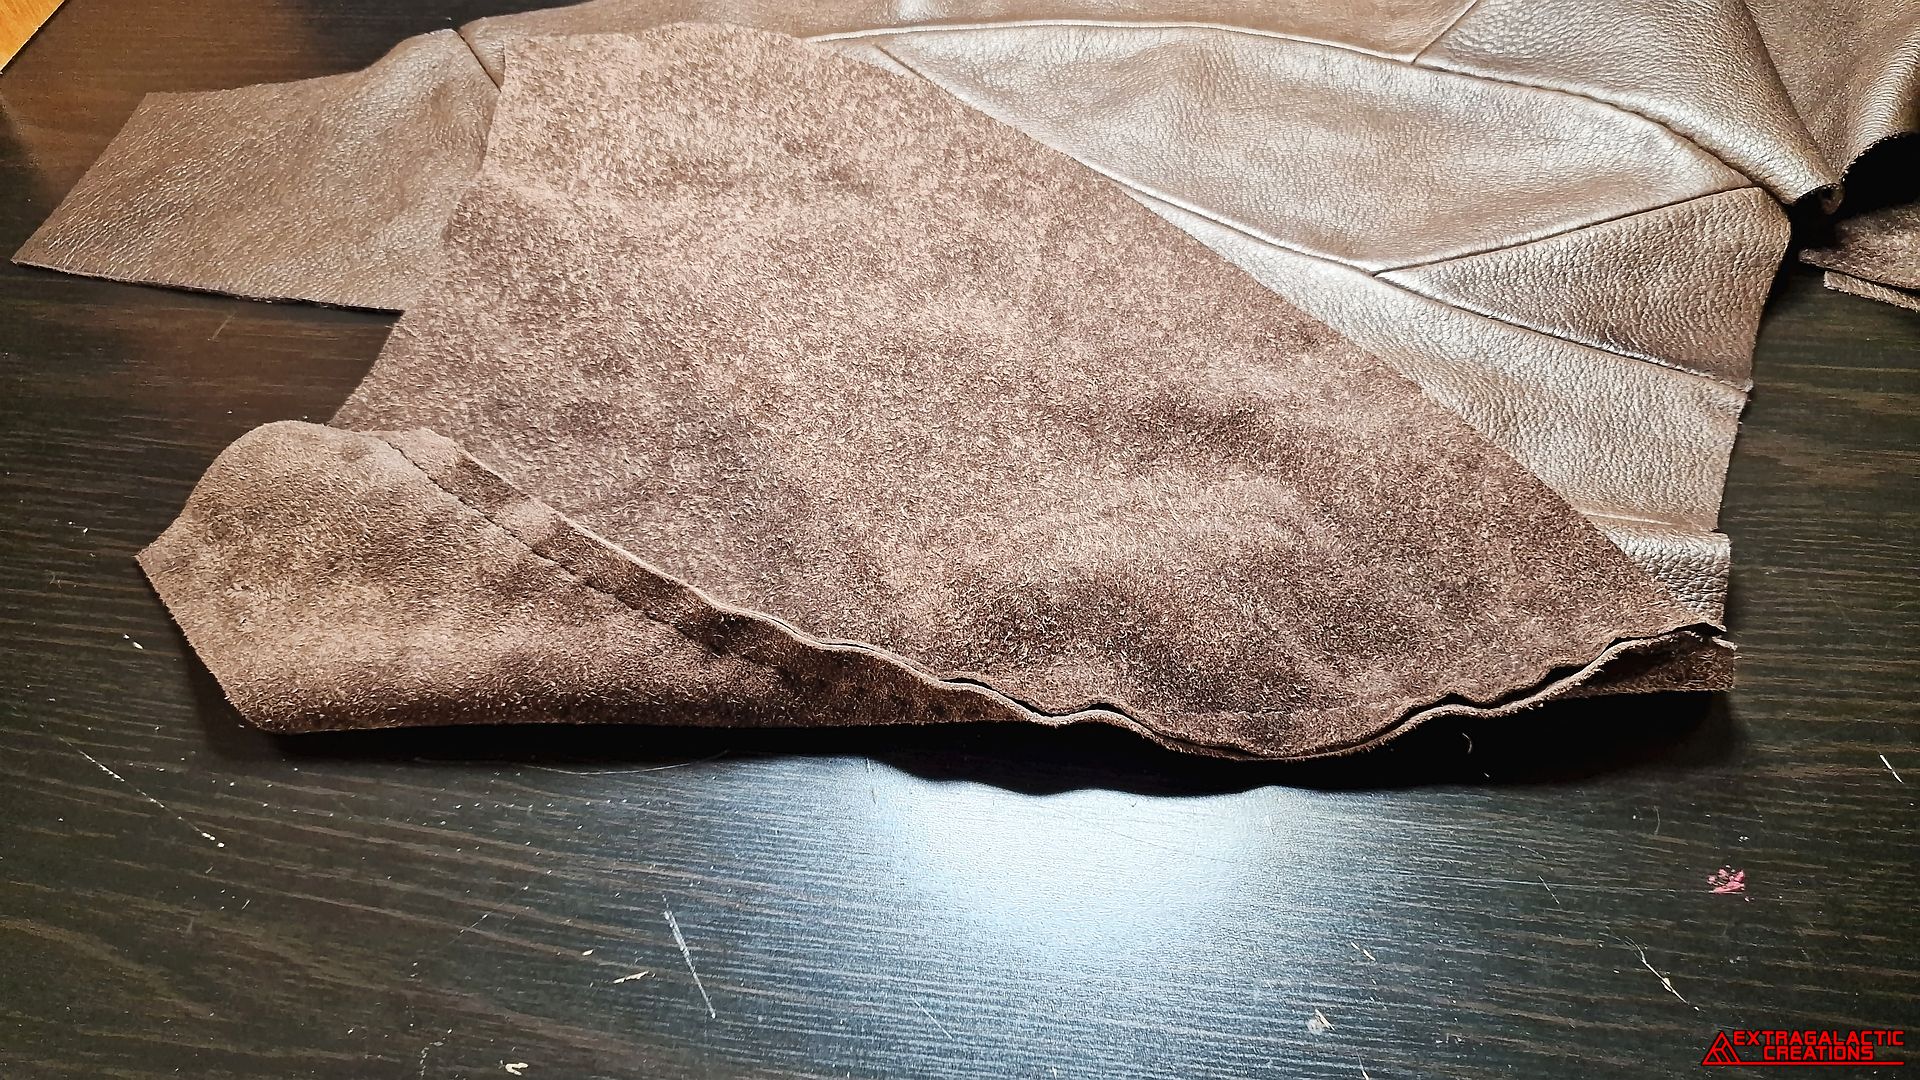
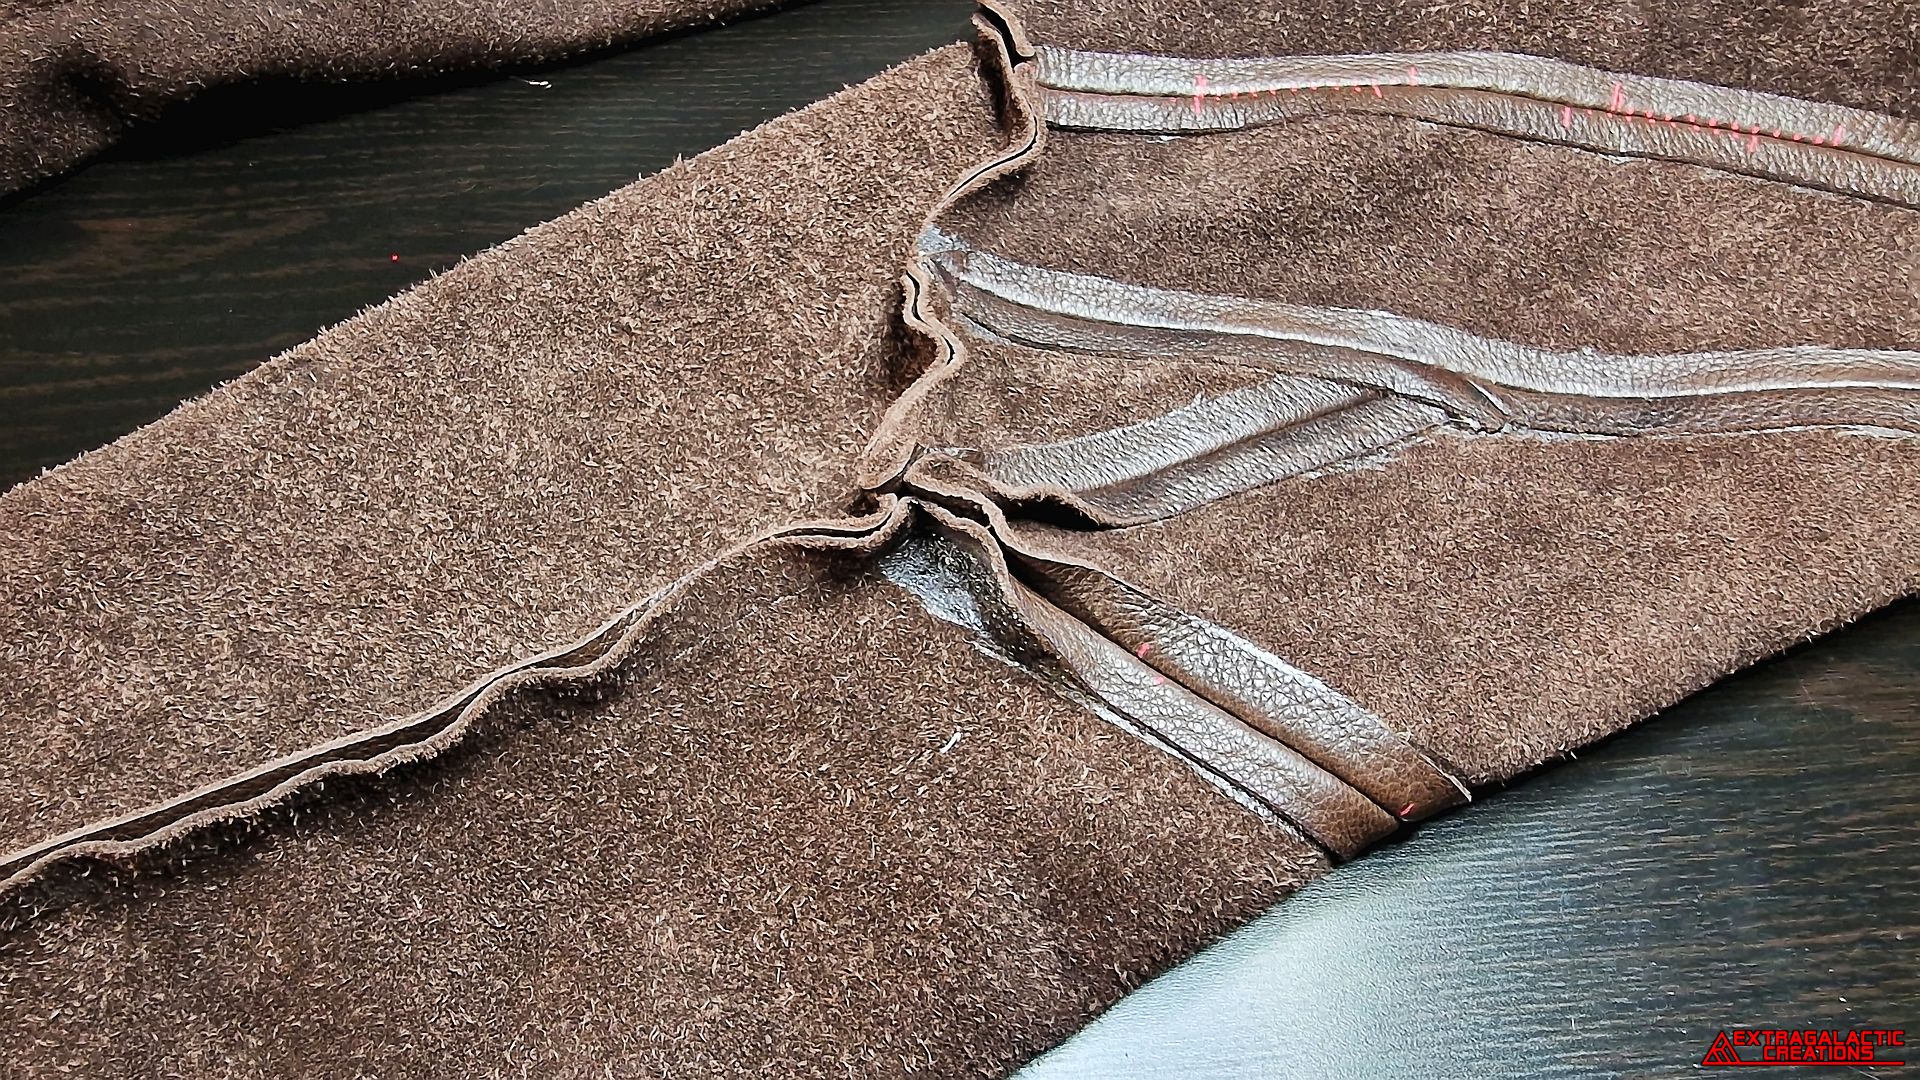
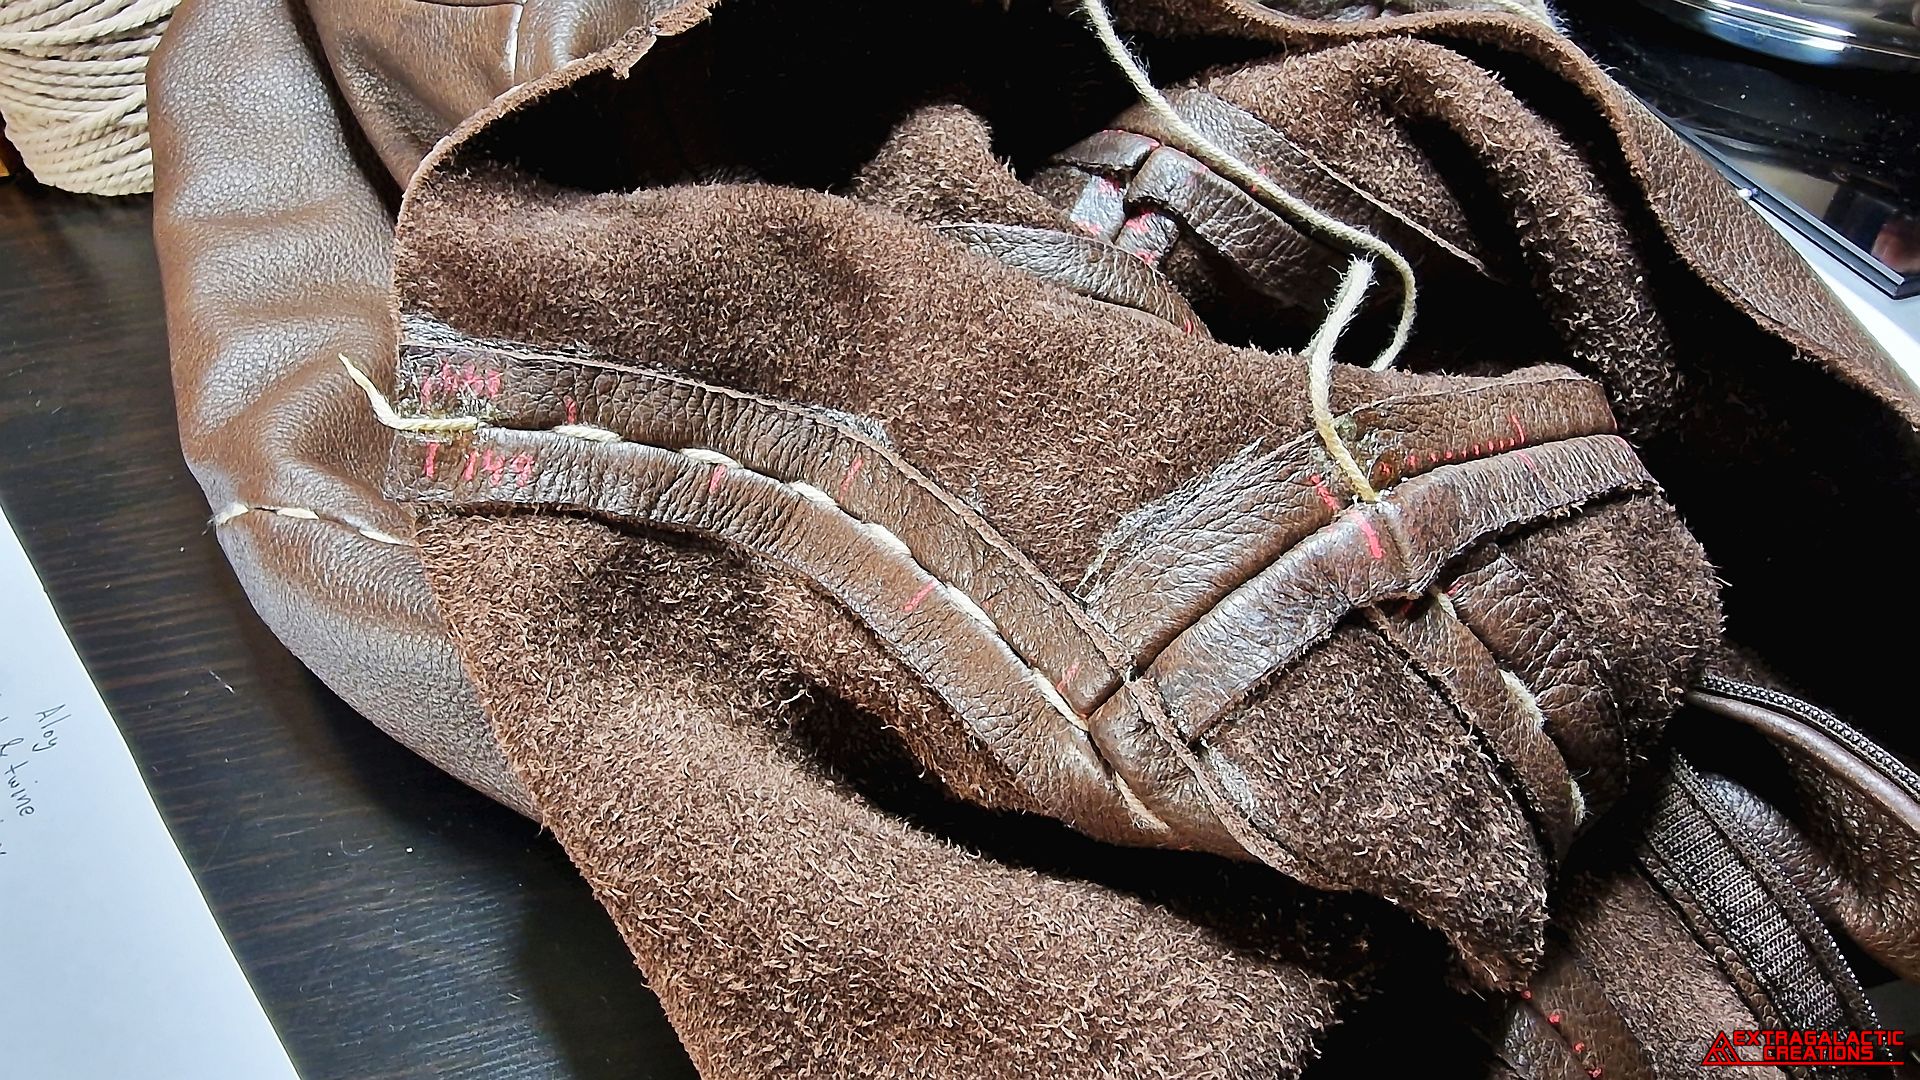
It took some figuring out to properly glue down the seam allowances
of the four corners that were sewn together in whichever order would
make them as flat as possible.
Both the triphloogus panels were sewn together all the way up to
where the zipper would be placed later on.
A few more reinforcing ladder stitches were added along the bottom
edge of the zipper opening.
I only glued down the inner edge of the zipper opening to keep the
edges firmly in place while hand sewing on the zipper later on.
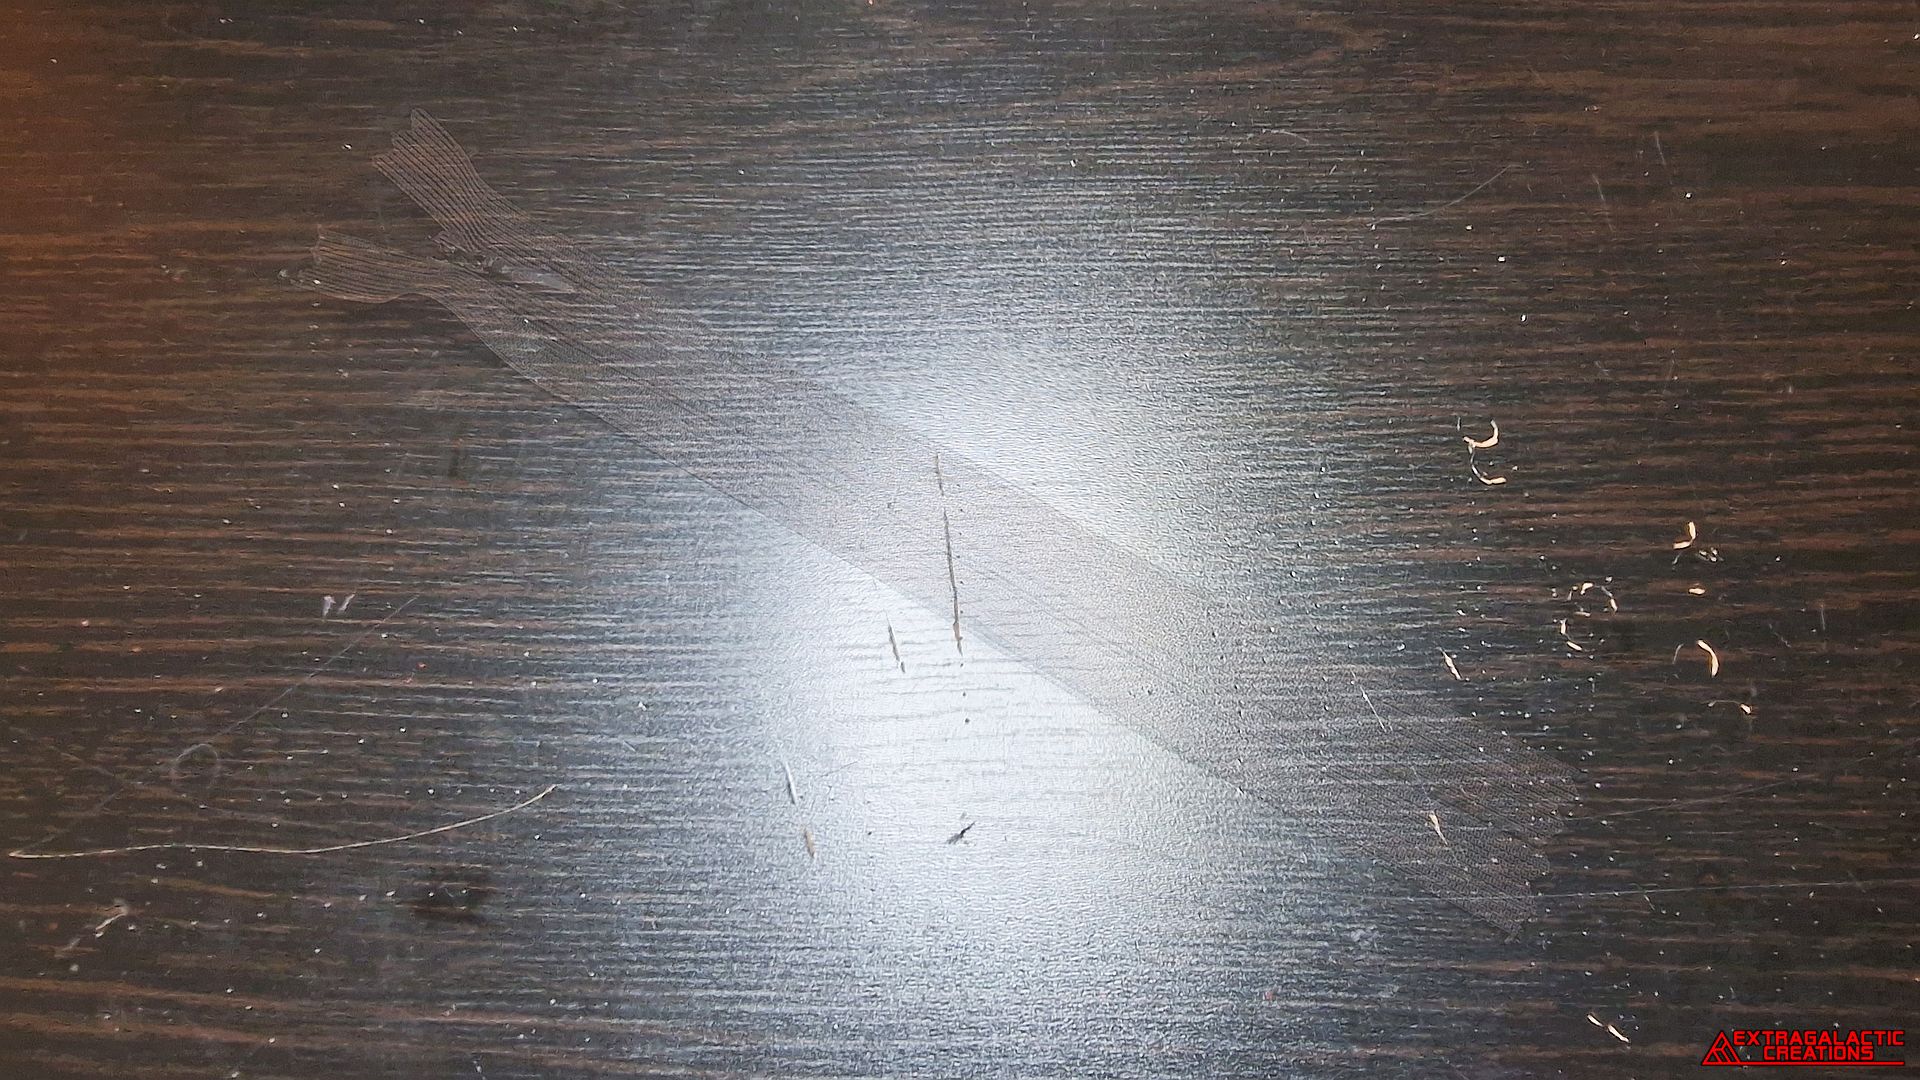
I wanted to add an invisible zipper to Aloy's pants, but the sewing
store couldn't find one, so I had to buy a nearly invisible zipper
instead.
Never mind how Aloy's pants suddenly grew some thick stitching
between the first and second video games, but I would have to add
some to this version of her pants either way, using some thick cotton
cord.
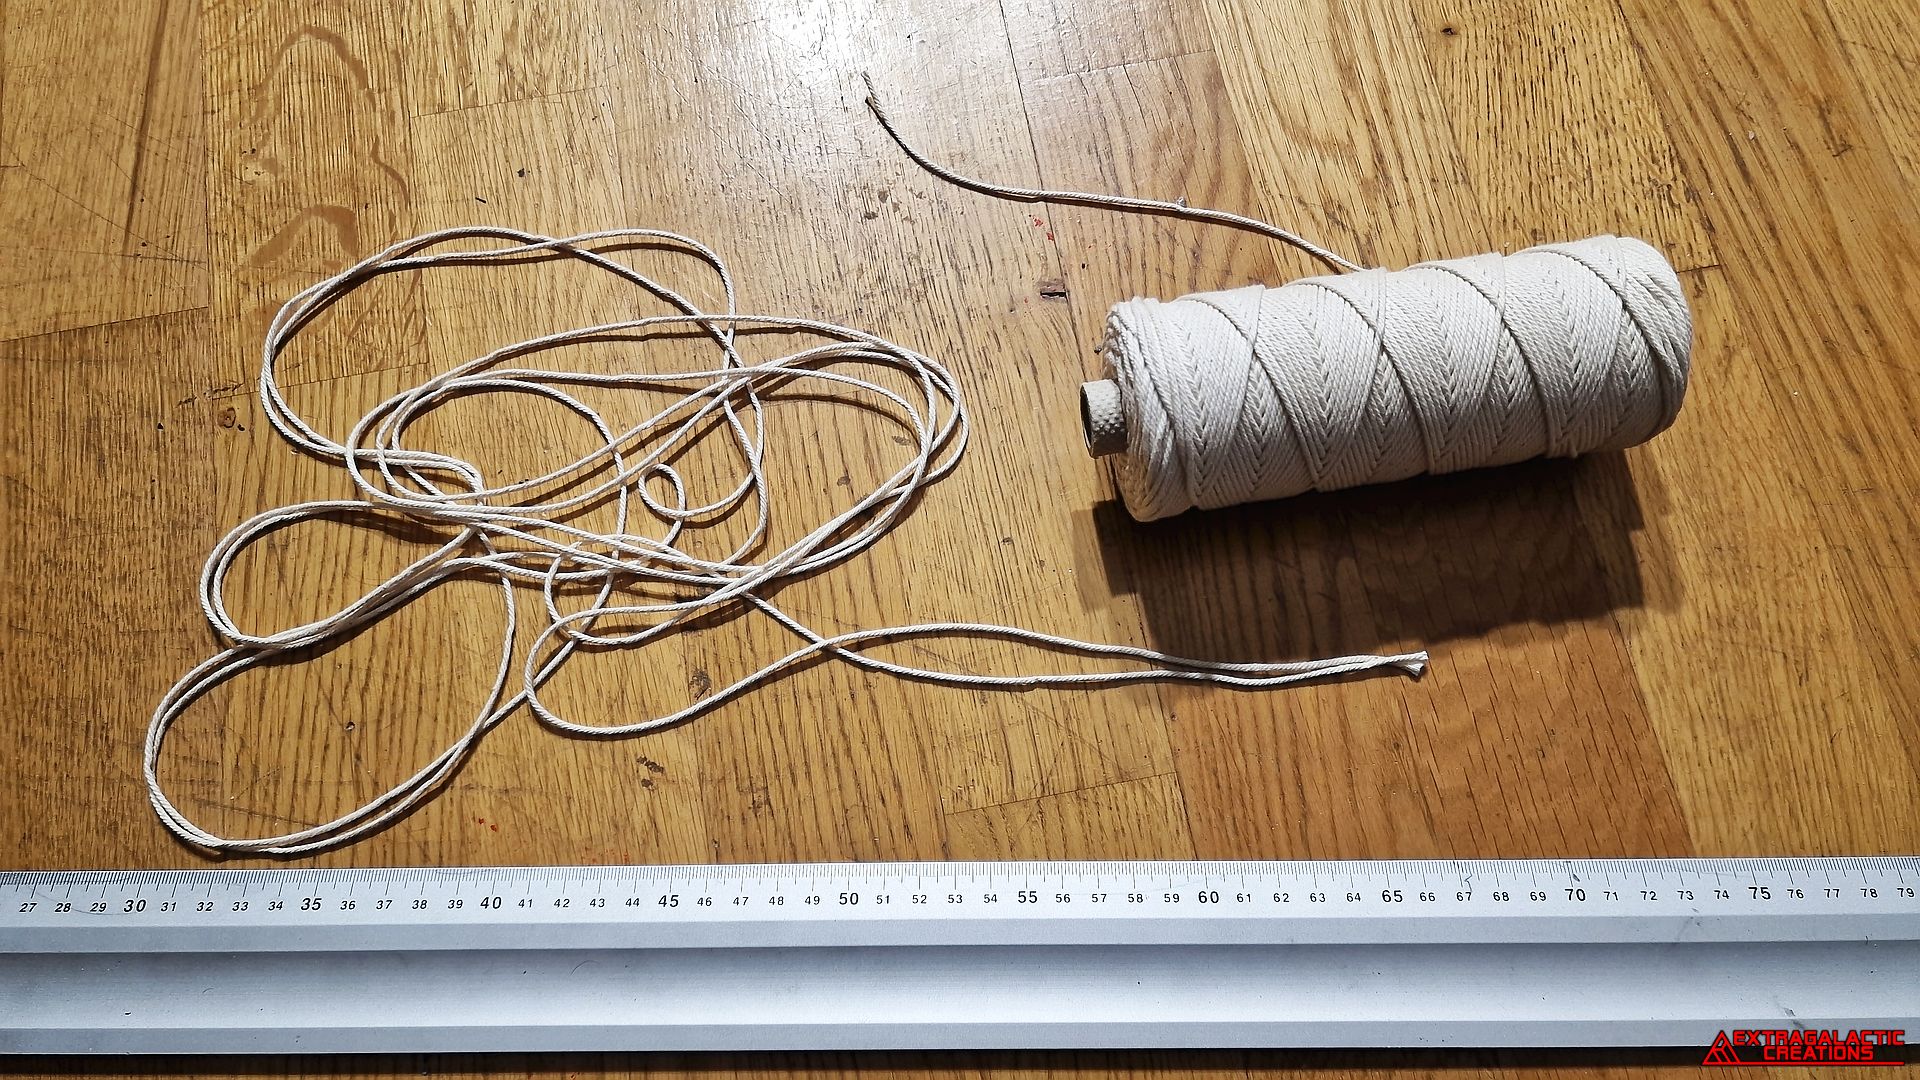
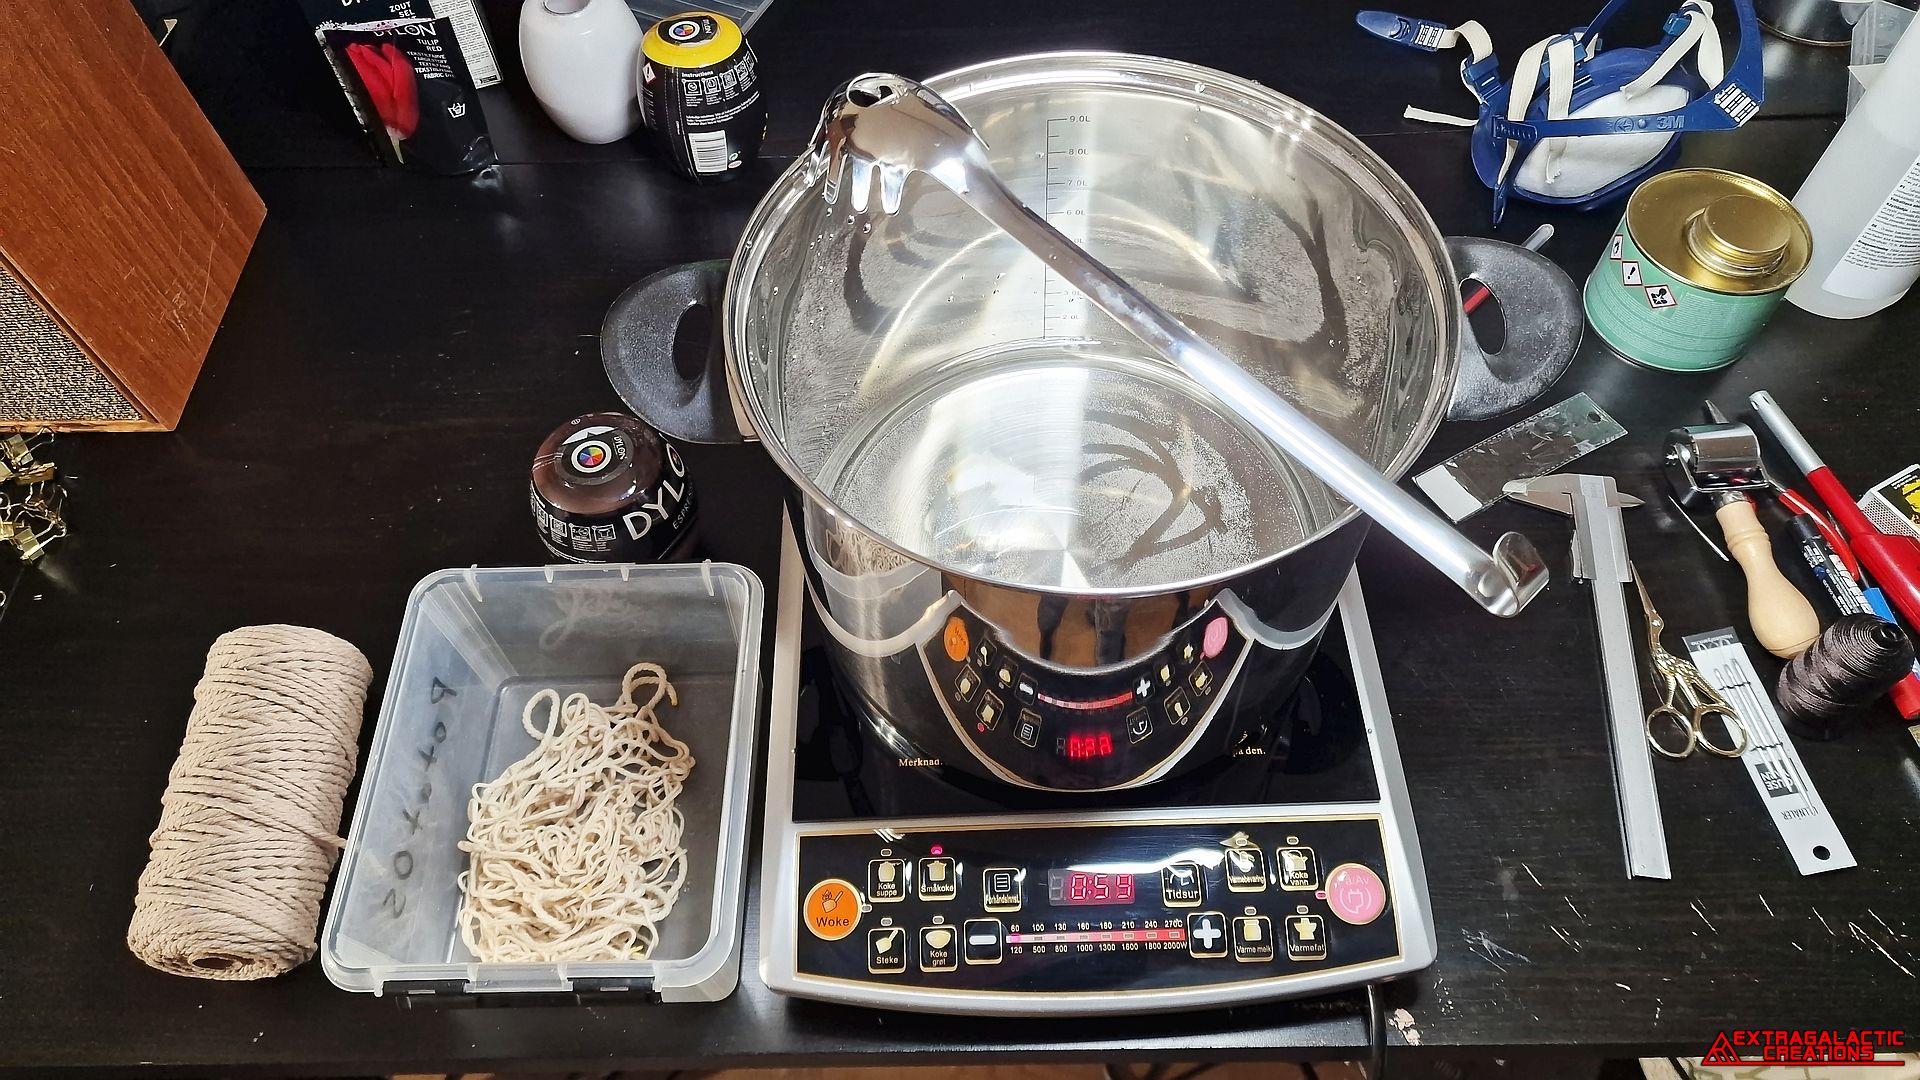
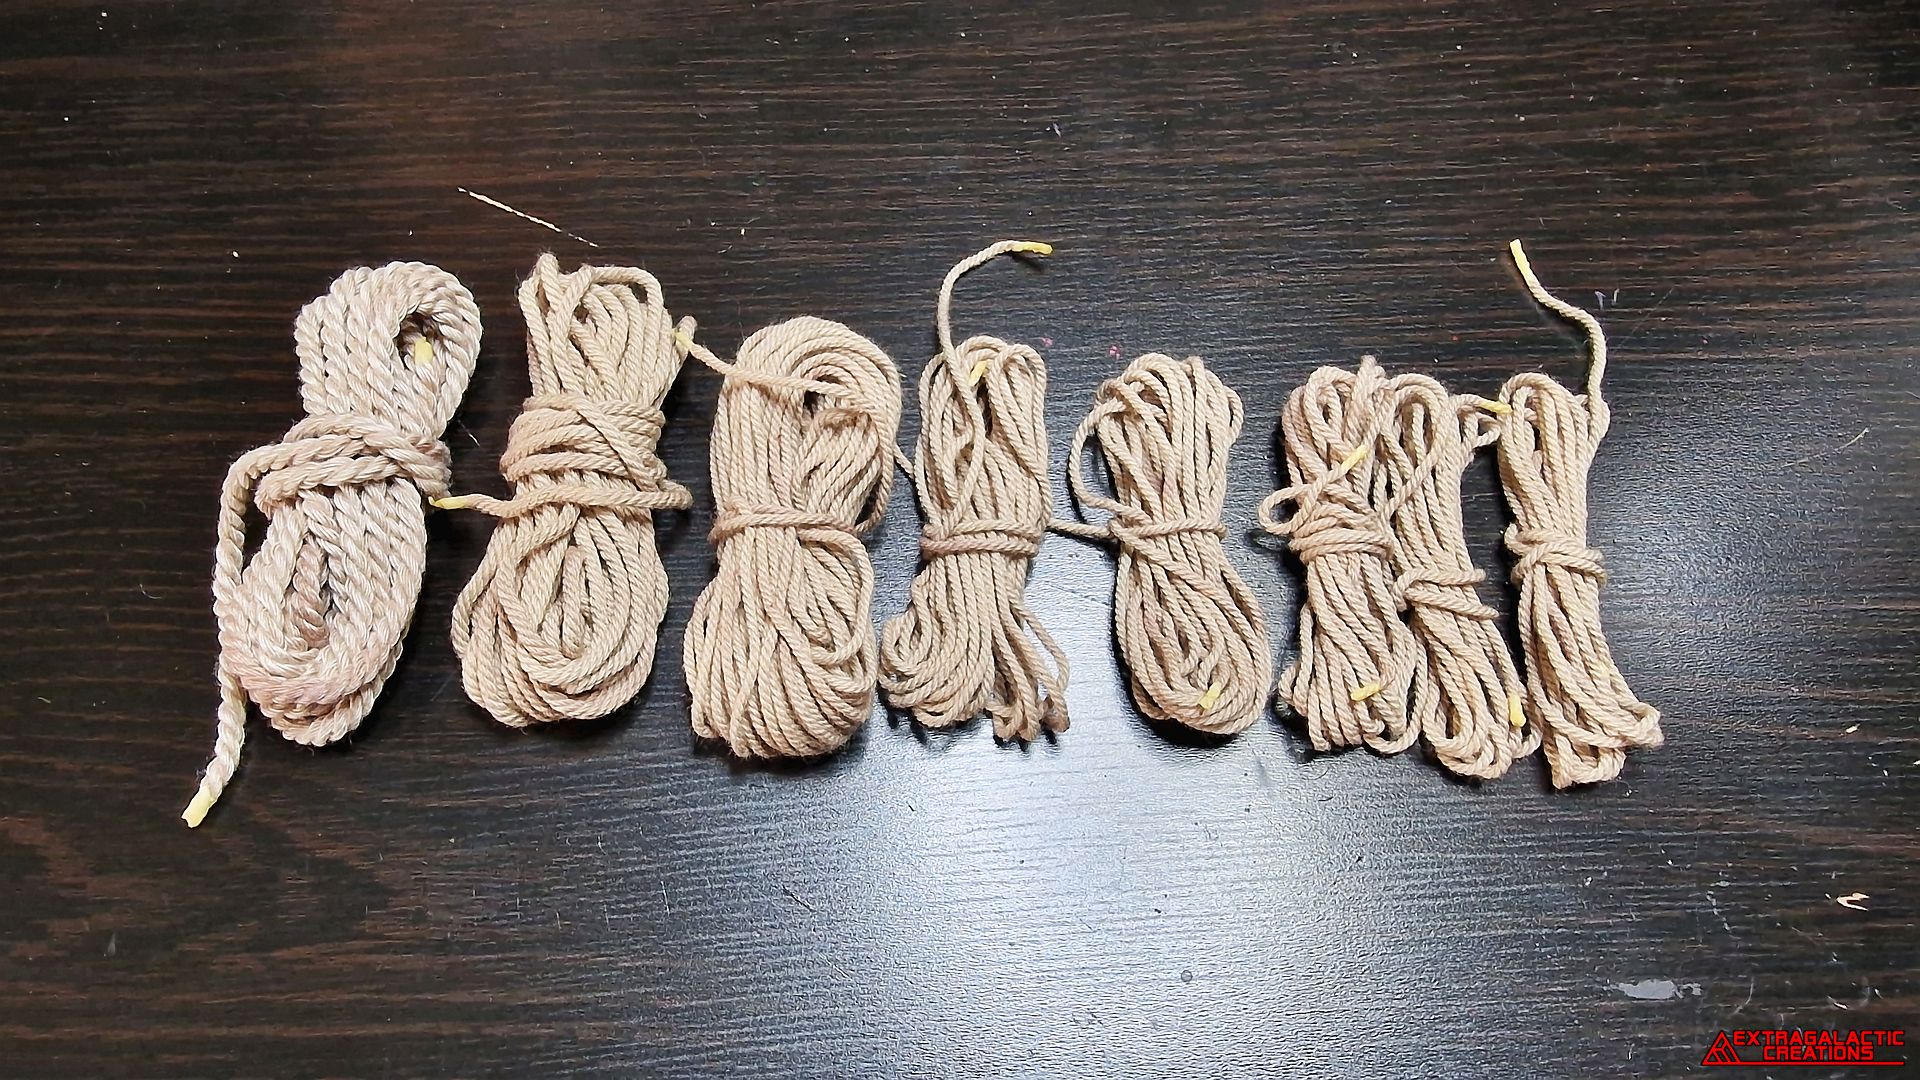
Since I would have to dye this cord to various colors, I only cut the
required length for each color instead of dying the whole roll.
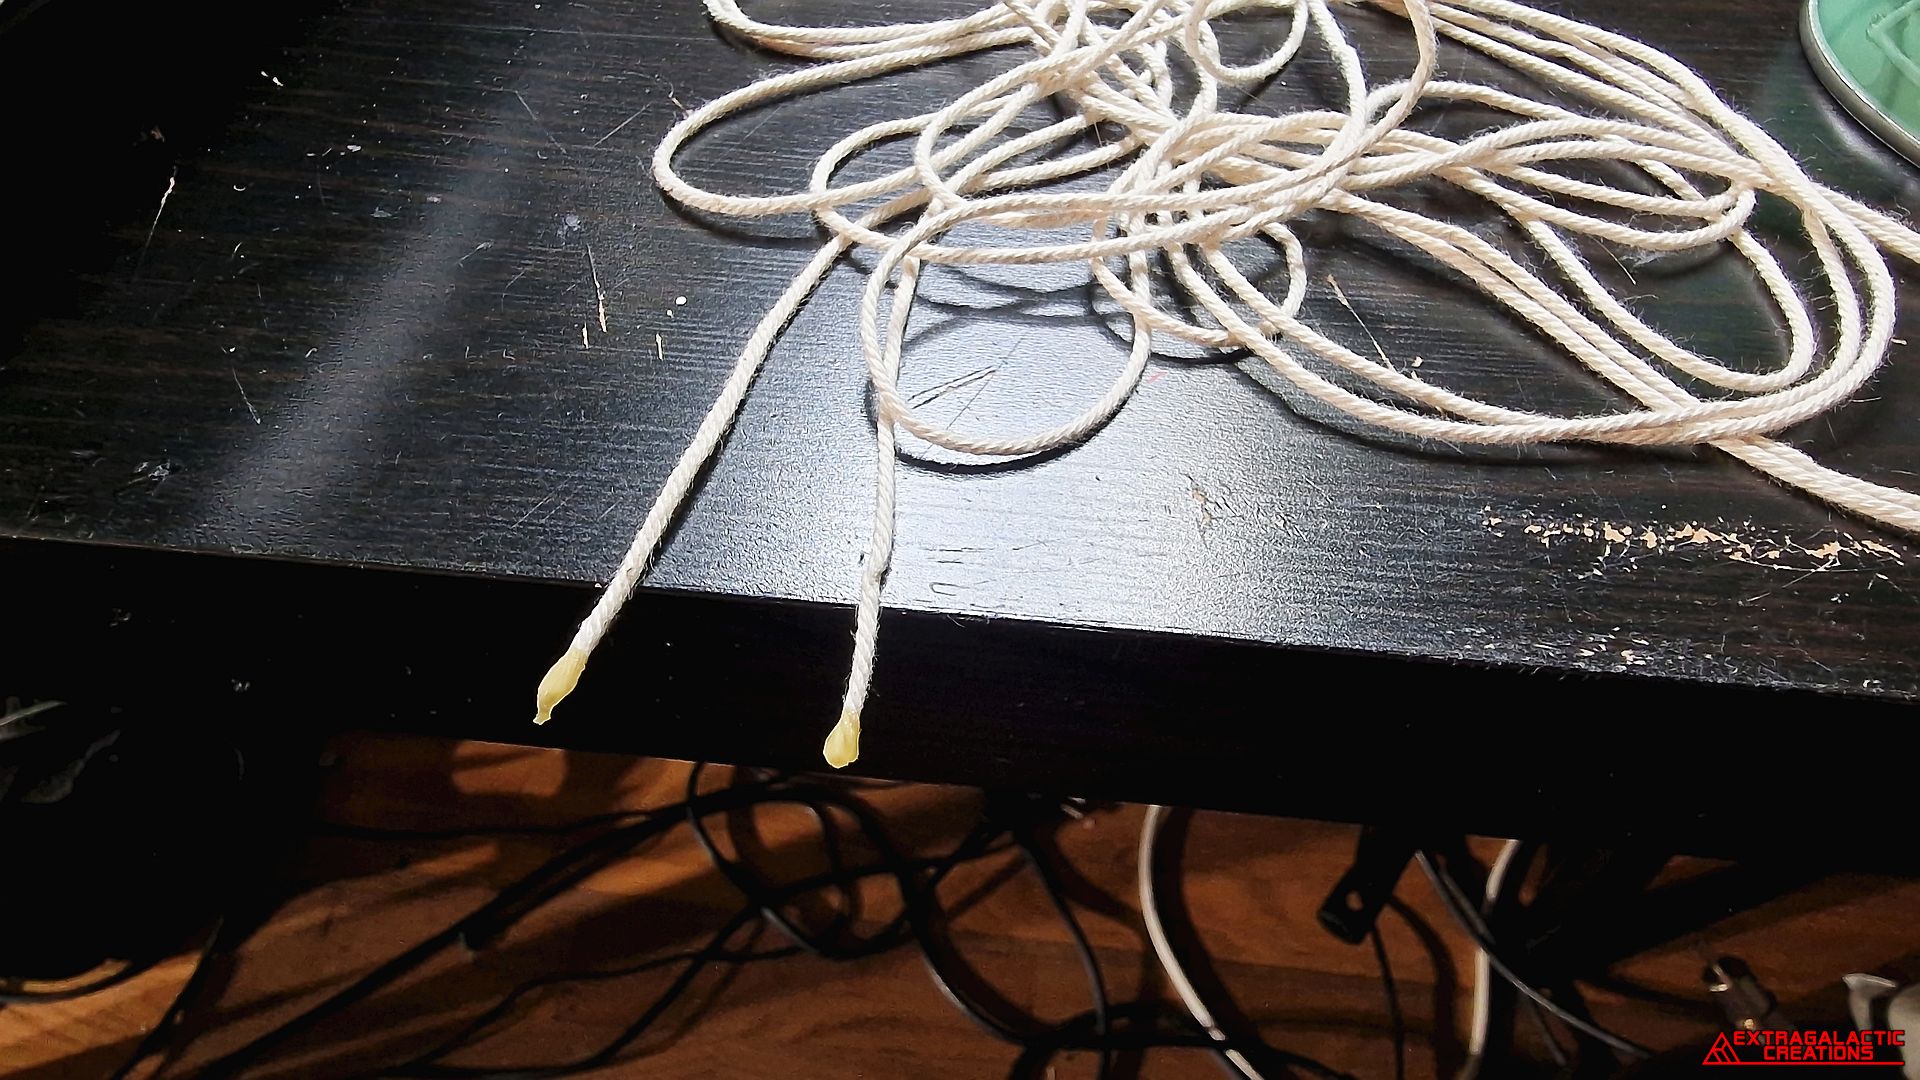
The ends of the cords were dipped into contact adhesive to prevent
them from fraying apart during the dying process.
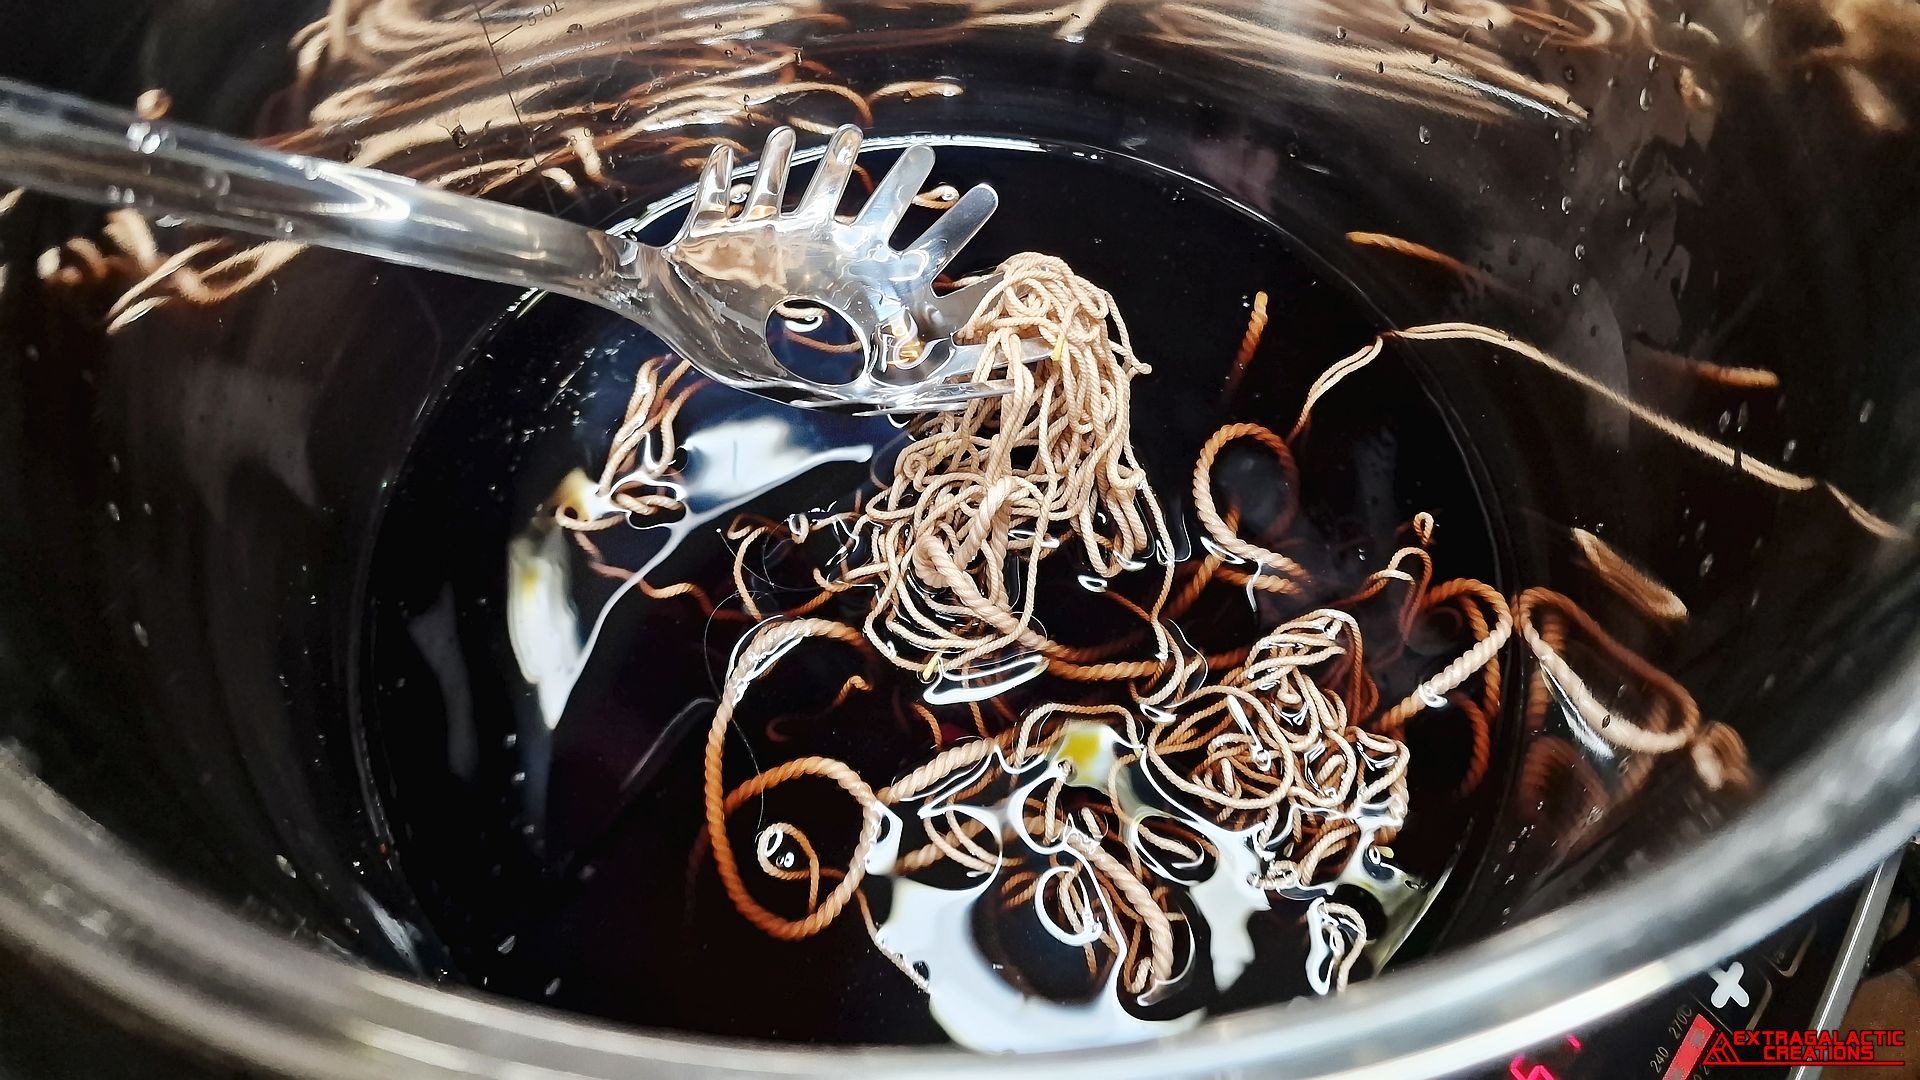
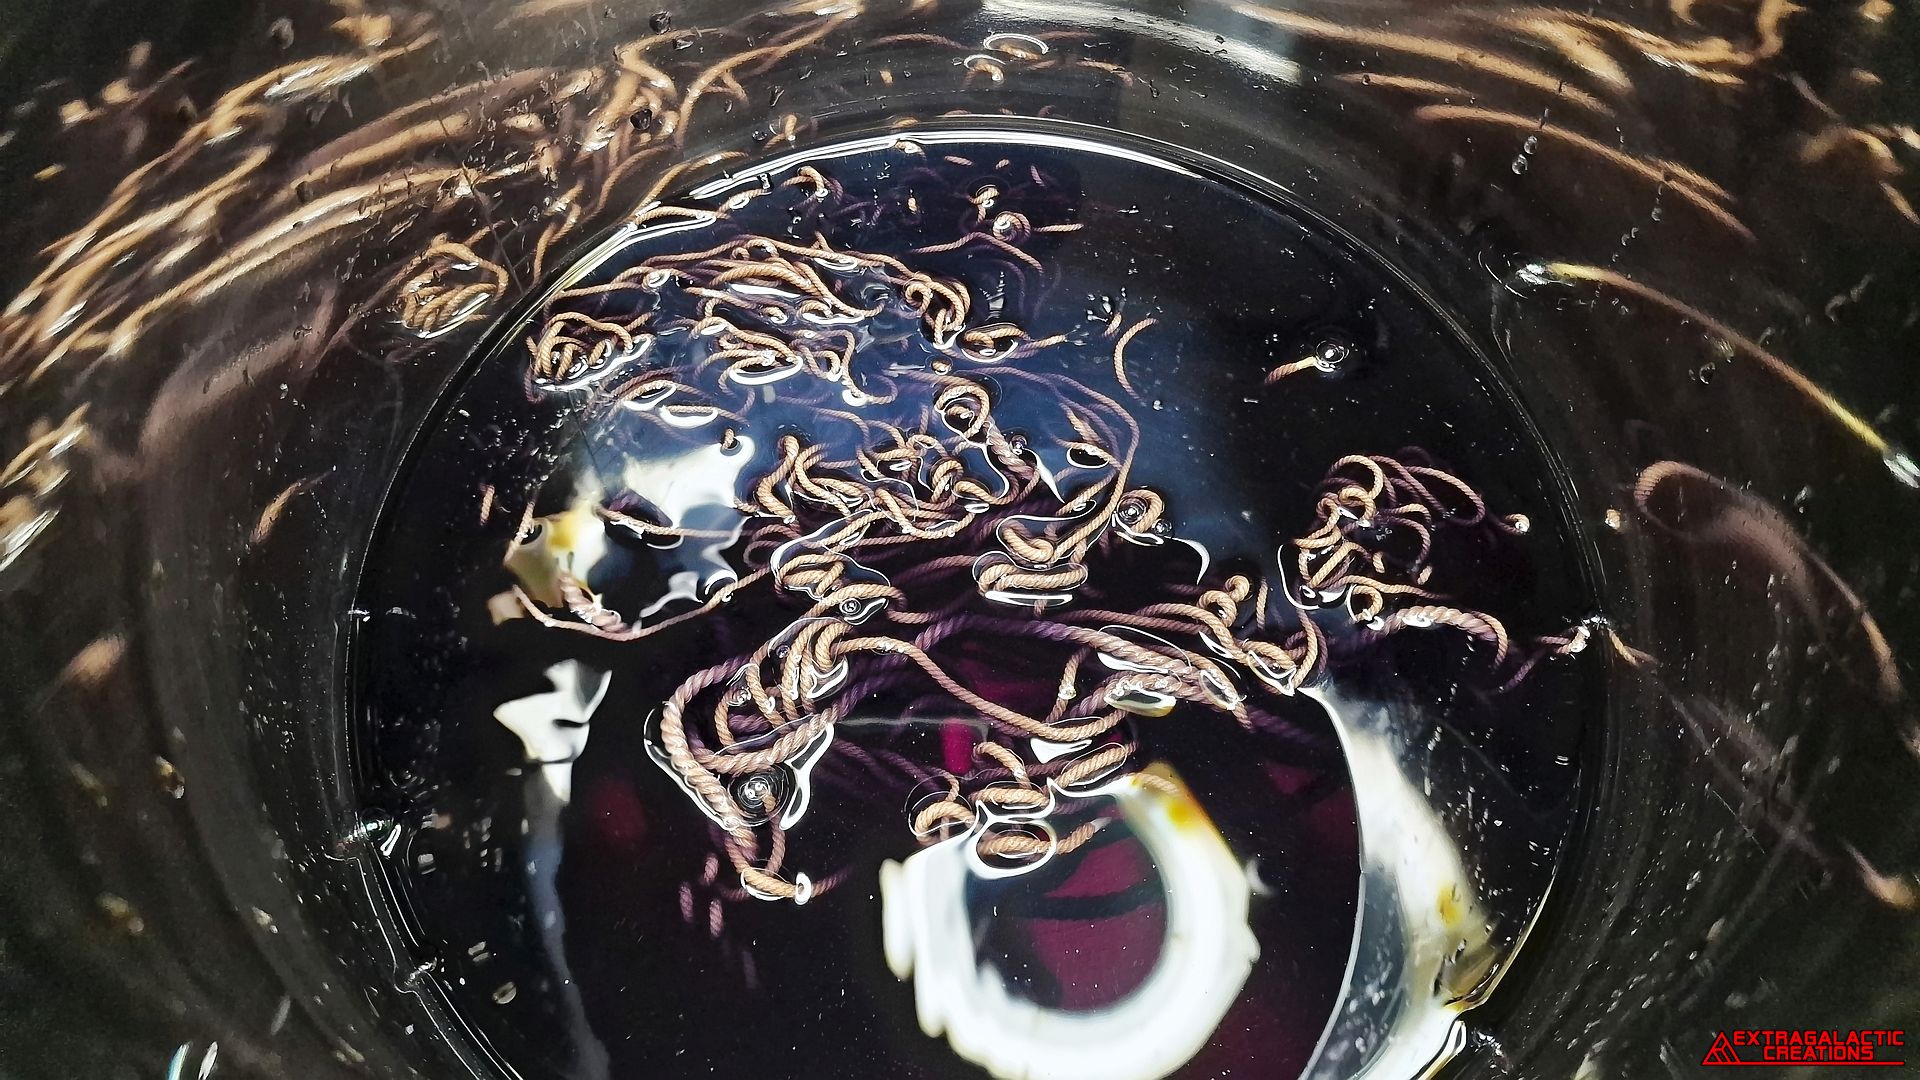
A small amount of dark brown fabric dye was used to give the
previously white cords the proper tan color.
A bit of purple fabric dye I had laying around was used to tone down
the yellow hues of the tan color I was going for.
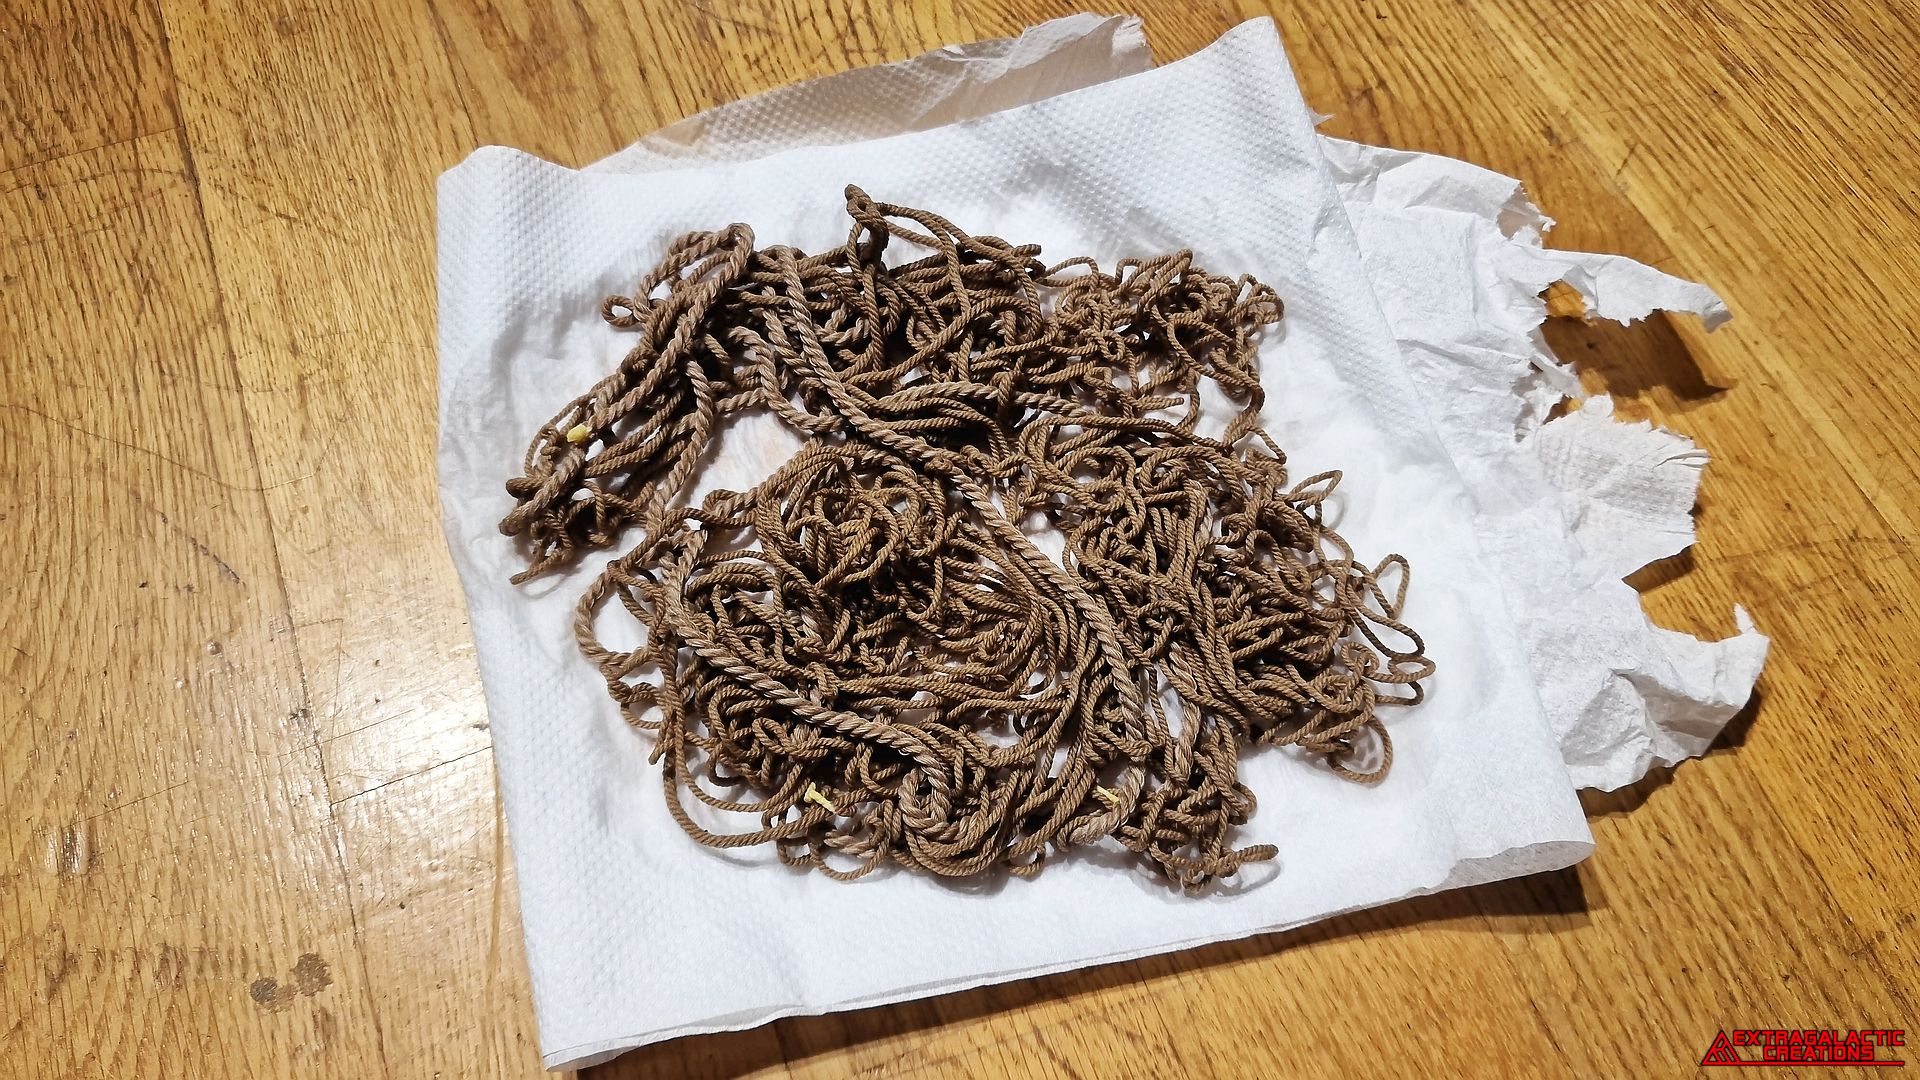
All the various lengths of dyed cord were dried and neatly tied to be
used on whatever they were needed for.
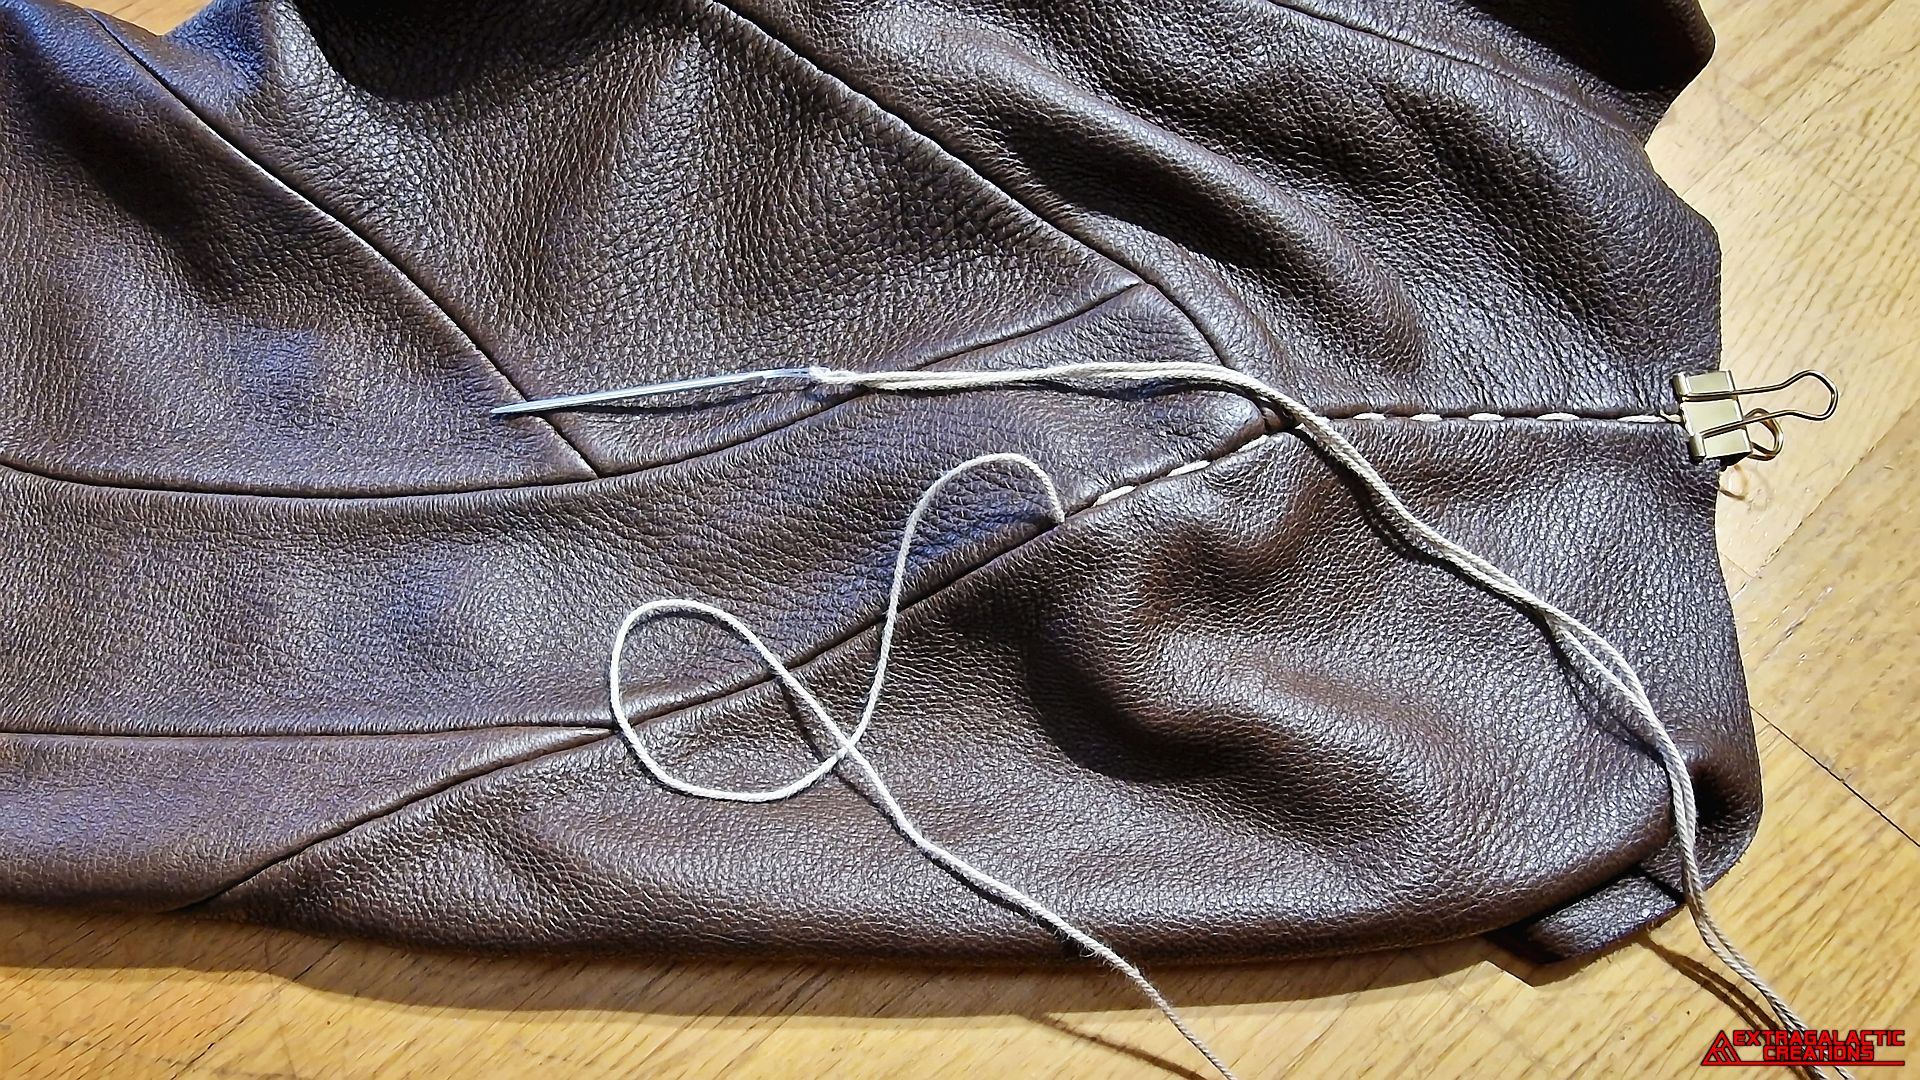
A large needle was used to sew the cord in between the stitches
holding the panels together, which conveniently gave the cord stitches
exactly the right length and spacing as needed.
The first set of cord stitches reached right around from the top and
almost back up again.
A second set of shorter cord stitches were added in between the
vesnooley and the jaropnus.
A third set of cord stitches were added in between whatever these
panels were called again.


The freshly dyed cords were washed once again to remove any excess
dye that might stain whatever else.
A small blob of contact adhesive was used to secure the ends of the
cords into place.
I bought a large pot and pasta fork for this neat little stove, just to
dye the various cords and fabrics needed for my projects.
The cords were also washed to clear them of any chemicals that might
hinder the dying process.
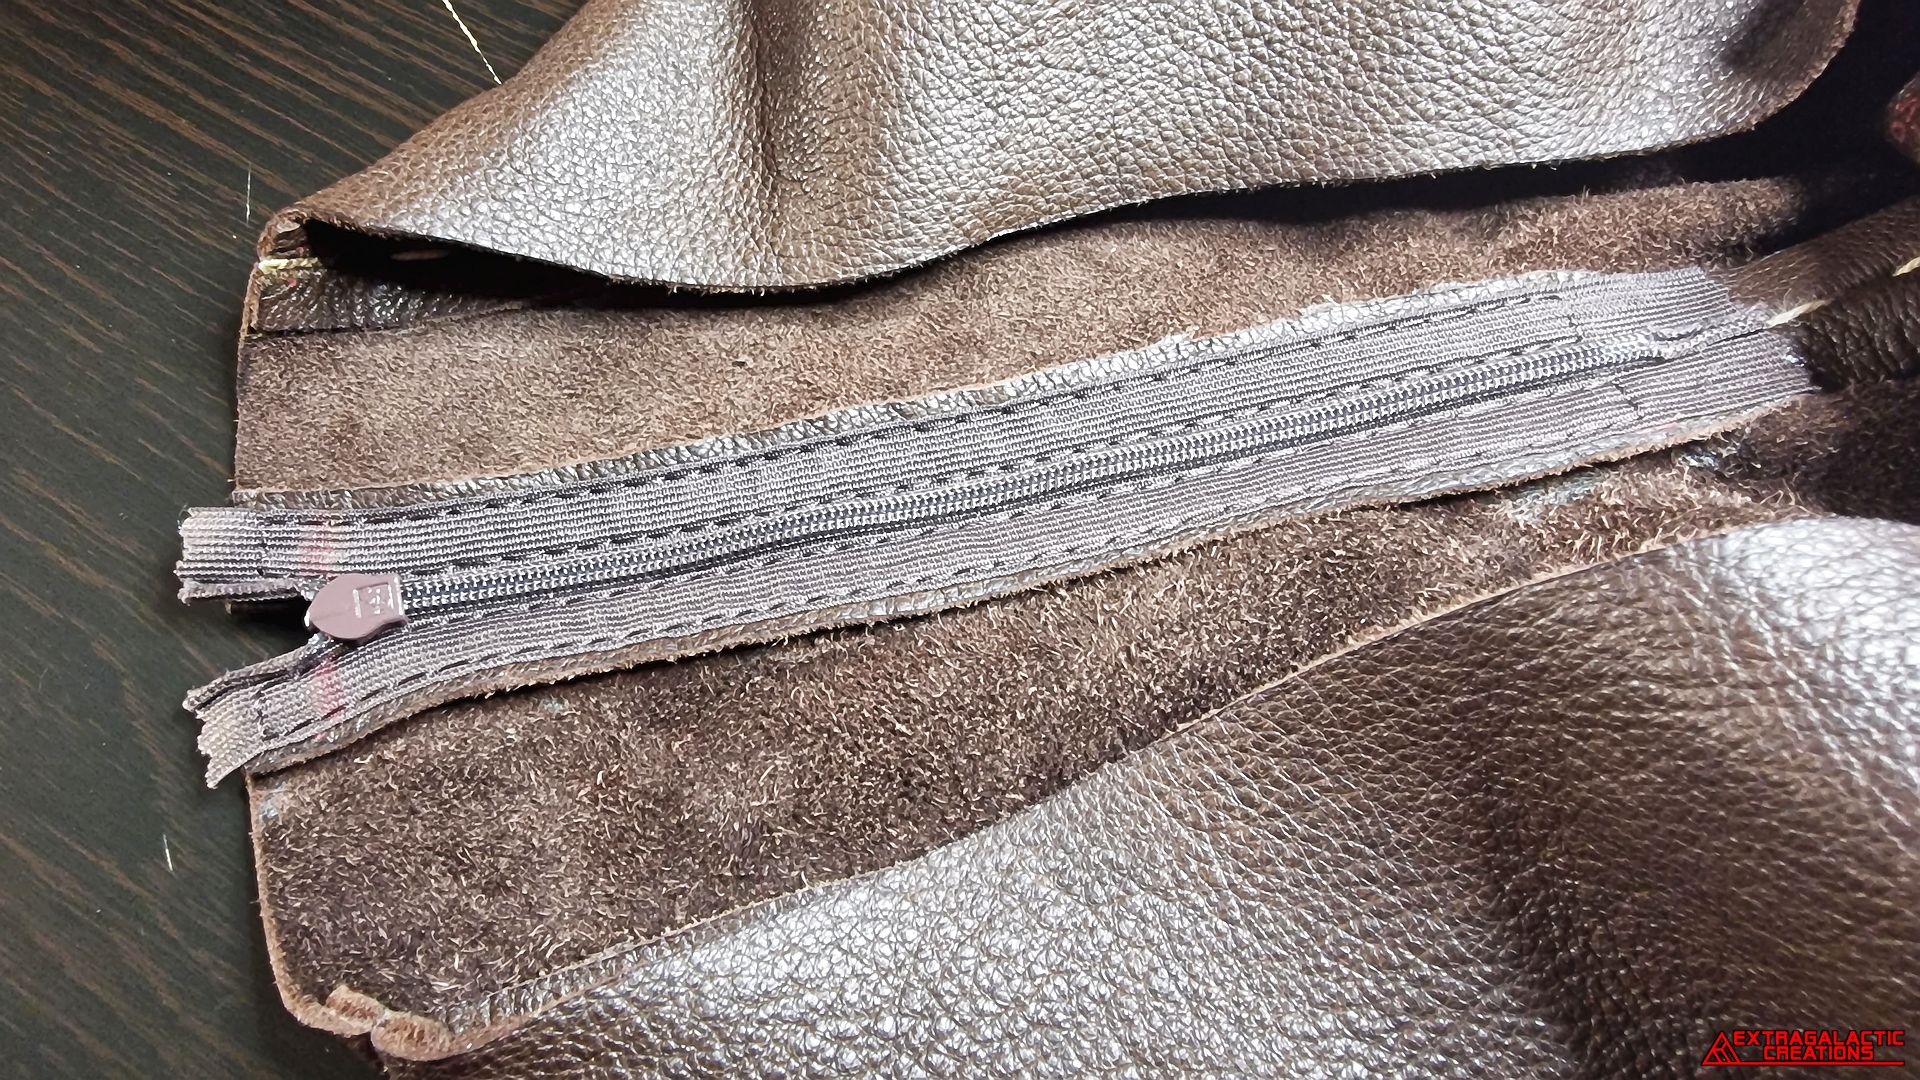
The nearly invisible zipper was neatly hand sewn onto the seam
allowance of the zipper opening of the tripholoogus panels.
The seam allowances of the triphloogus panels could now be glued
down all the way up to the zipper opening.
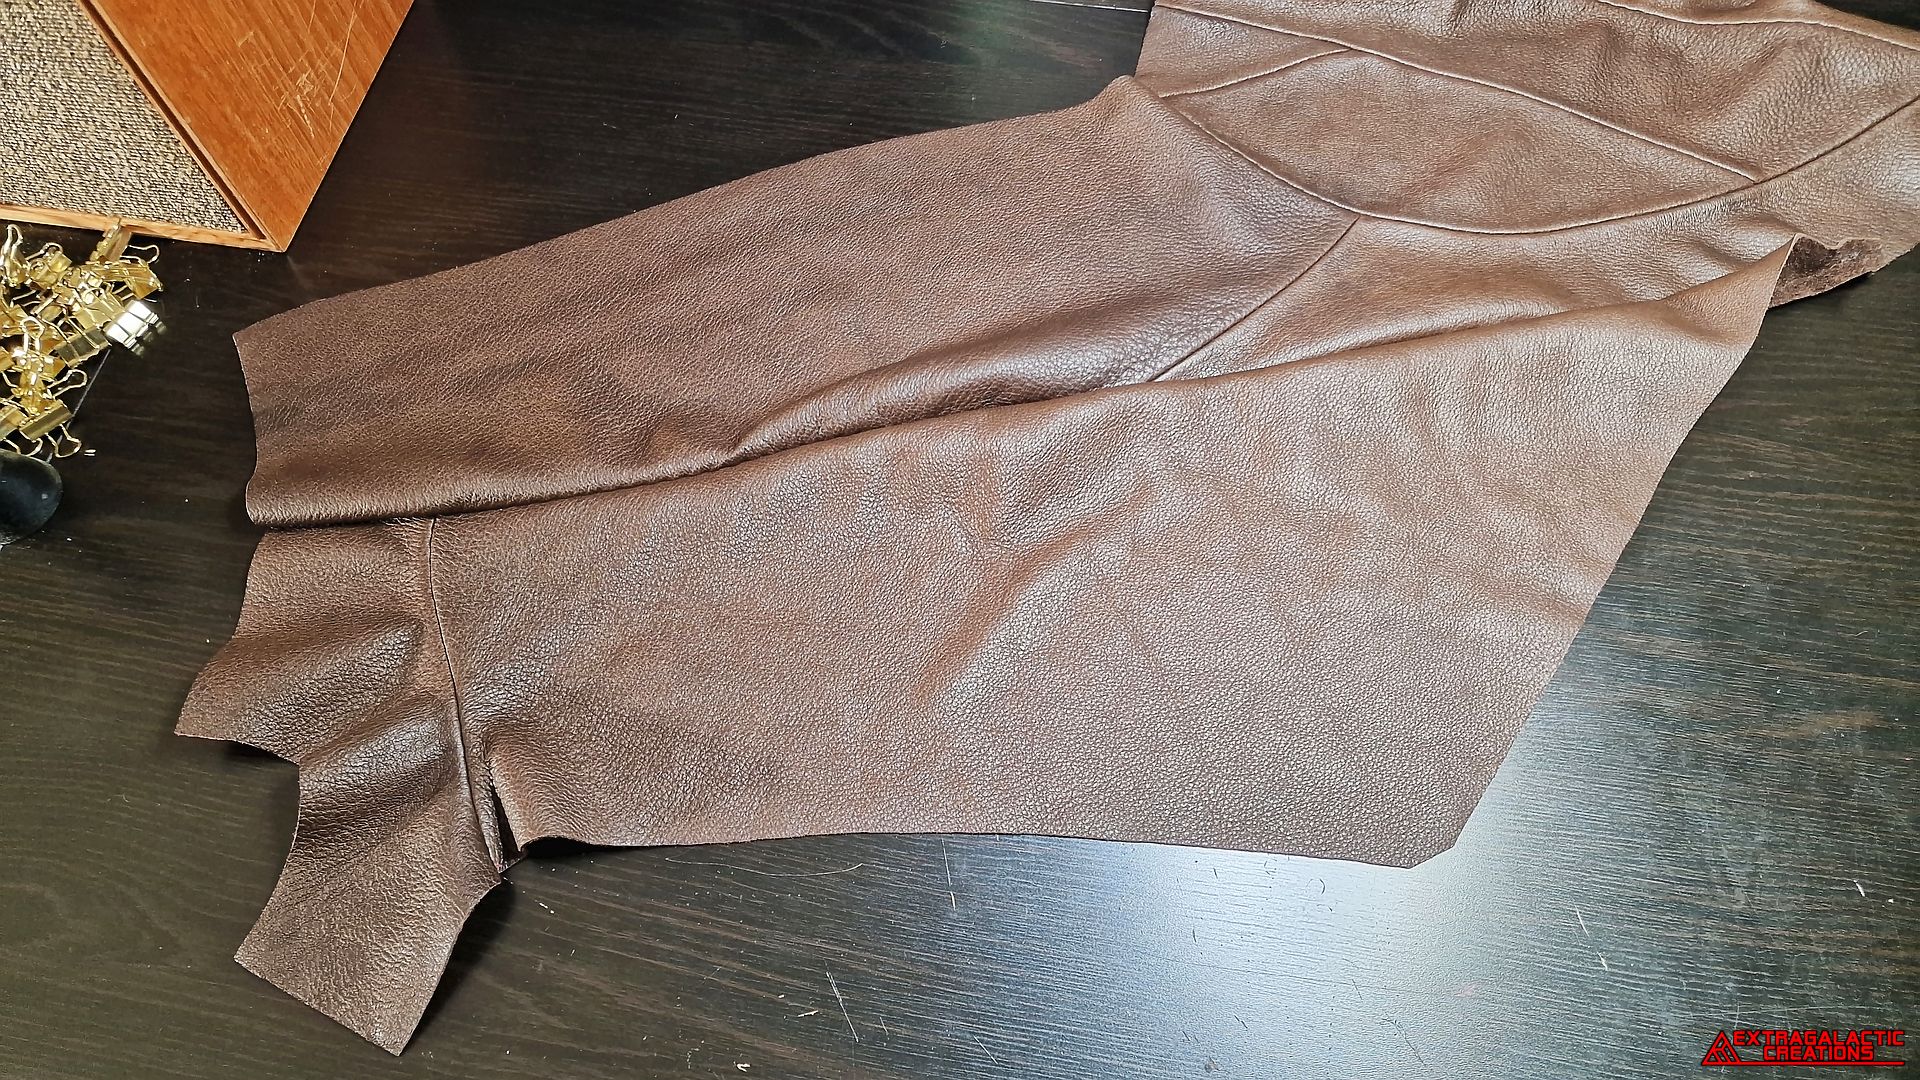
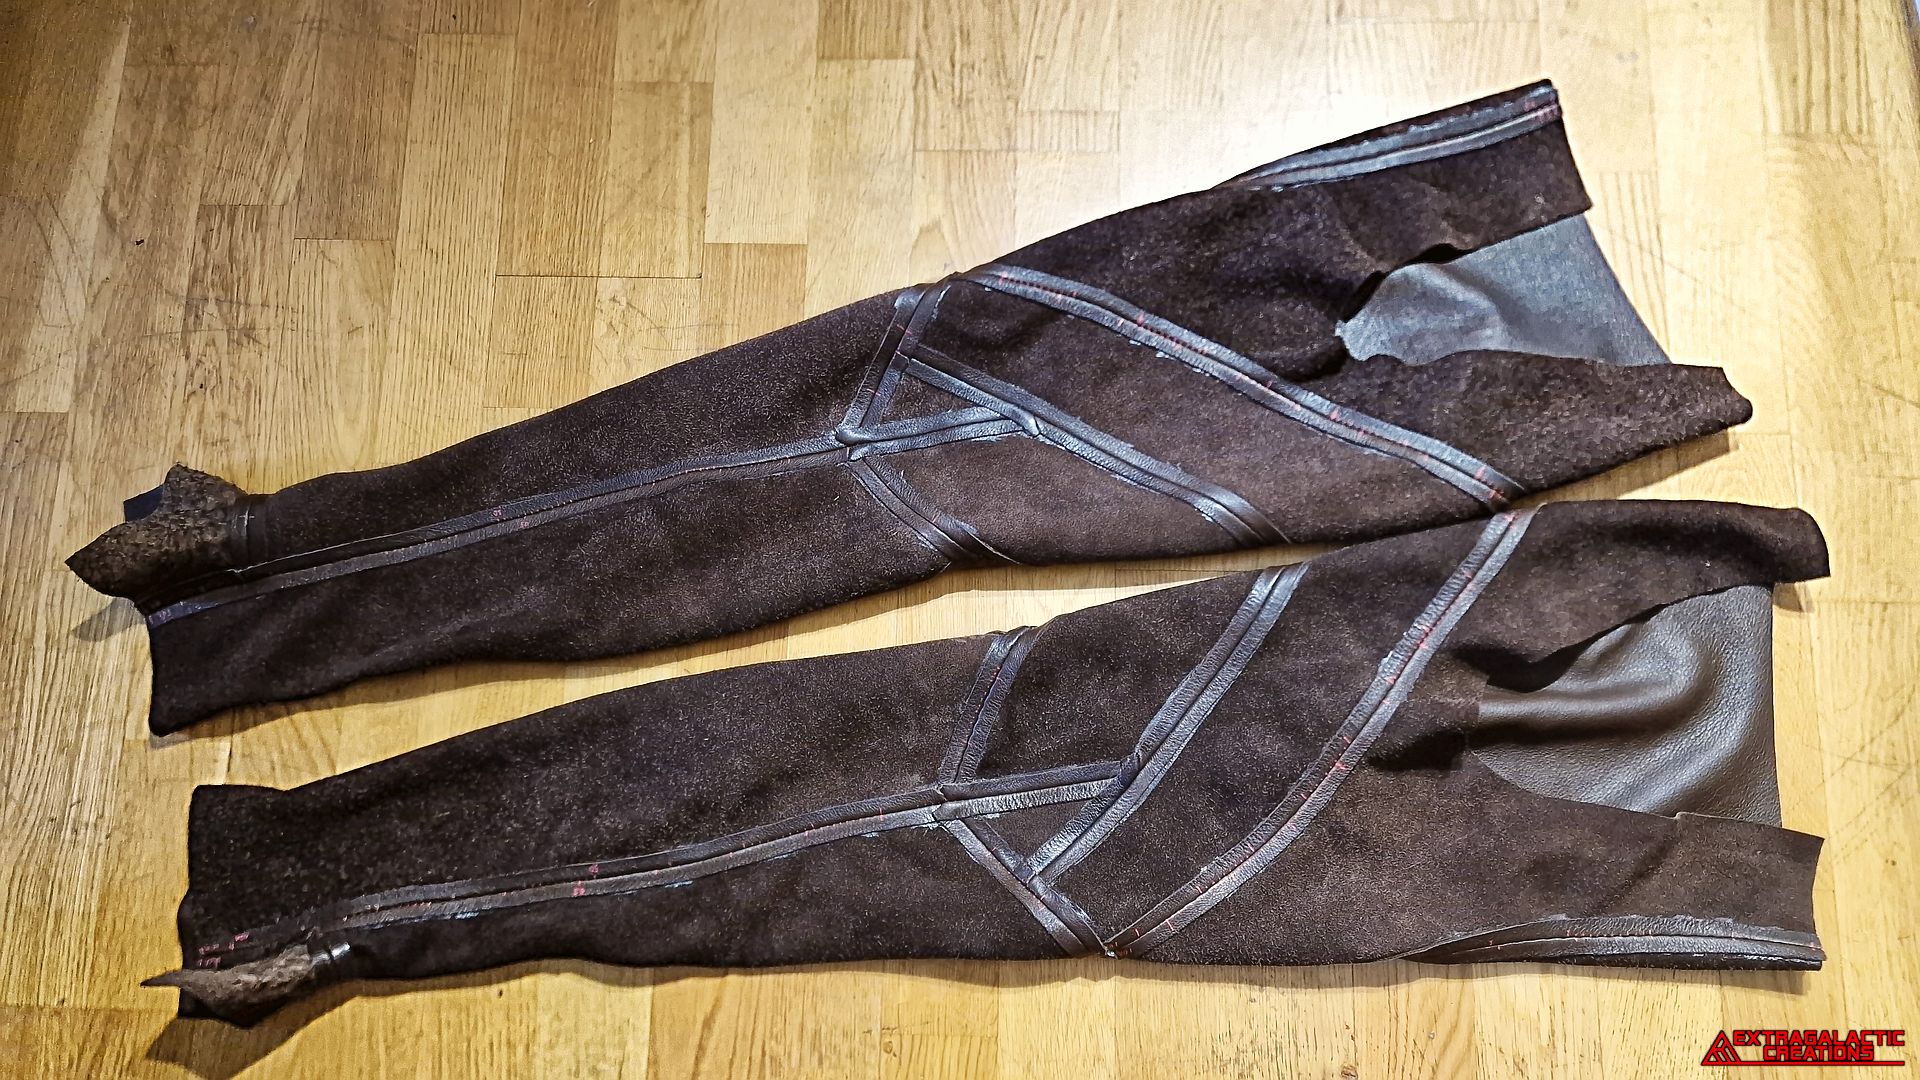
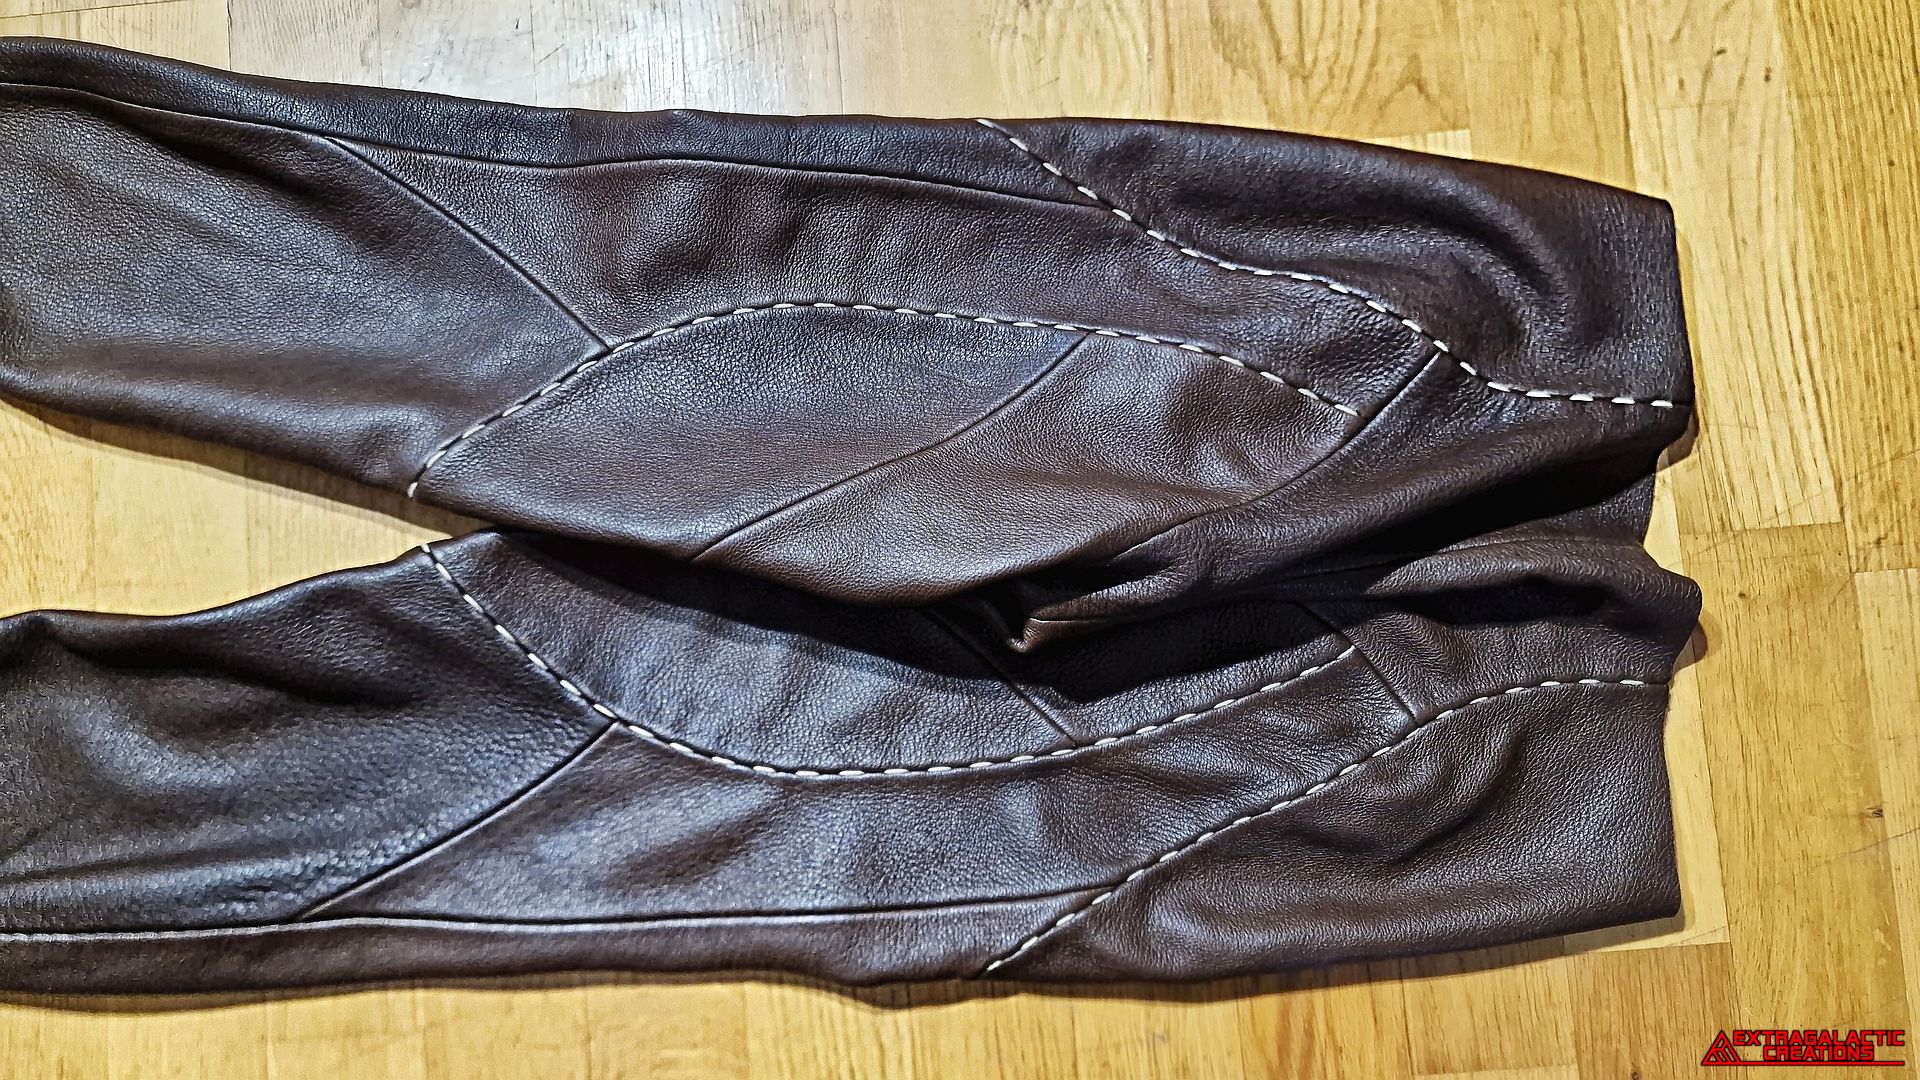
With all the many panels sewn and glued together, I now had a couple
of mirrored pant legs that were ready to be joined together.
The other sides of the vesnooley and the jaropnus were sewn onto the
other sides of the polsuglop and the banofleg.


