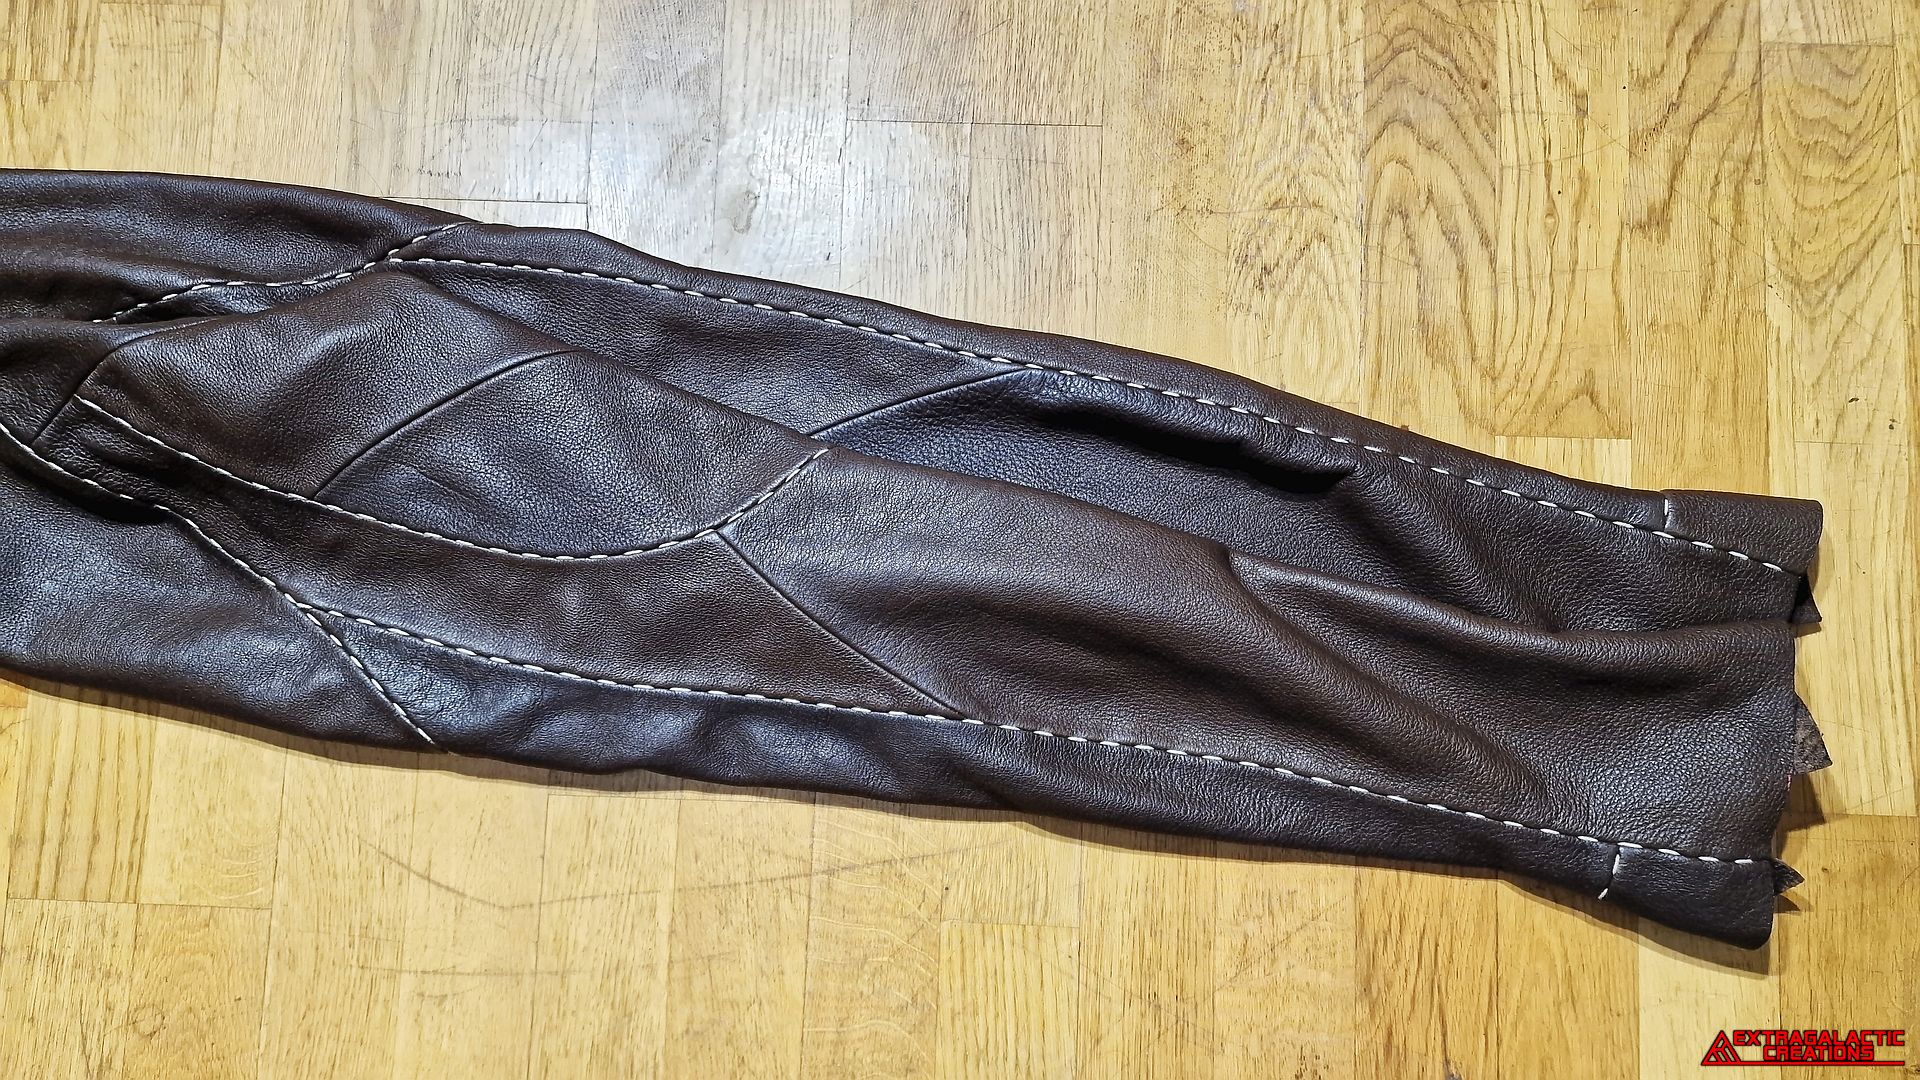
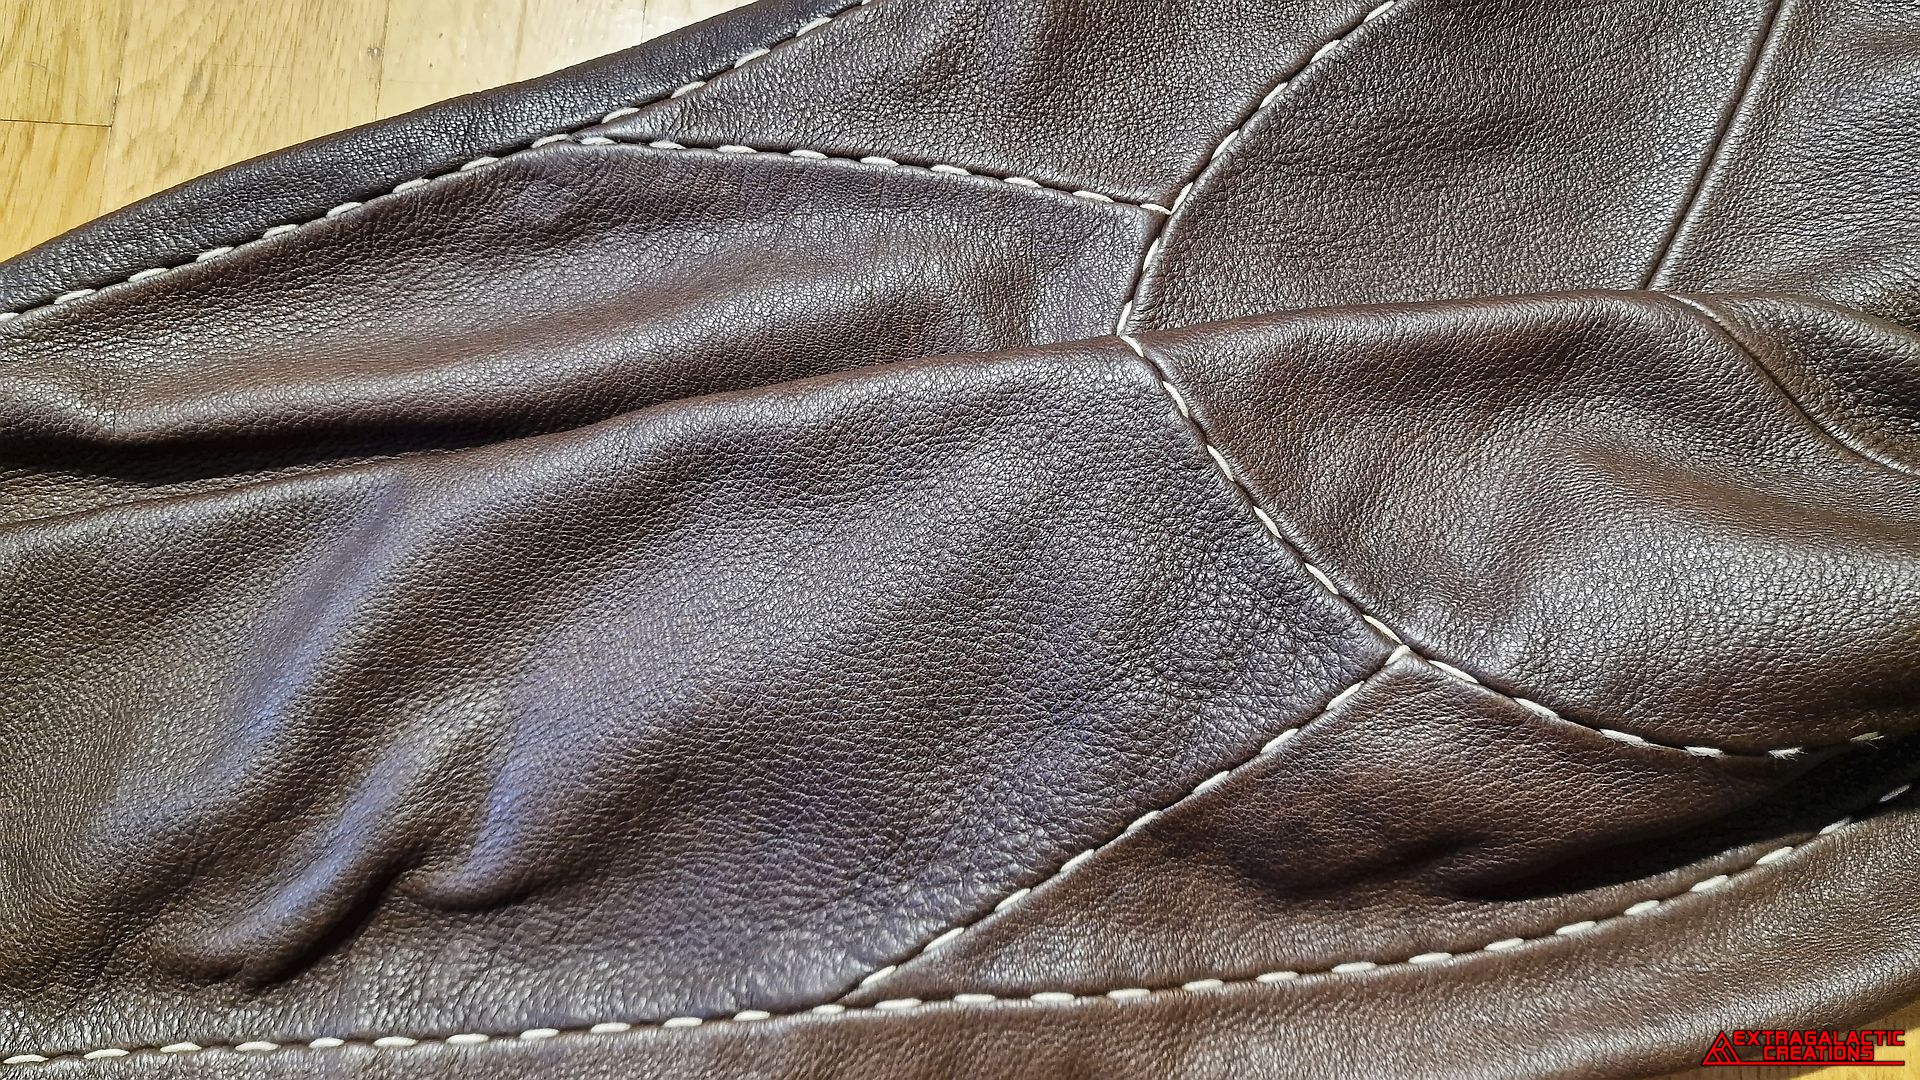
Creating the pants


The result was a couple of cludmenus panels that would essentially
hold the pants into place inside the shoes.
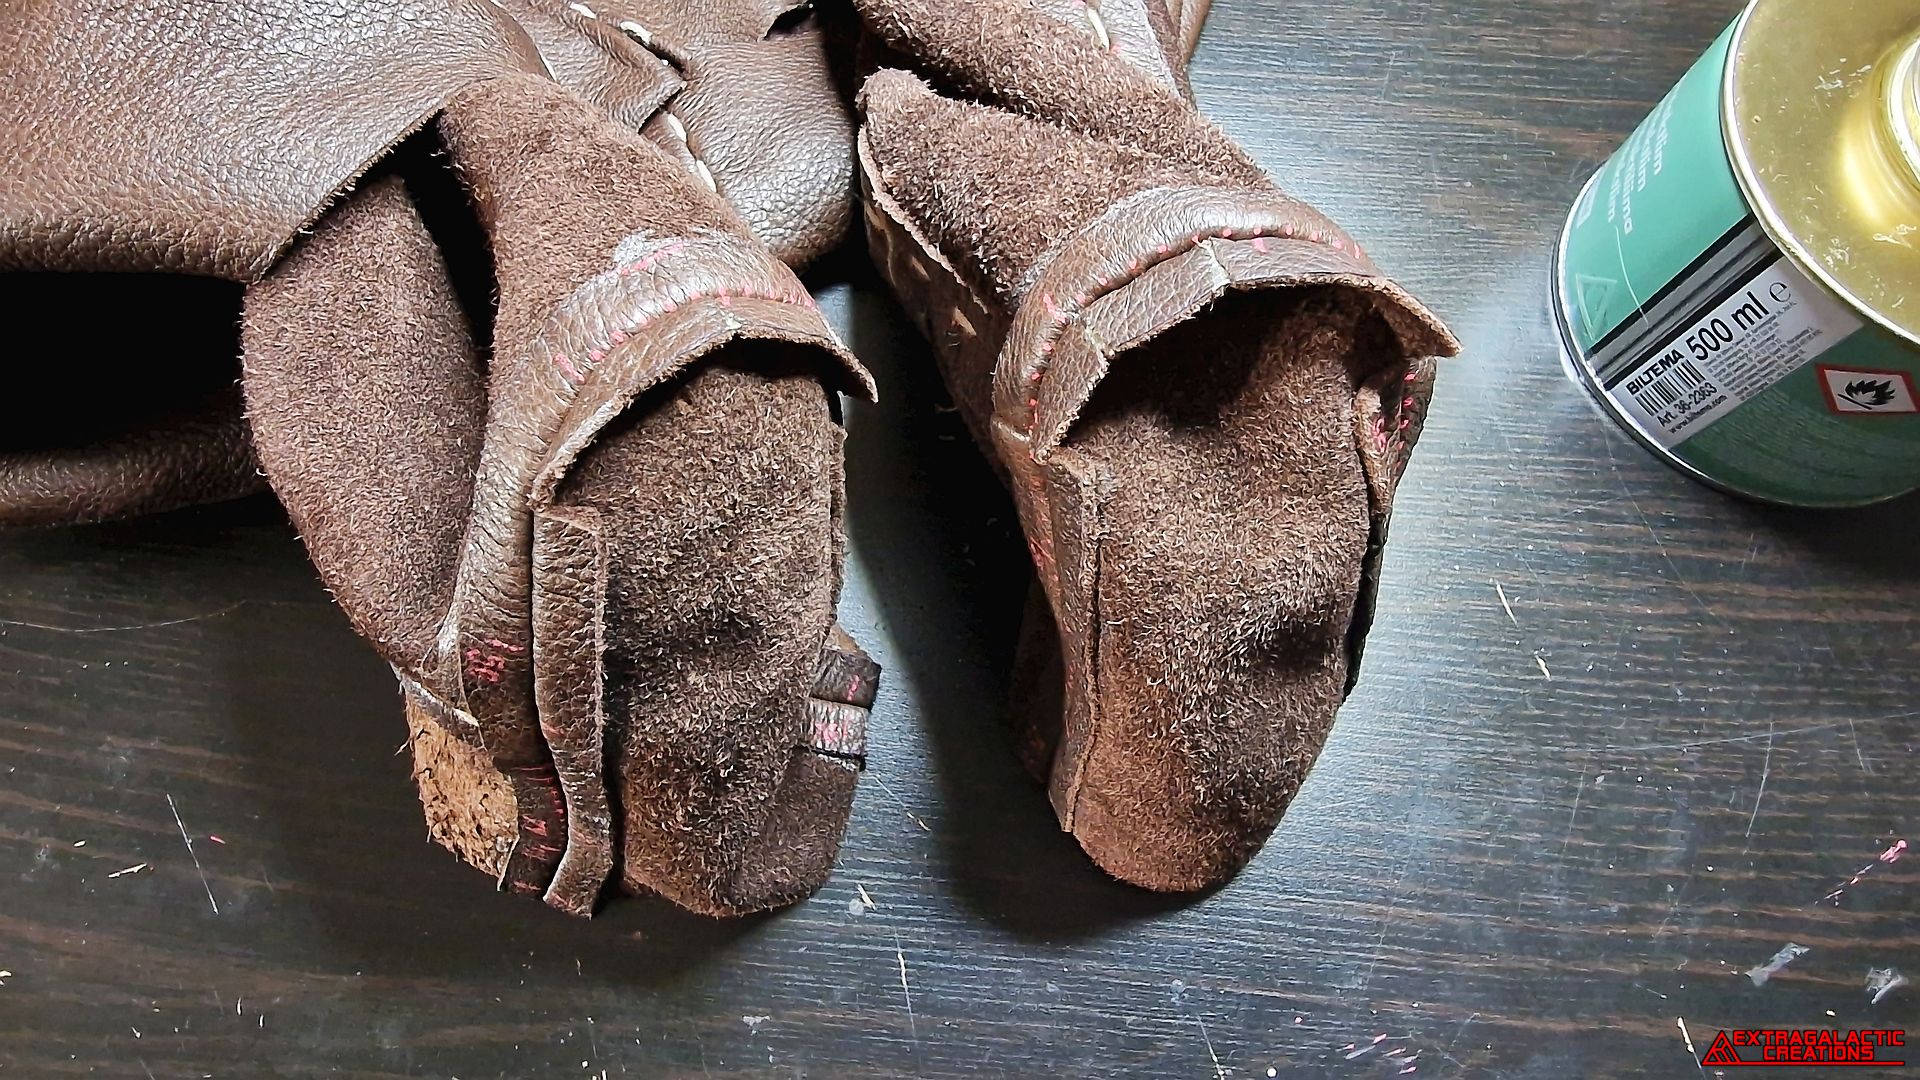
I was thinking of maybe making the bottoms of the foot openings out
of the same material as the fabric lining, but thought they would look
more complete if I made them out of leather instead.
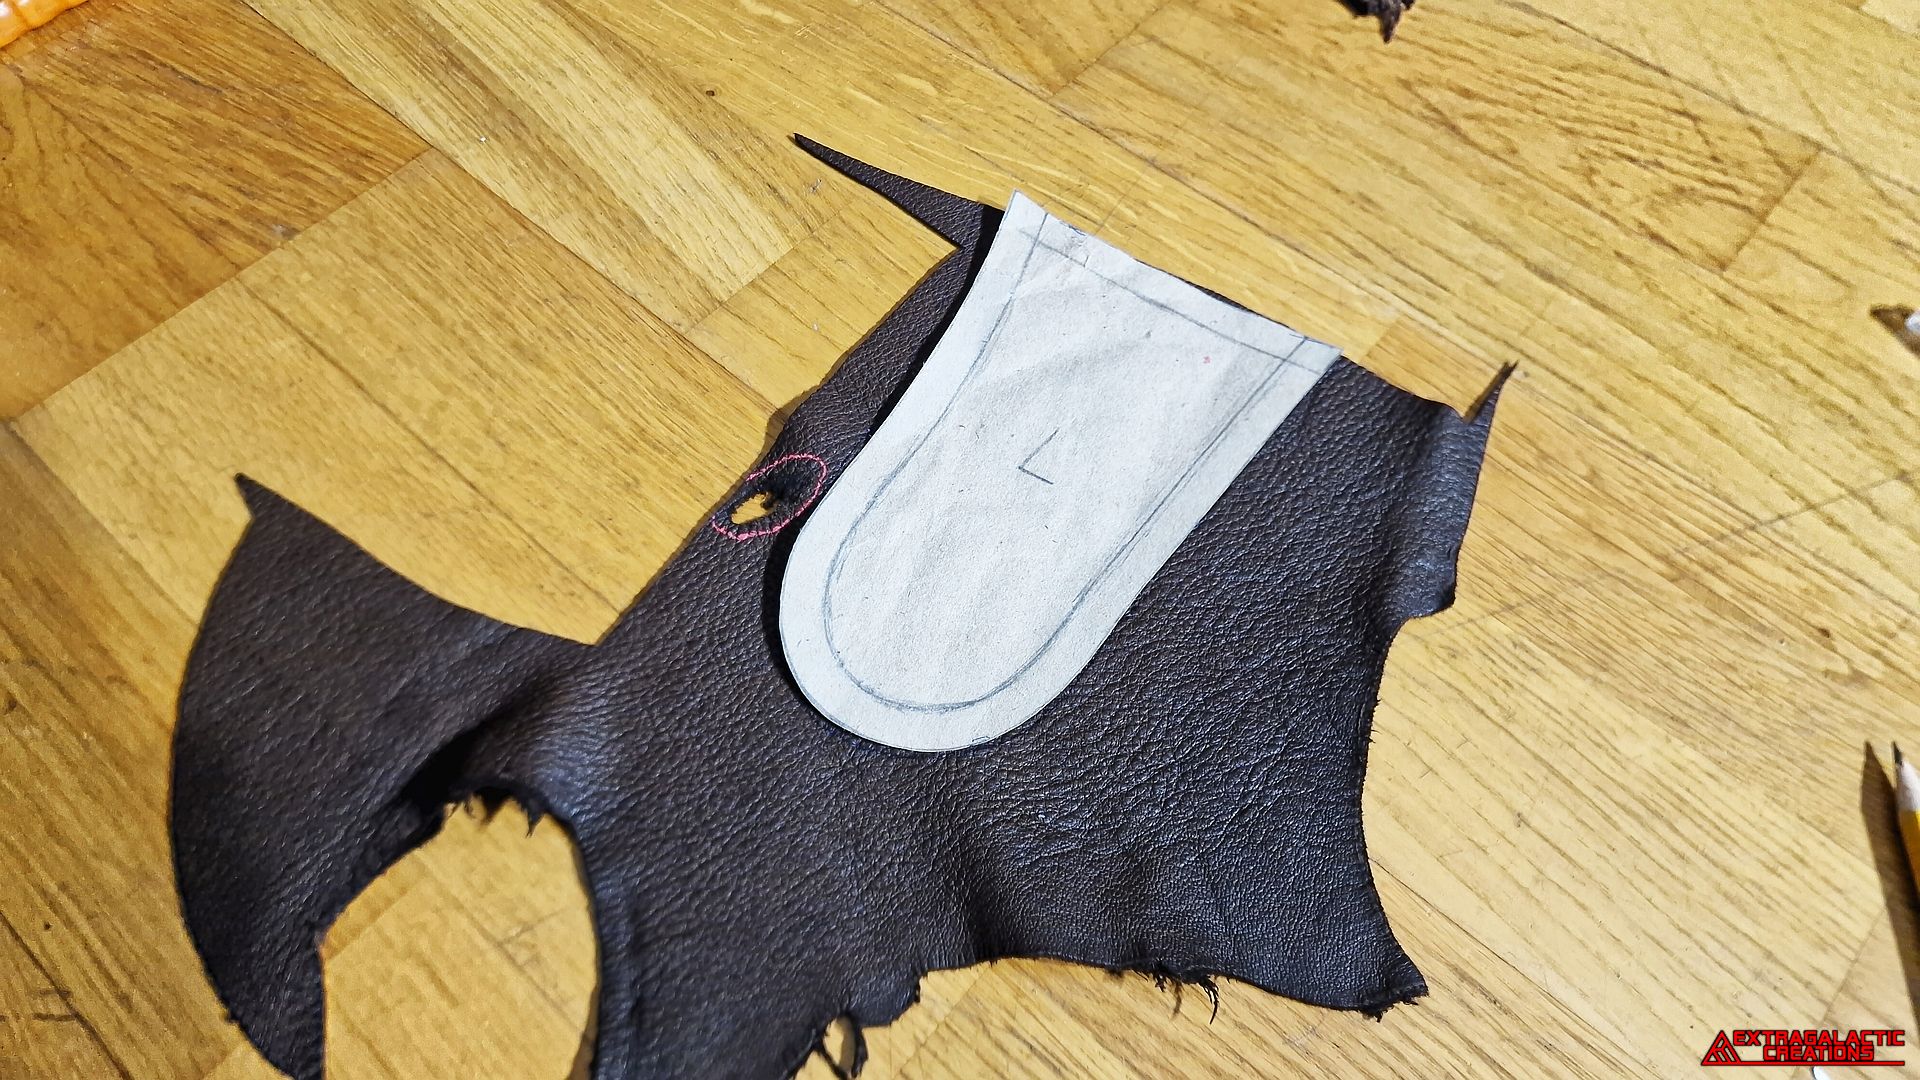
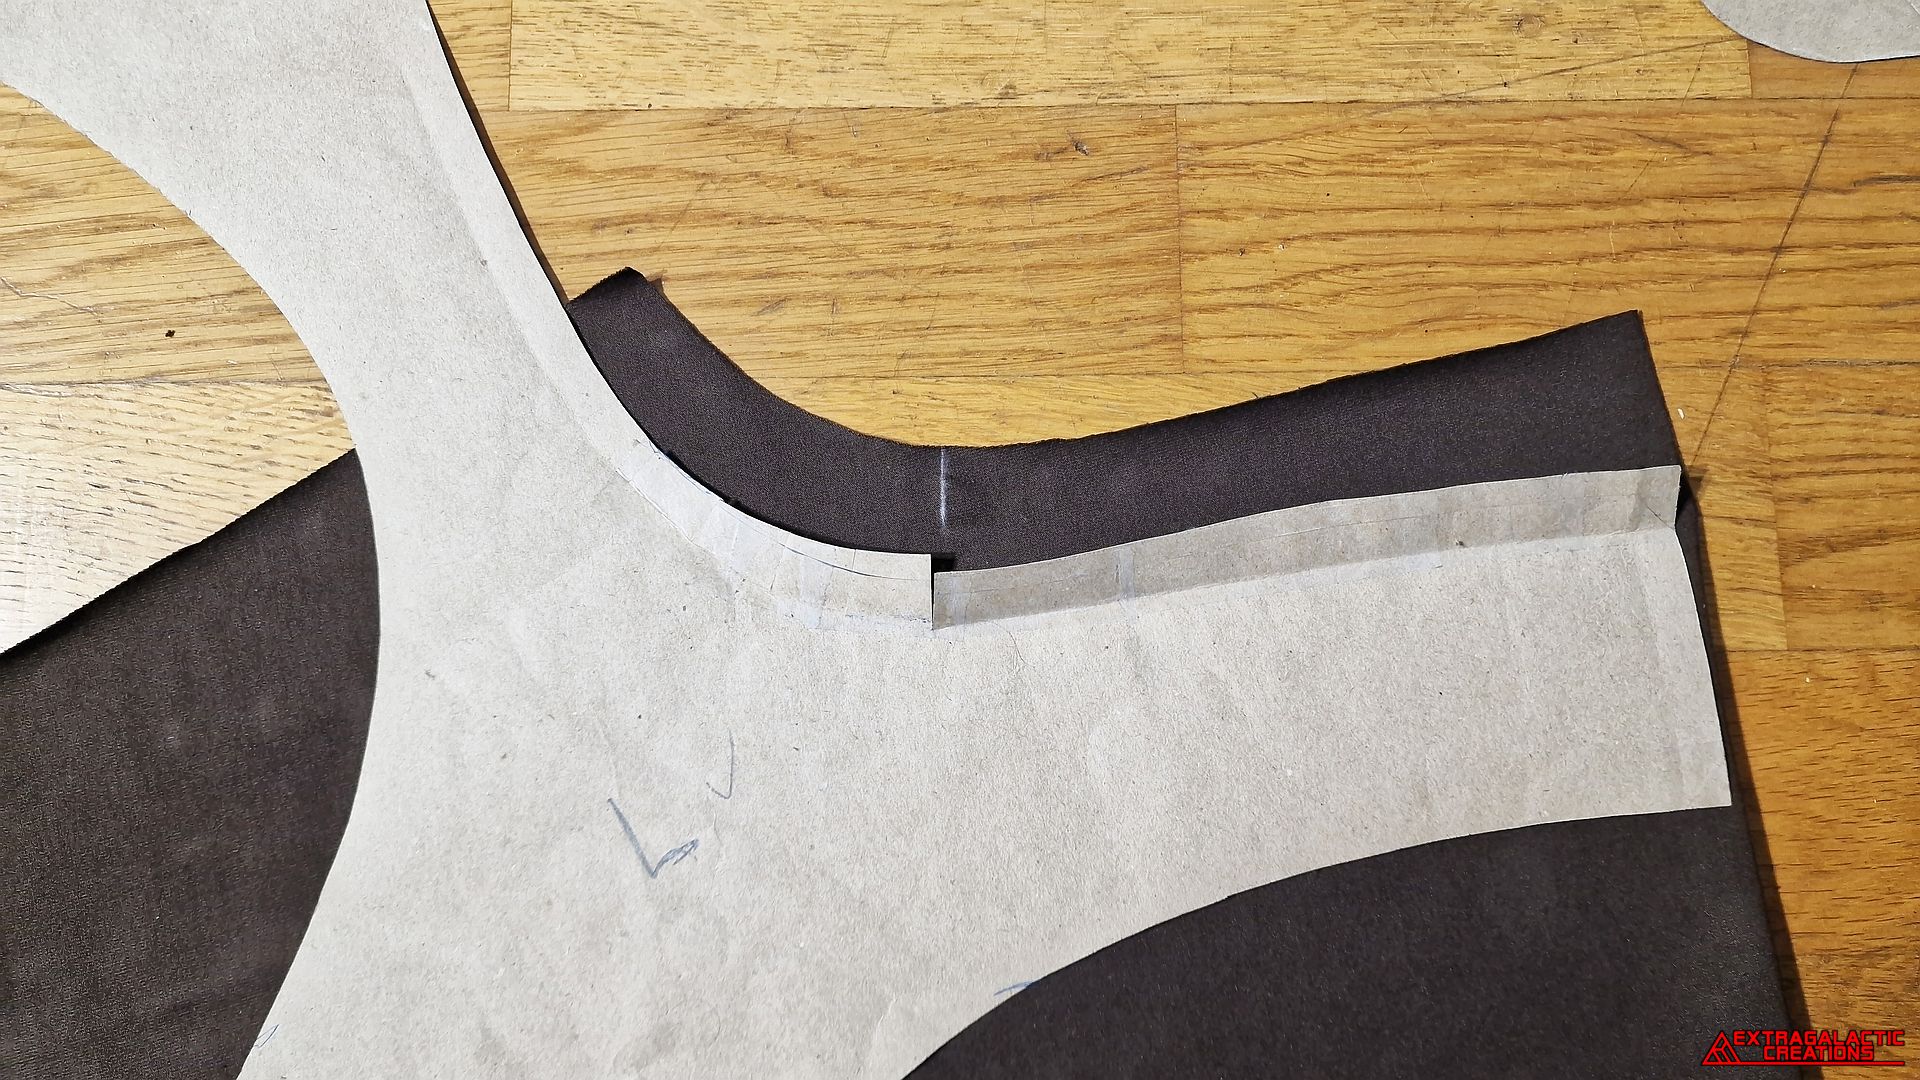
The same sort of symmetrical transfer to paper with a tape traced
seam allowance stuff was done to the new cludmenus panels as well.
They were then also traced onto more layers of dead skin.
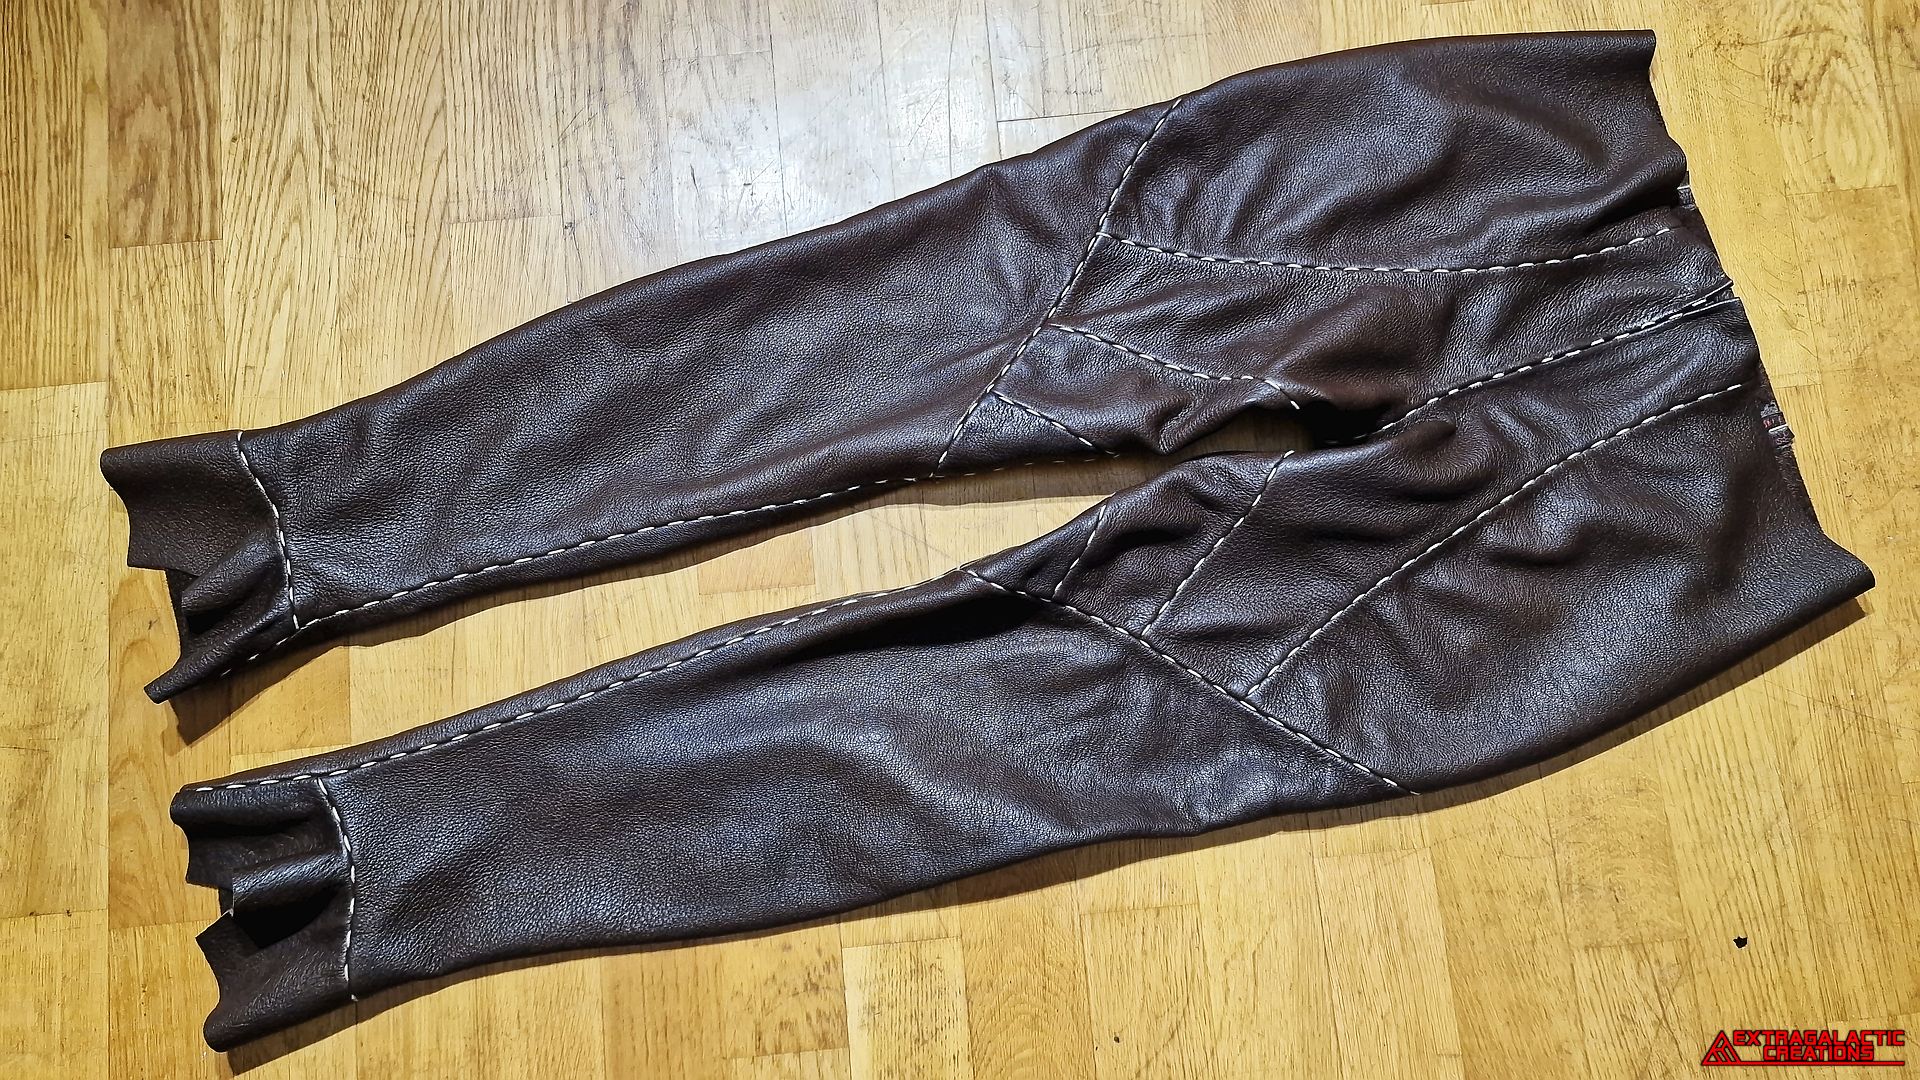
All the thick cord stitching was basically now in place, but I still
wasn't too sure what to do with the foot openings of the pants.
A couple more shorter cord stitches were added in between the
polsuglop and the banofleg.
A fourth set of cord stitches were added to the other side of whatever
these panels were called again.
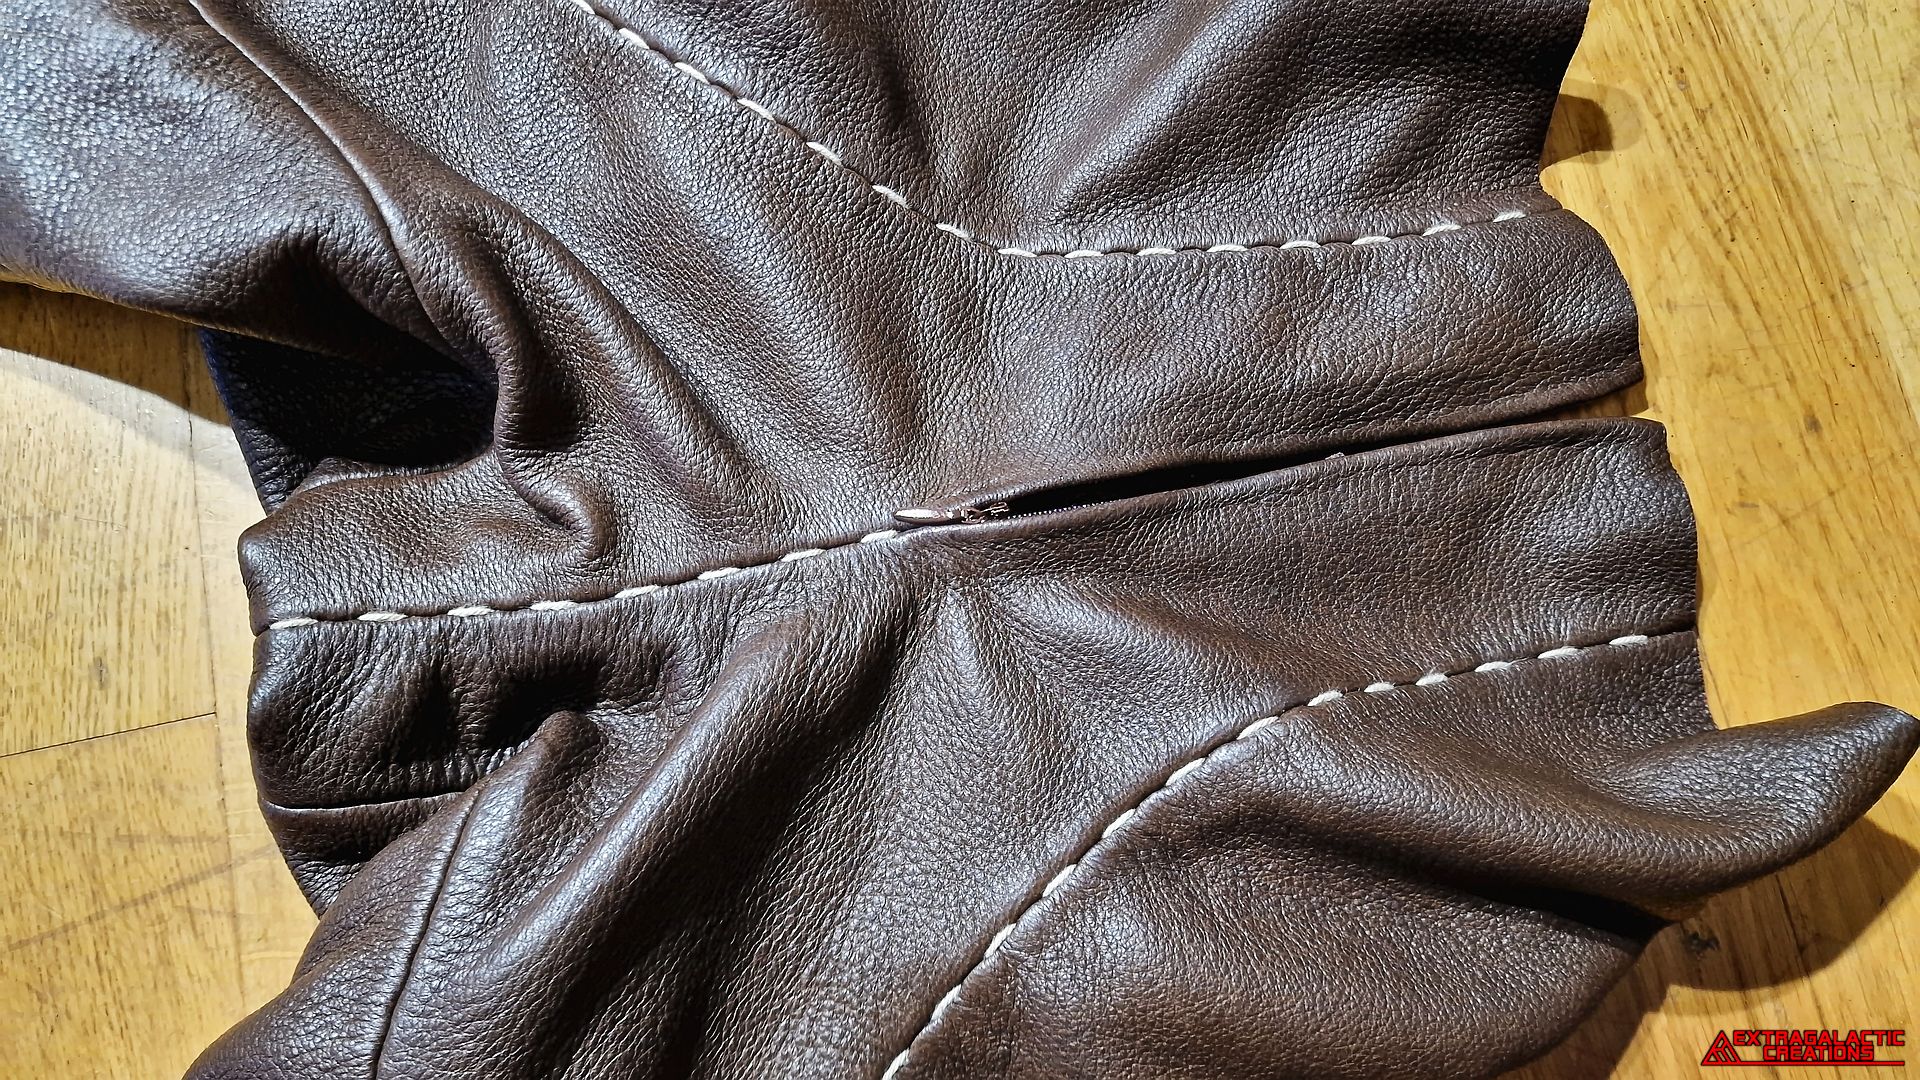
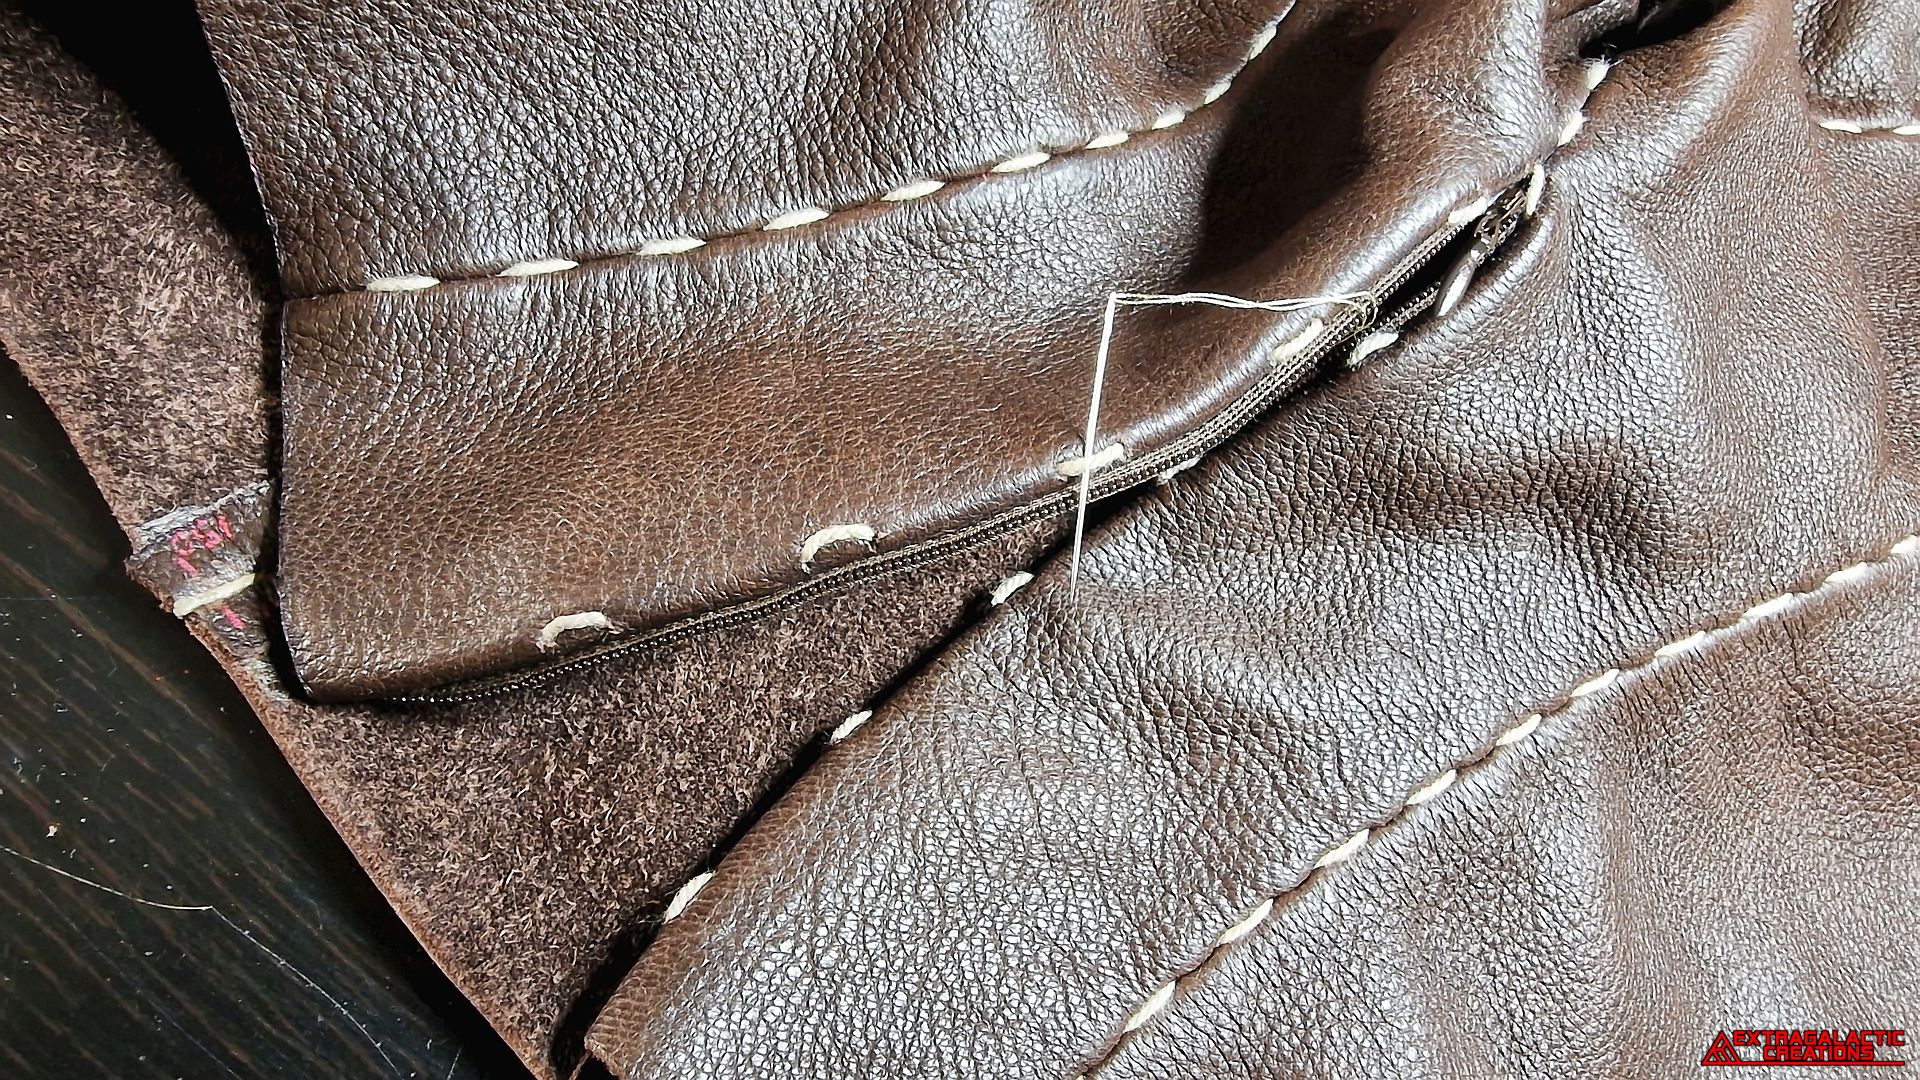
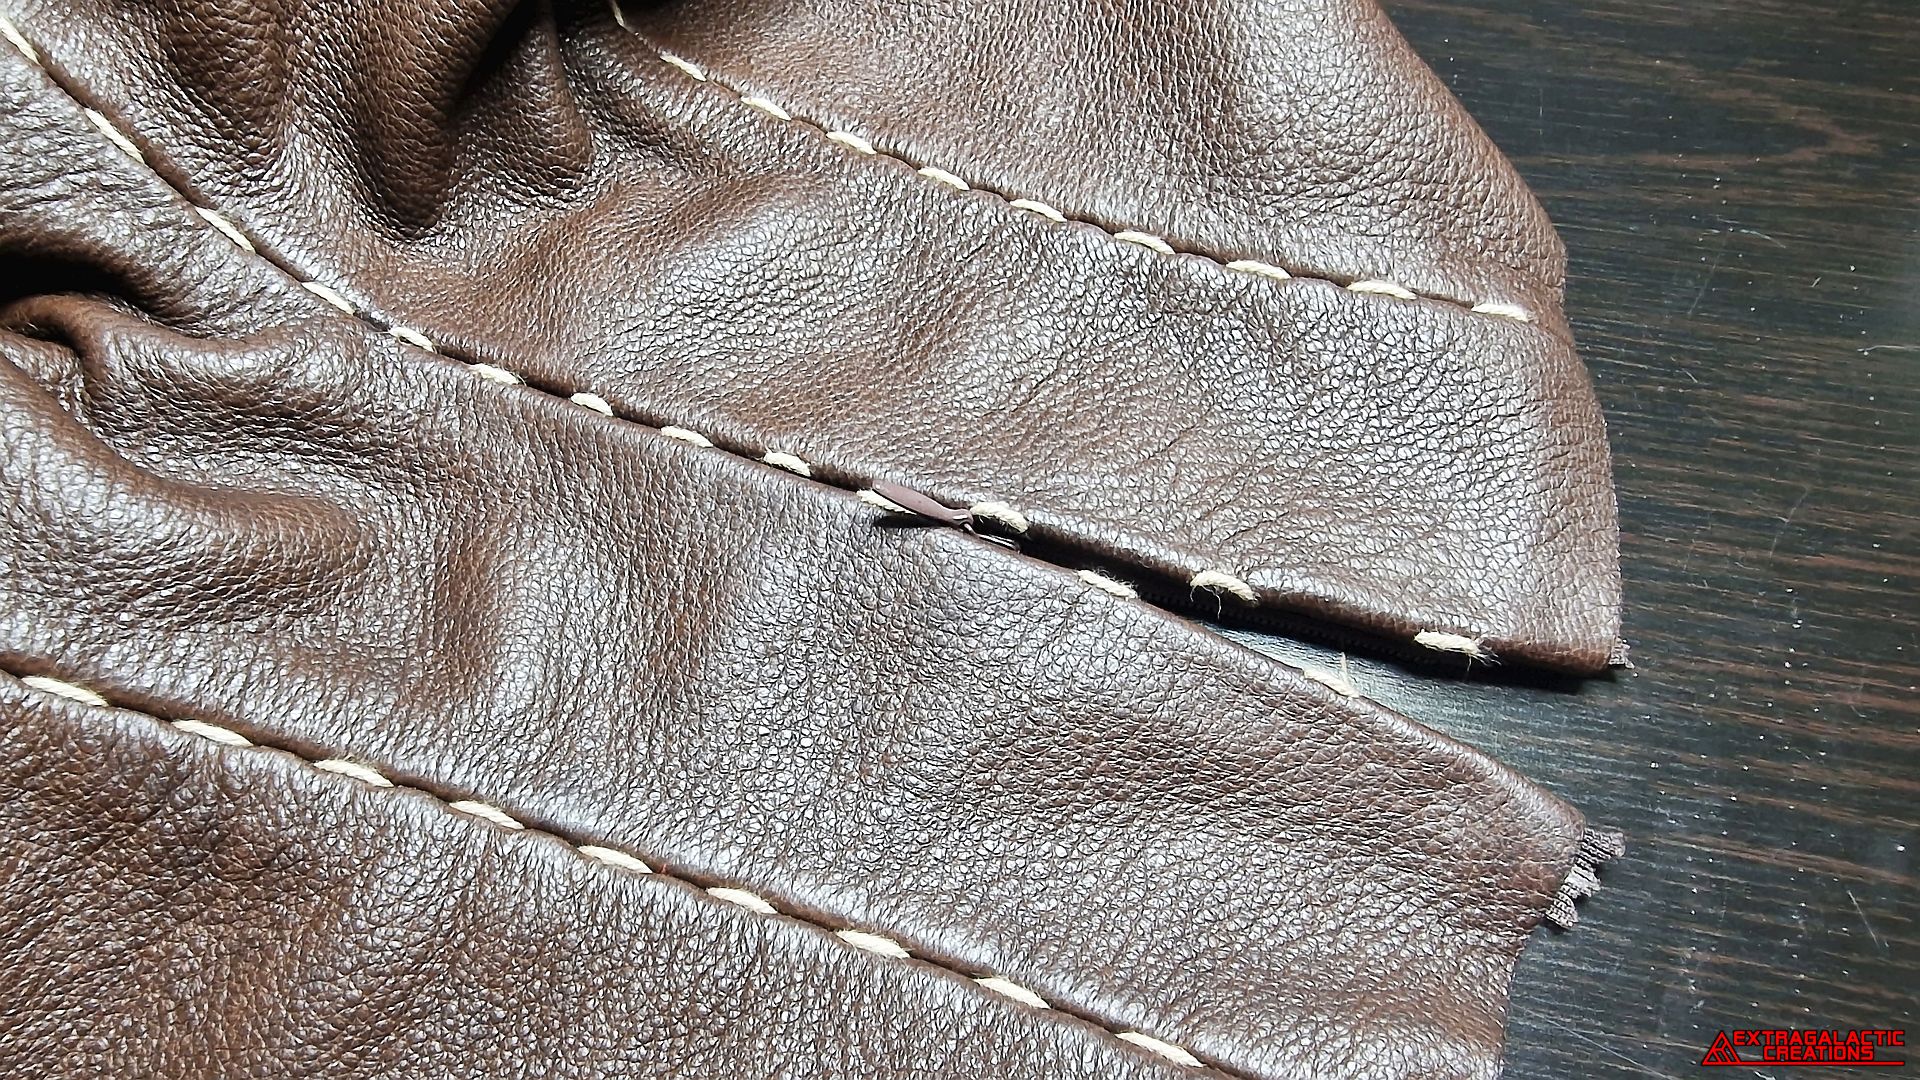
The cord stitches were added in an alternating pattern along the edges
of the zipper opening, and a thinner thread was used to further sew
down the cord stitches to point outward from the edges.
The cord stitches in between the triphloogus panels were only added
up to the zipper opening because I wanted to add the cord stitches in
a different way along the edges of the zipper opening.
And by closing the hidden zipper, the alternating cord stitches would
join to make the zipper opening look like it had always been sewn
together that way.
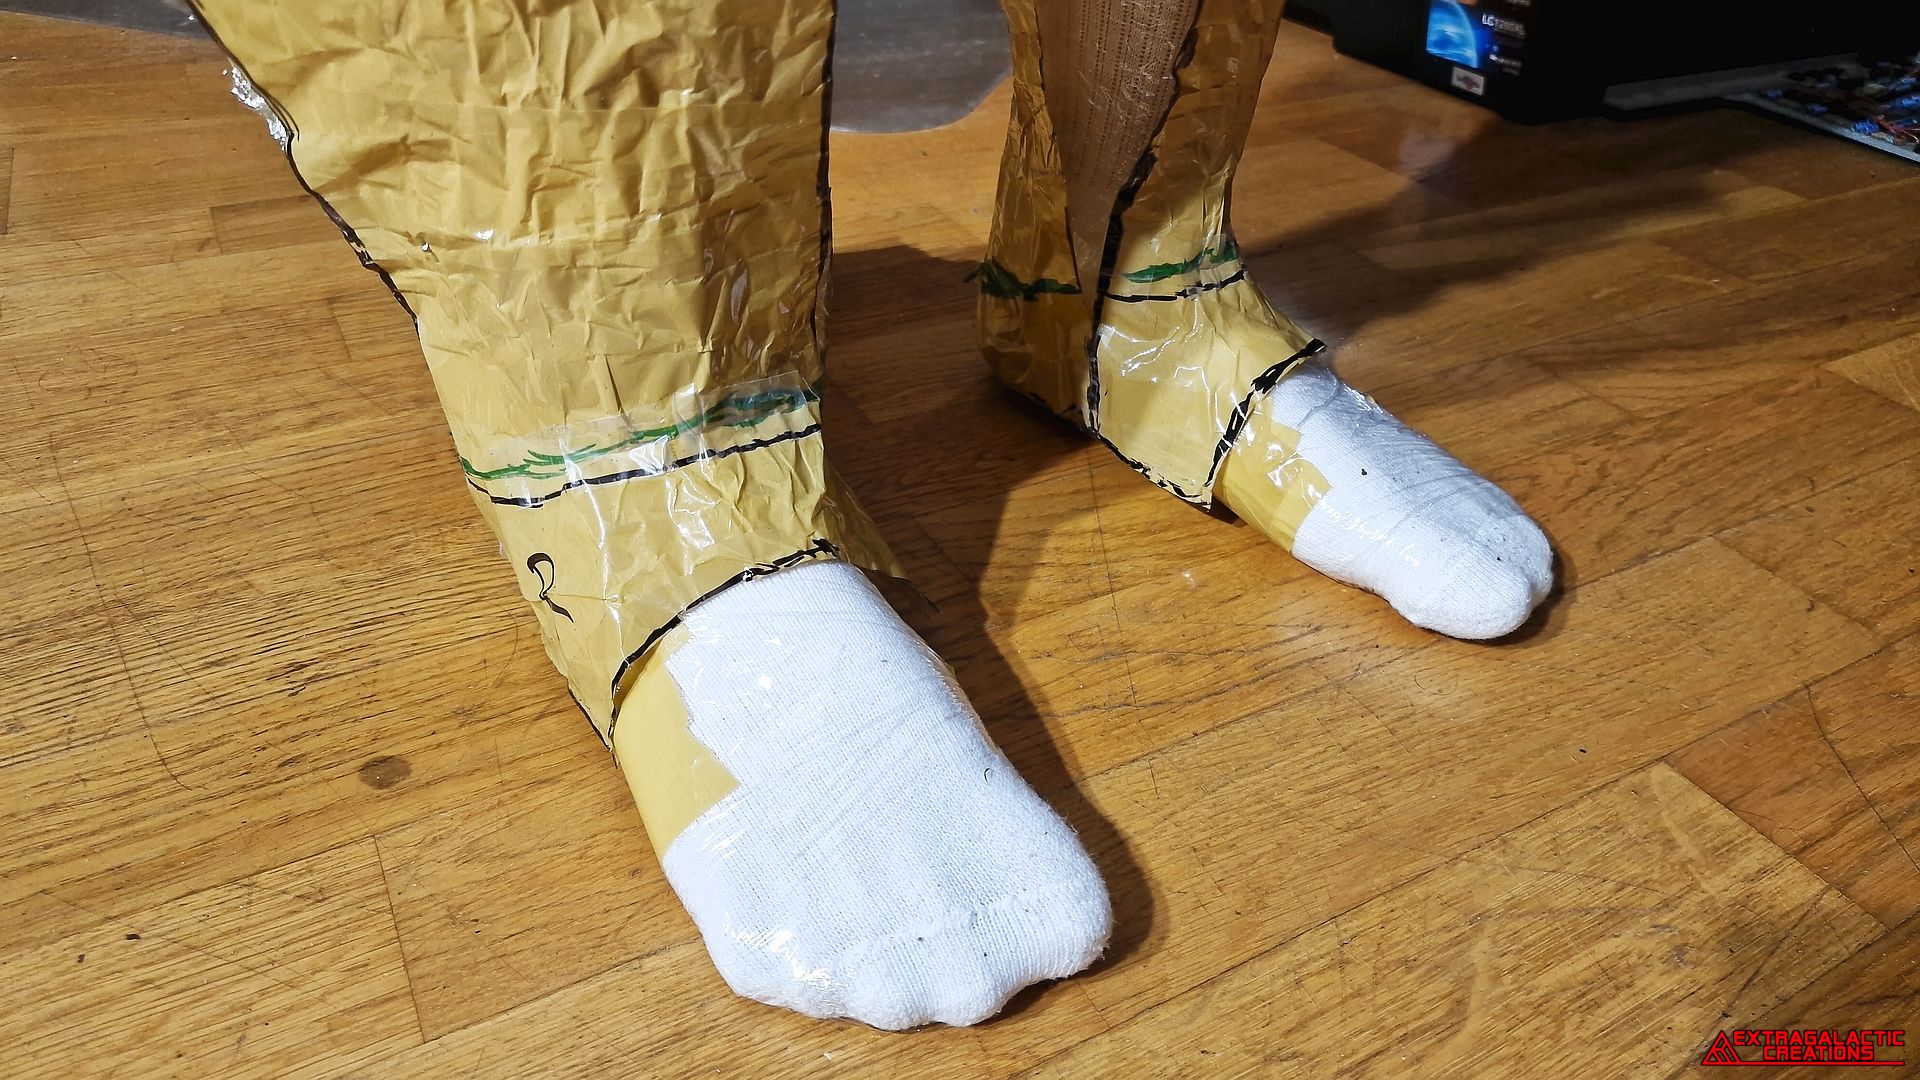
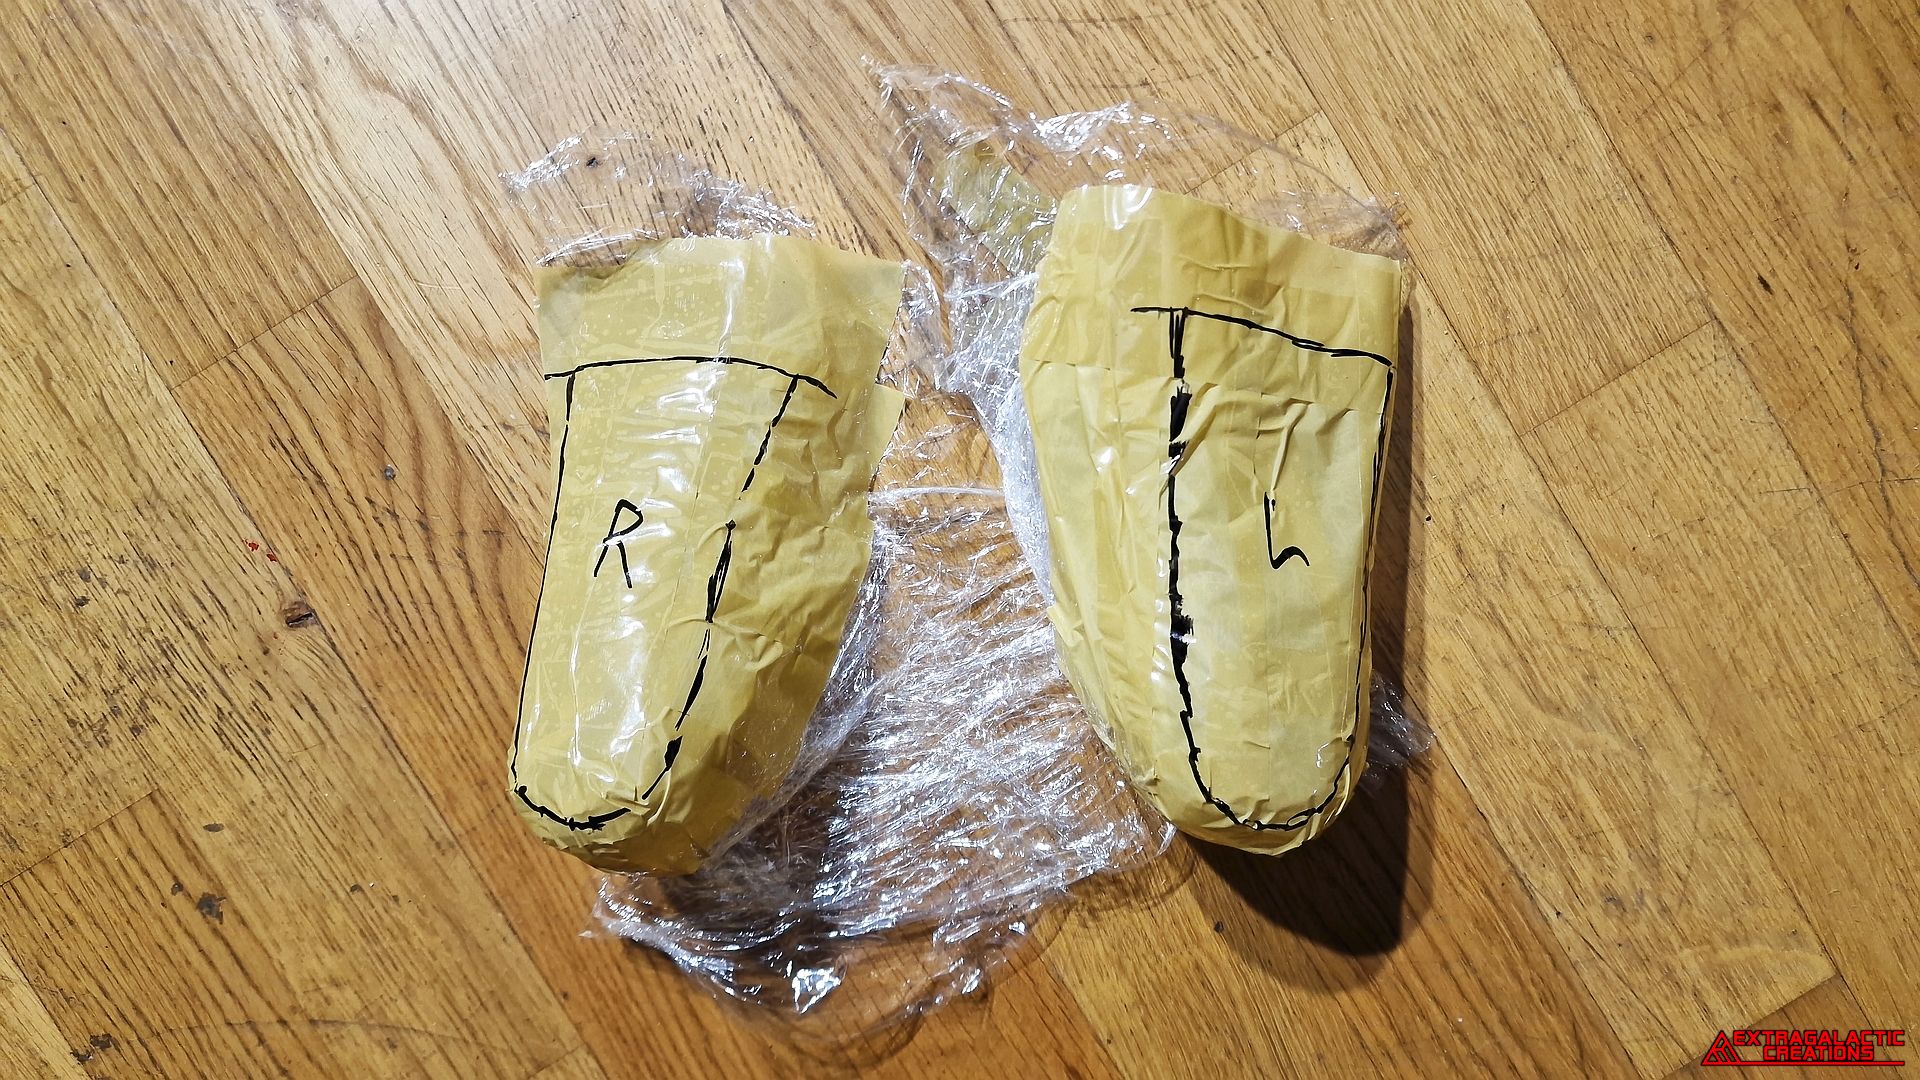
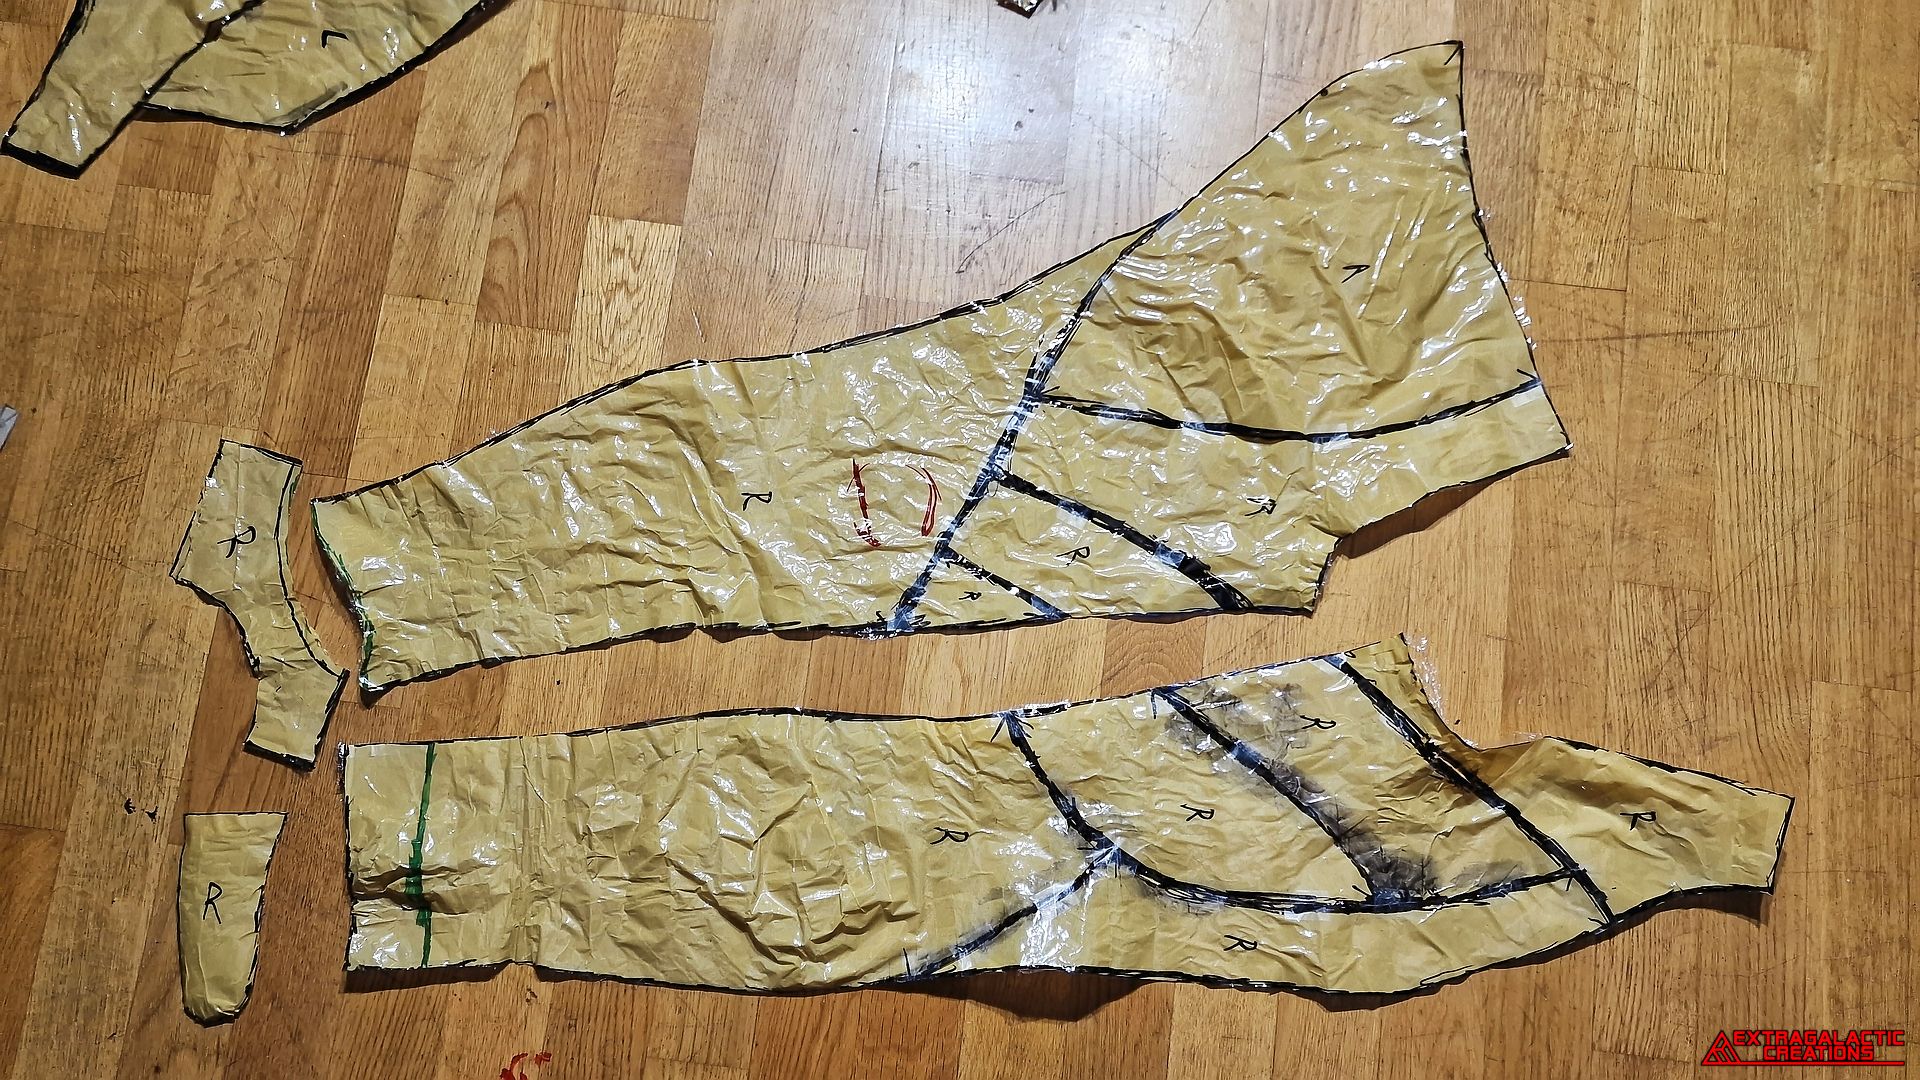
The lower pants patterns were quickly taped back together again to
make a couple of new panels to go underneath the feet.
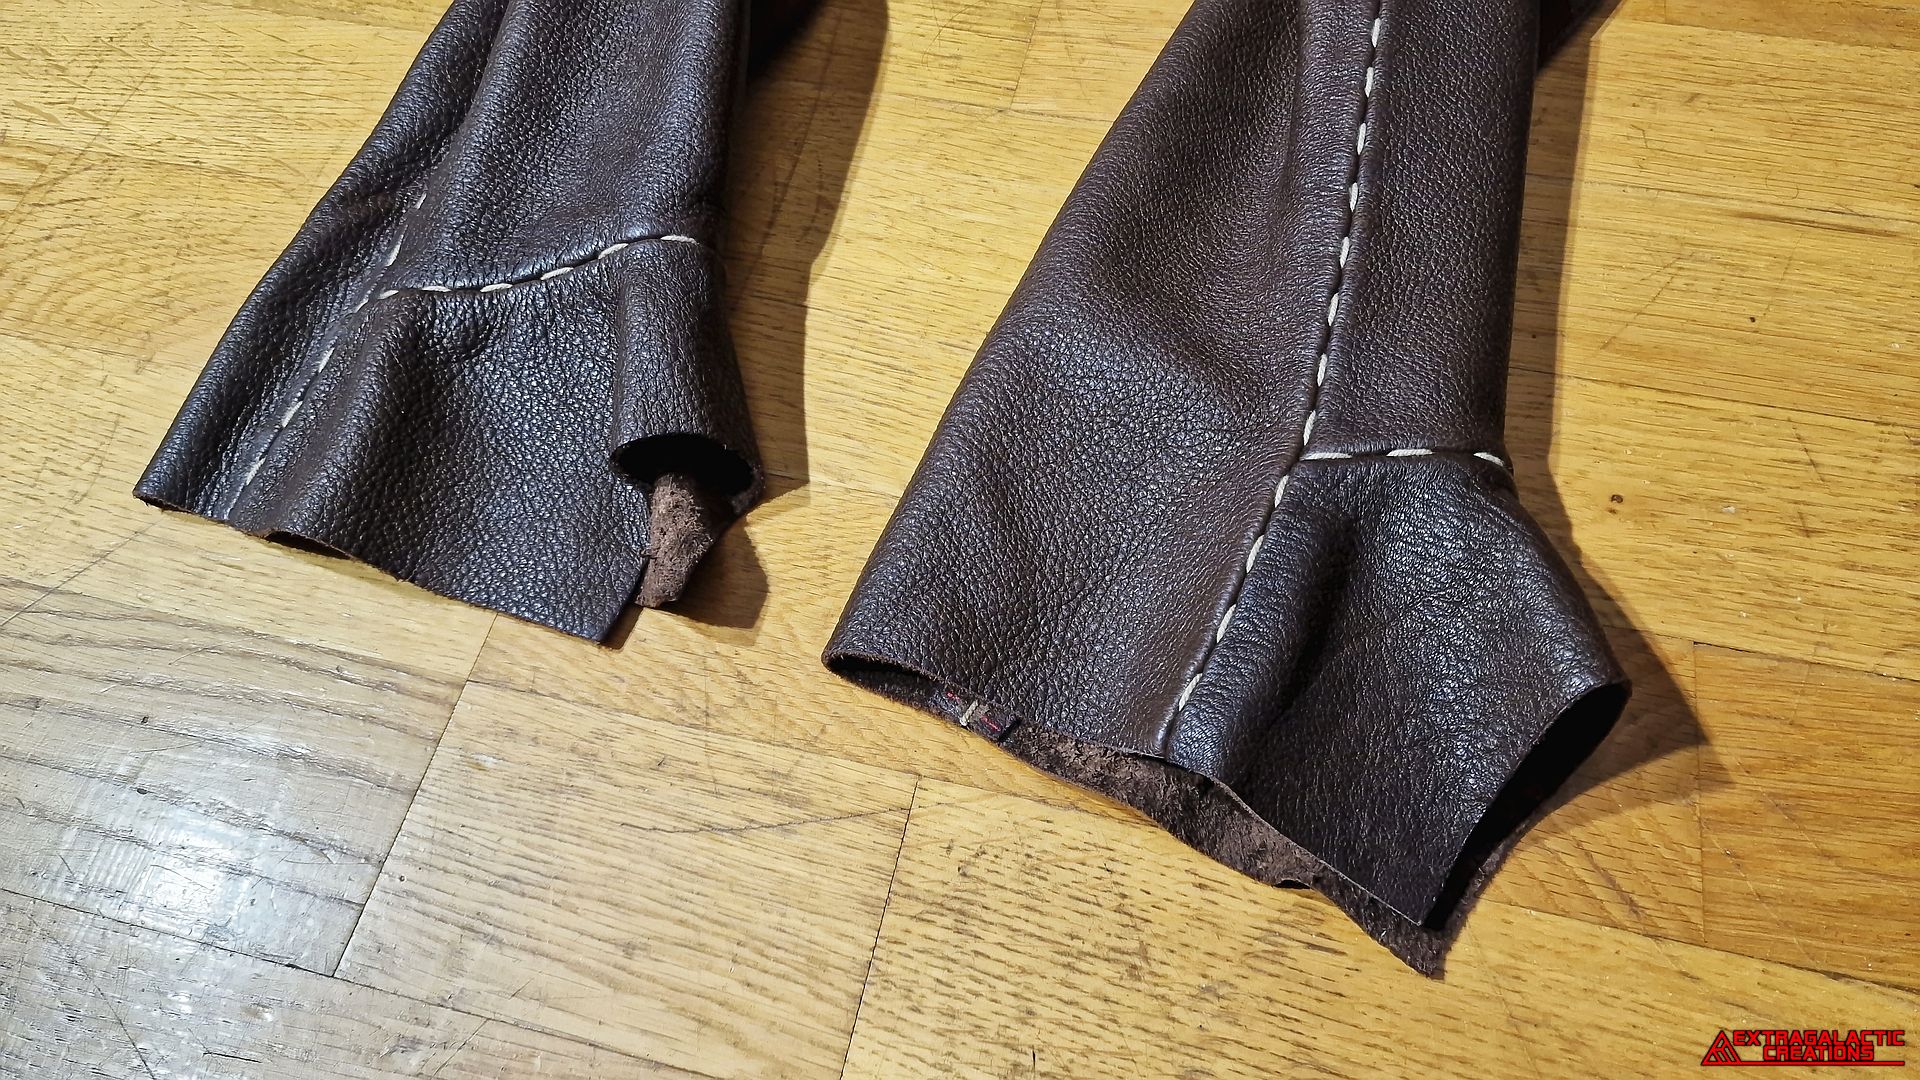
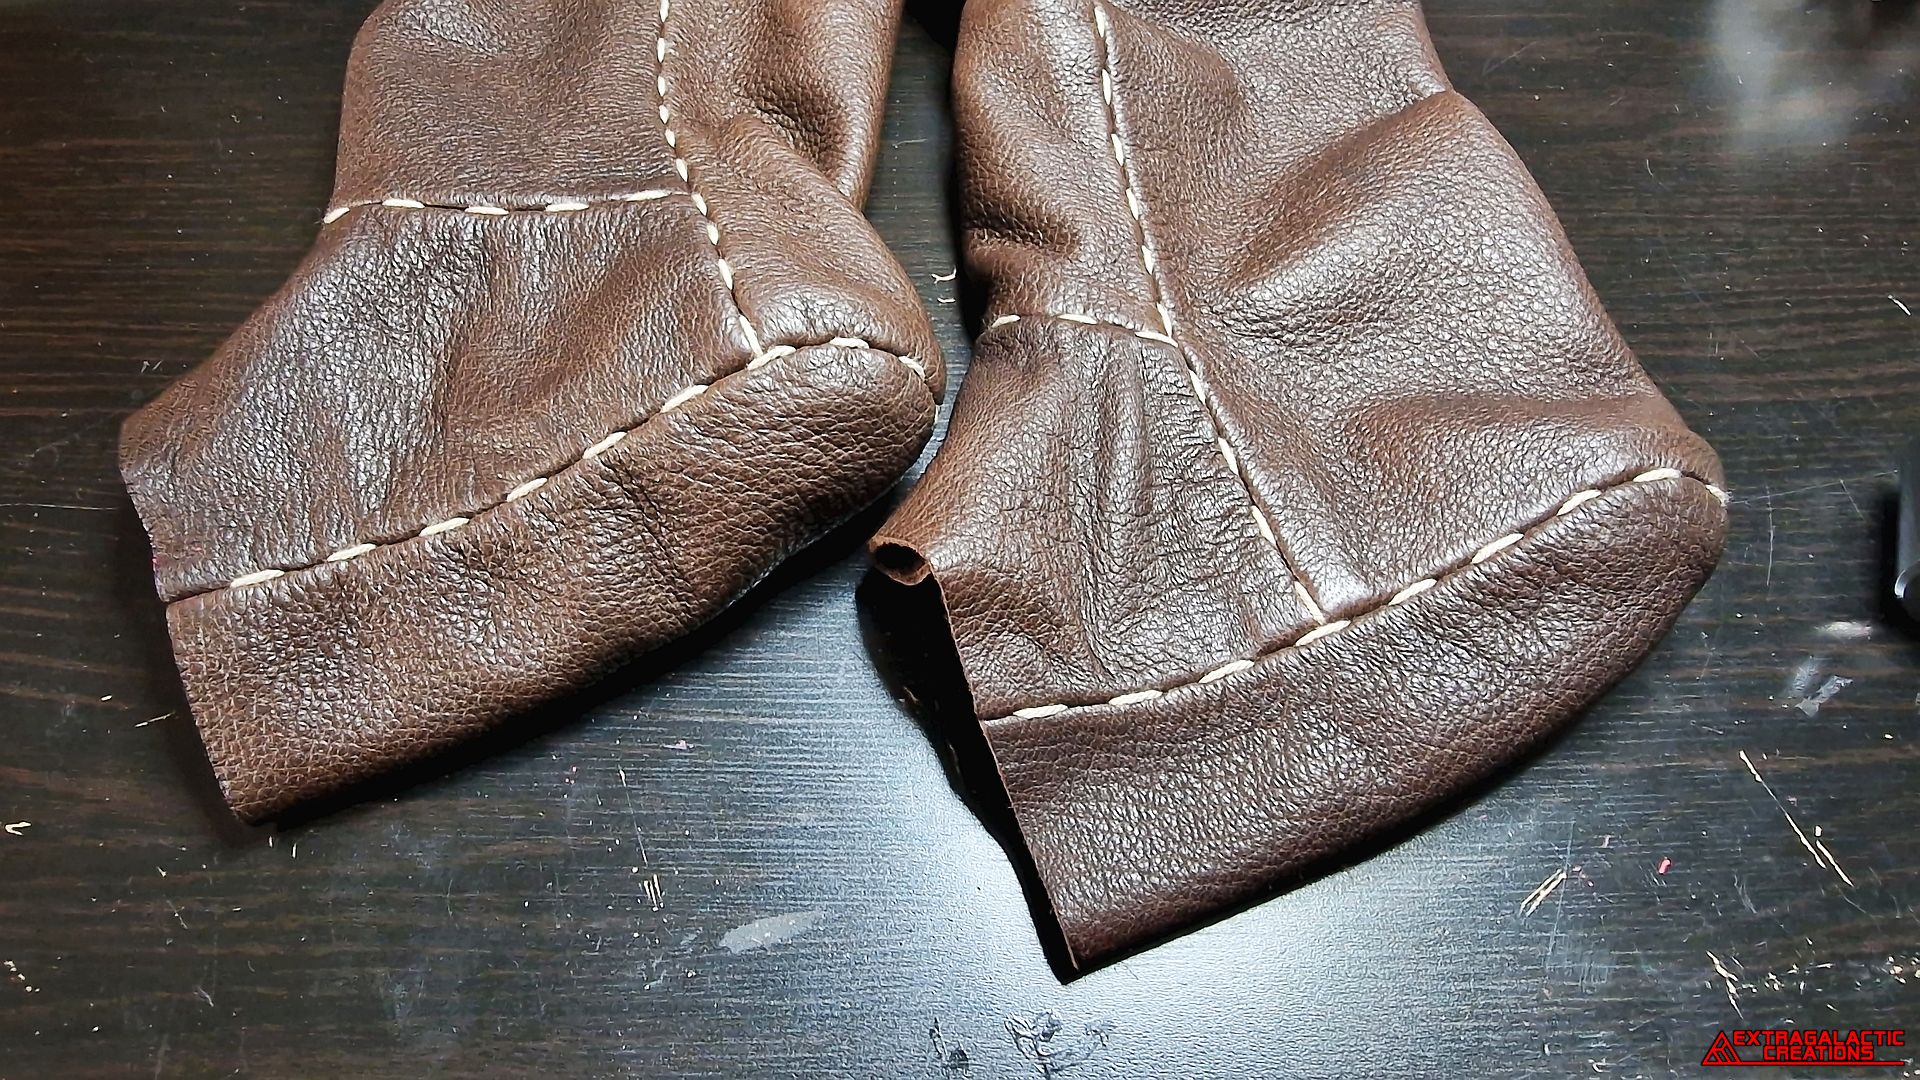
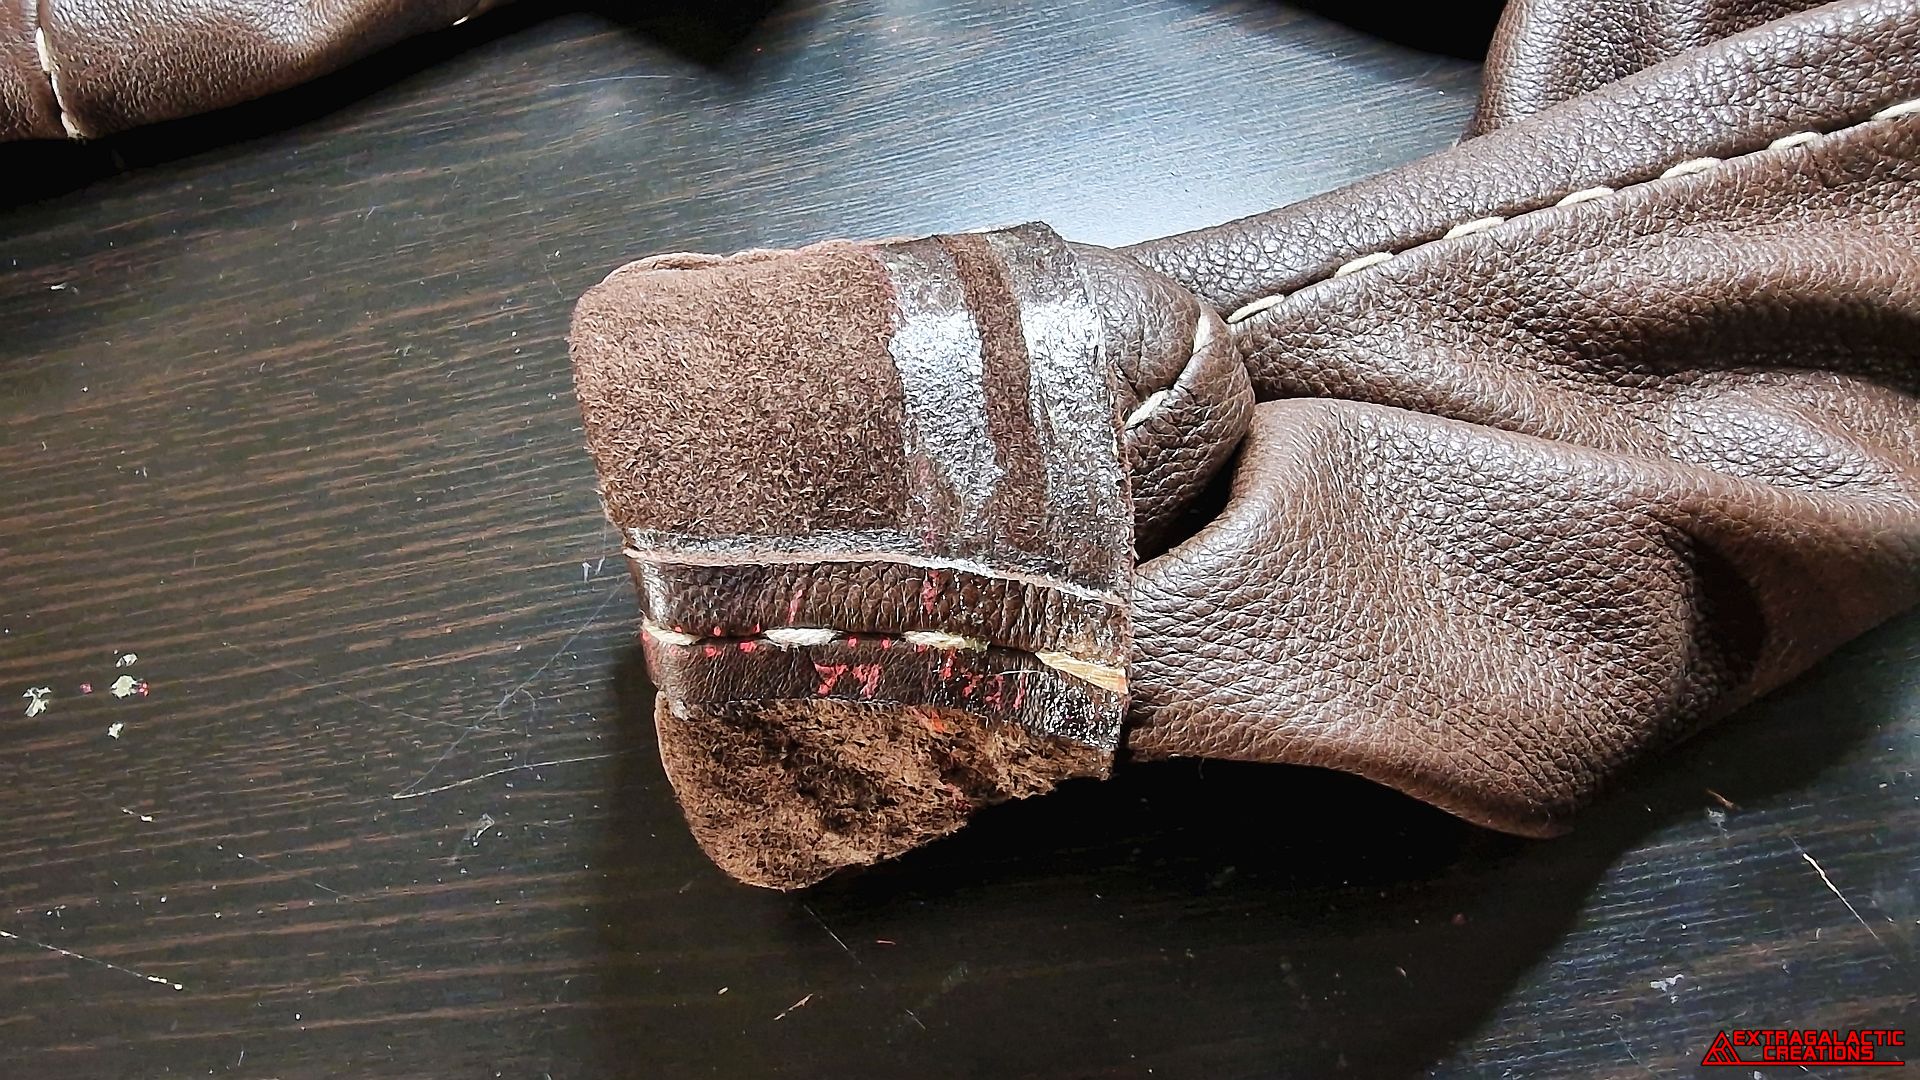
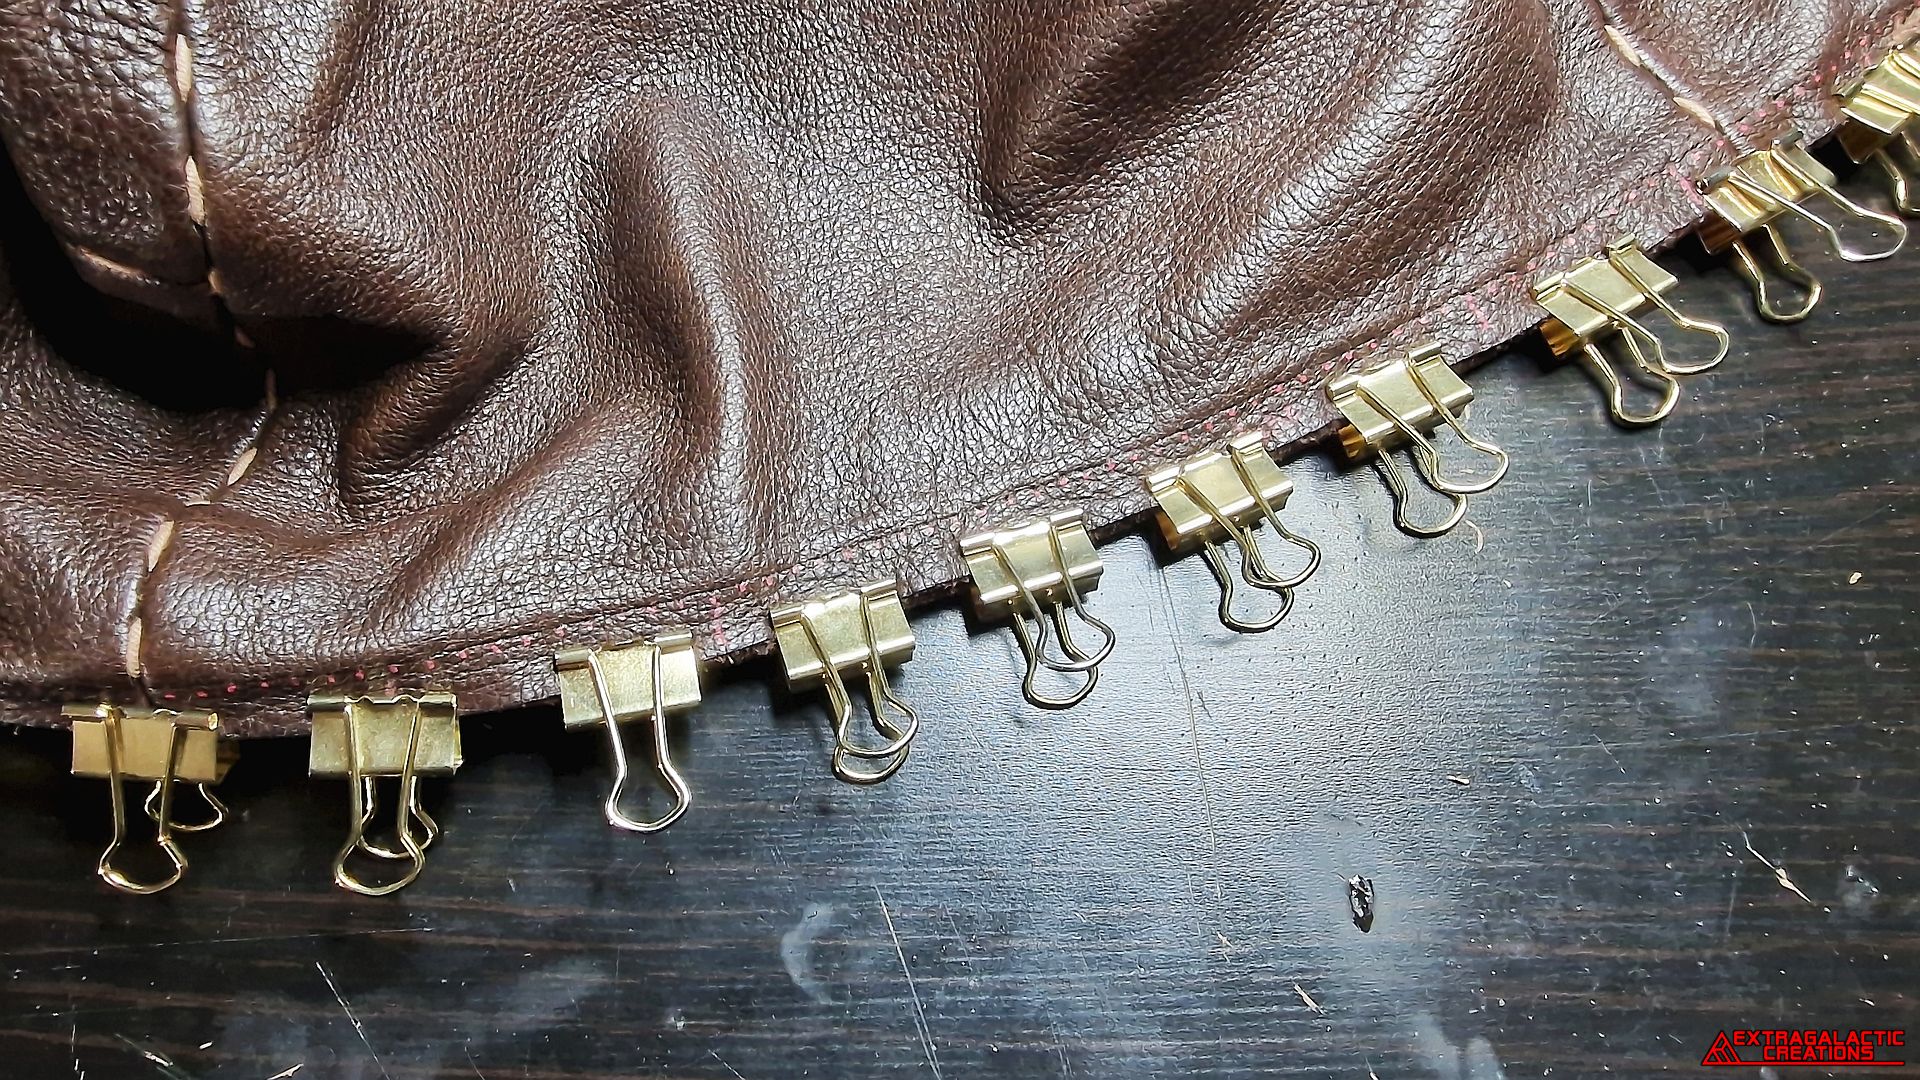
The new cludmenus panels were sewn onto the bottom of the pants
with ladder stitches.
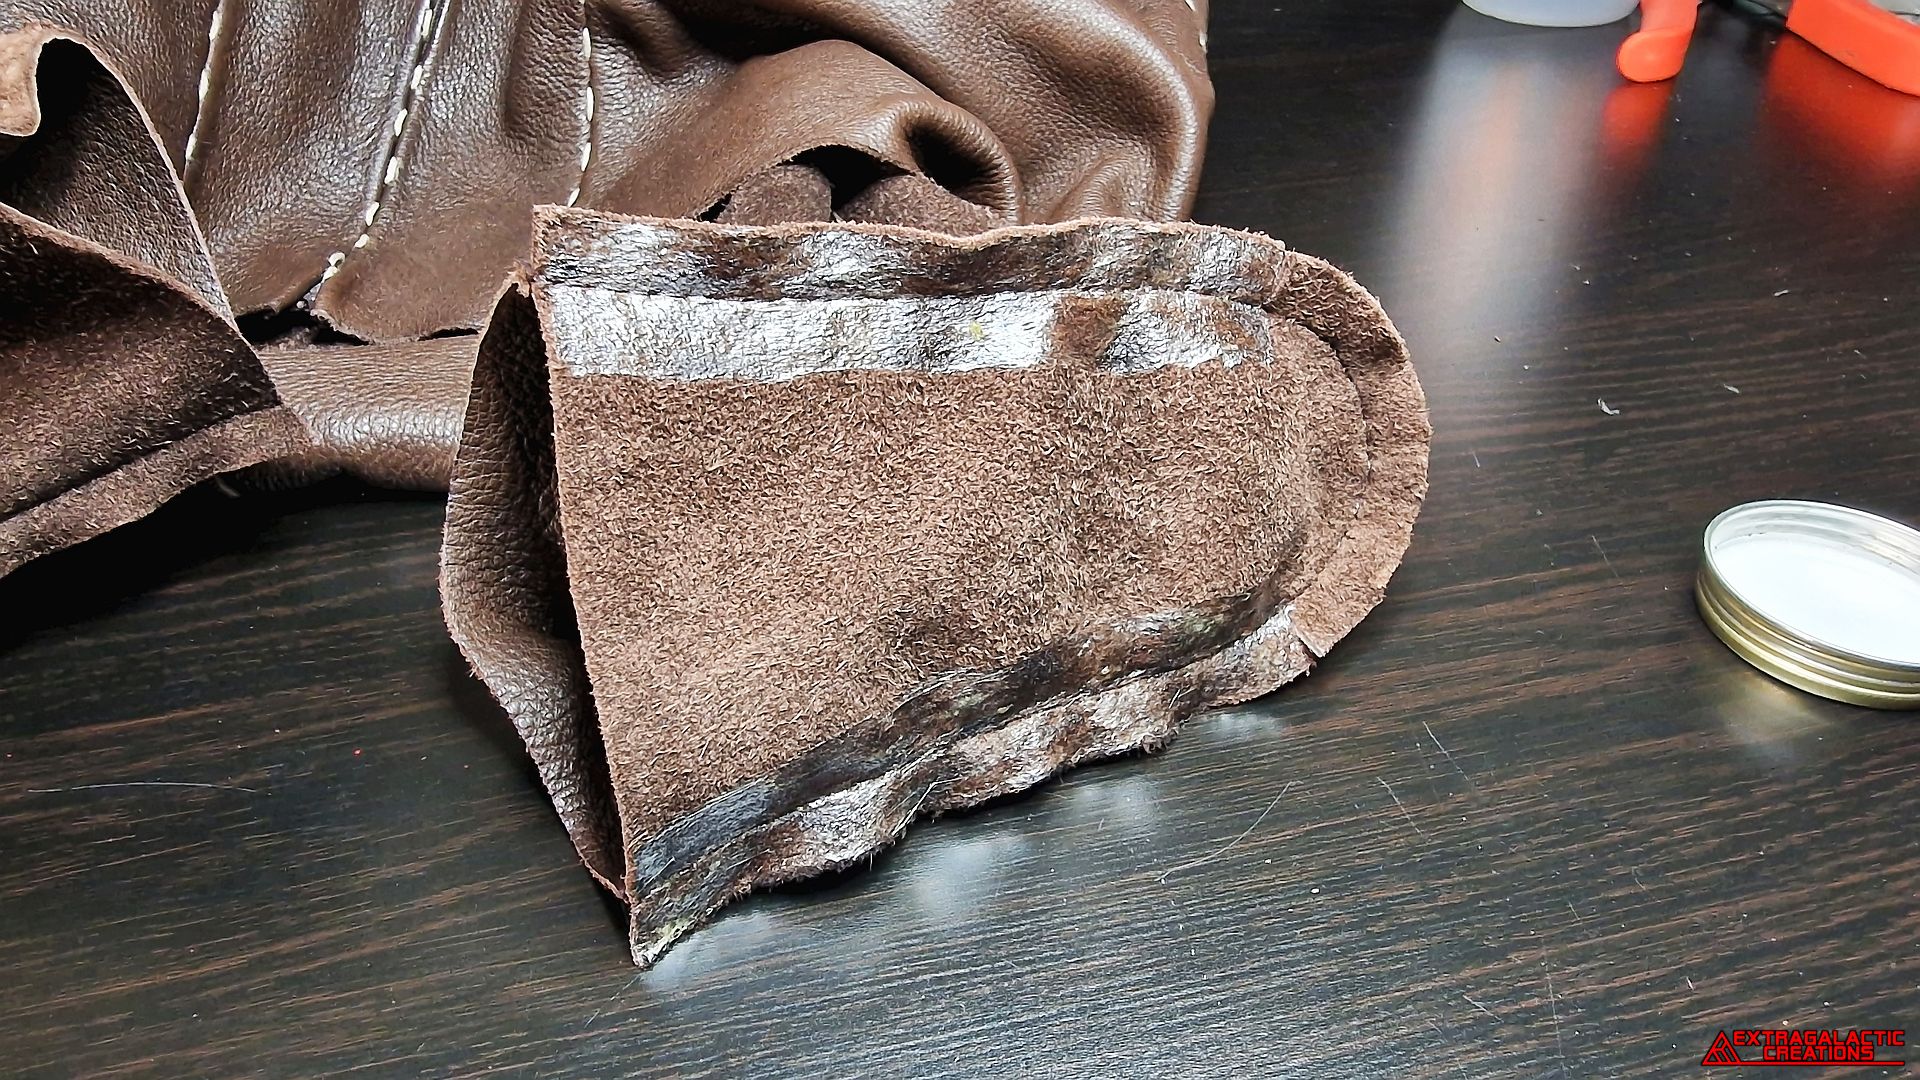
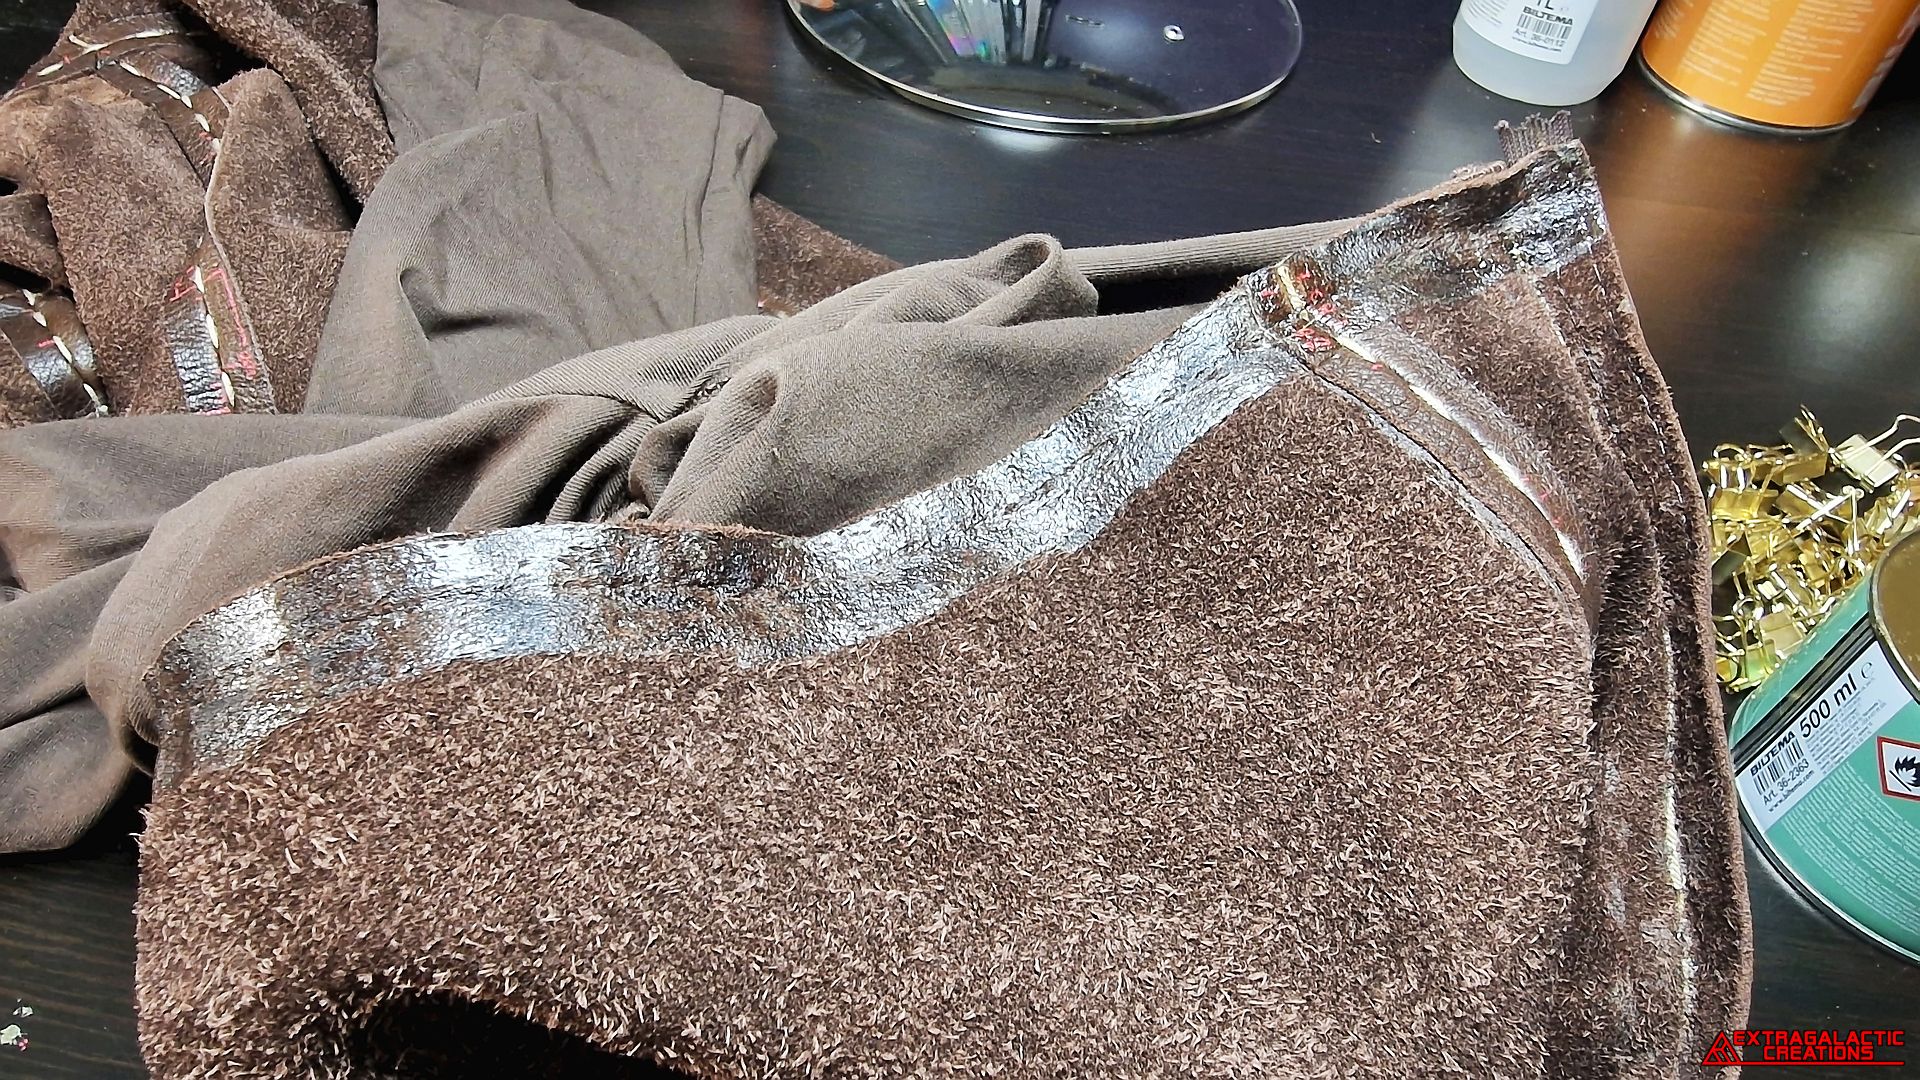
Only the sides of the seam allowance were glued down first since the
back sections had to be further cut into smaller sections to be glued
down at a curve.
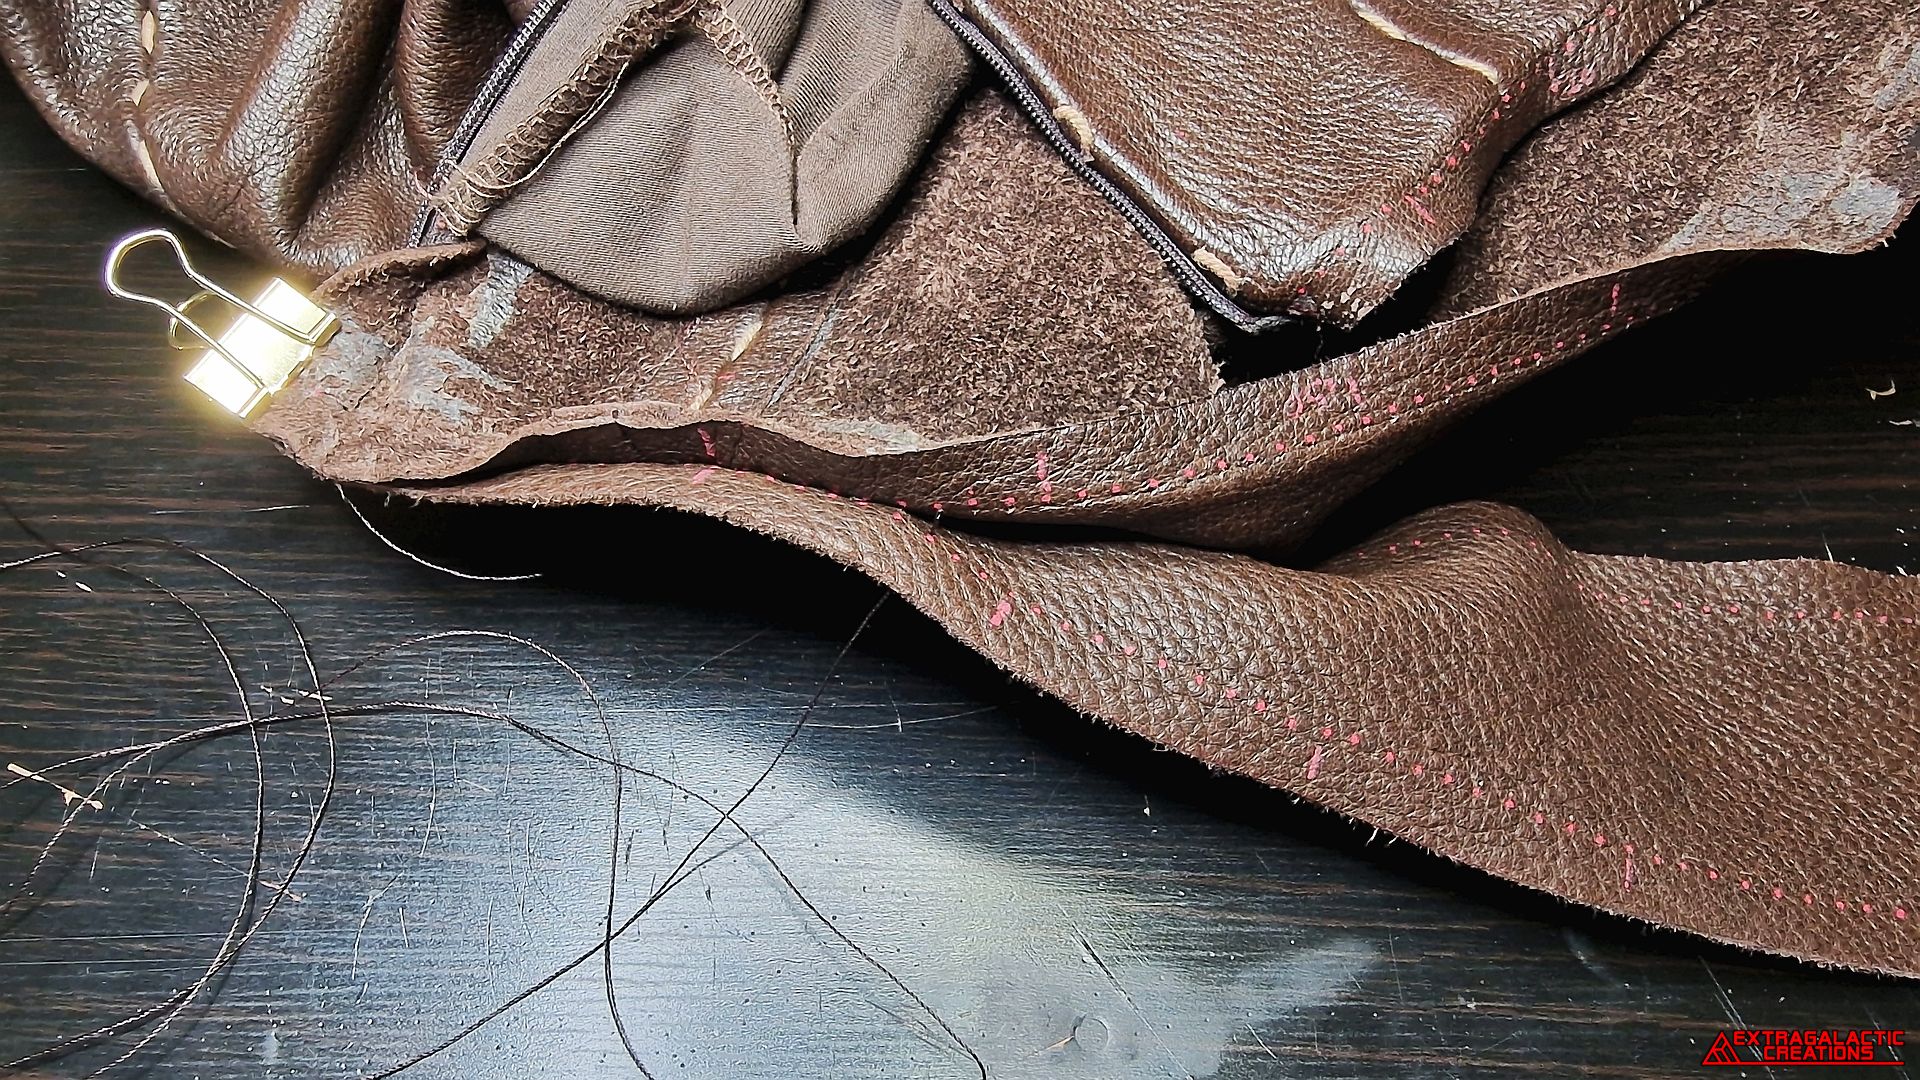
Cutting away small wedges of material between the panels would
make it possible to glue them down in such a curve.
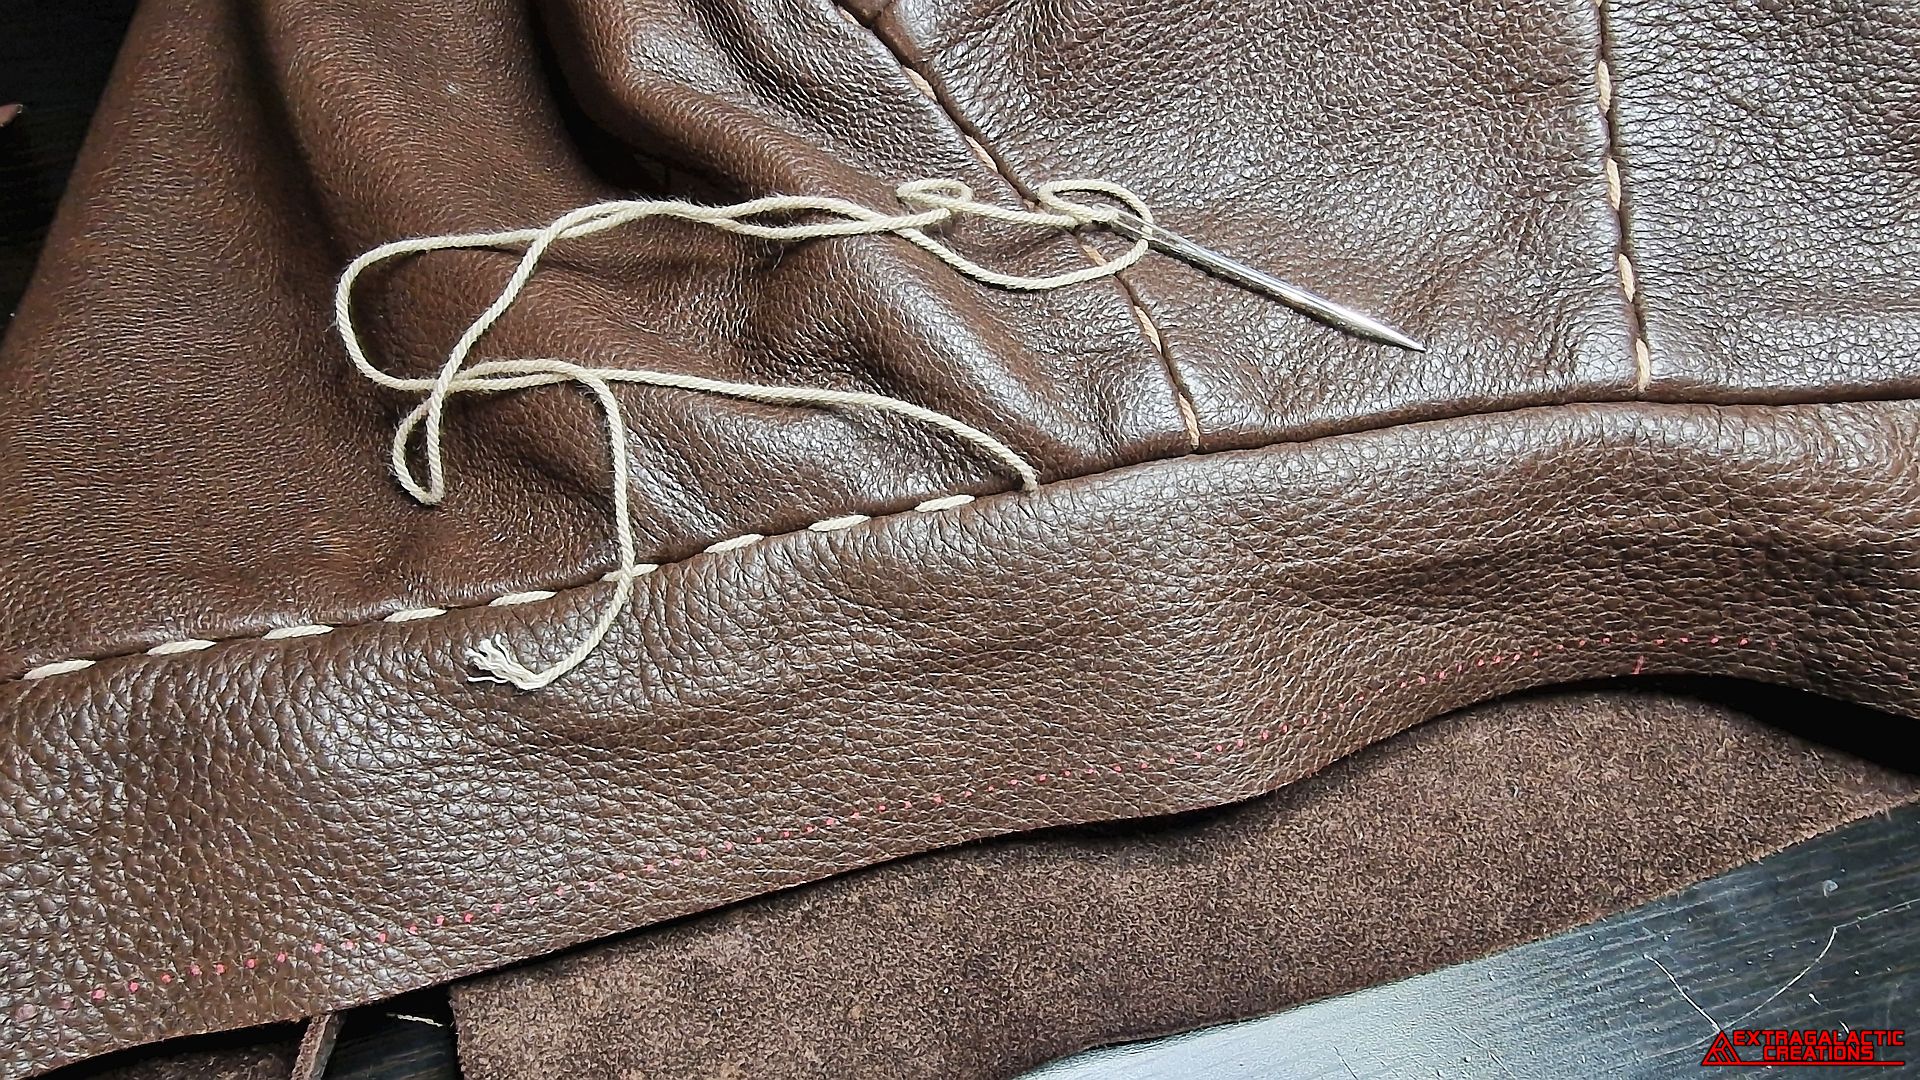
Even more cord stitches had to be added around the cludmenus panels
to make them match with the rest of the pants.


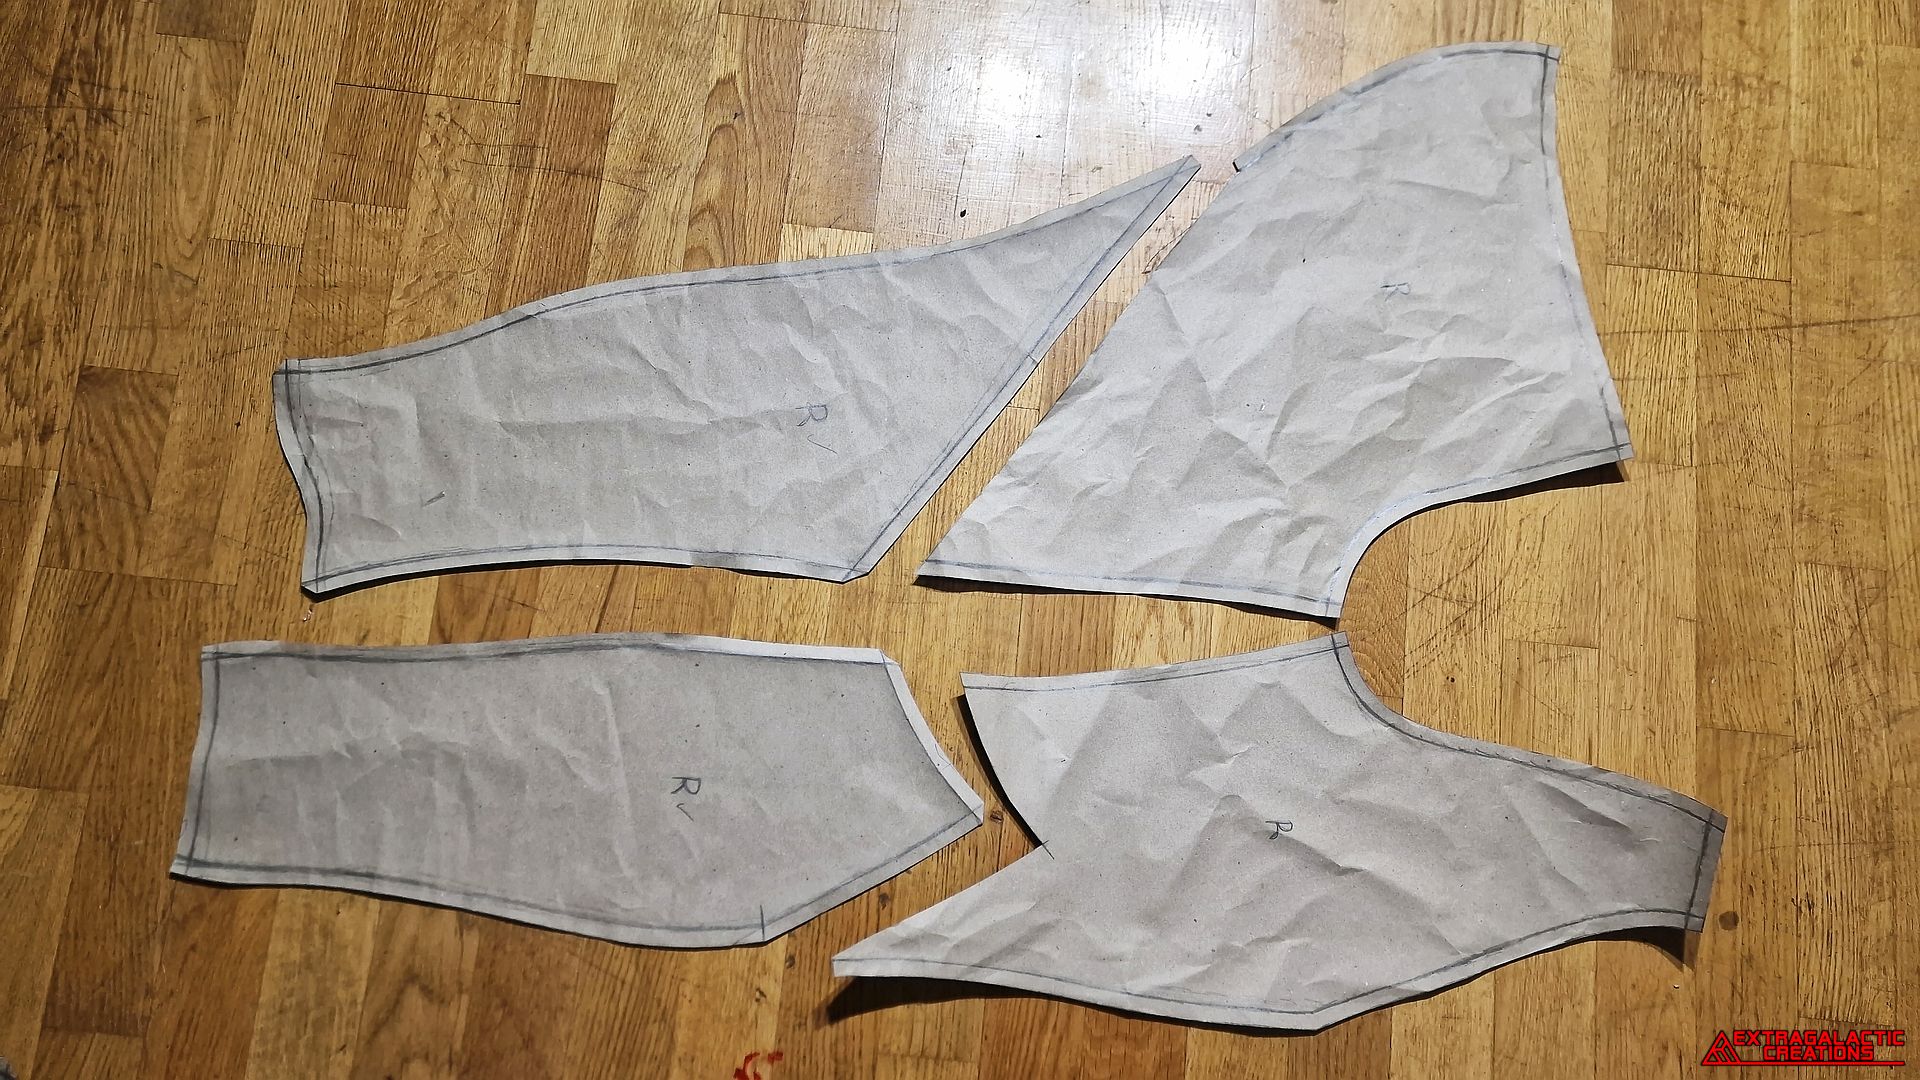
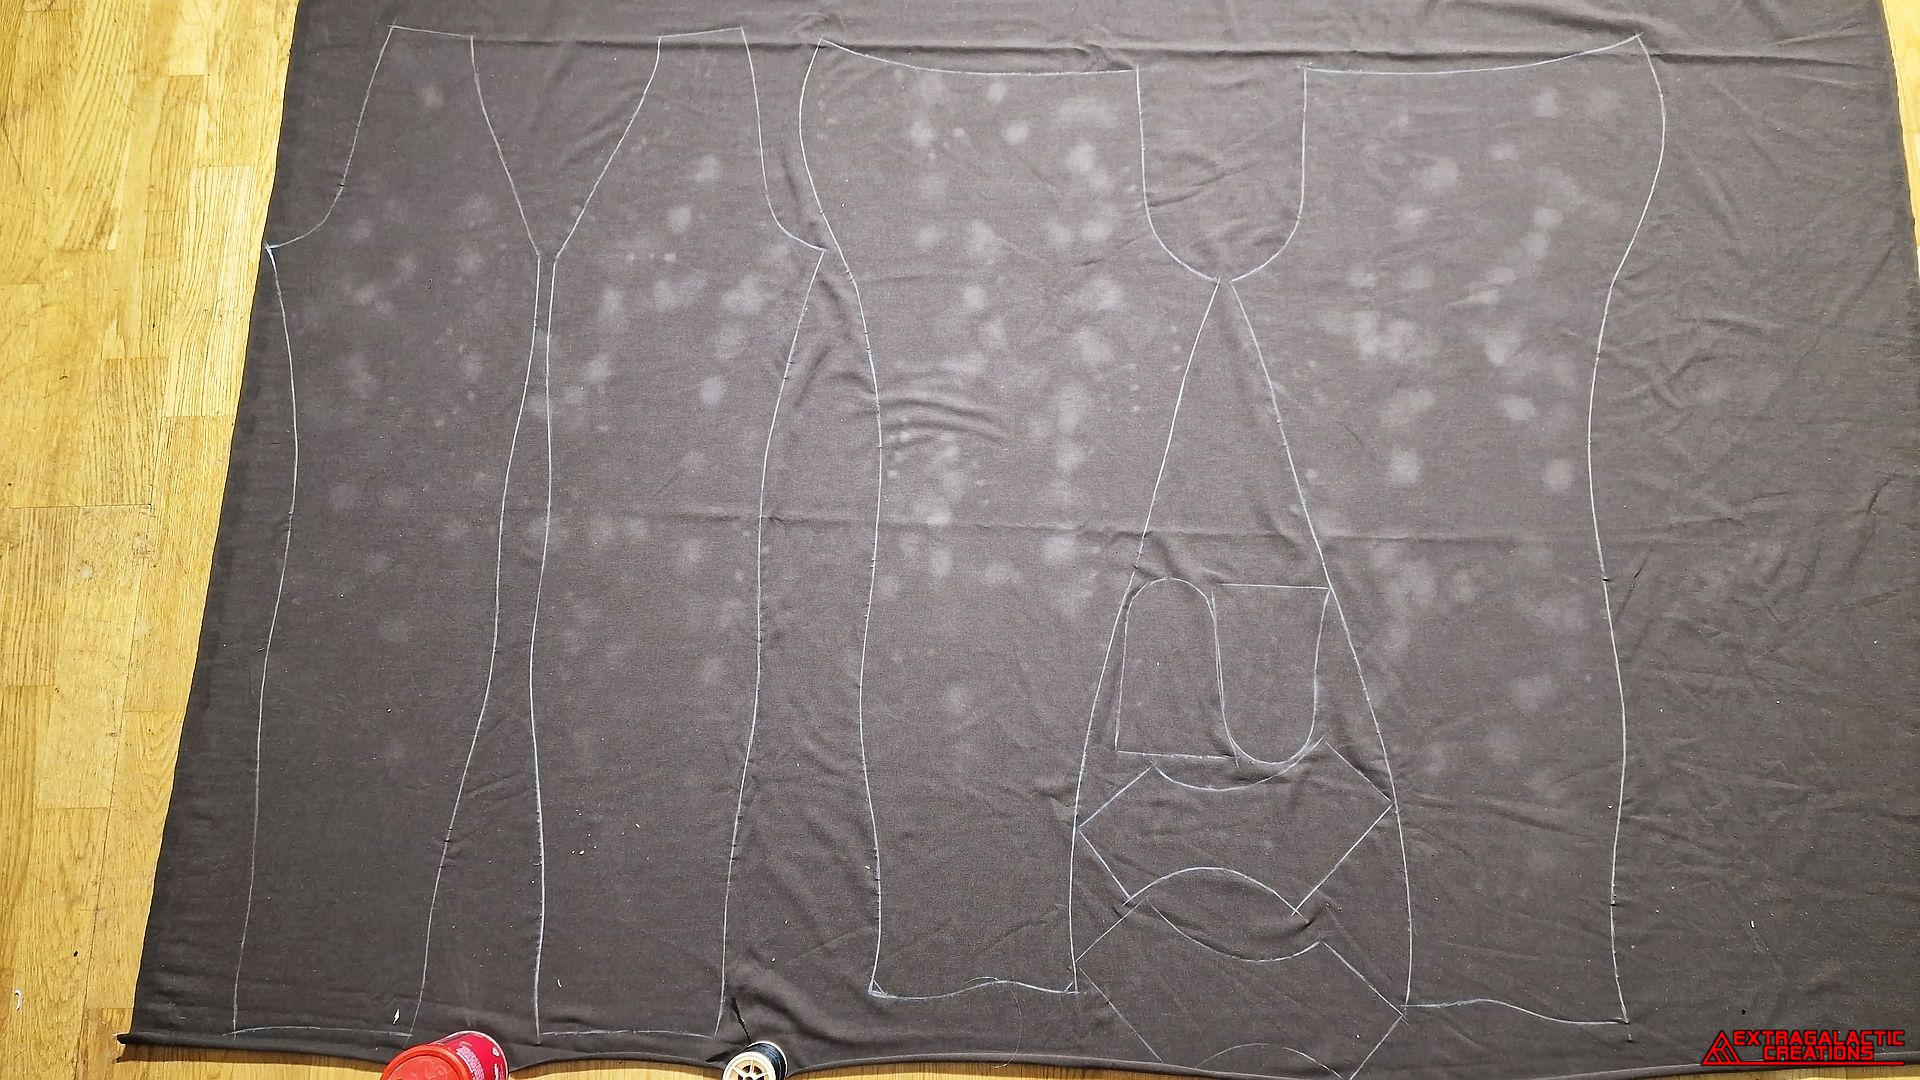
The raw pants patterns were used once again to make new patterns
for the inner fabric lining.
After taping the patterns together again, they were cut apart where
the lining seams would flow the most naturally.
Since most of the lining patterns were the same as the leather
patterns, I only had to make some extra top panels to combine with
the leather patterns I had already made.
The new lining patterns were traced onto a stretchy brown cotton
fabric that would make wearing the pants a lot more comfortable.
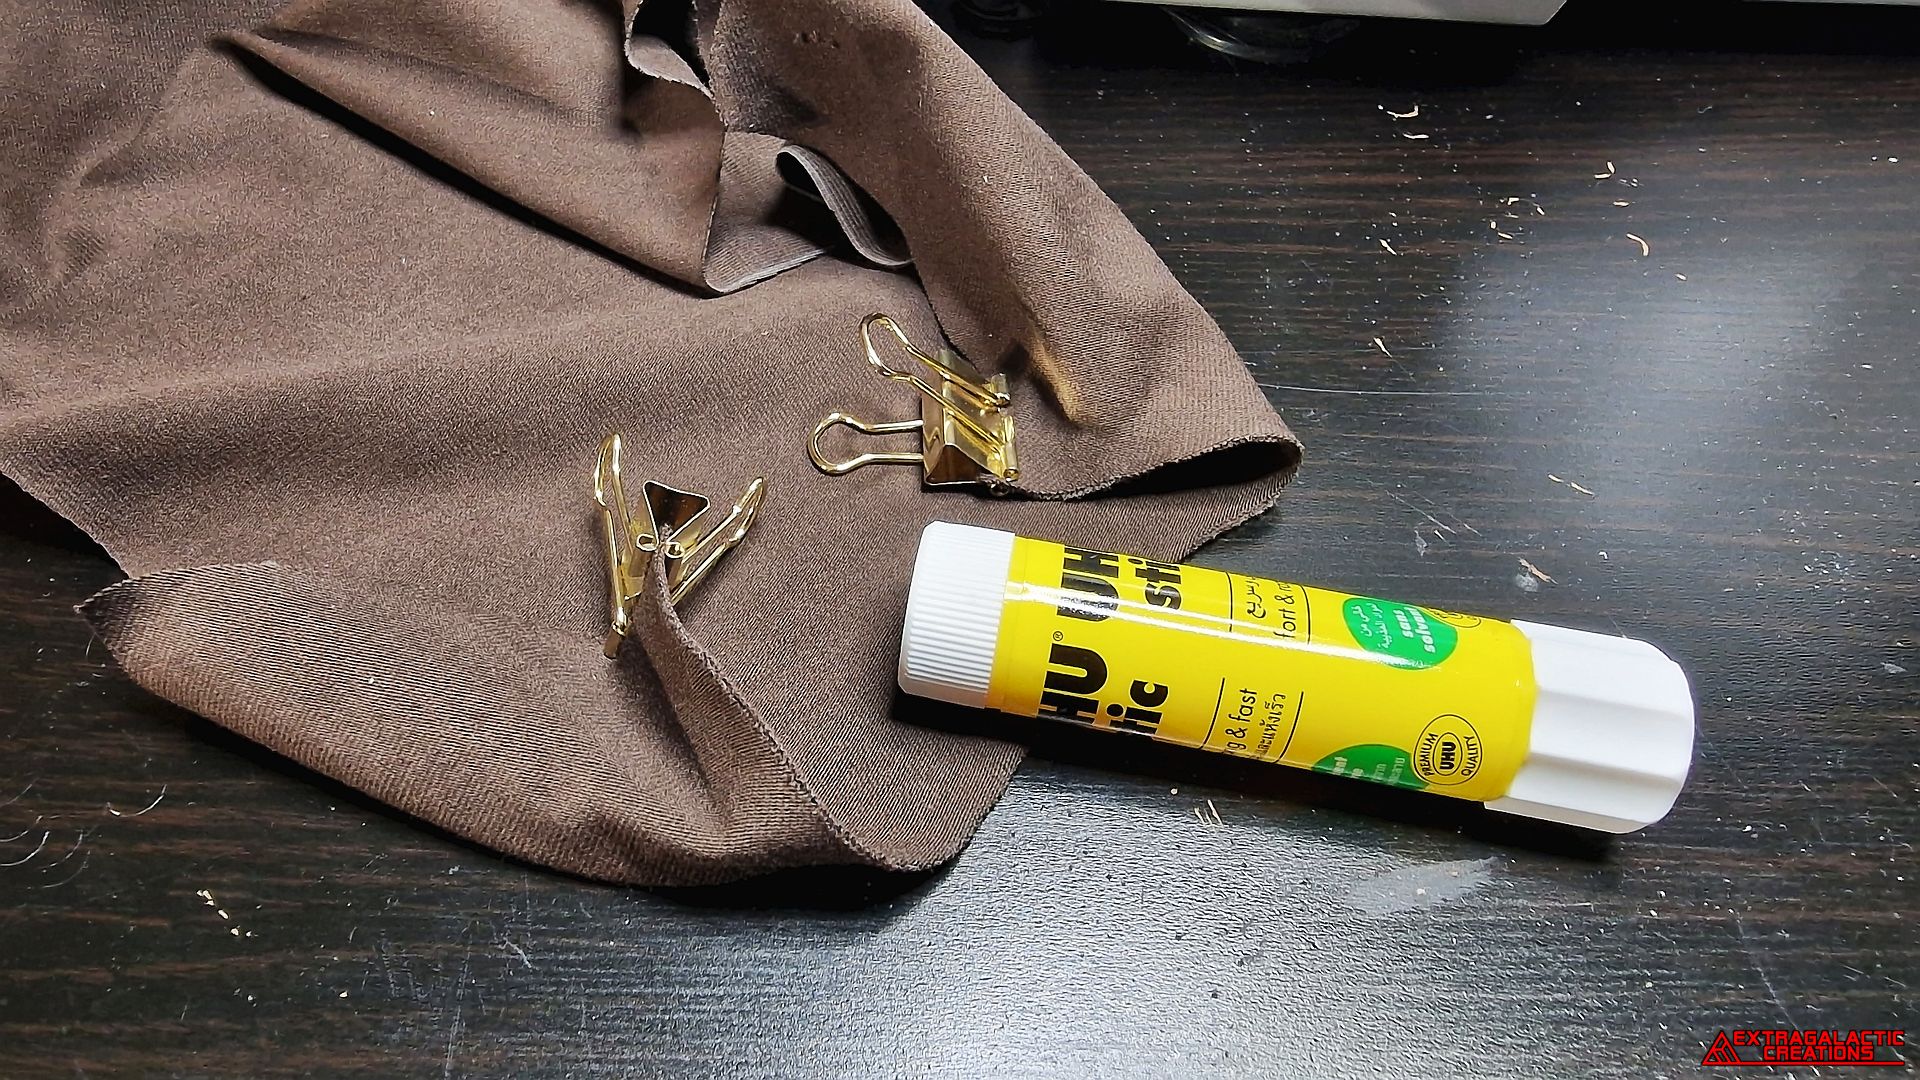
A simple trick to hold the lining panels together perfectly while
sewing is to simply glue them together with a glue stick meant for
paper.
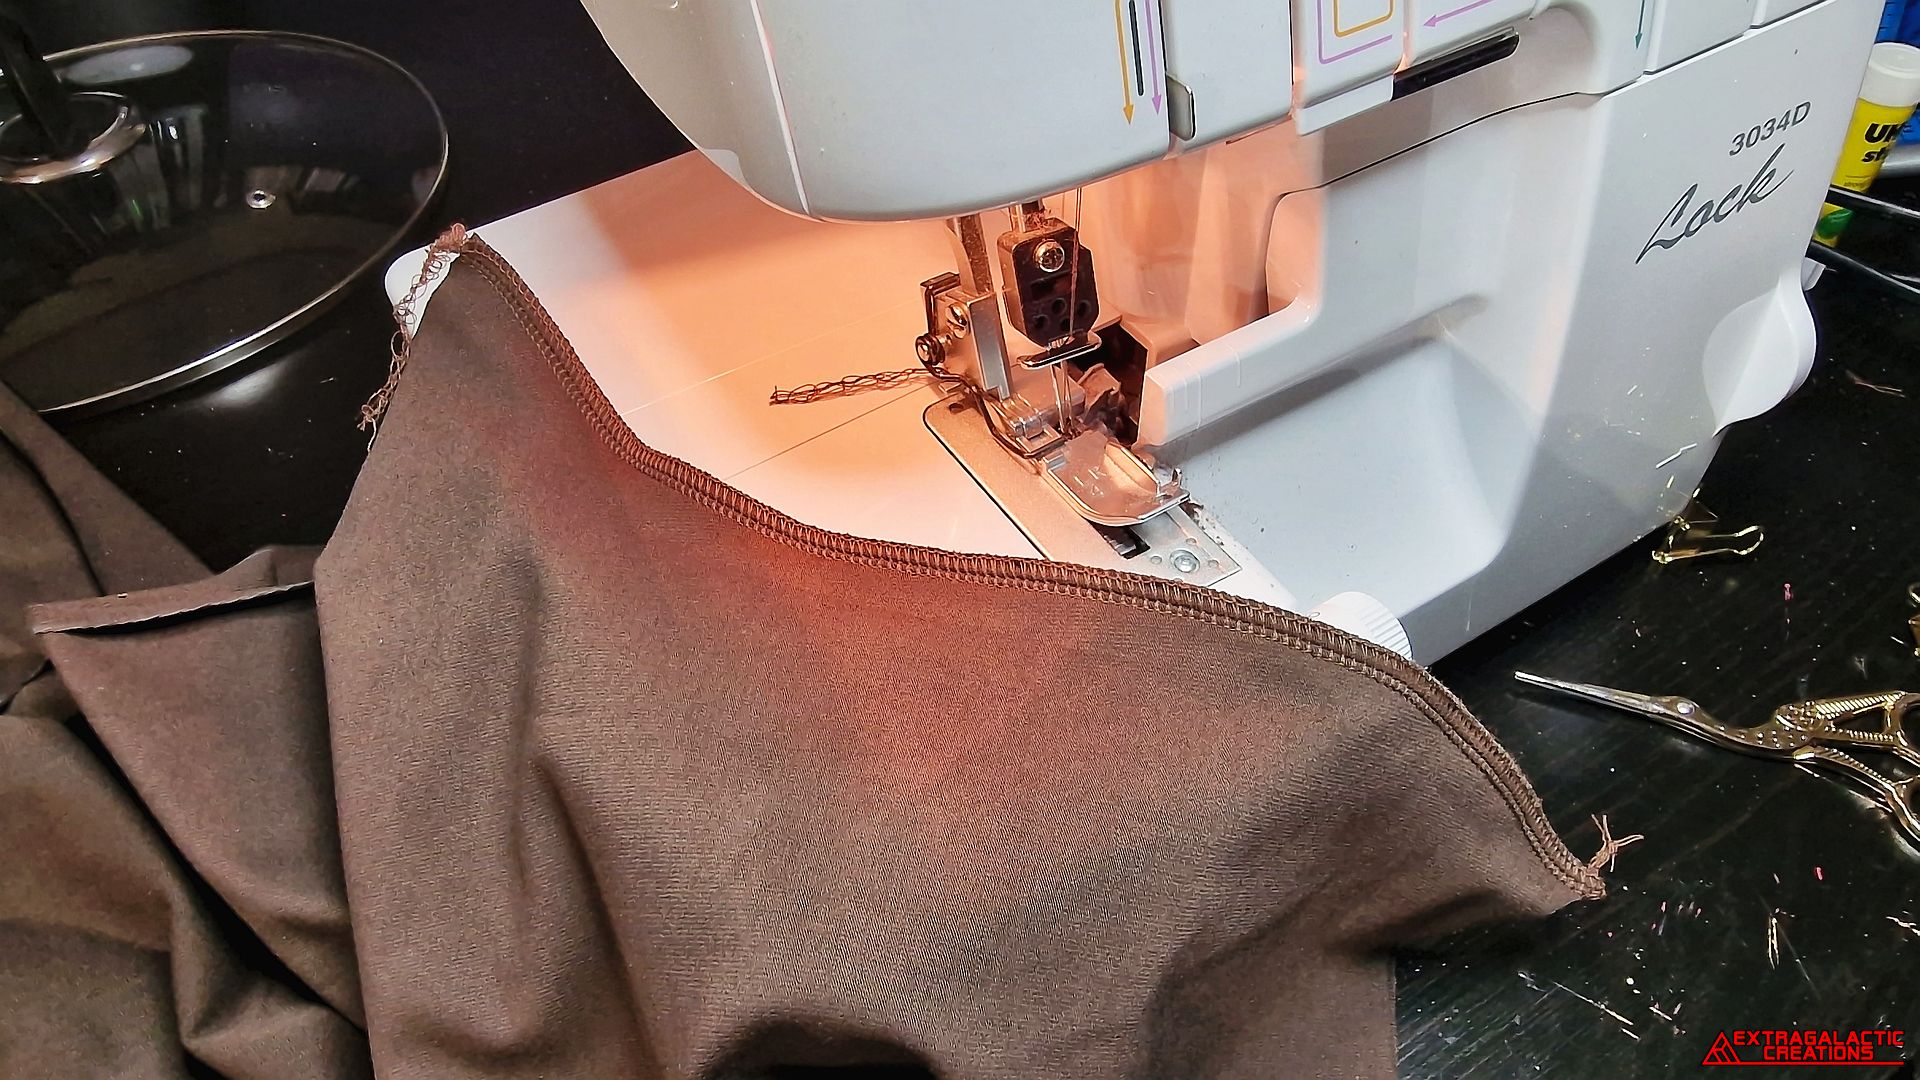
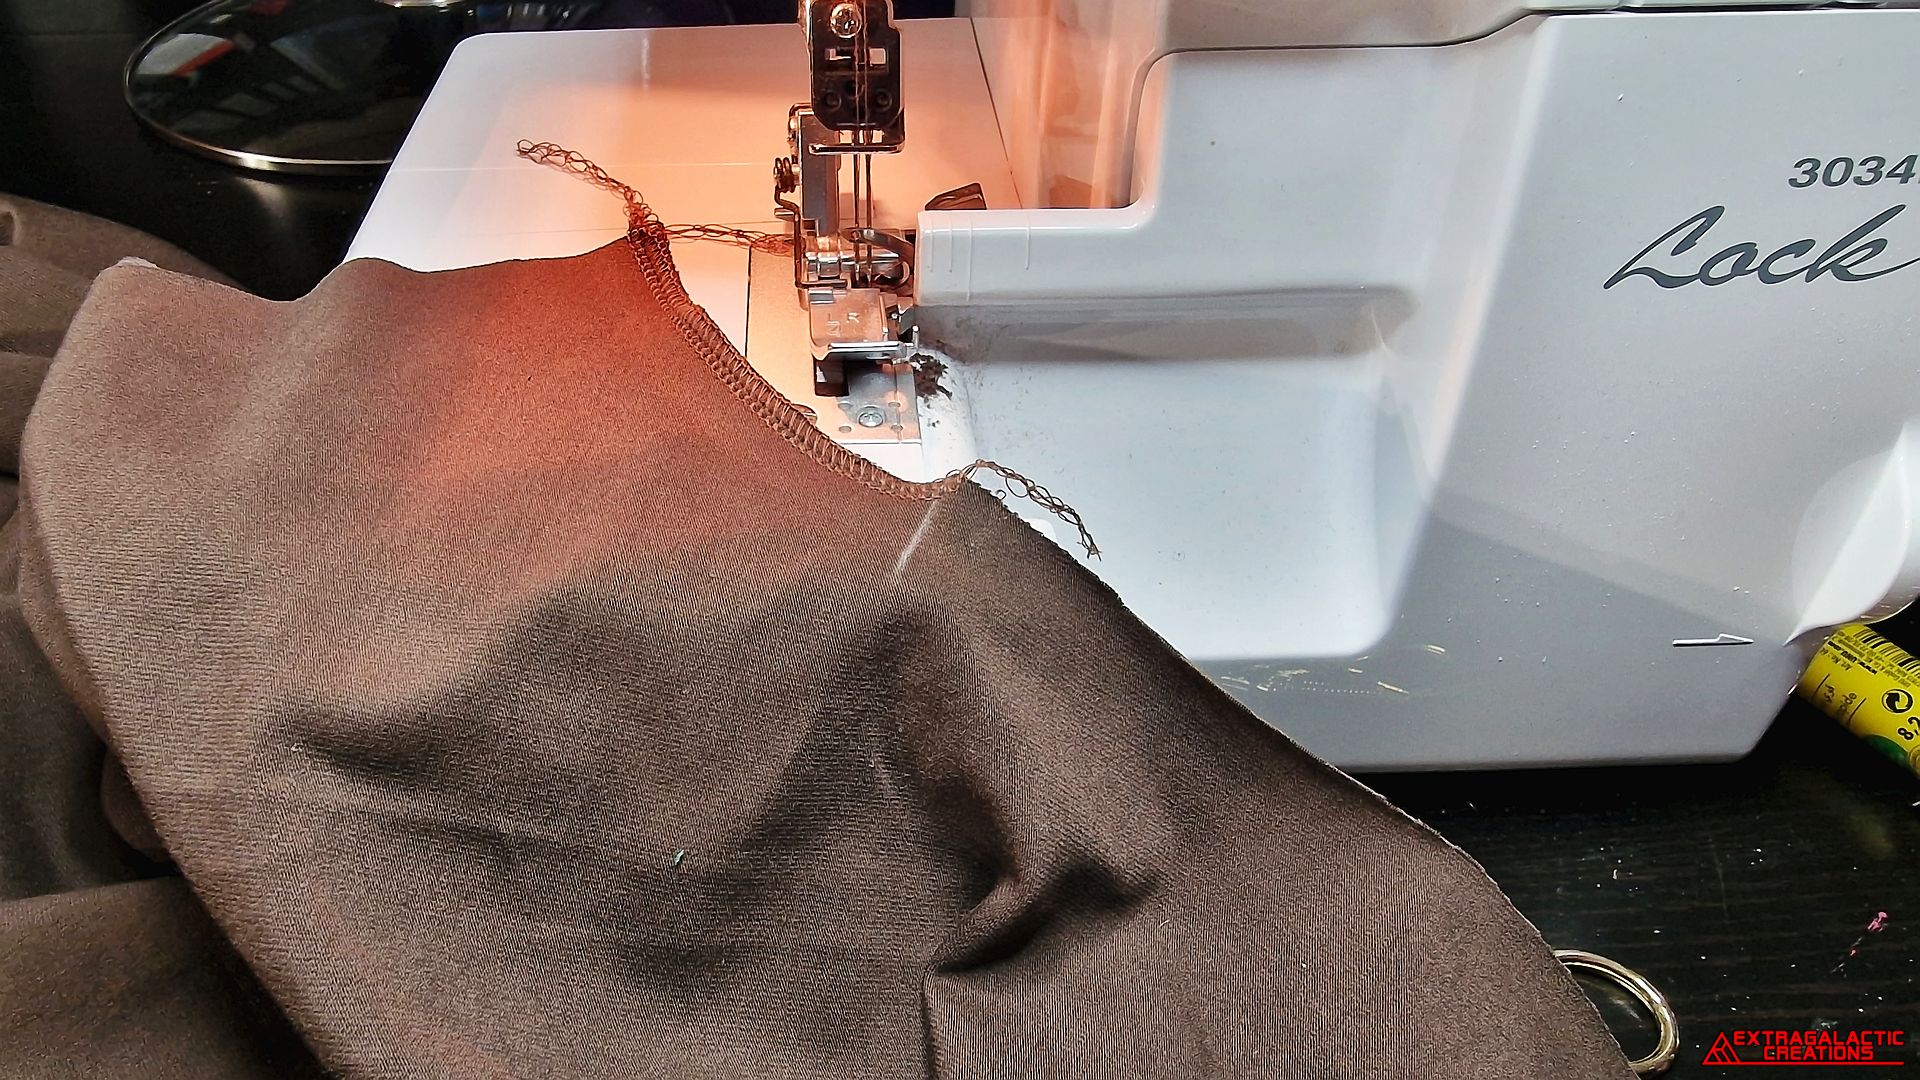
A nice and stretchy overlock stitch was added to hold the back panels
together.
The location of the zipper opening was traced onto the fabric before
the front panels could be sewn together.
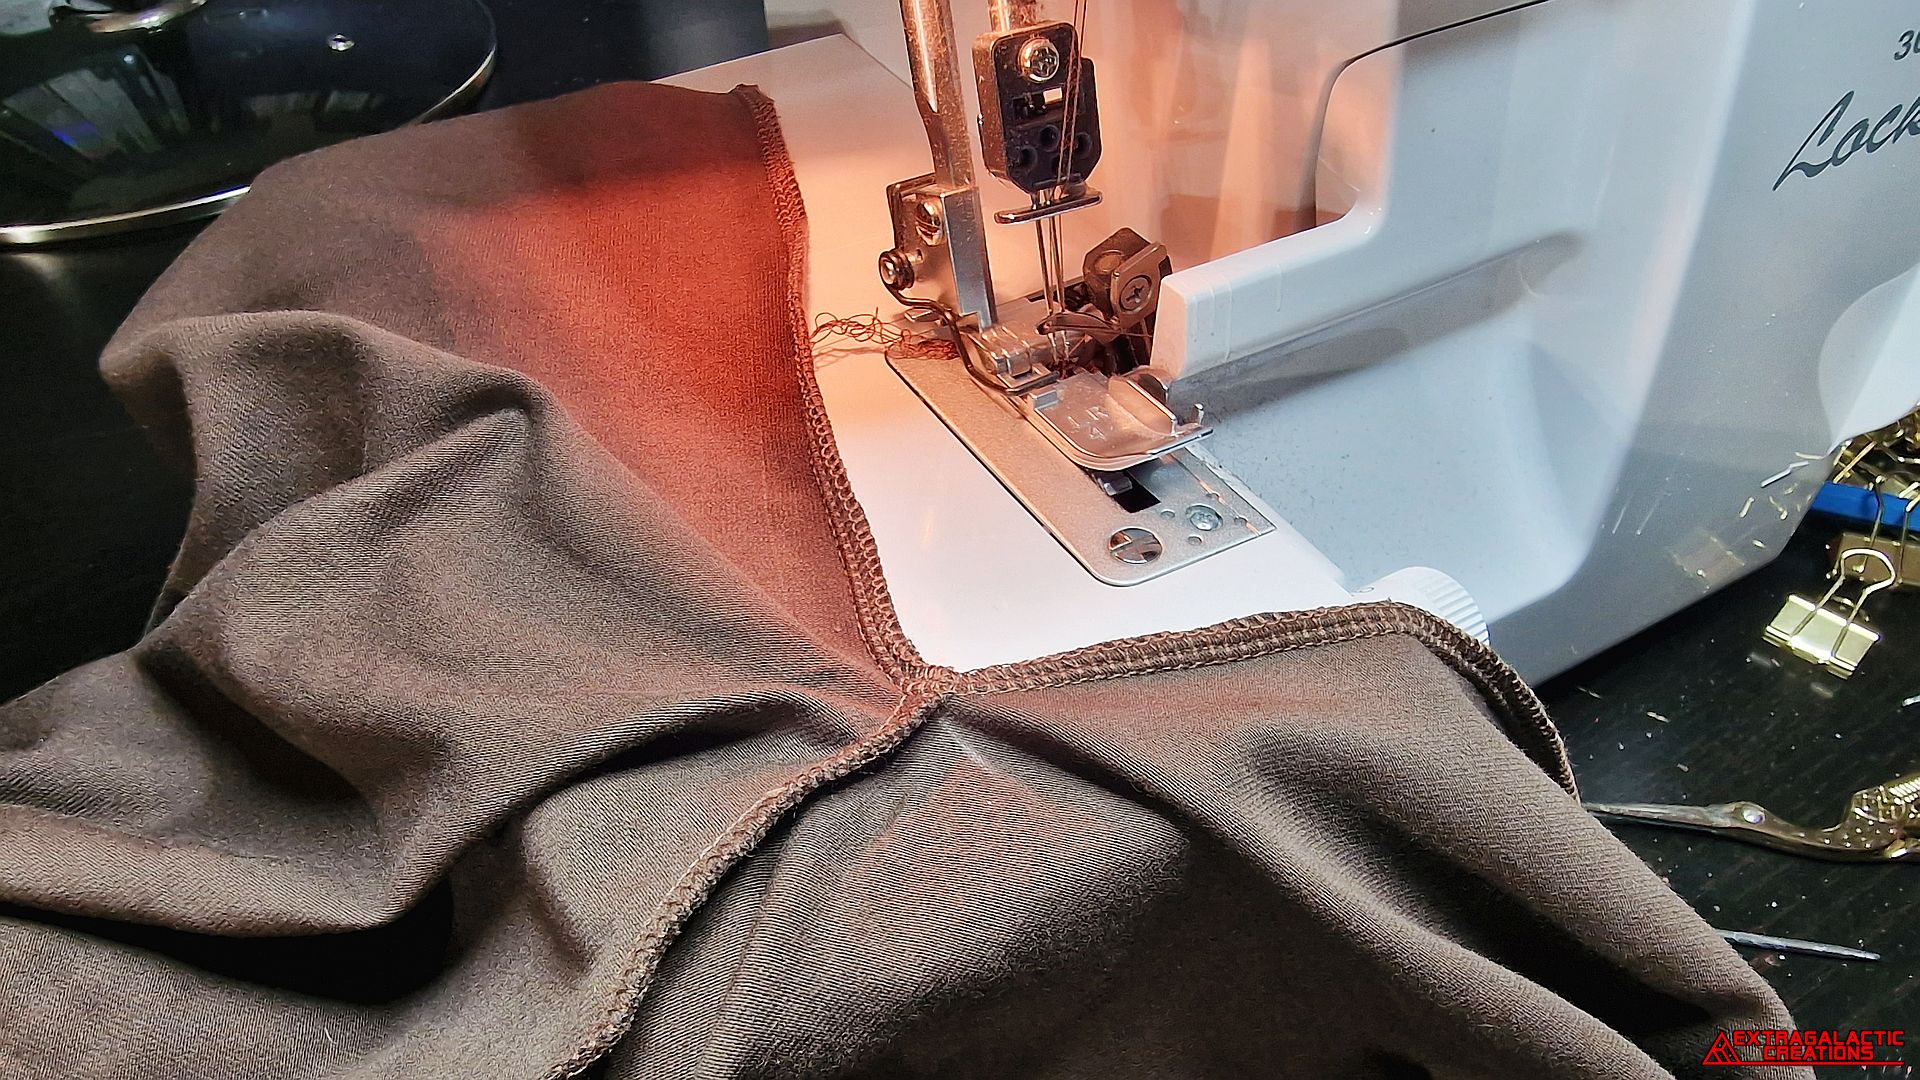
A short overlock stitch was added all the way up to the zipper
opening.
A second overlock stitch was then added around the whole edge of the
zipper opening.
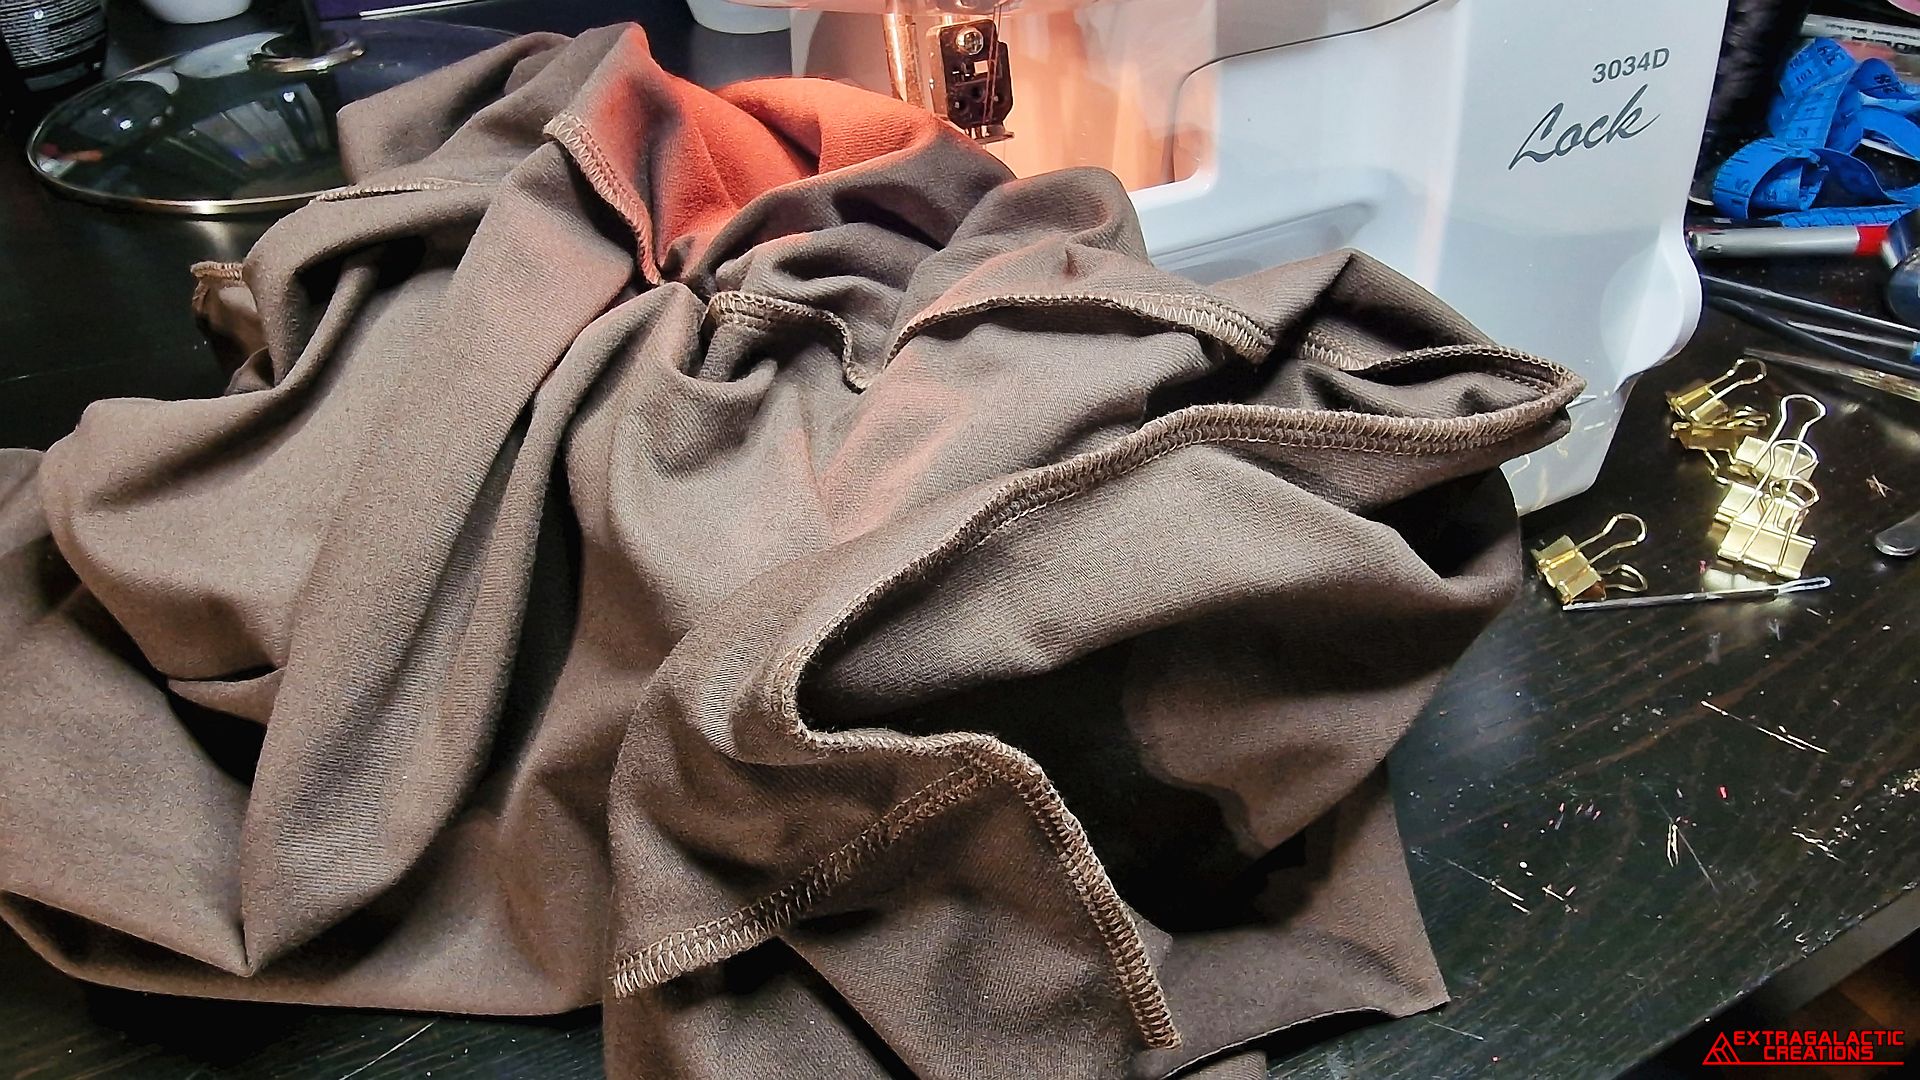
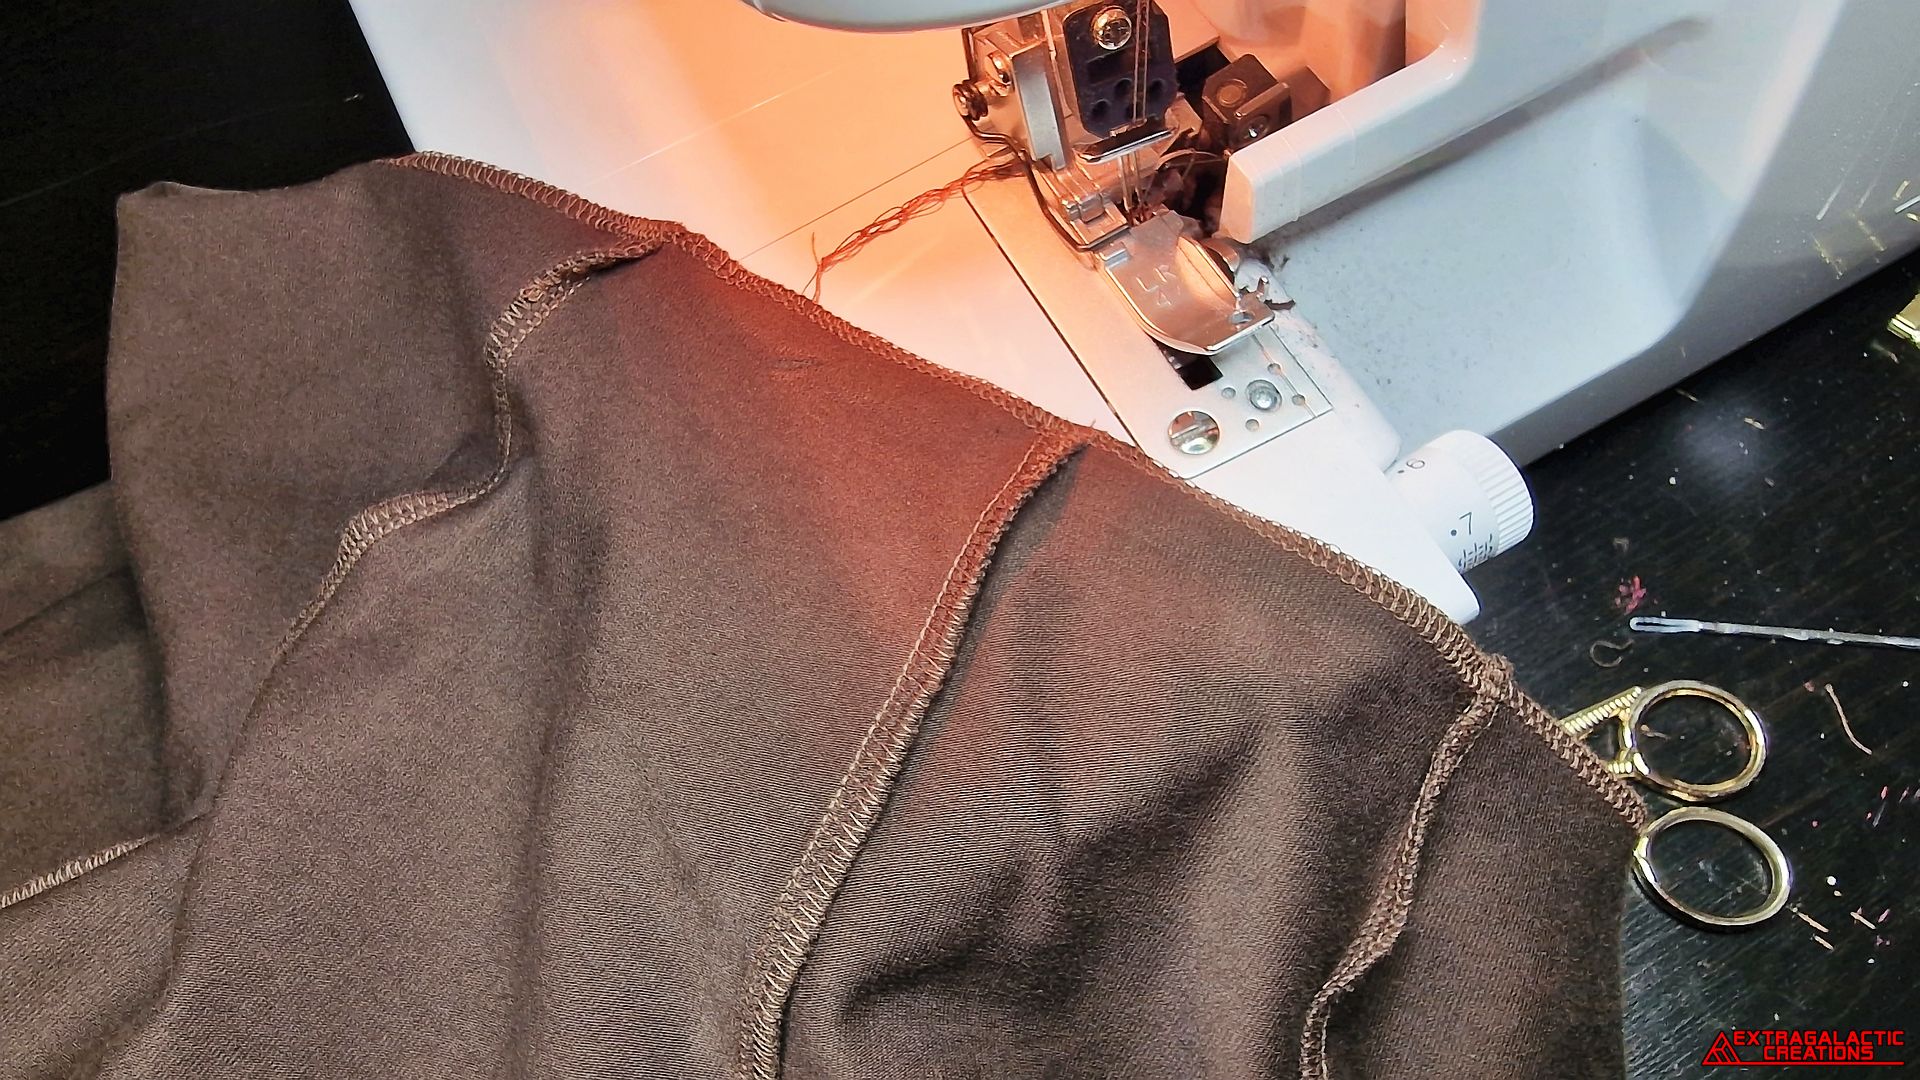
All the sides of the panels could now be sewn together with even
more neat overlock stitches.
An extra overlock stitch was also made along the edge of the waist
opening just to make it stronger and tidier.
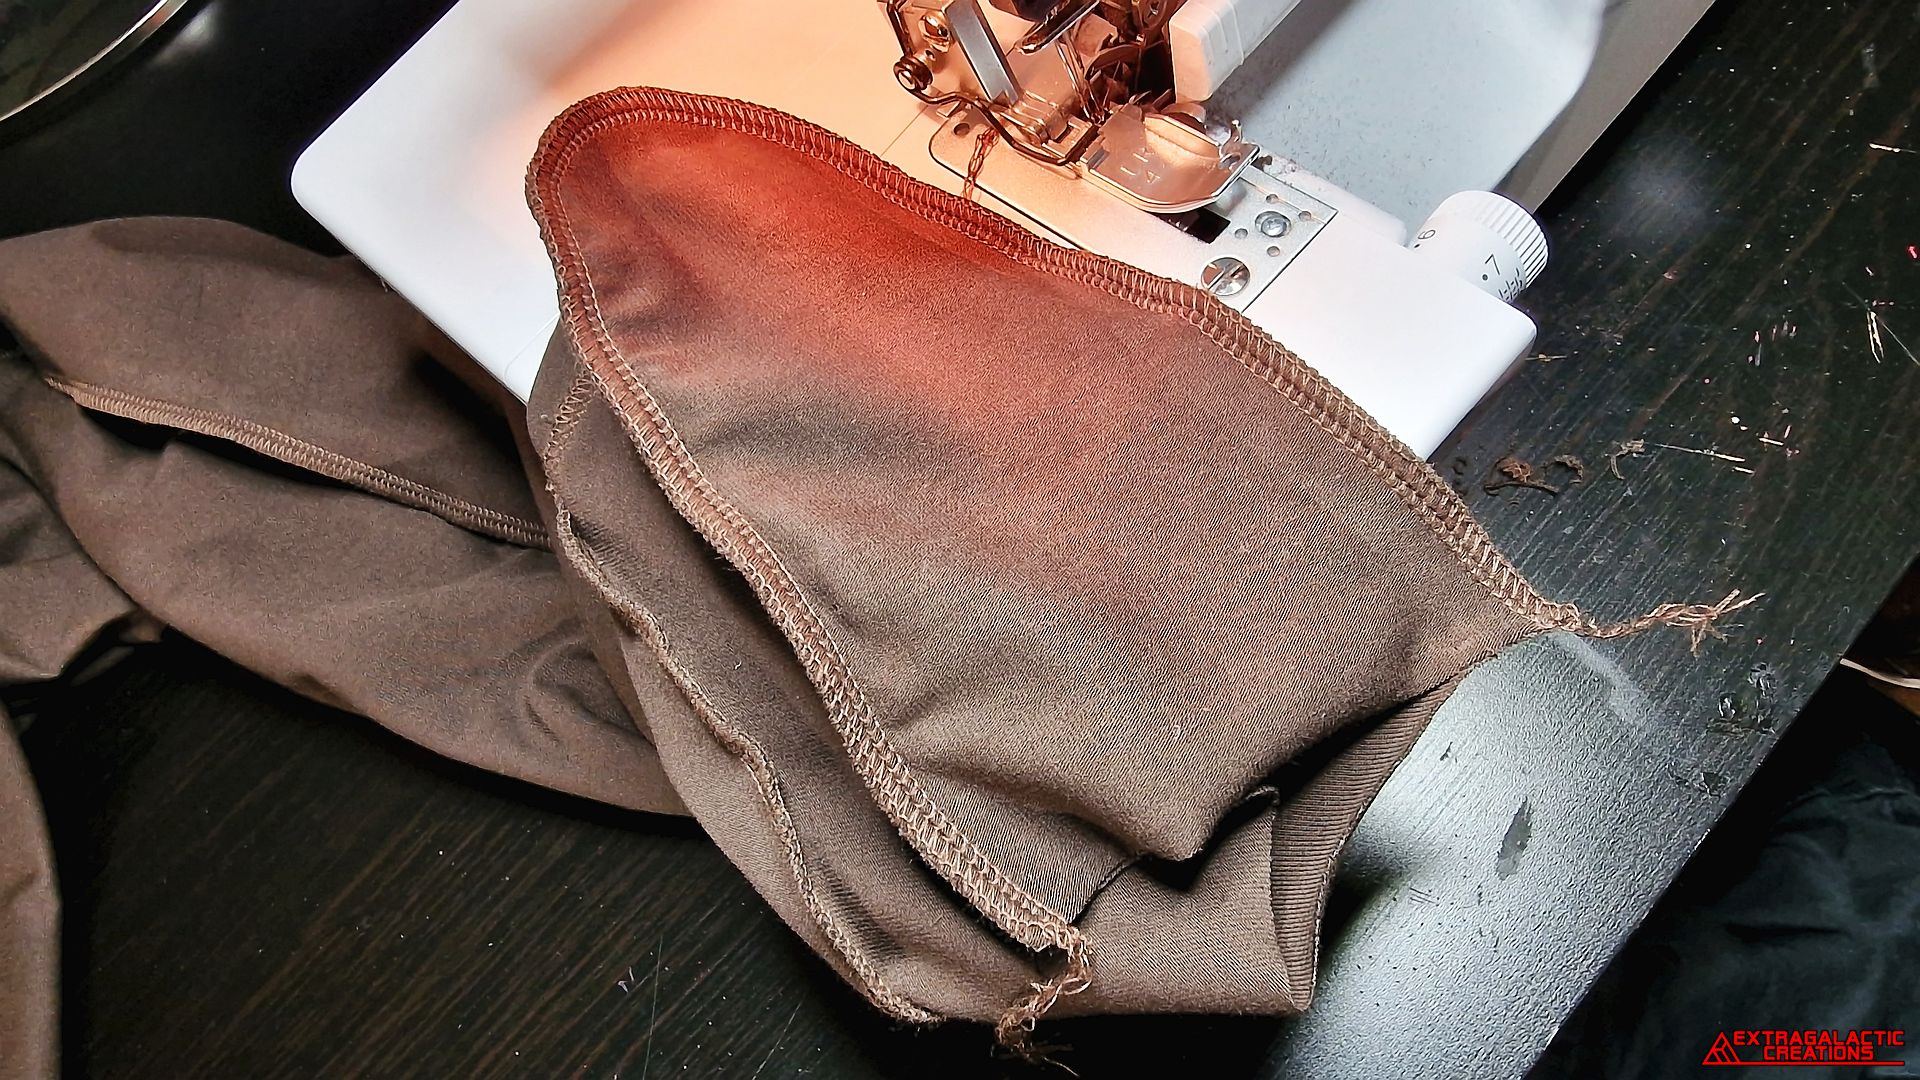
The little cludmenus panels were also sewn to the rest of the lining
with neatly curved overlock stitches.
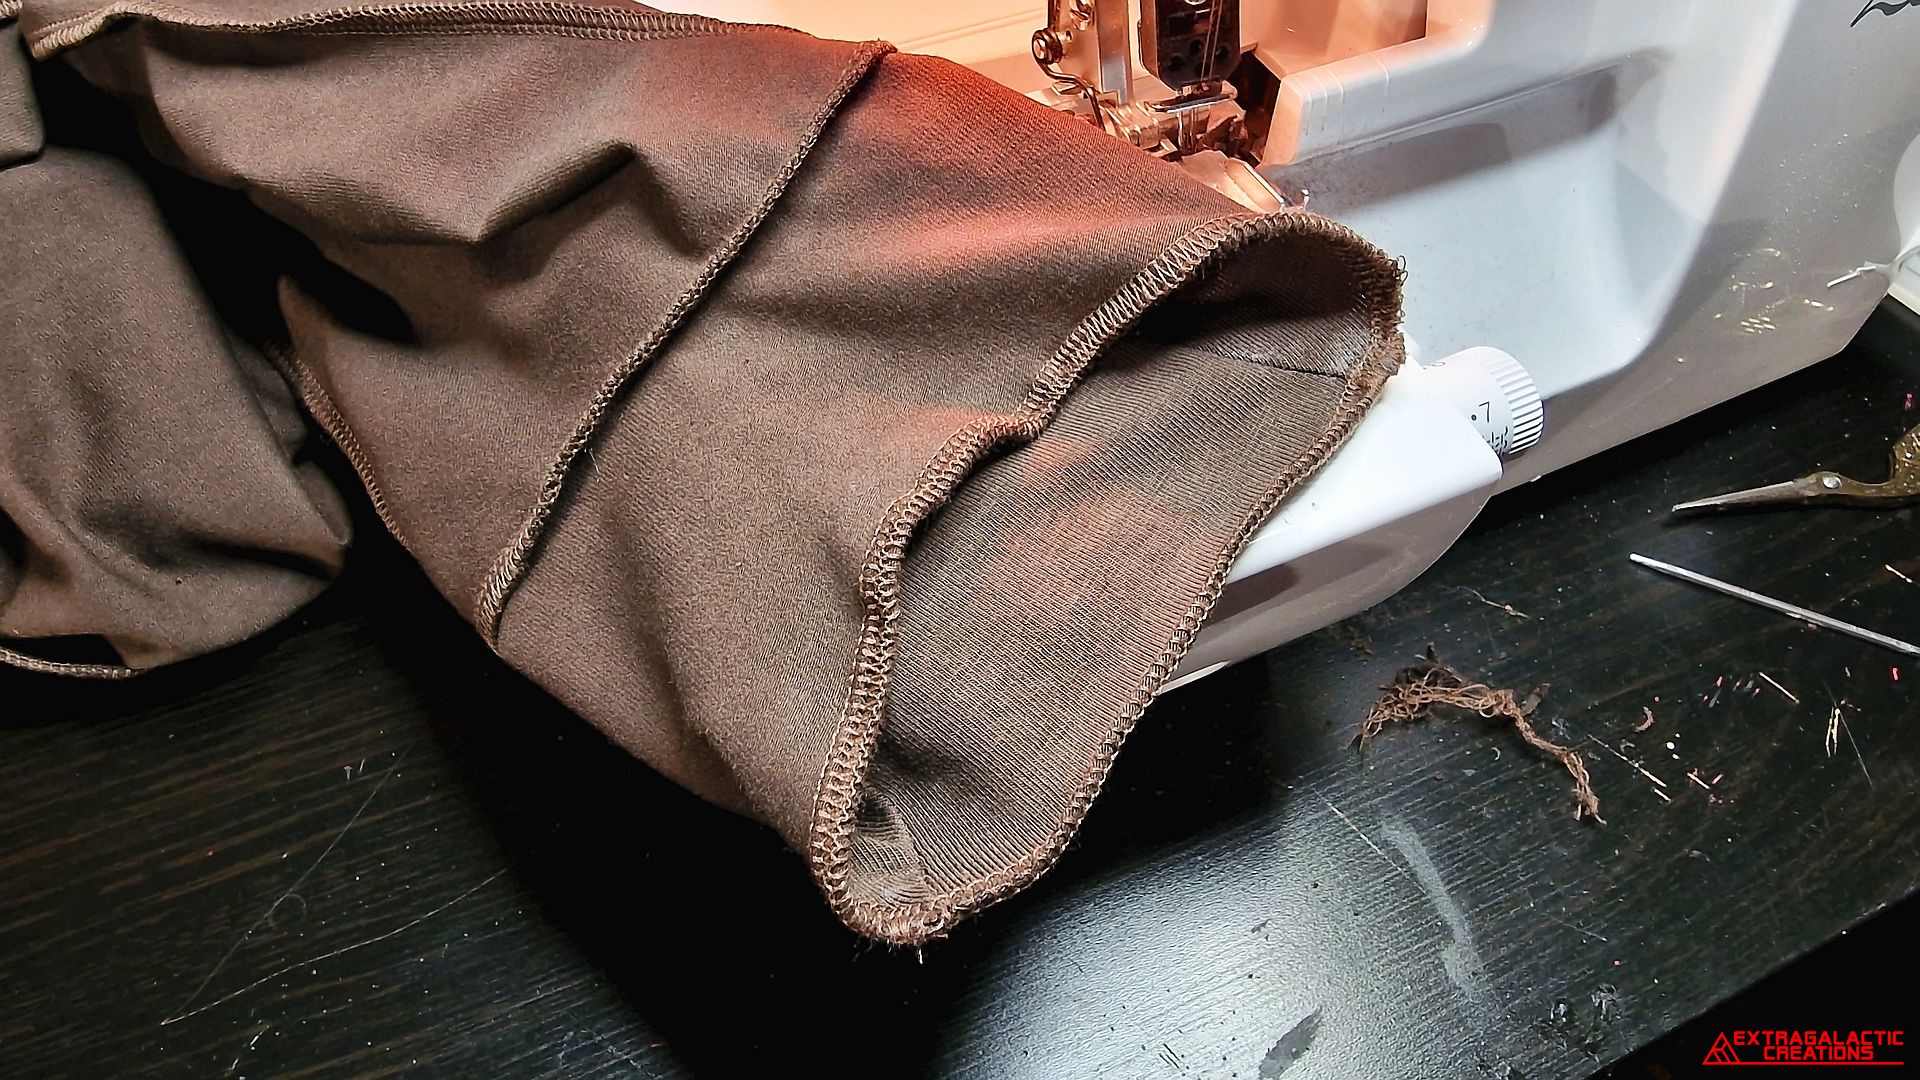
An extra reinforcing overlock stitch was also added to each foot
opening.
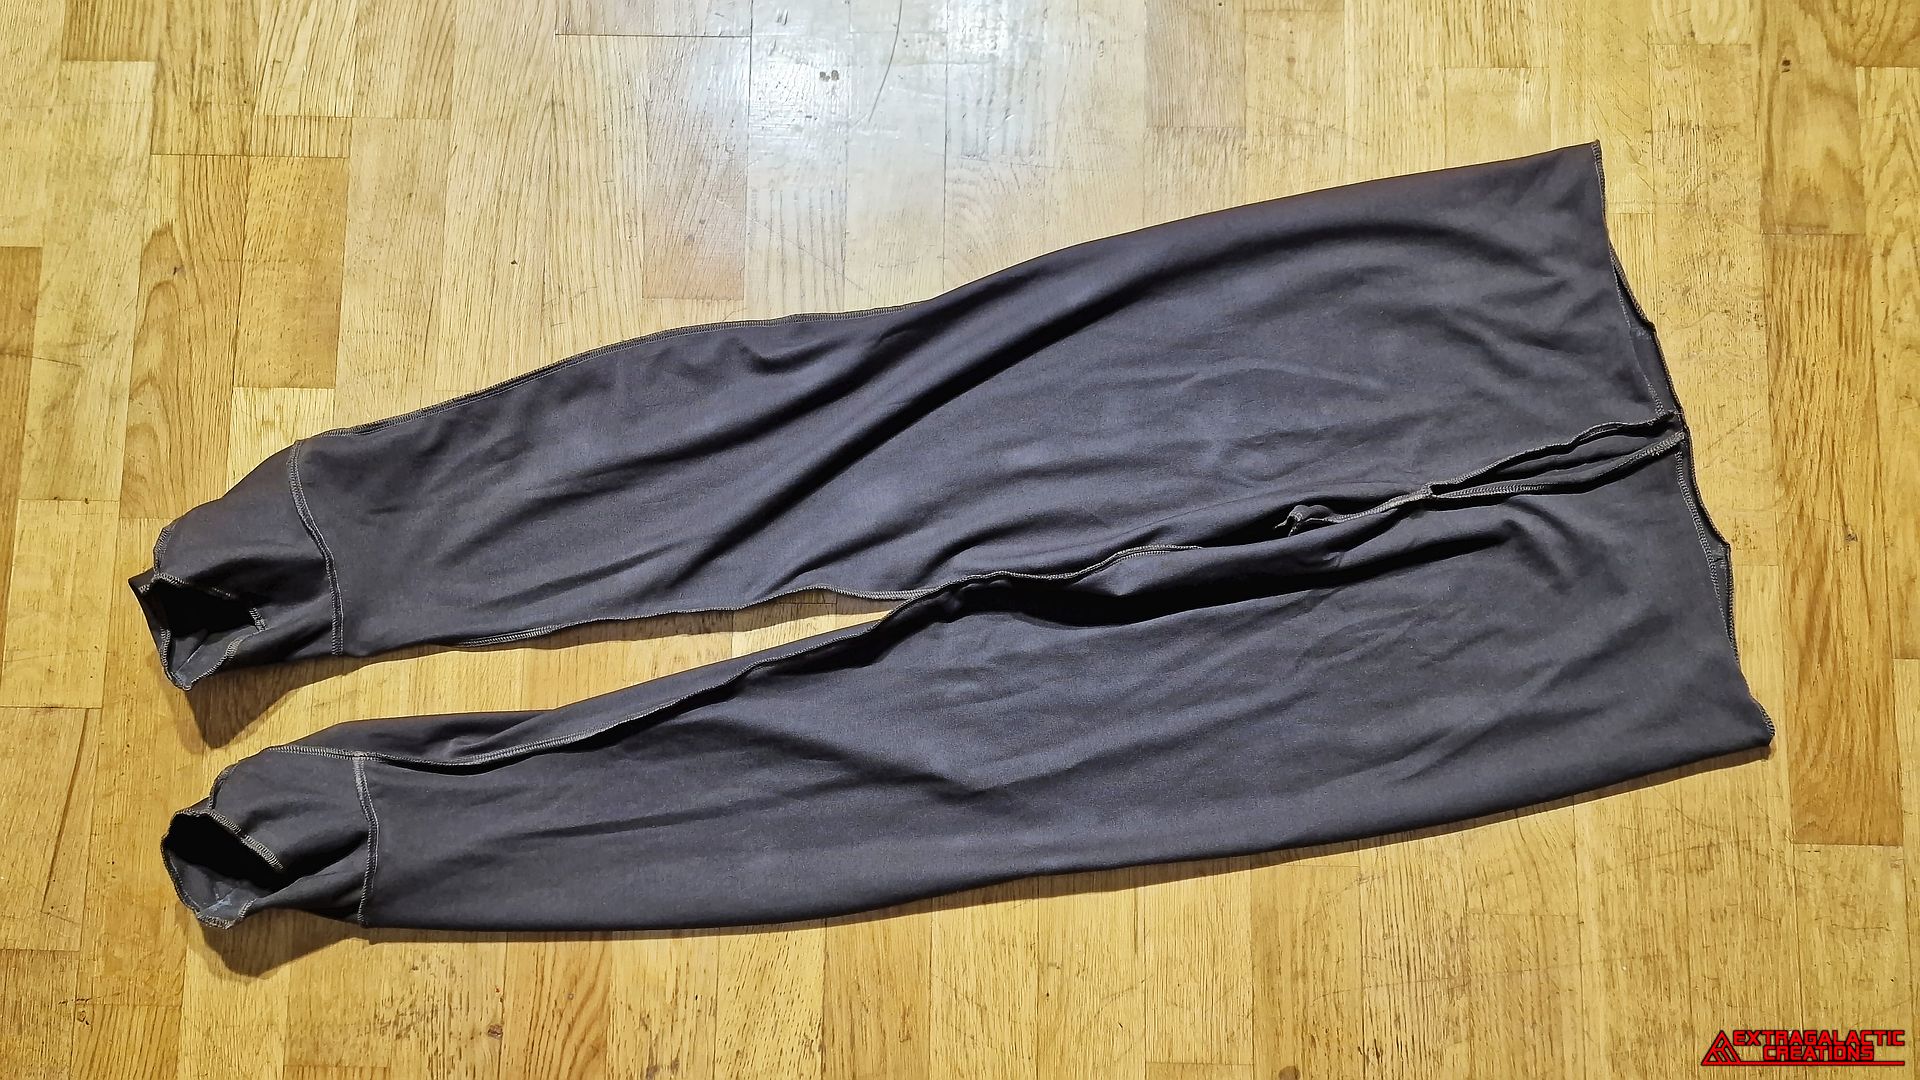
And so the lining was complete and ready to be sewn to the inside of
the pants to make them more comfortable and easier to freshen up
when needed.
After all, even Aloy keeps commenting on what a stinky goobus she is
every time it rains or she falls into water.
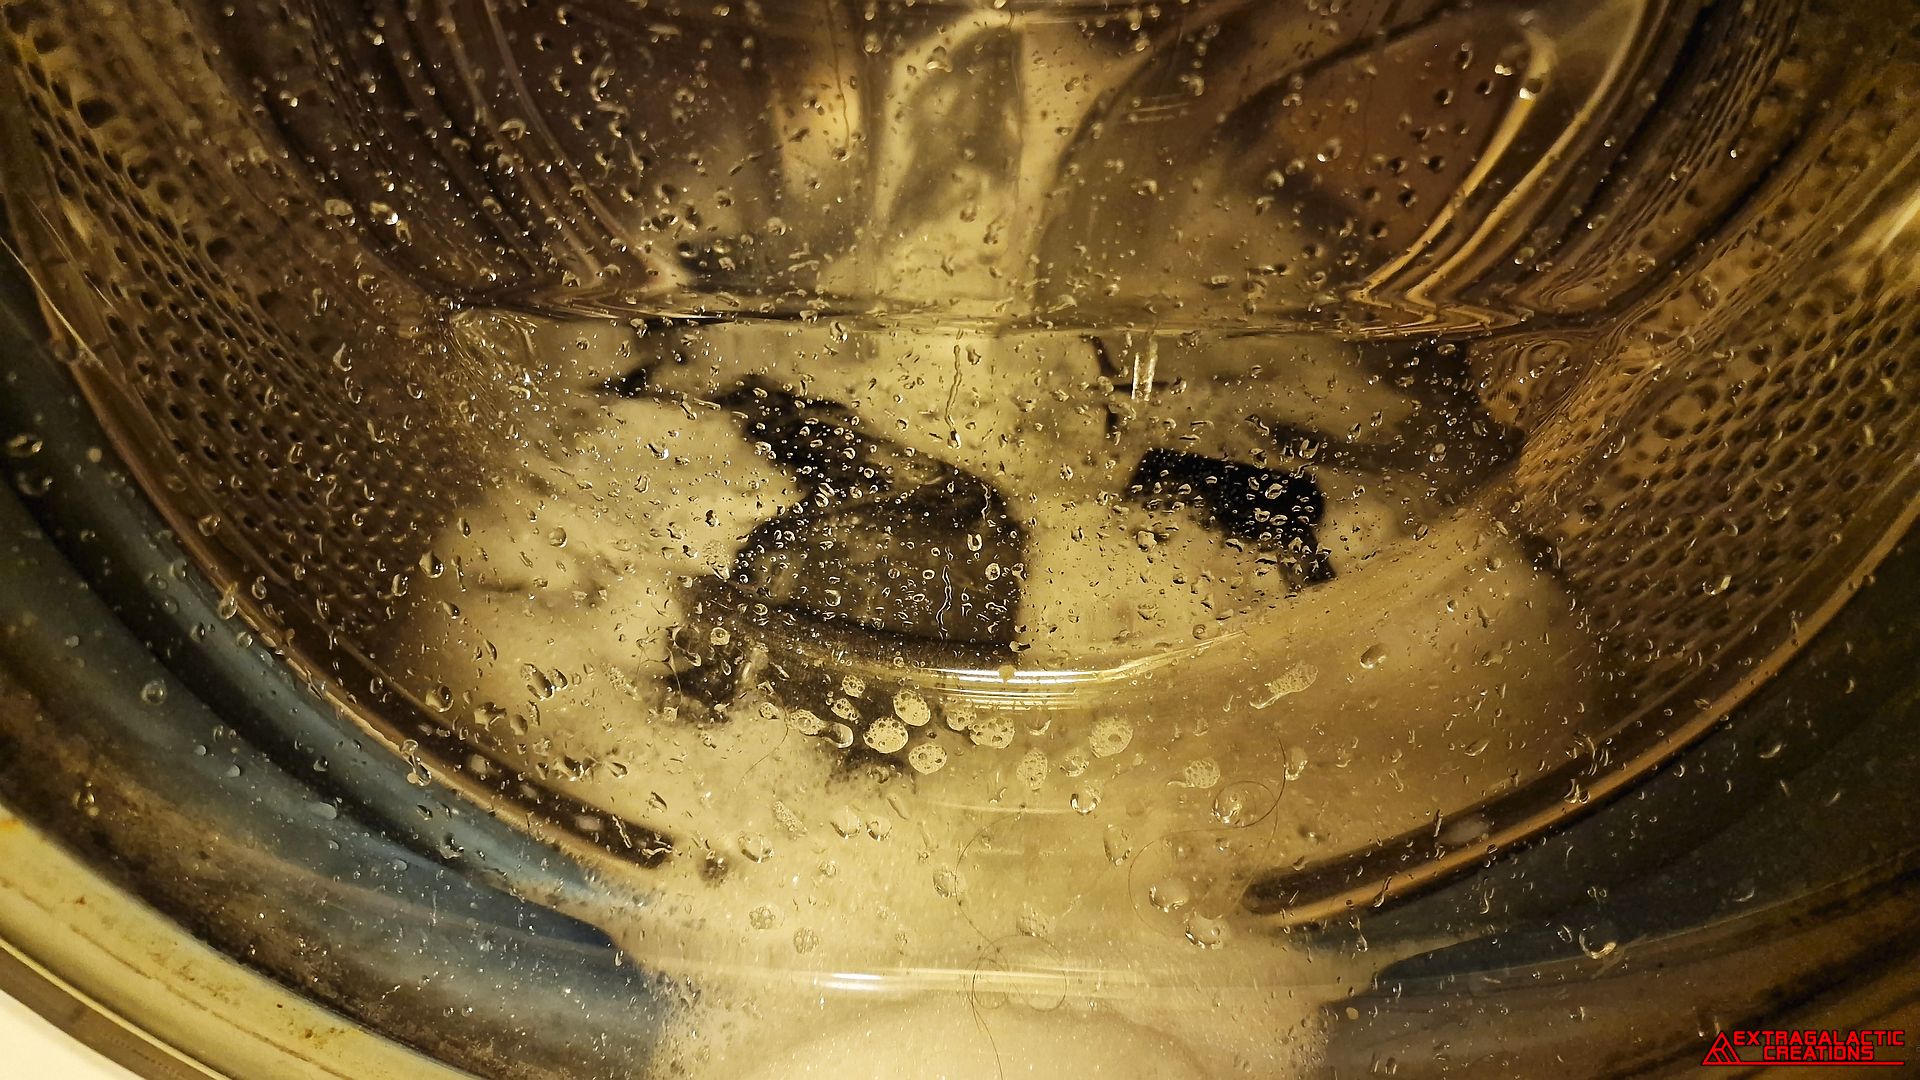
Just to be extra safe there is no excess dye on the lining, it was
quickly washed before sewing them to the pants.
Stitch holes were also added to each foot opening.
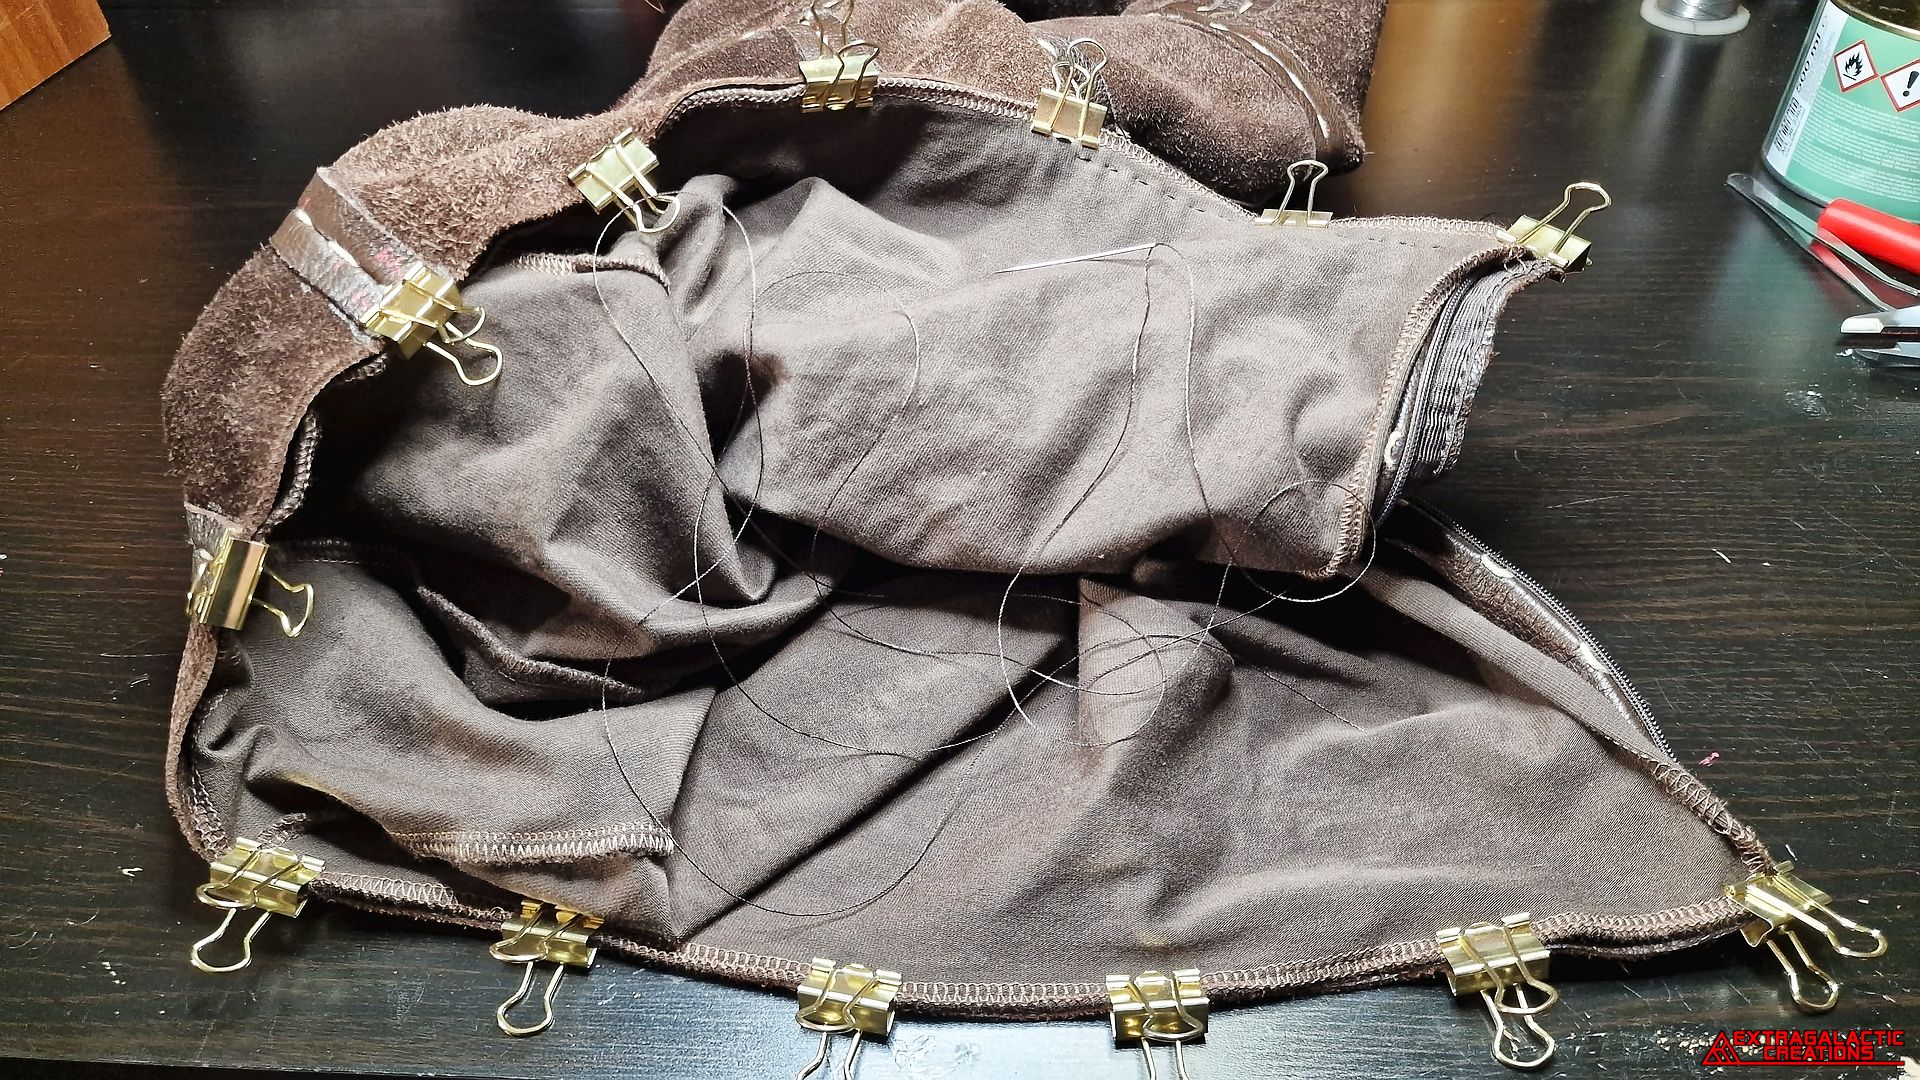
The pants and the lining were both turned inside out before hand
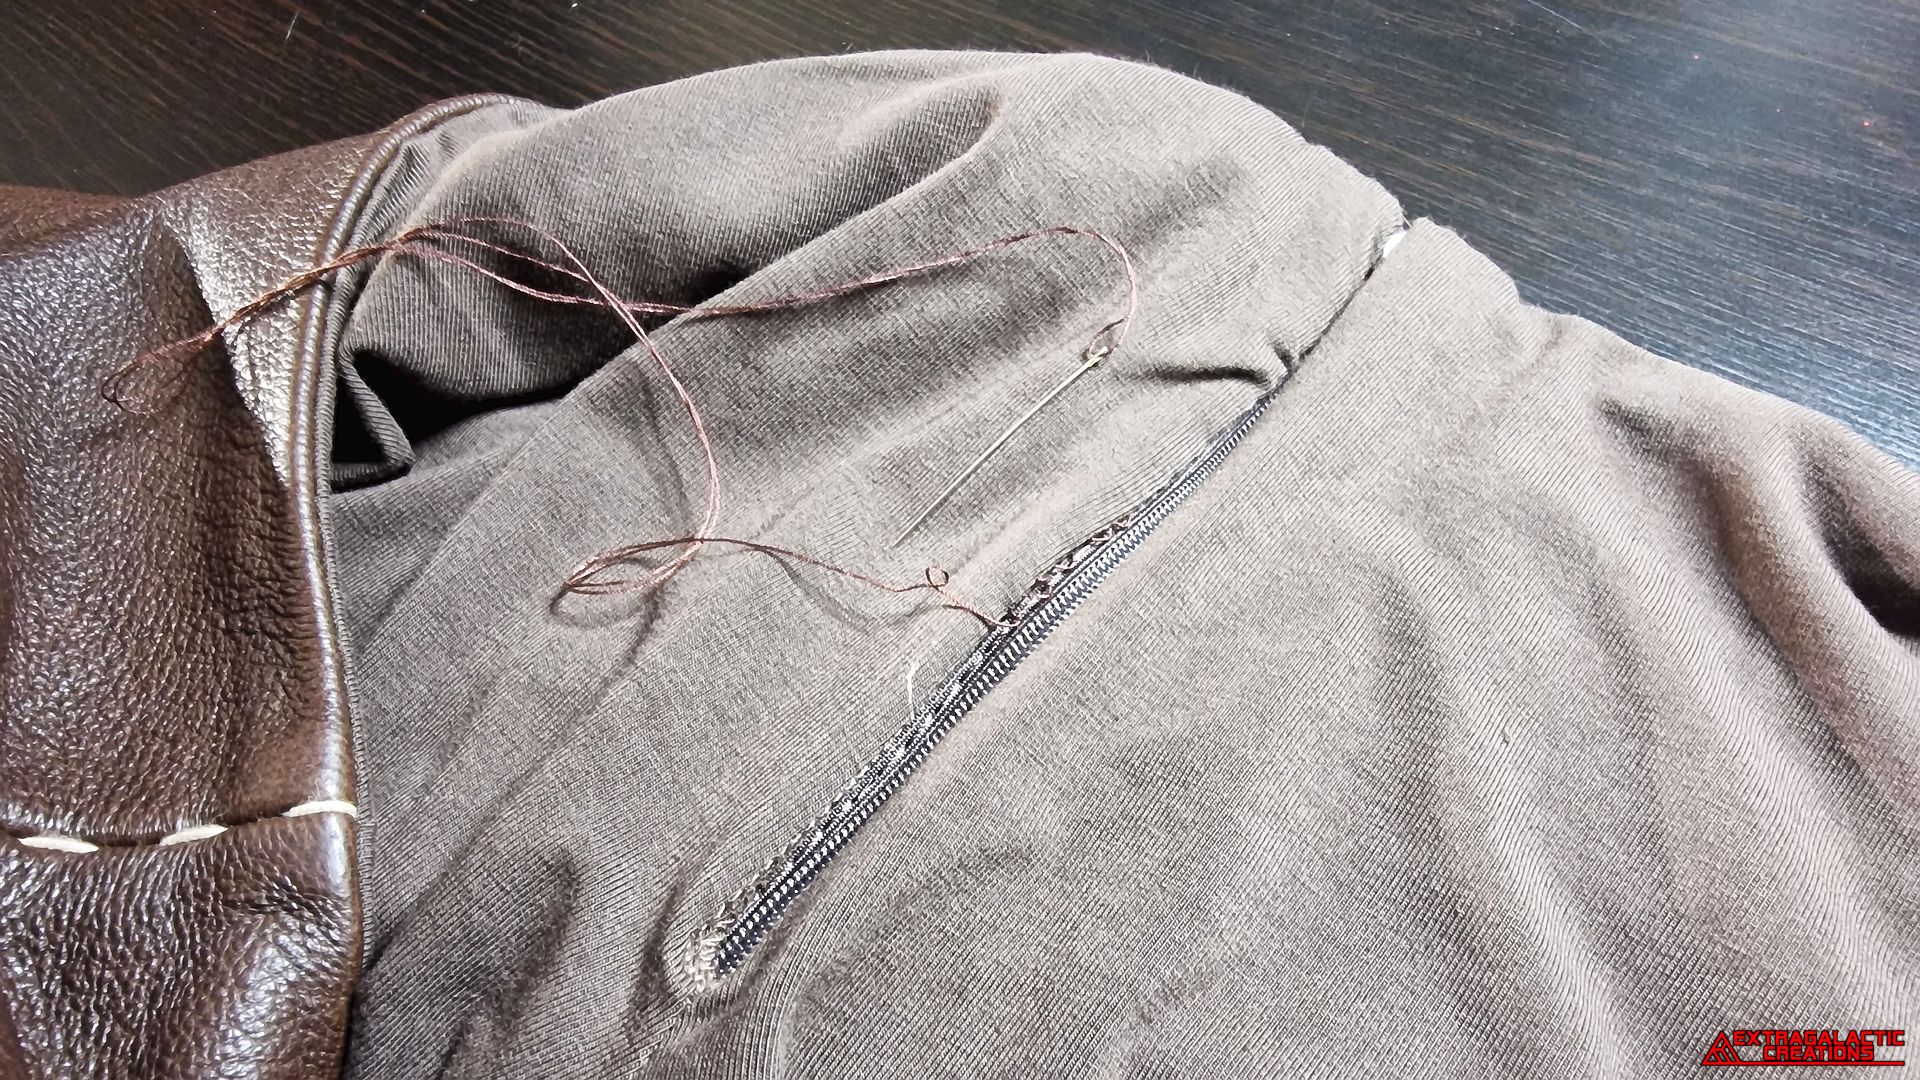
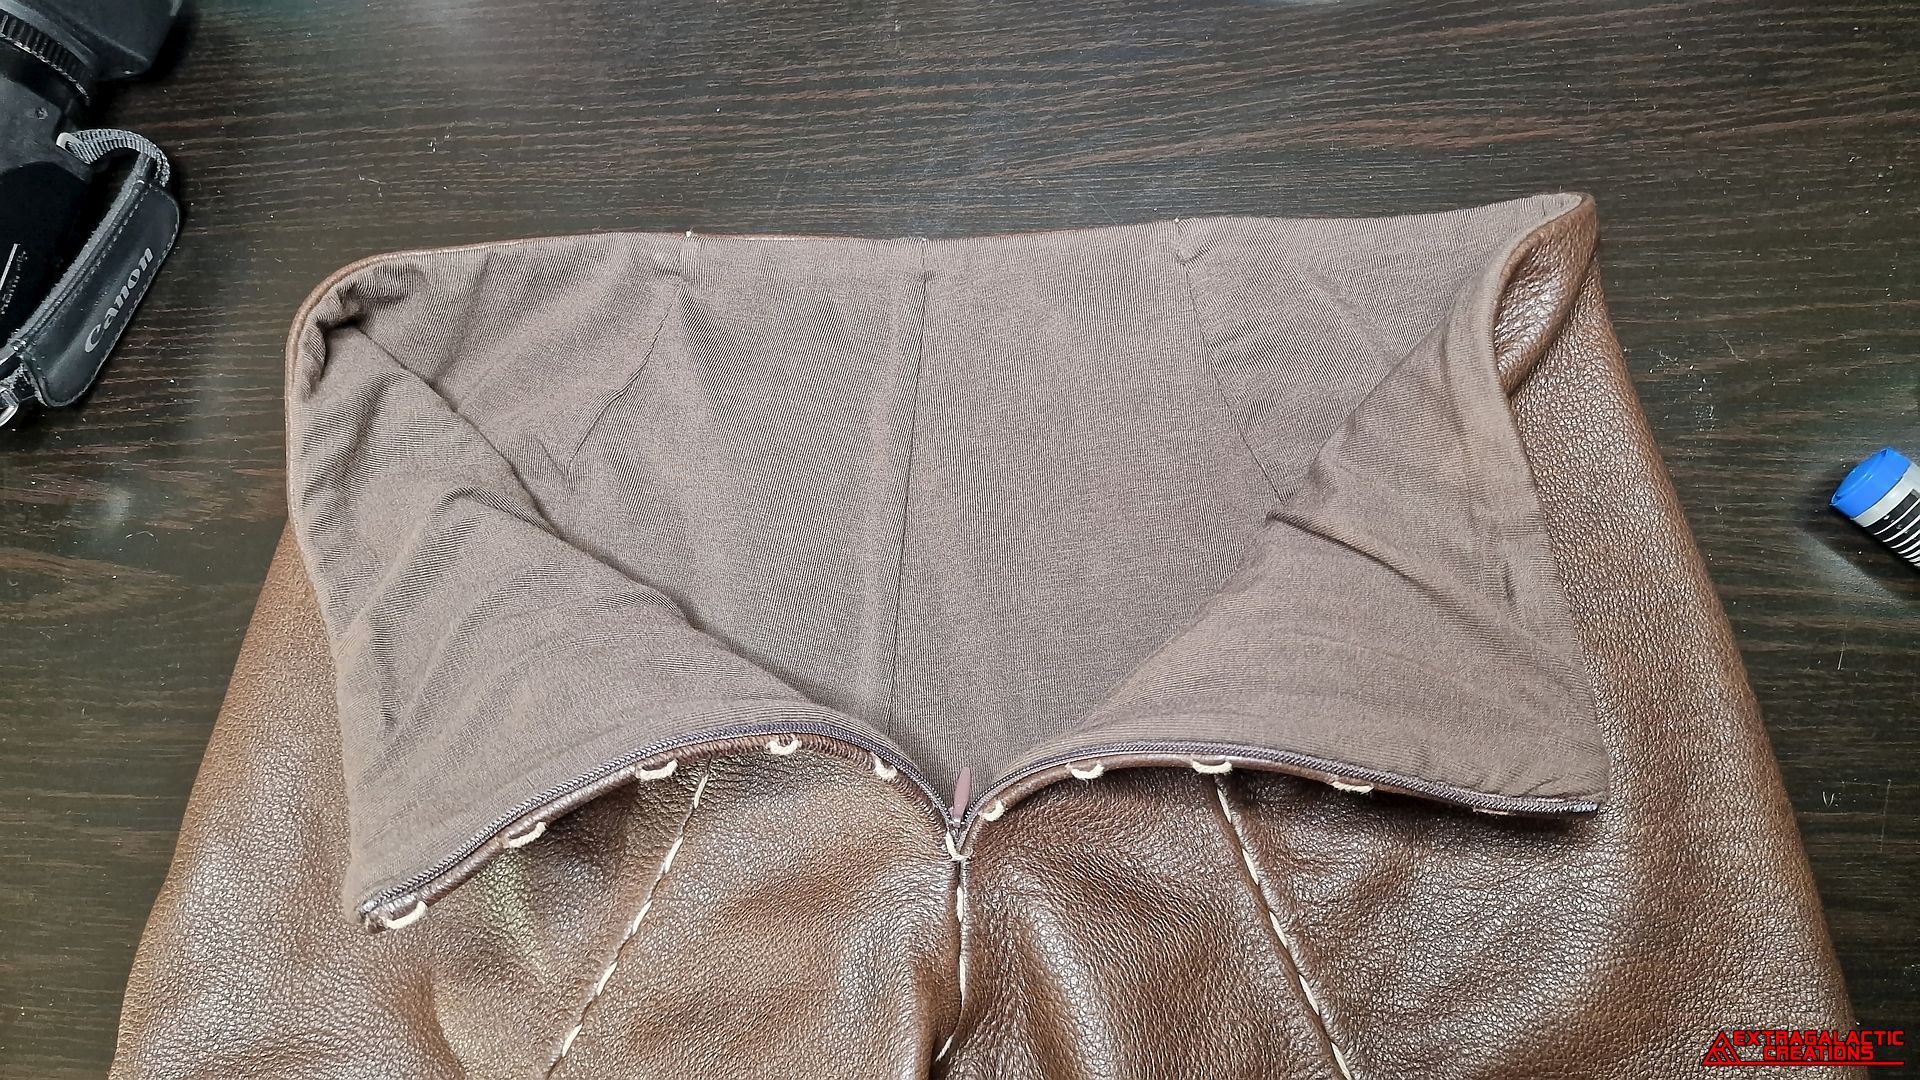
sewing them together at the waist opening with ladder stitches.
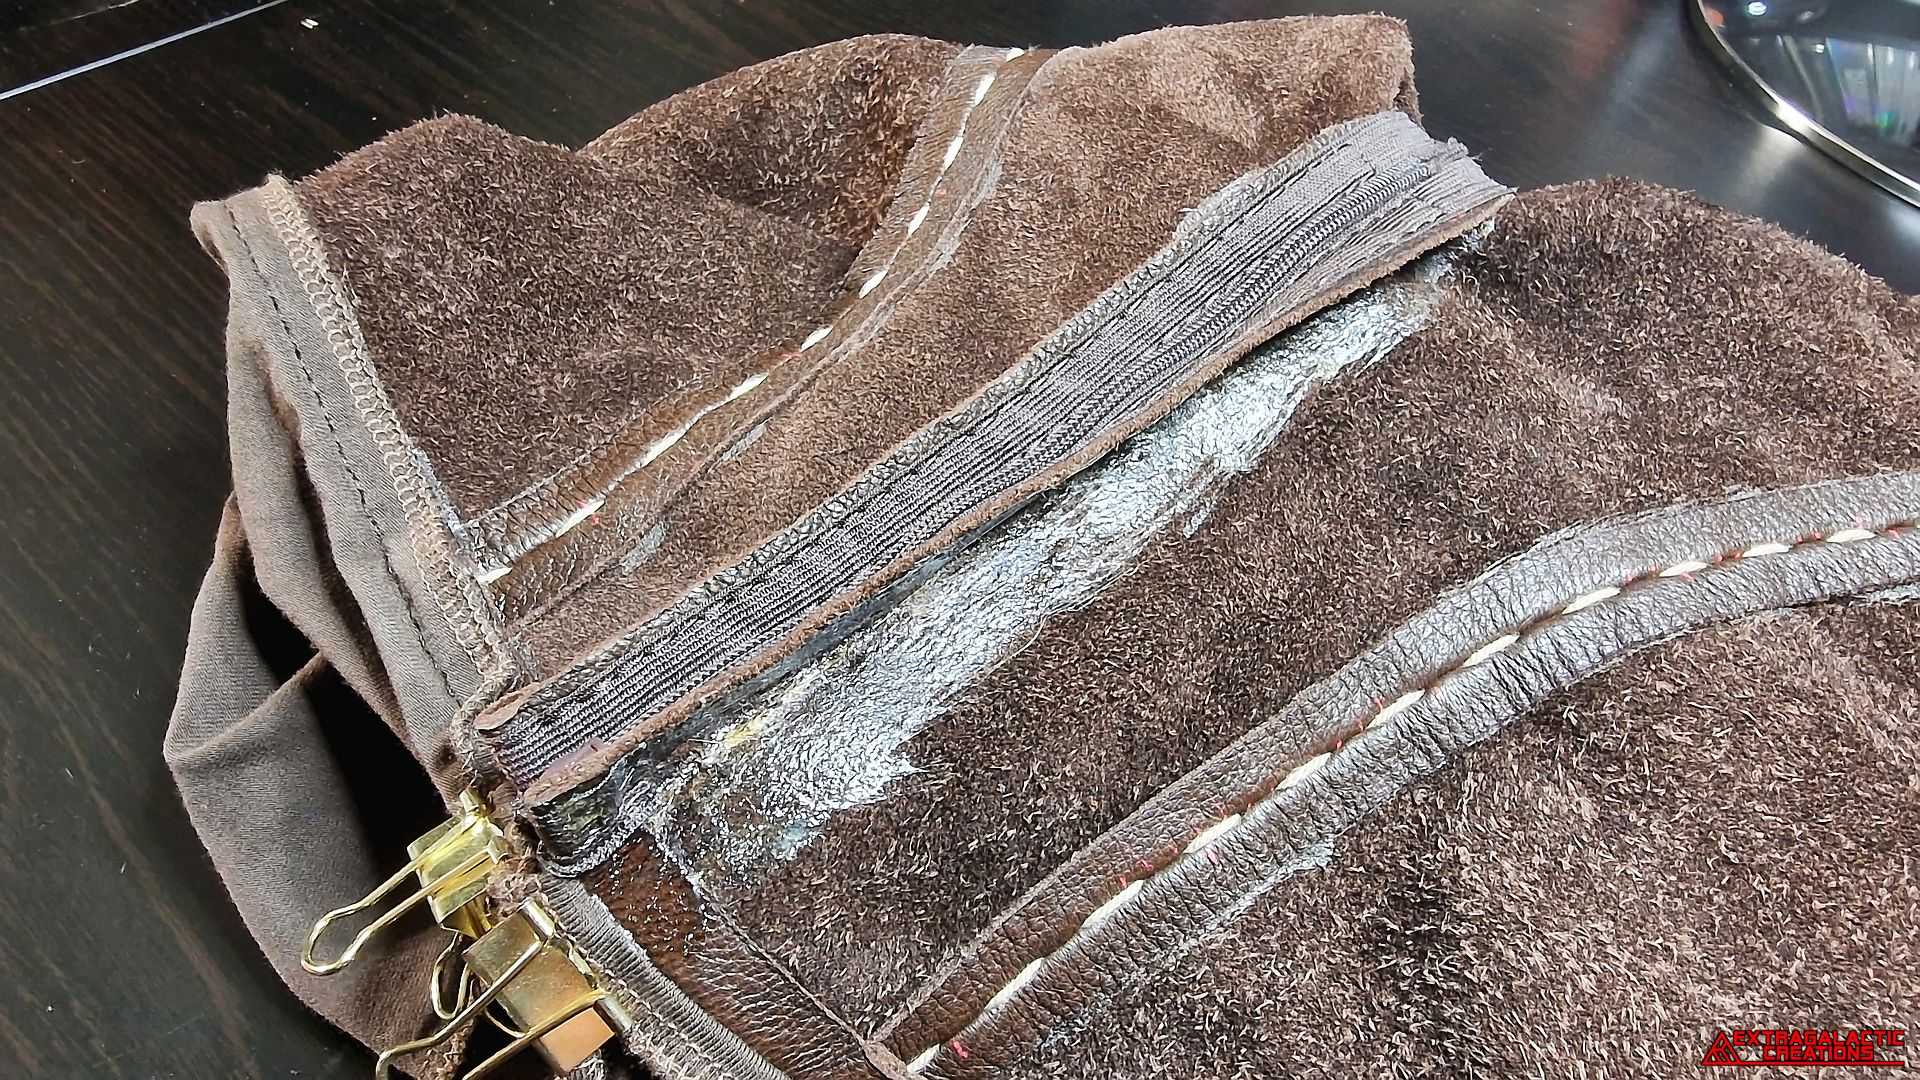
The seam allowances of the zipper opening was also glued down.
The zipper opening of the lining was neatly hand sewn onto the sides
of the zipper.
The completed waist opening was already looking soft and cozy with
its new lining in place.
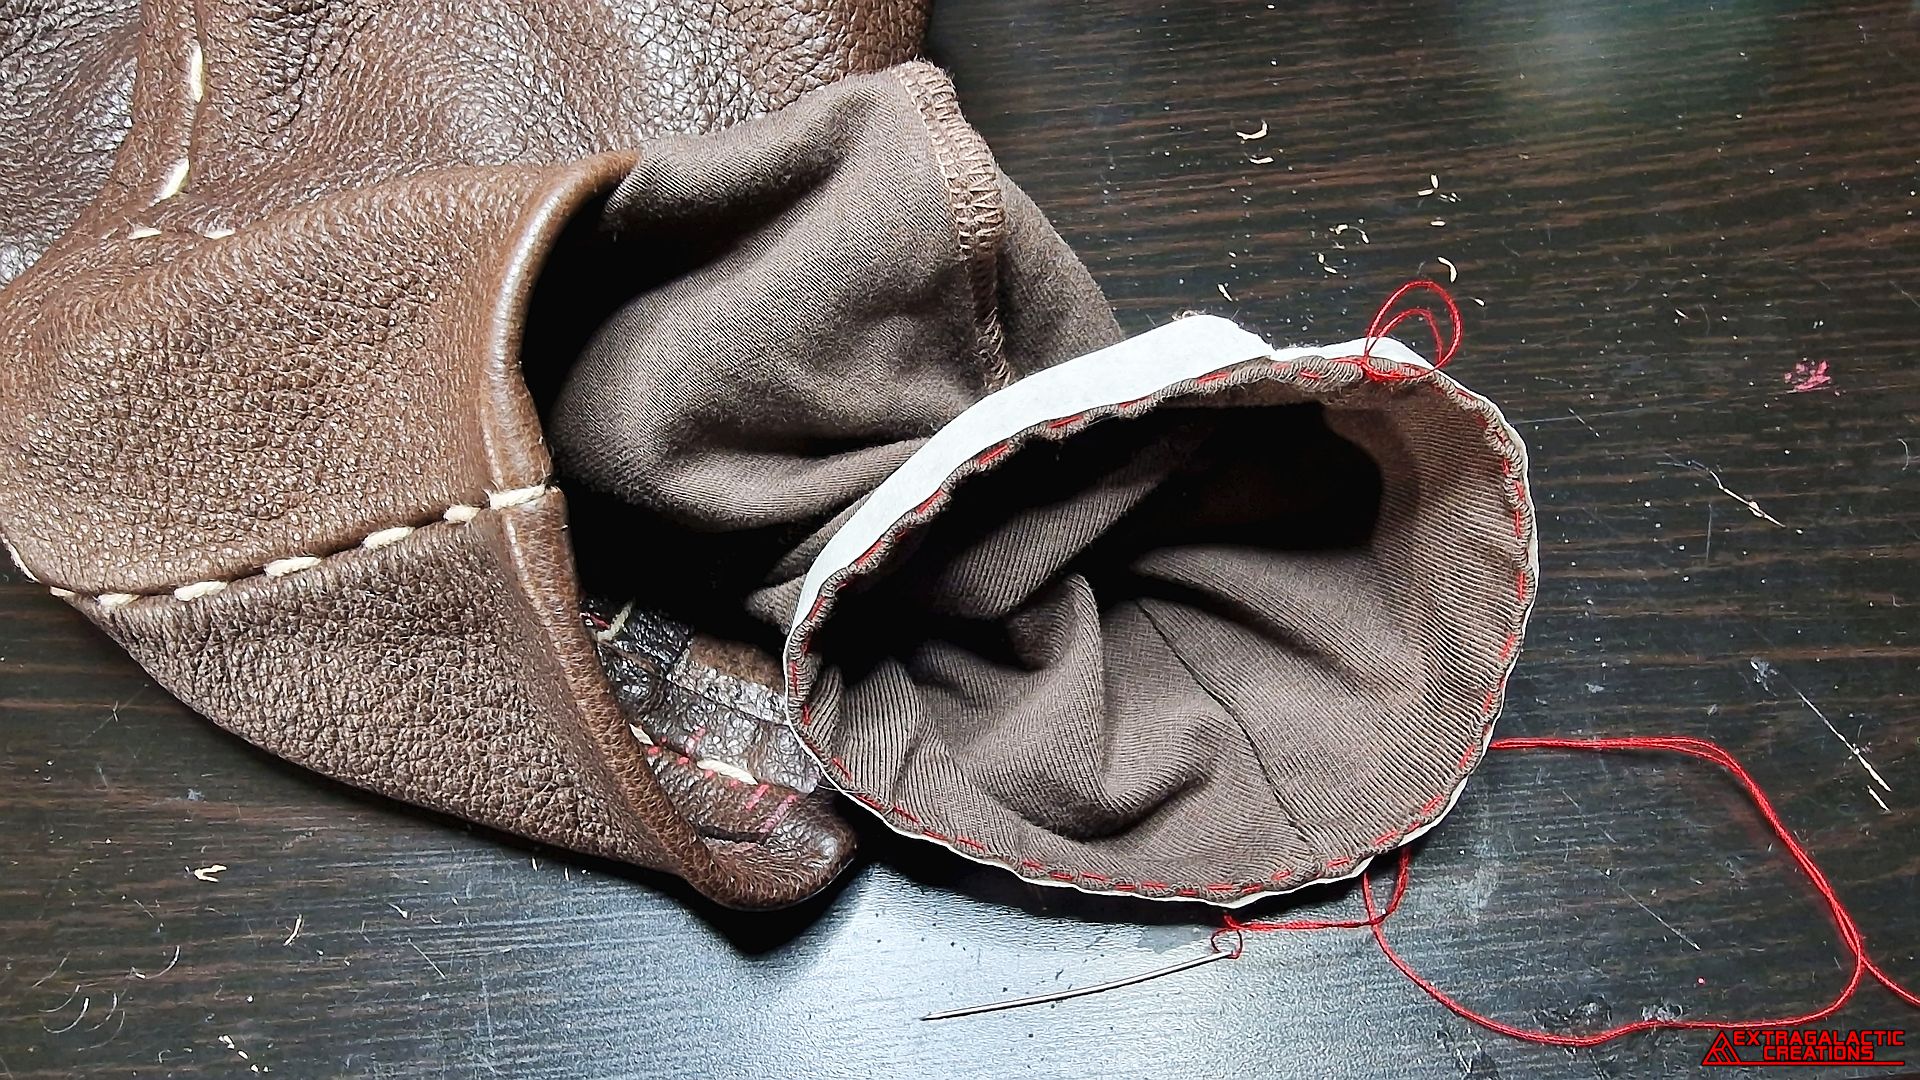
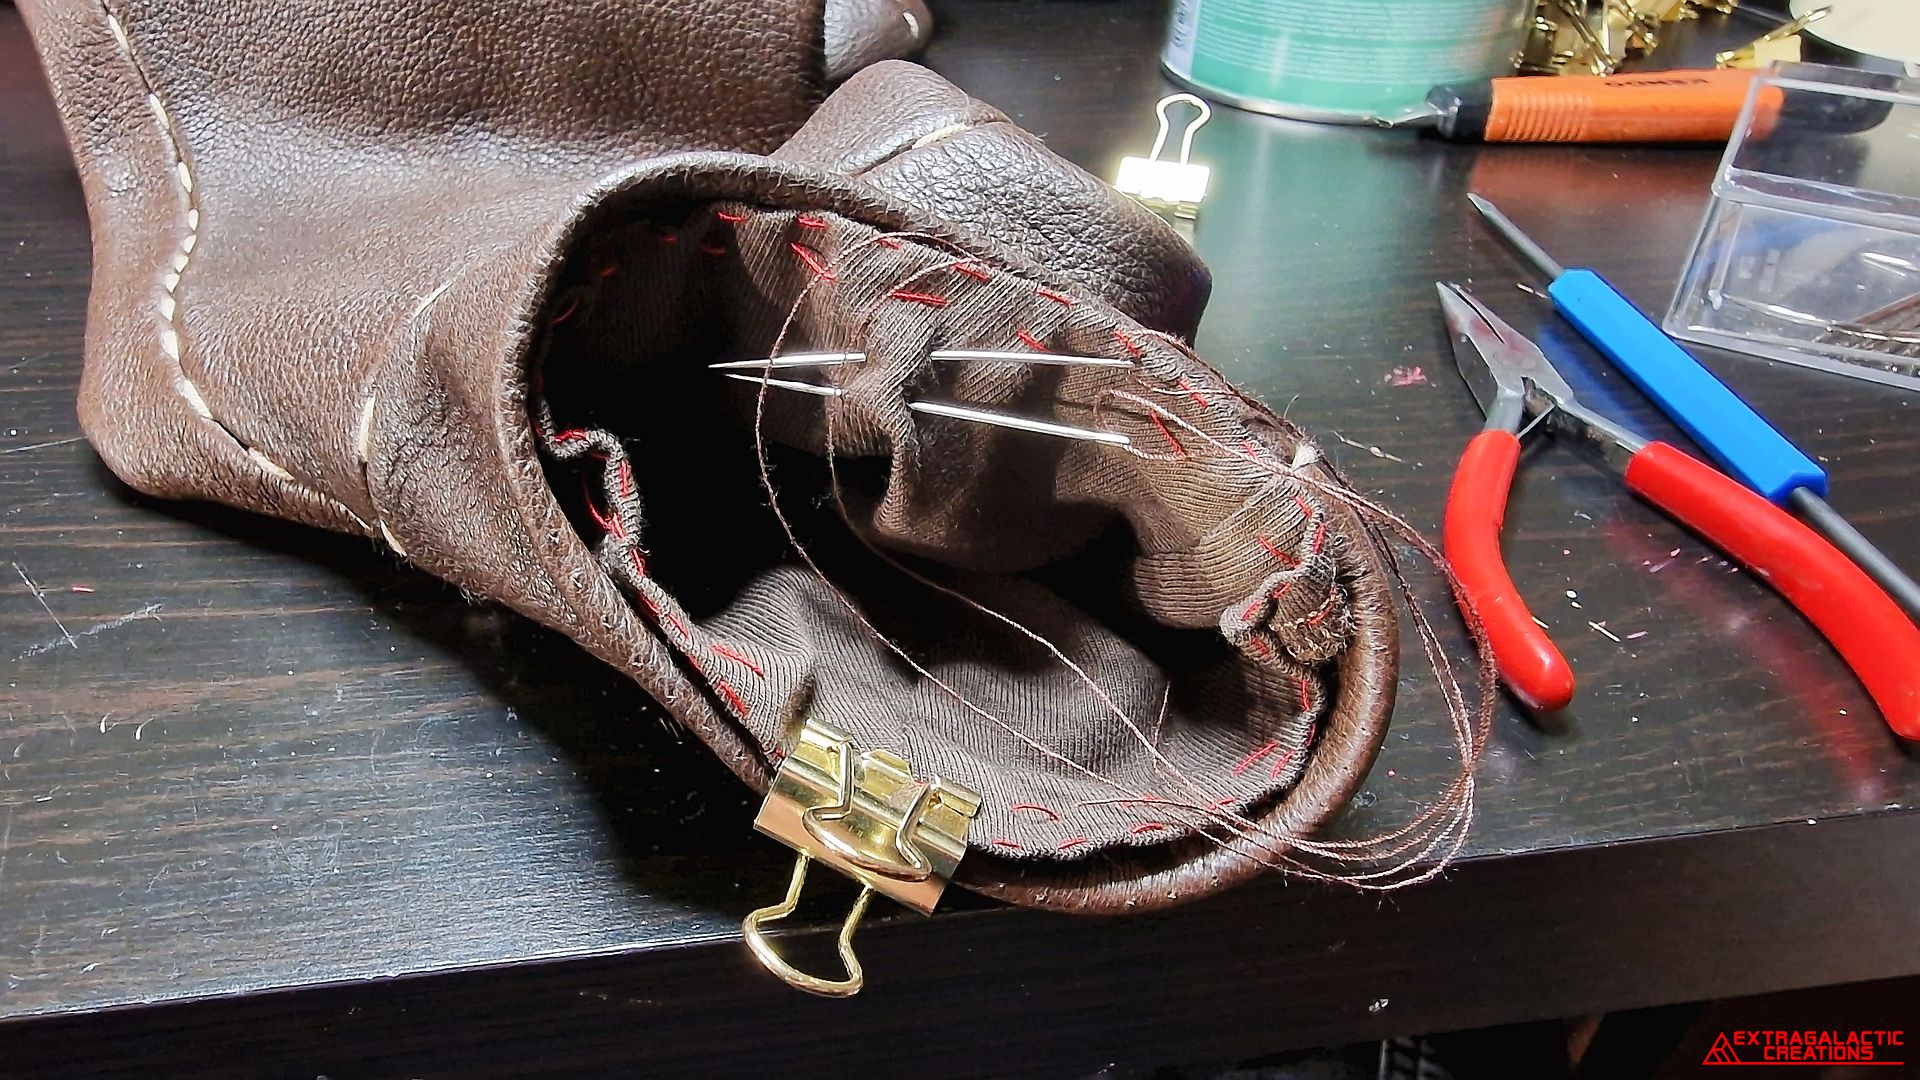
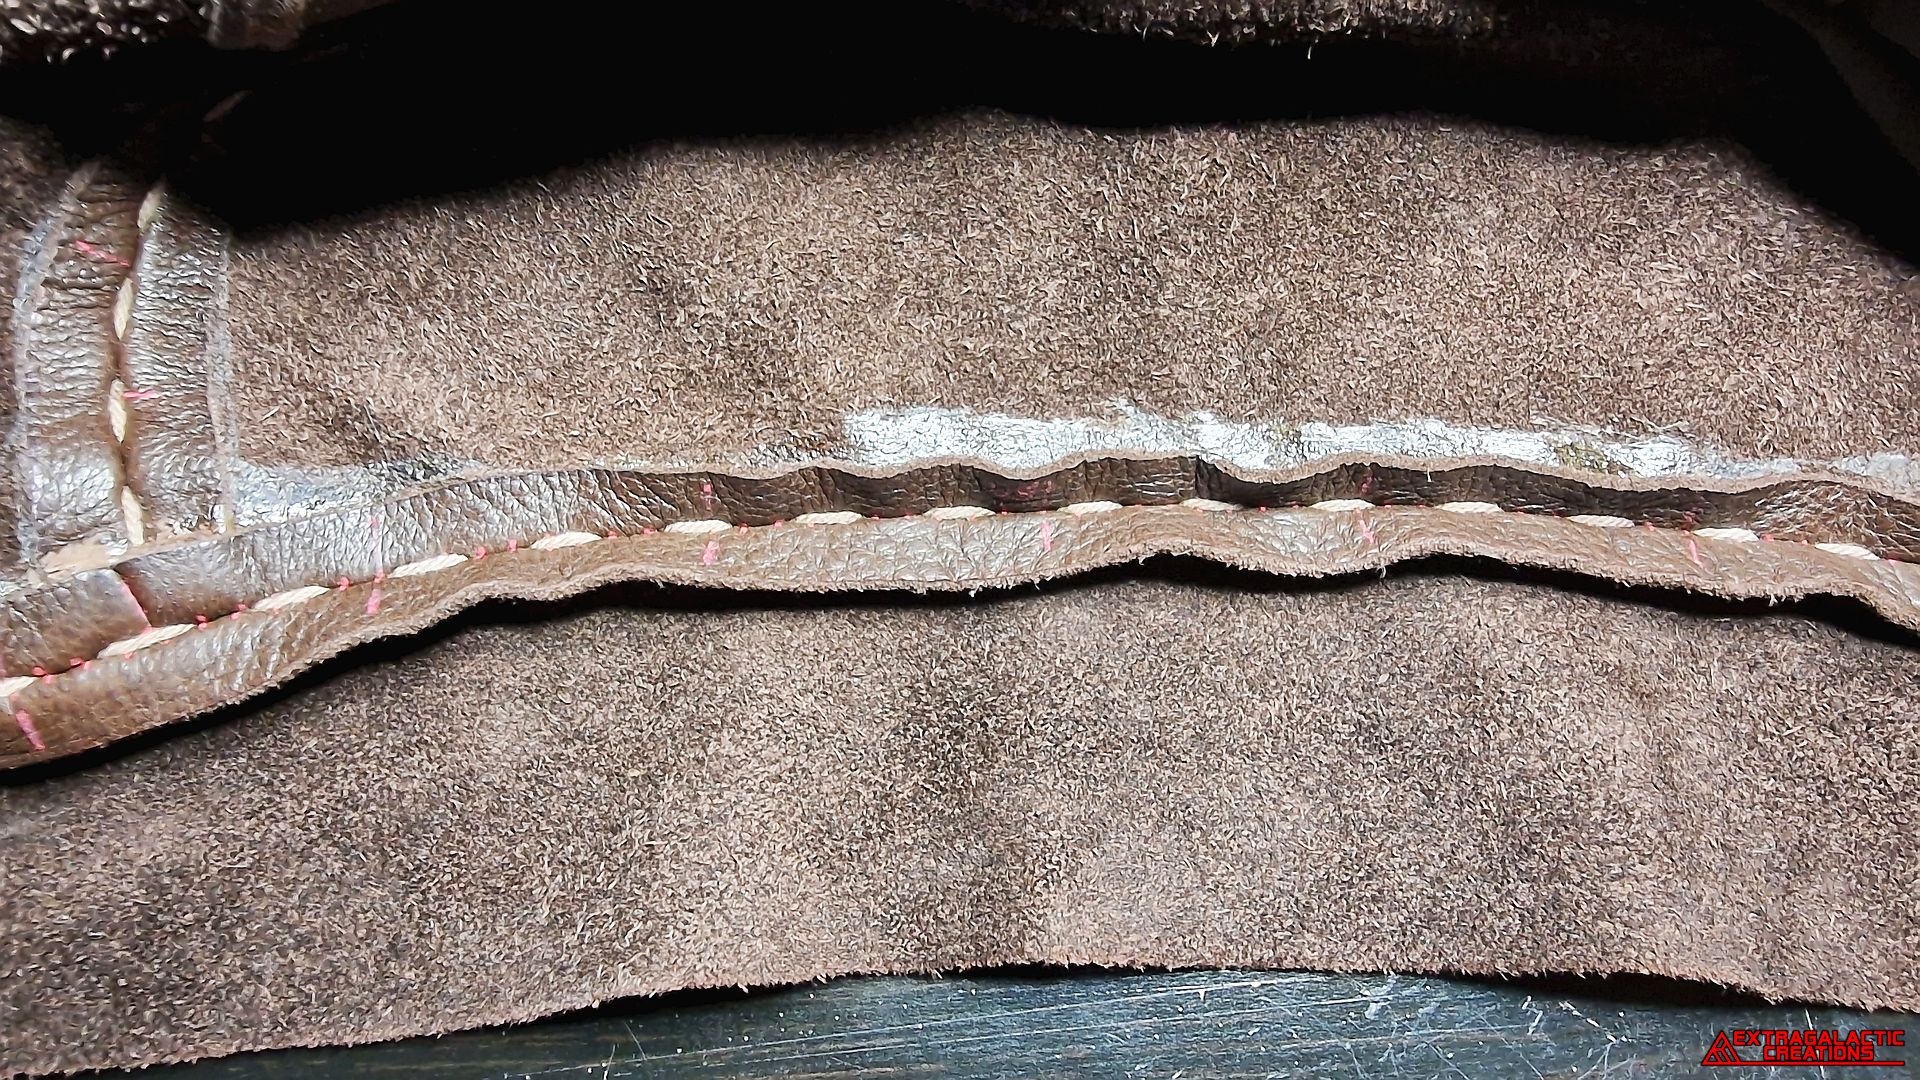
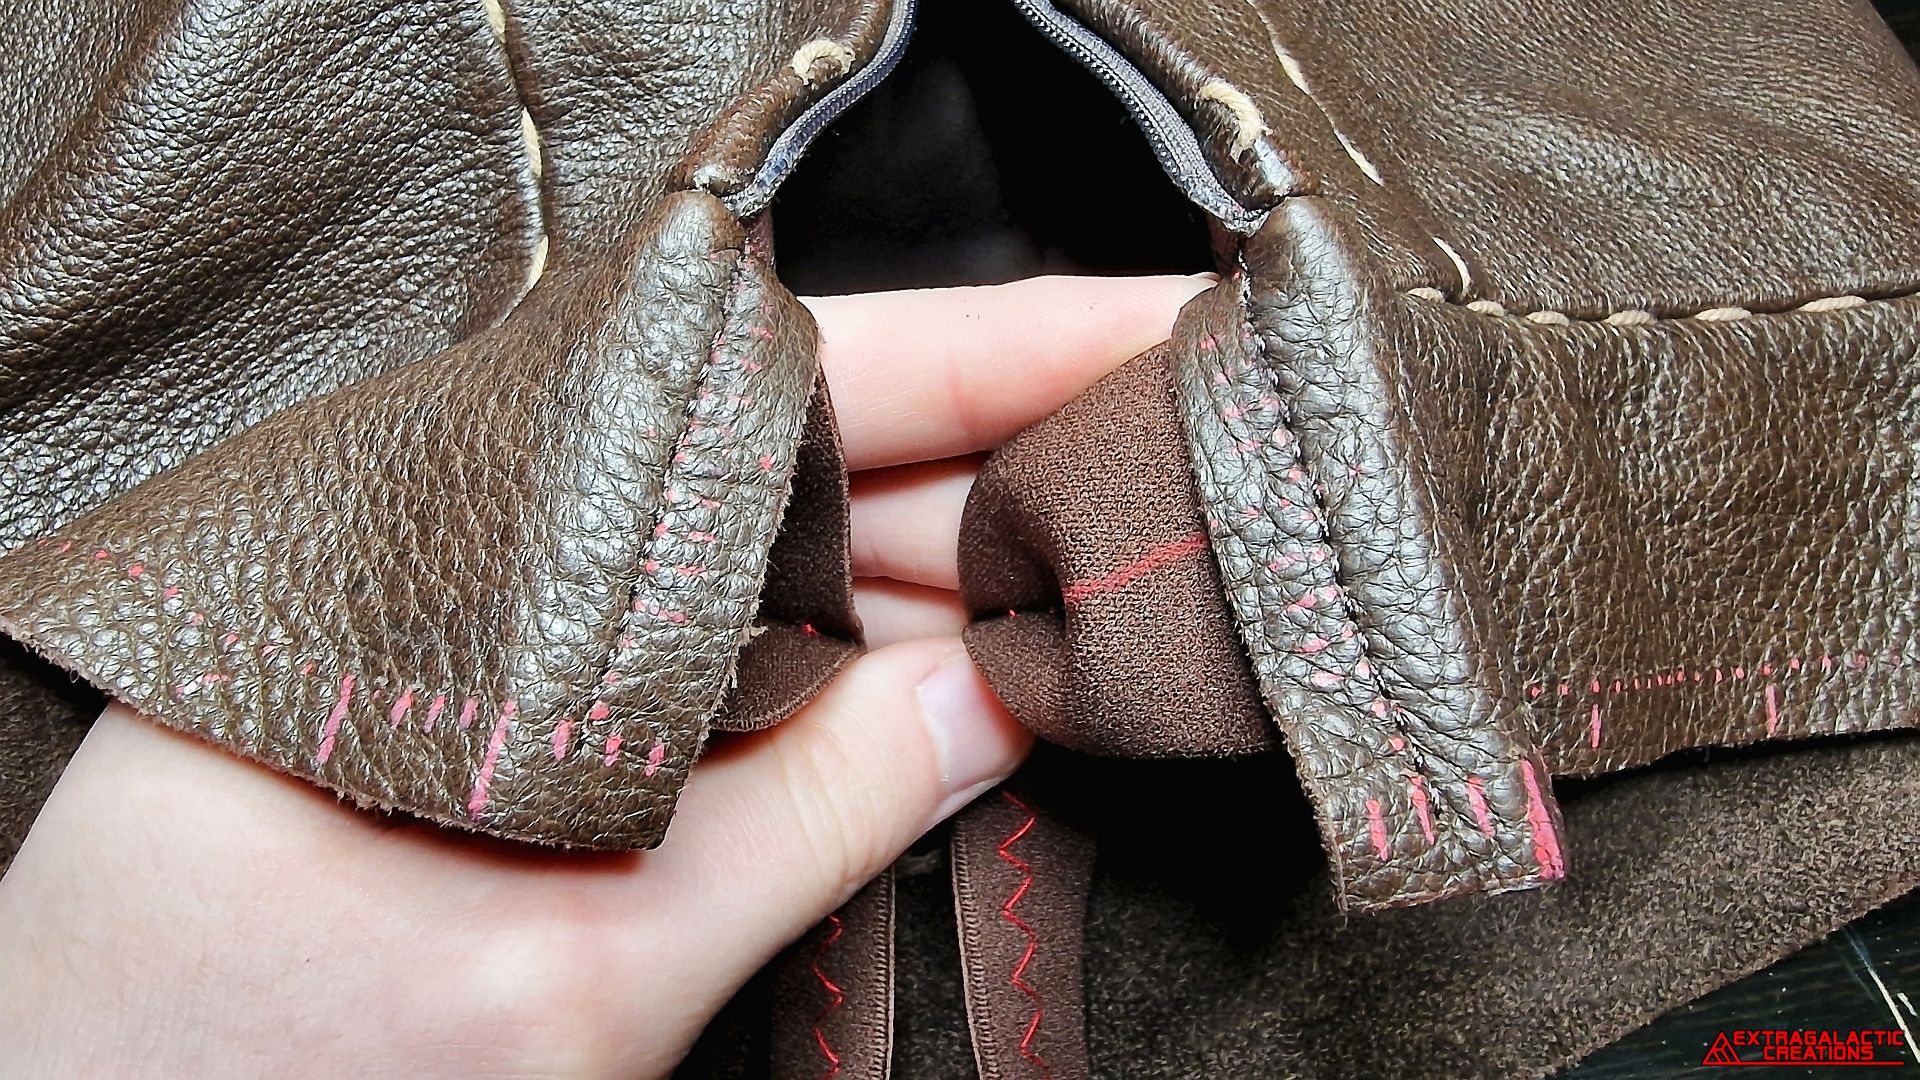
It would take some more planning to properly secure the lining to the
foot openings, starting by gluing down the seam allowances most of
its width except for the very edge where I would need to stick a
needle through to hand sew the lining into place.
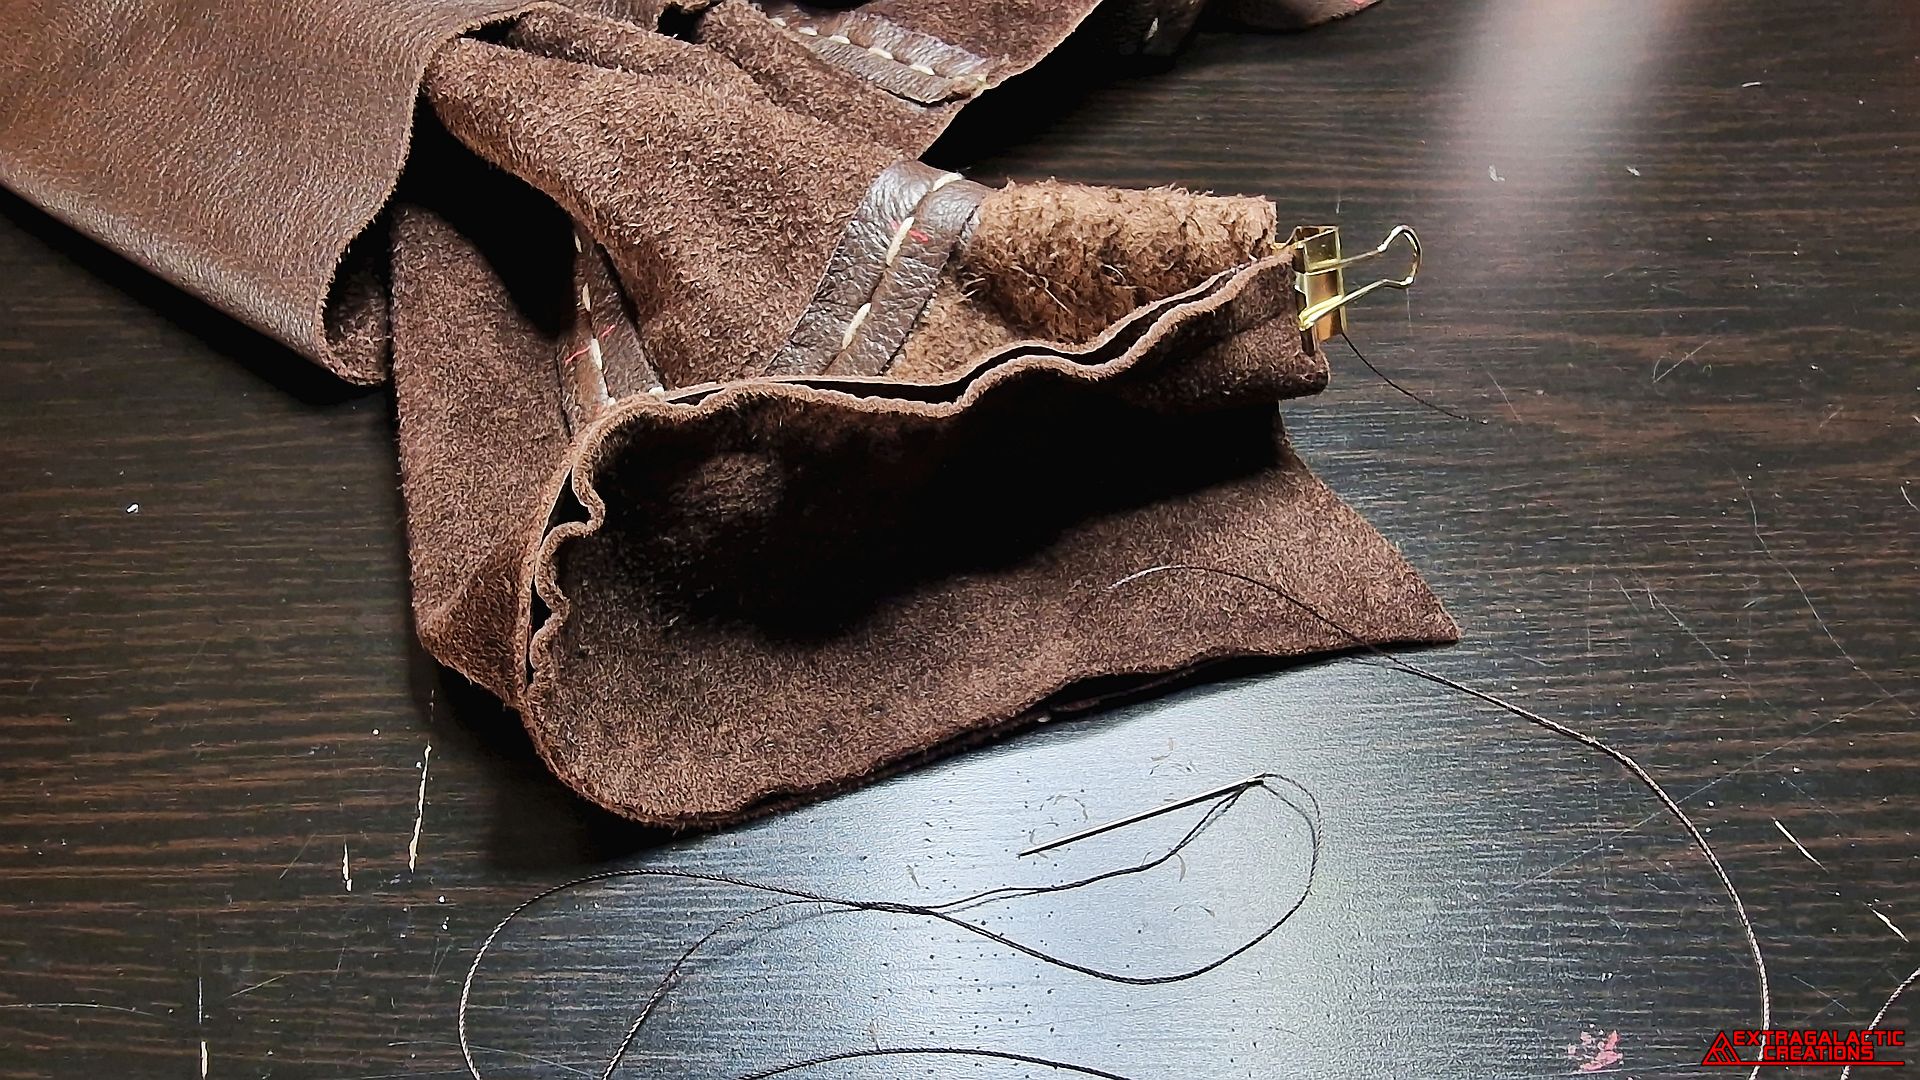
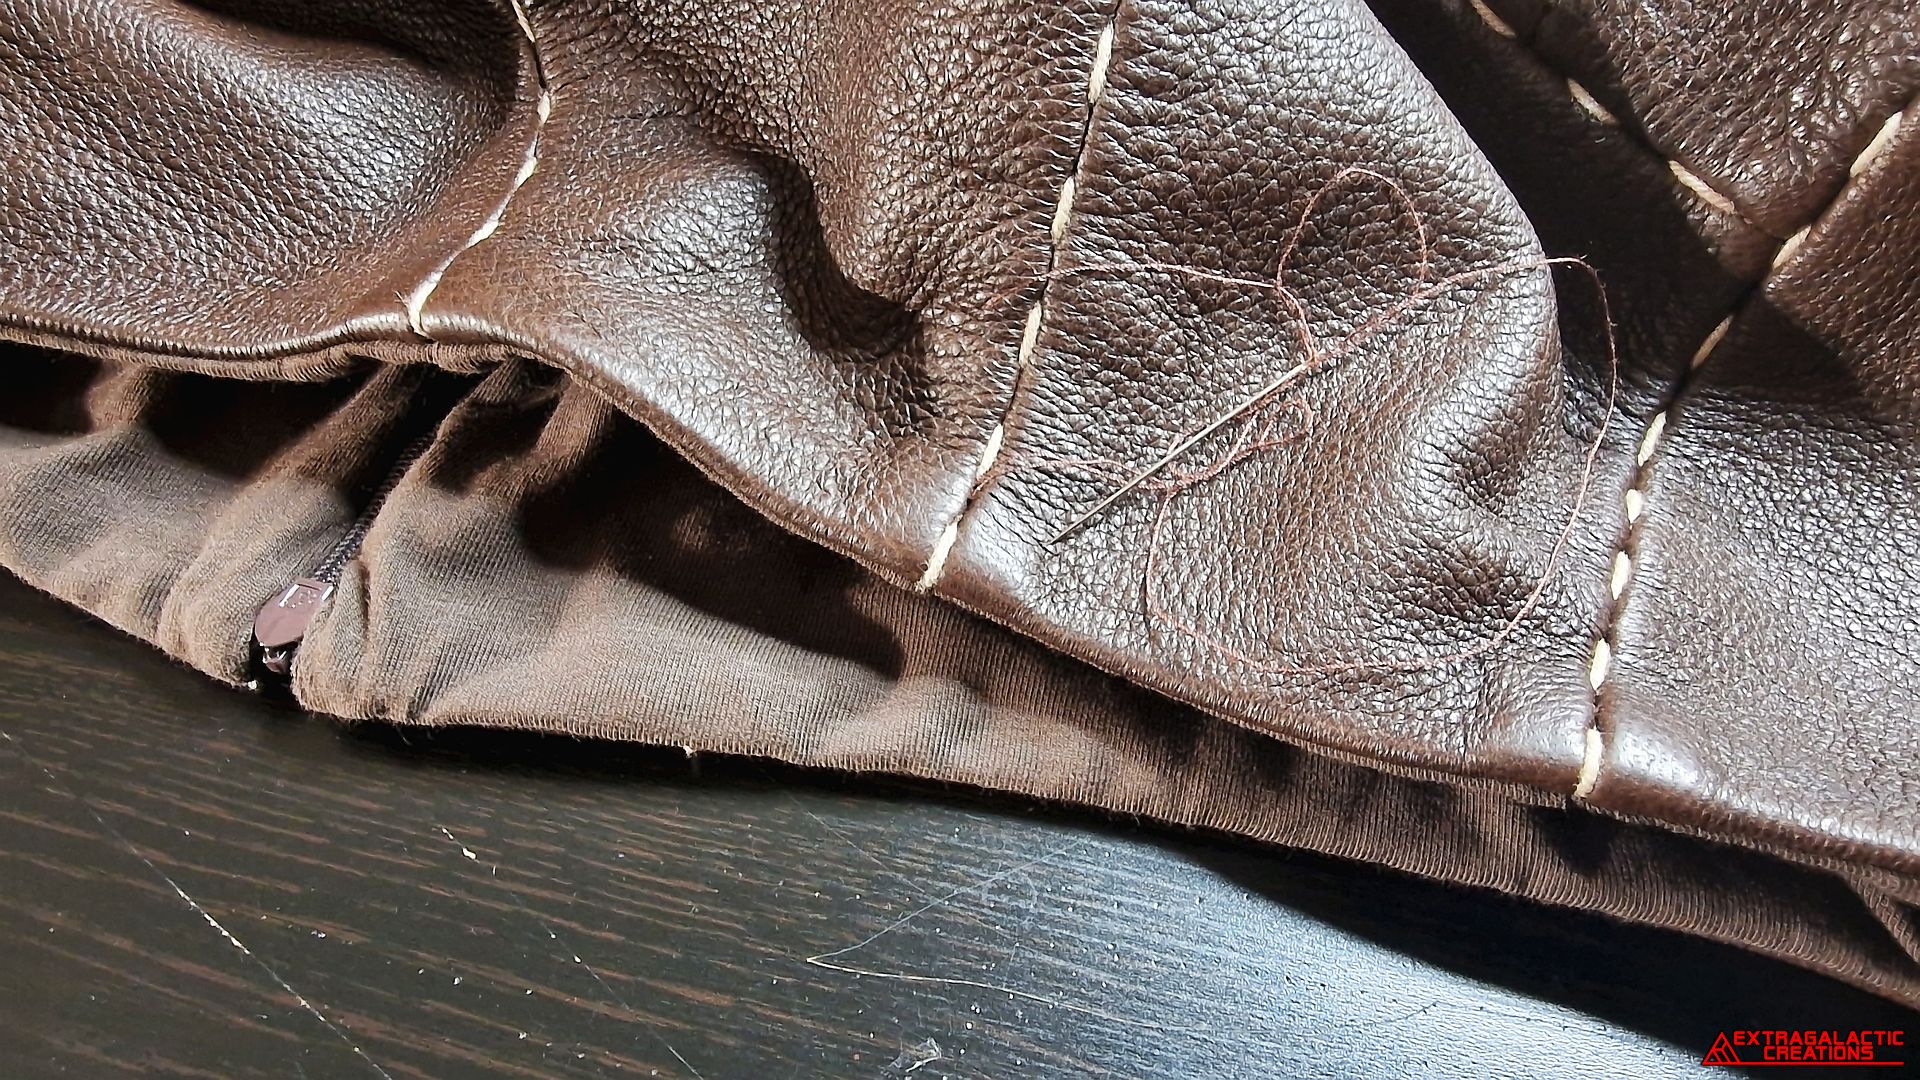
I had to hand sew with two needles at the same time to give the lining
the appropriate hidden ladder stitches to hold it into place.
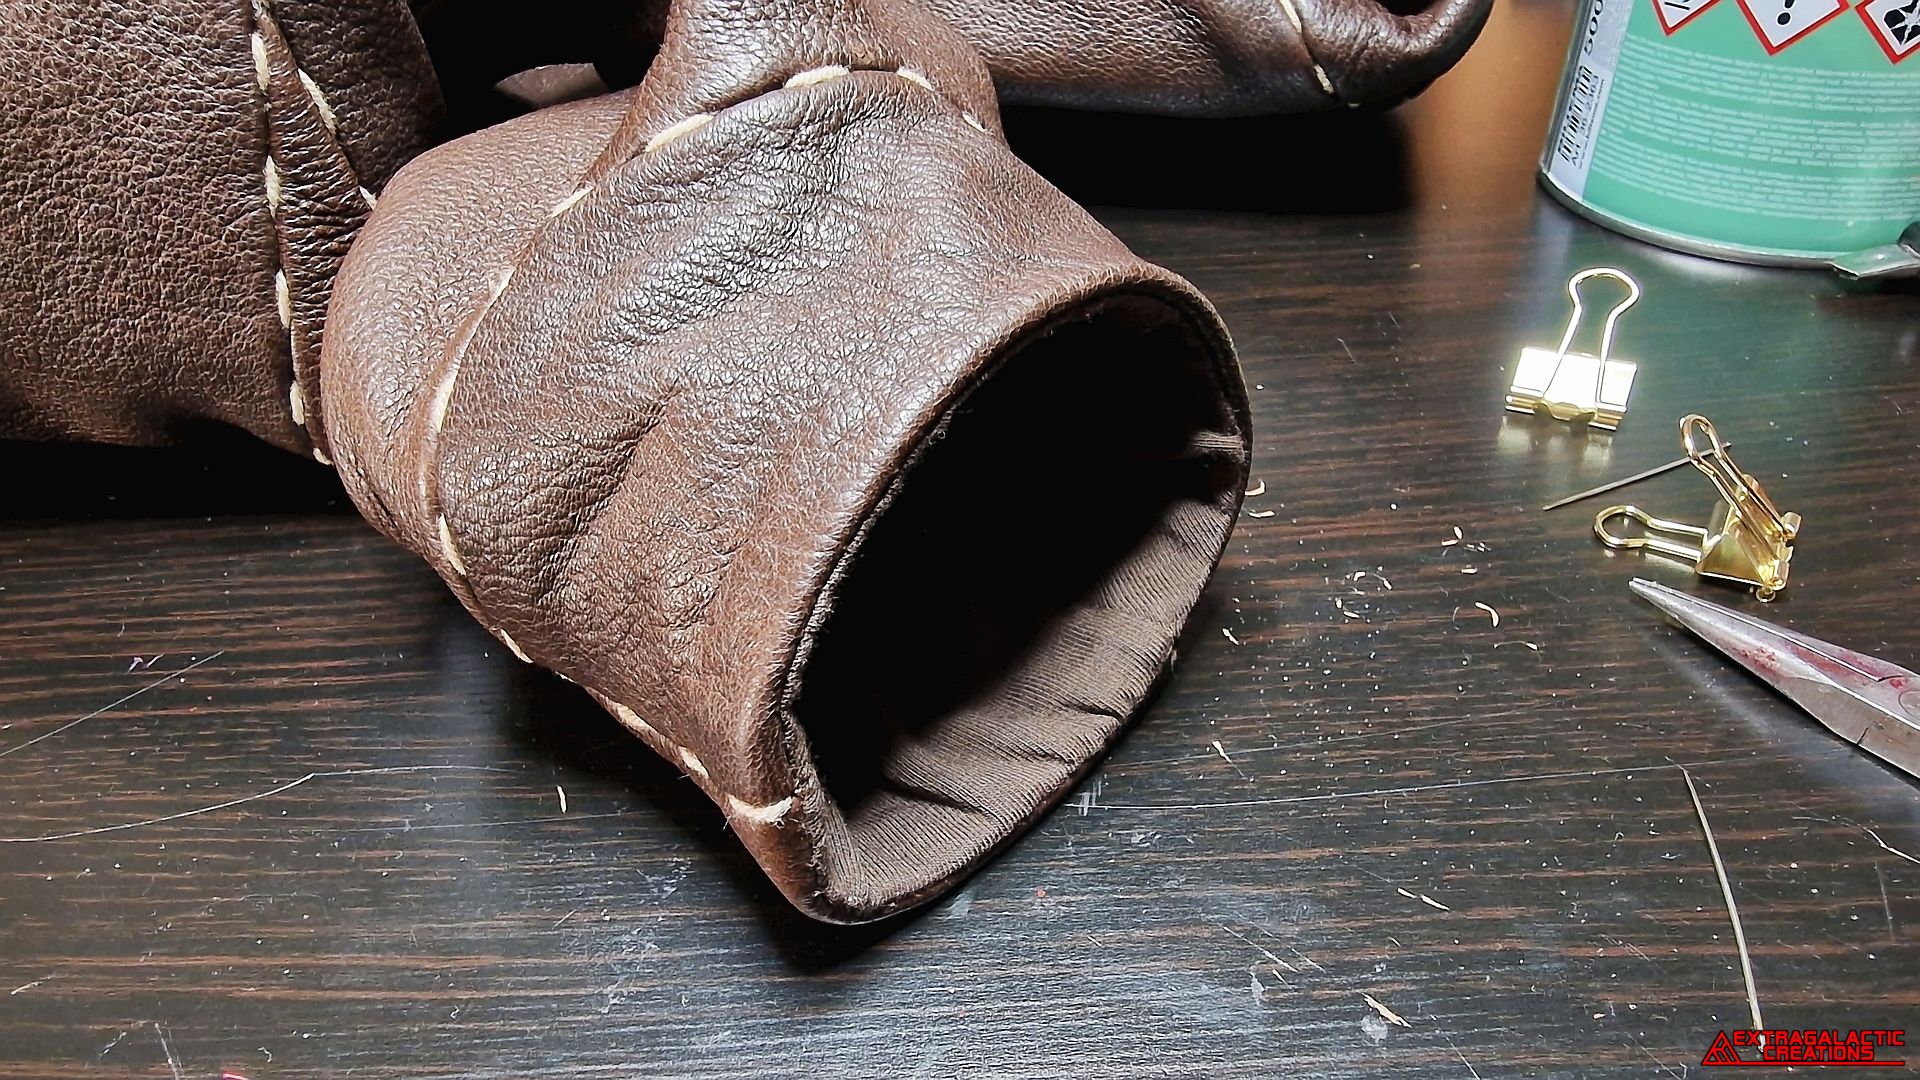
After all that fuzz, the foot openings looked all soft and cozy with its
new lining too.
I thought it was really dumb how Aloy's pants were shown to be held
up by nothing but hopes and dreams and video game logic in the
cosplay guide, so was just going to solve this later with a couple of
suspenders or something.
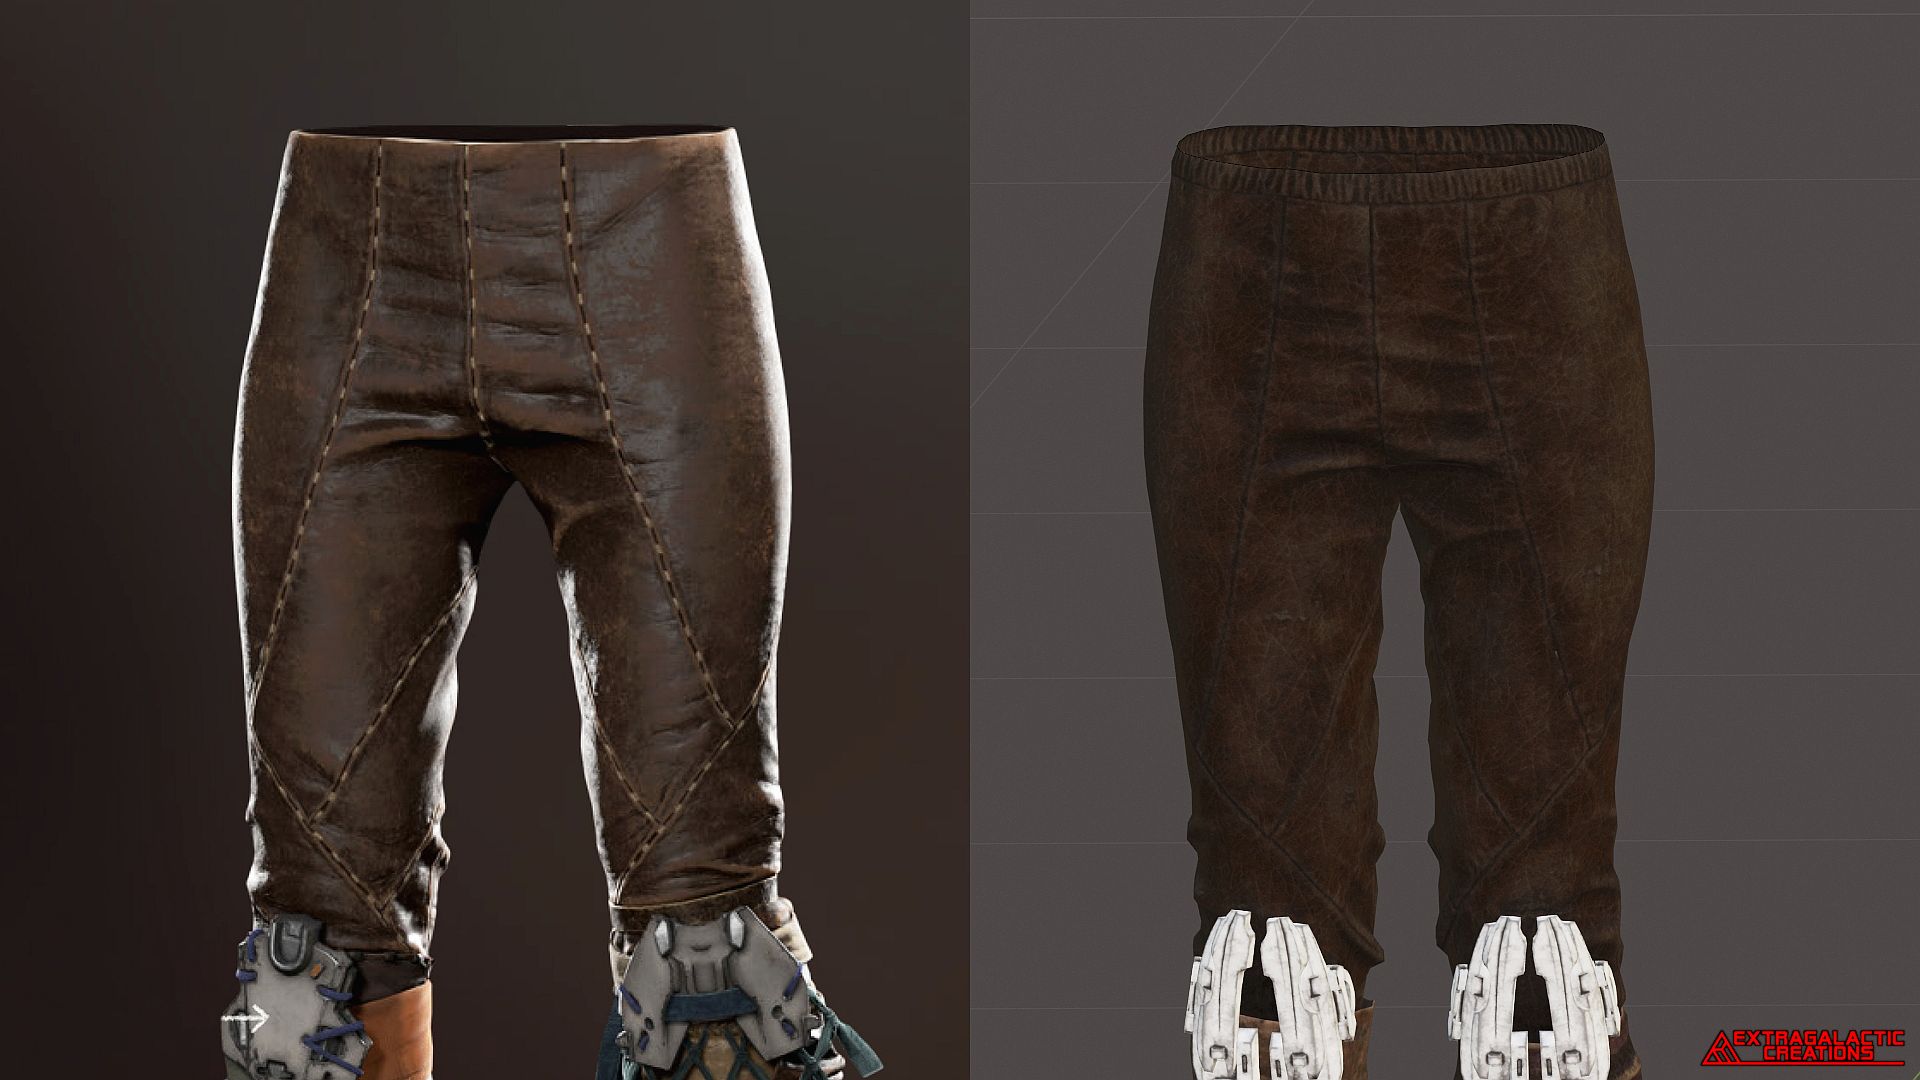
Then I discovered that she wore the same pants with her Nora
Anointed outfit that I was able to find as a 3D model to see that her
pants actually had an elasticated waistband holding them up.
Now that I had lost all trust on such cosplay guides, it was time to
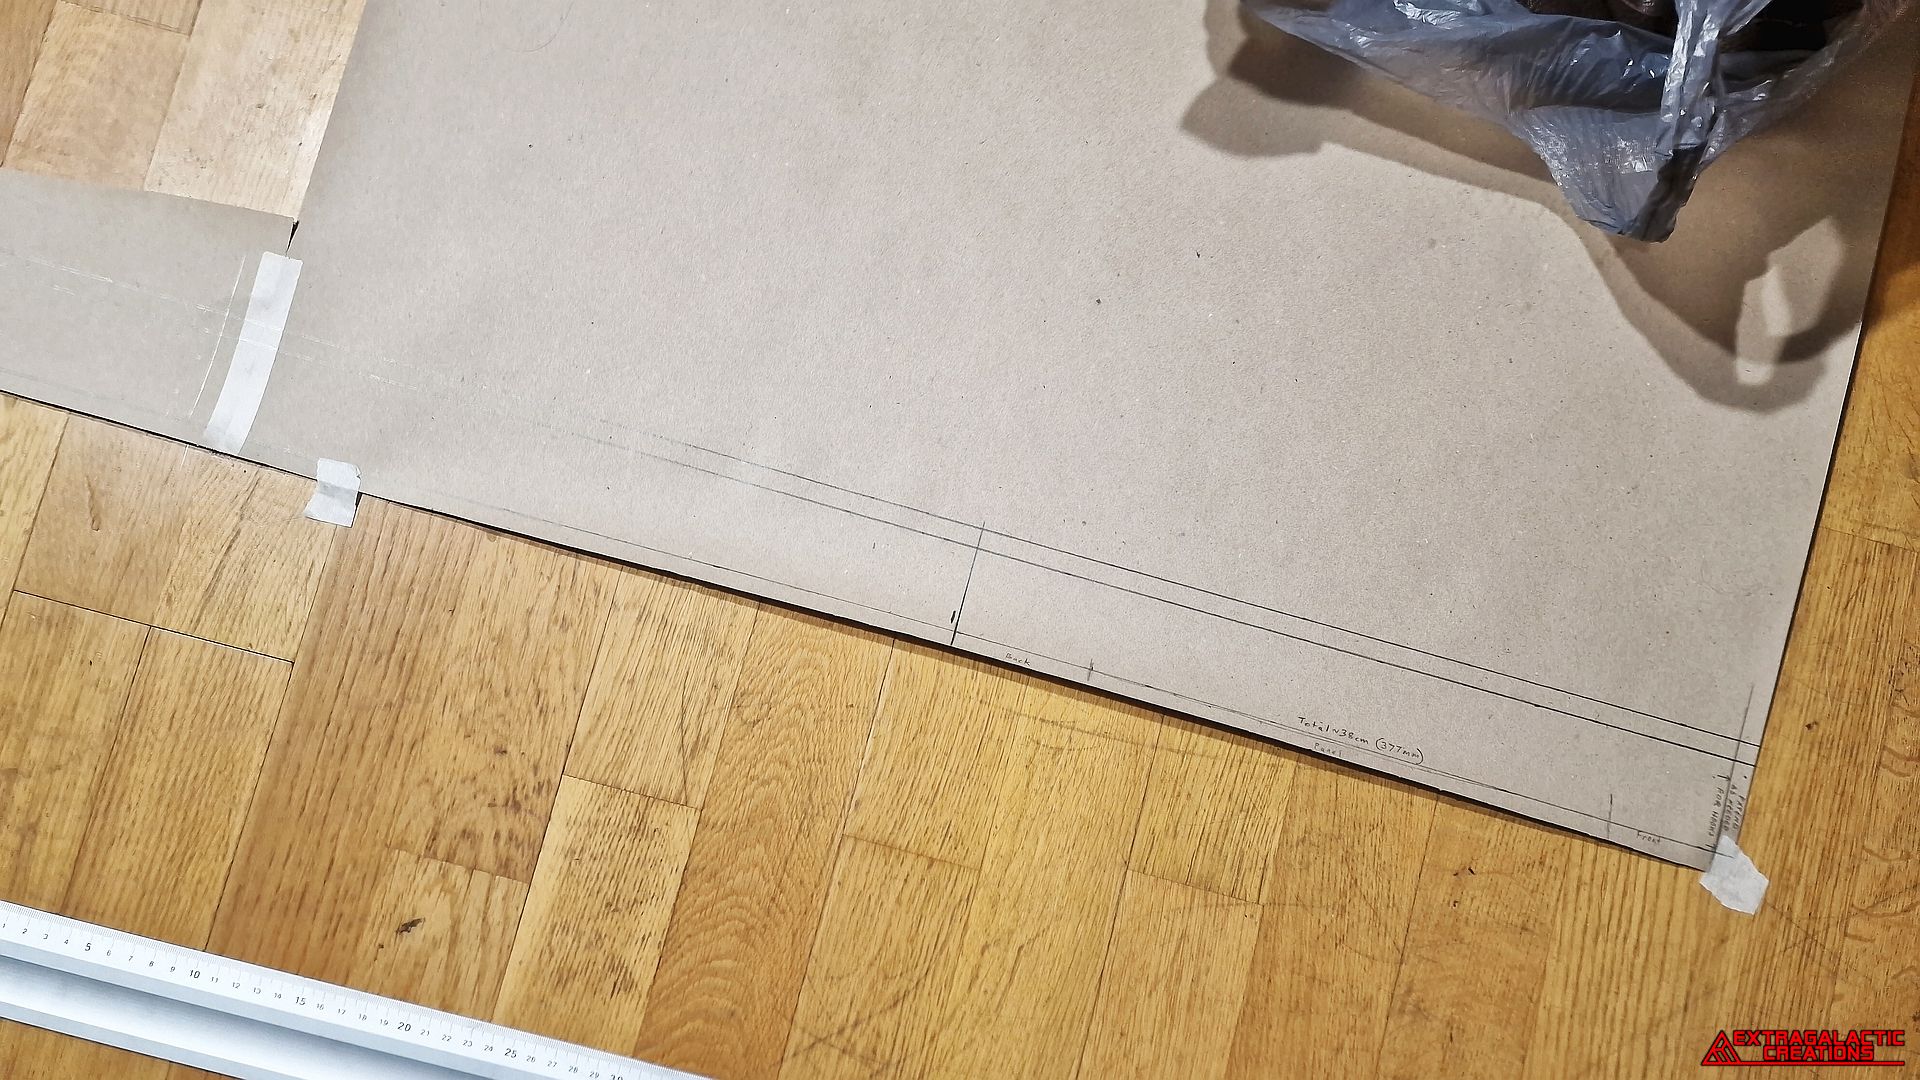
make an additional pattern for the elasticated waistband.
The whole seam allowance of the waist opening and the lining had to
be ripped apart to be fitted to the new waistband, and there was much
swearing to be had.
The same stitch holes I had made through the waist opening before
were copied over to the waistband by hand with a needle.
Only one edge of the waistband was hand sewn to the waist opening
since the other edge would be sewn on separately in another direction
later on.
What was once the edge of the waist opening before could now be
glued down yet again, damn it.
The seam allowance of the waistband would not be glued down to
keep the whole waistband as soft and thin as possible to work better
with its elastic feature.
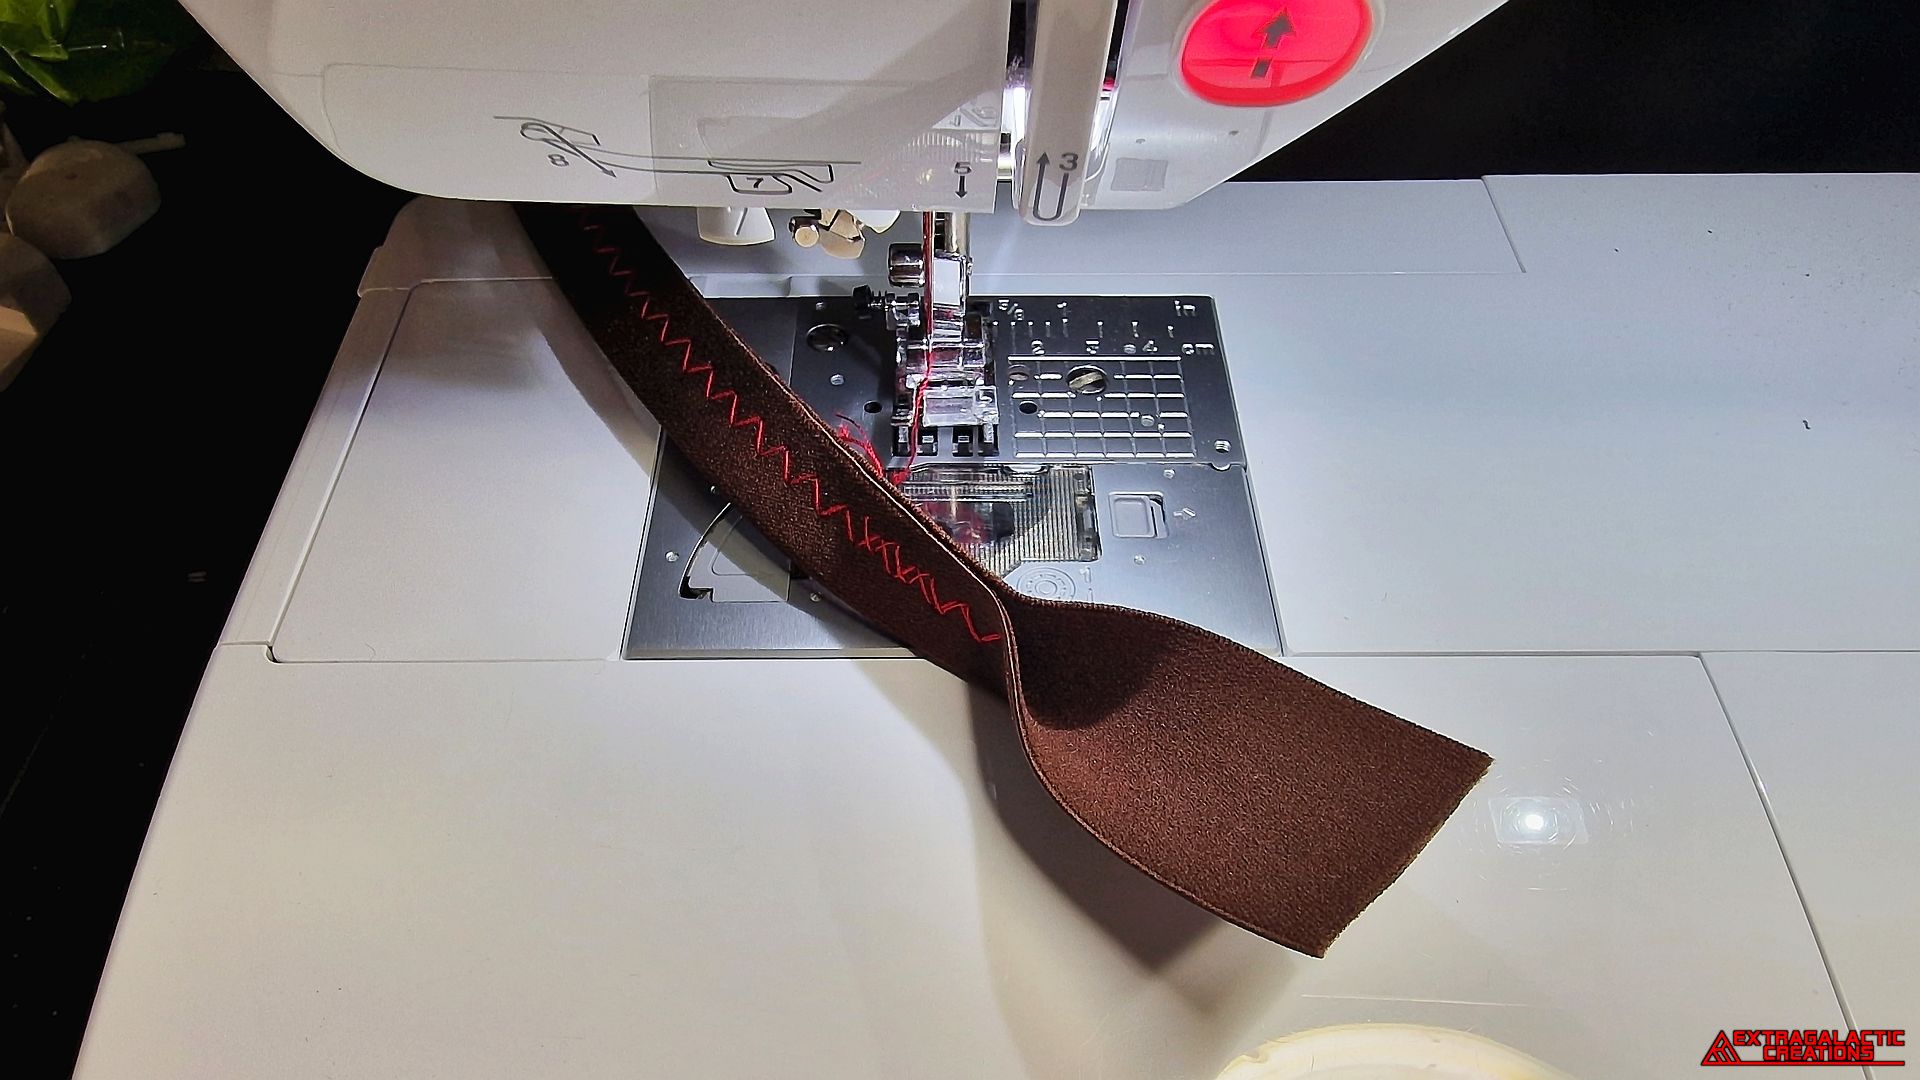
The elastic ribbon I got was twice as wide as it needed to be, so it
was magically made half the width by folding it in half and sewing it
together with a stretchy zigzag seam.
The ends of the elastic ribbon were left unfolded so they could be
sewn flat onto the edges of the waistband and be folded together.


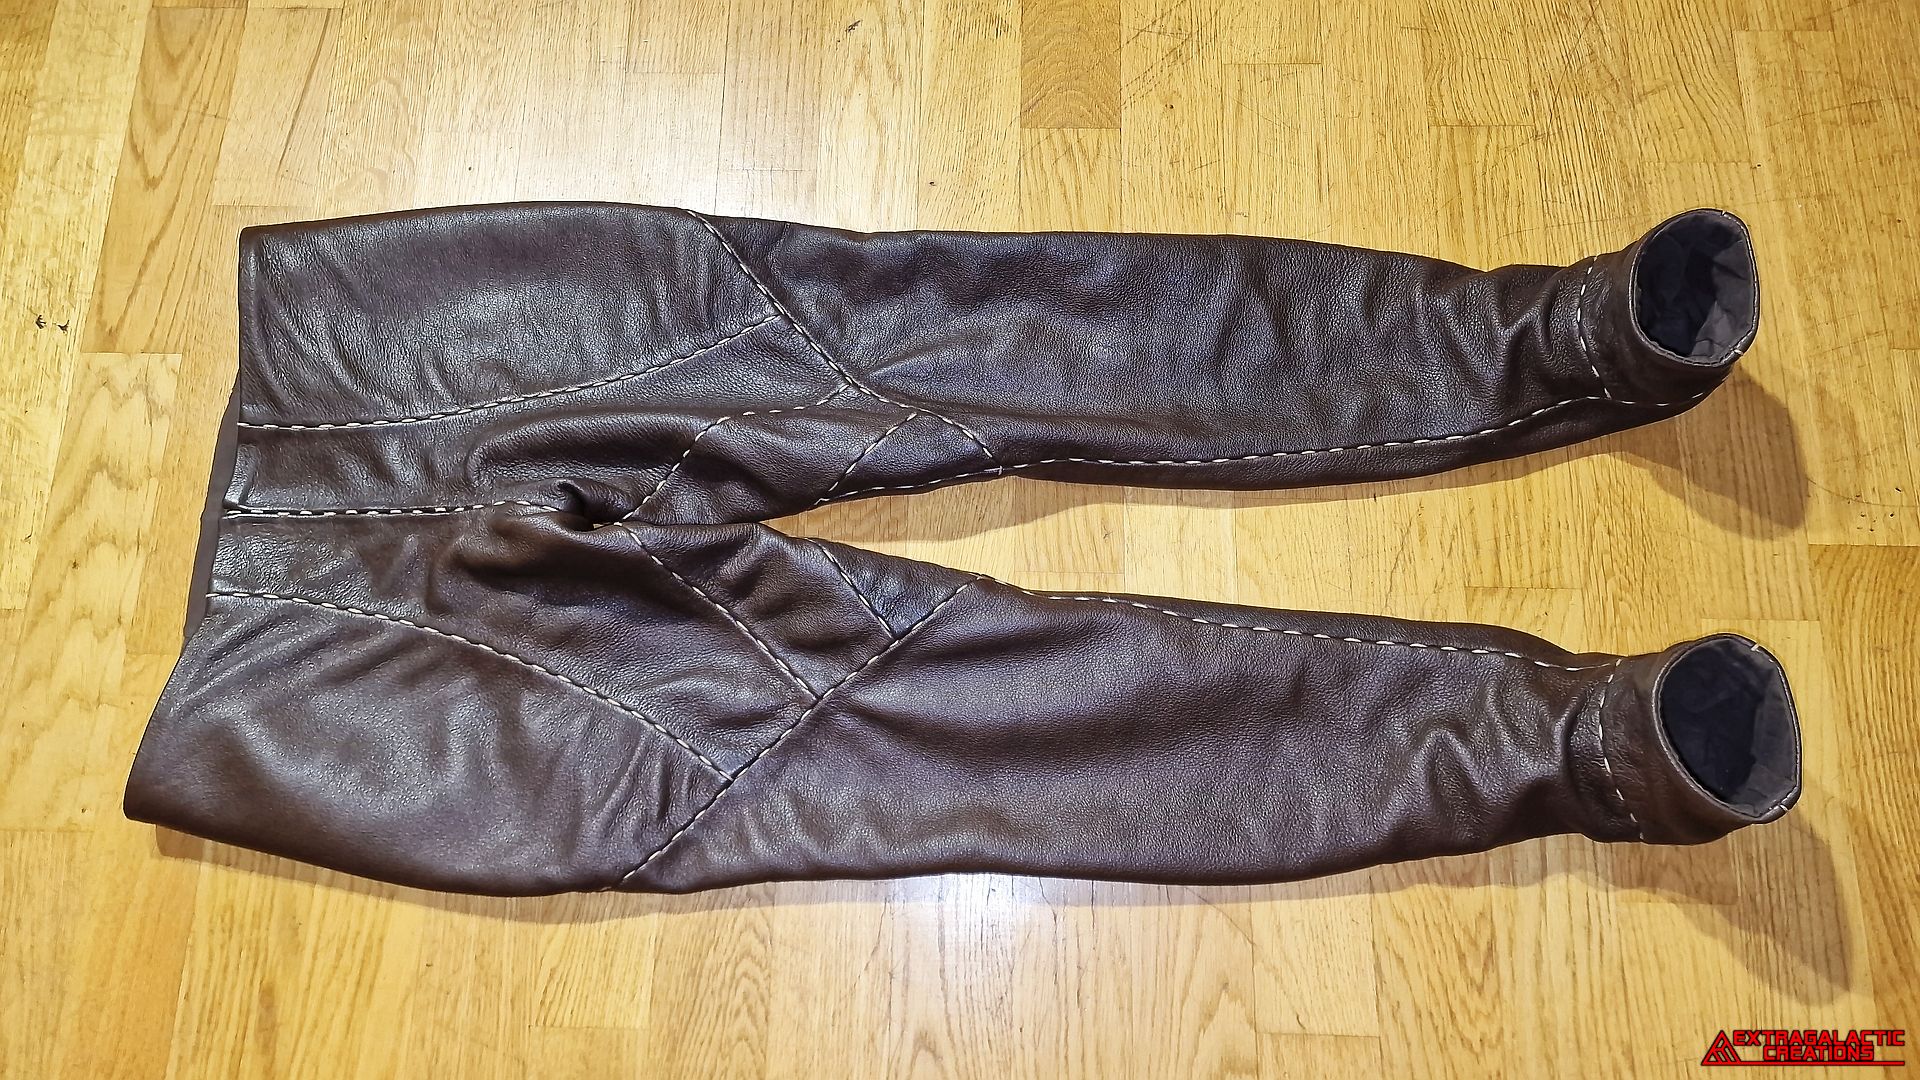
And so the pants were essentially completed in the form they were
shown in the cosplay guide.
Then a Clawstrider jumped out of nowhere and kicked me right in the
nads before whispering in my ear that I should check elsewhere what
Aloy's pants are really supposed to look like.
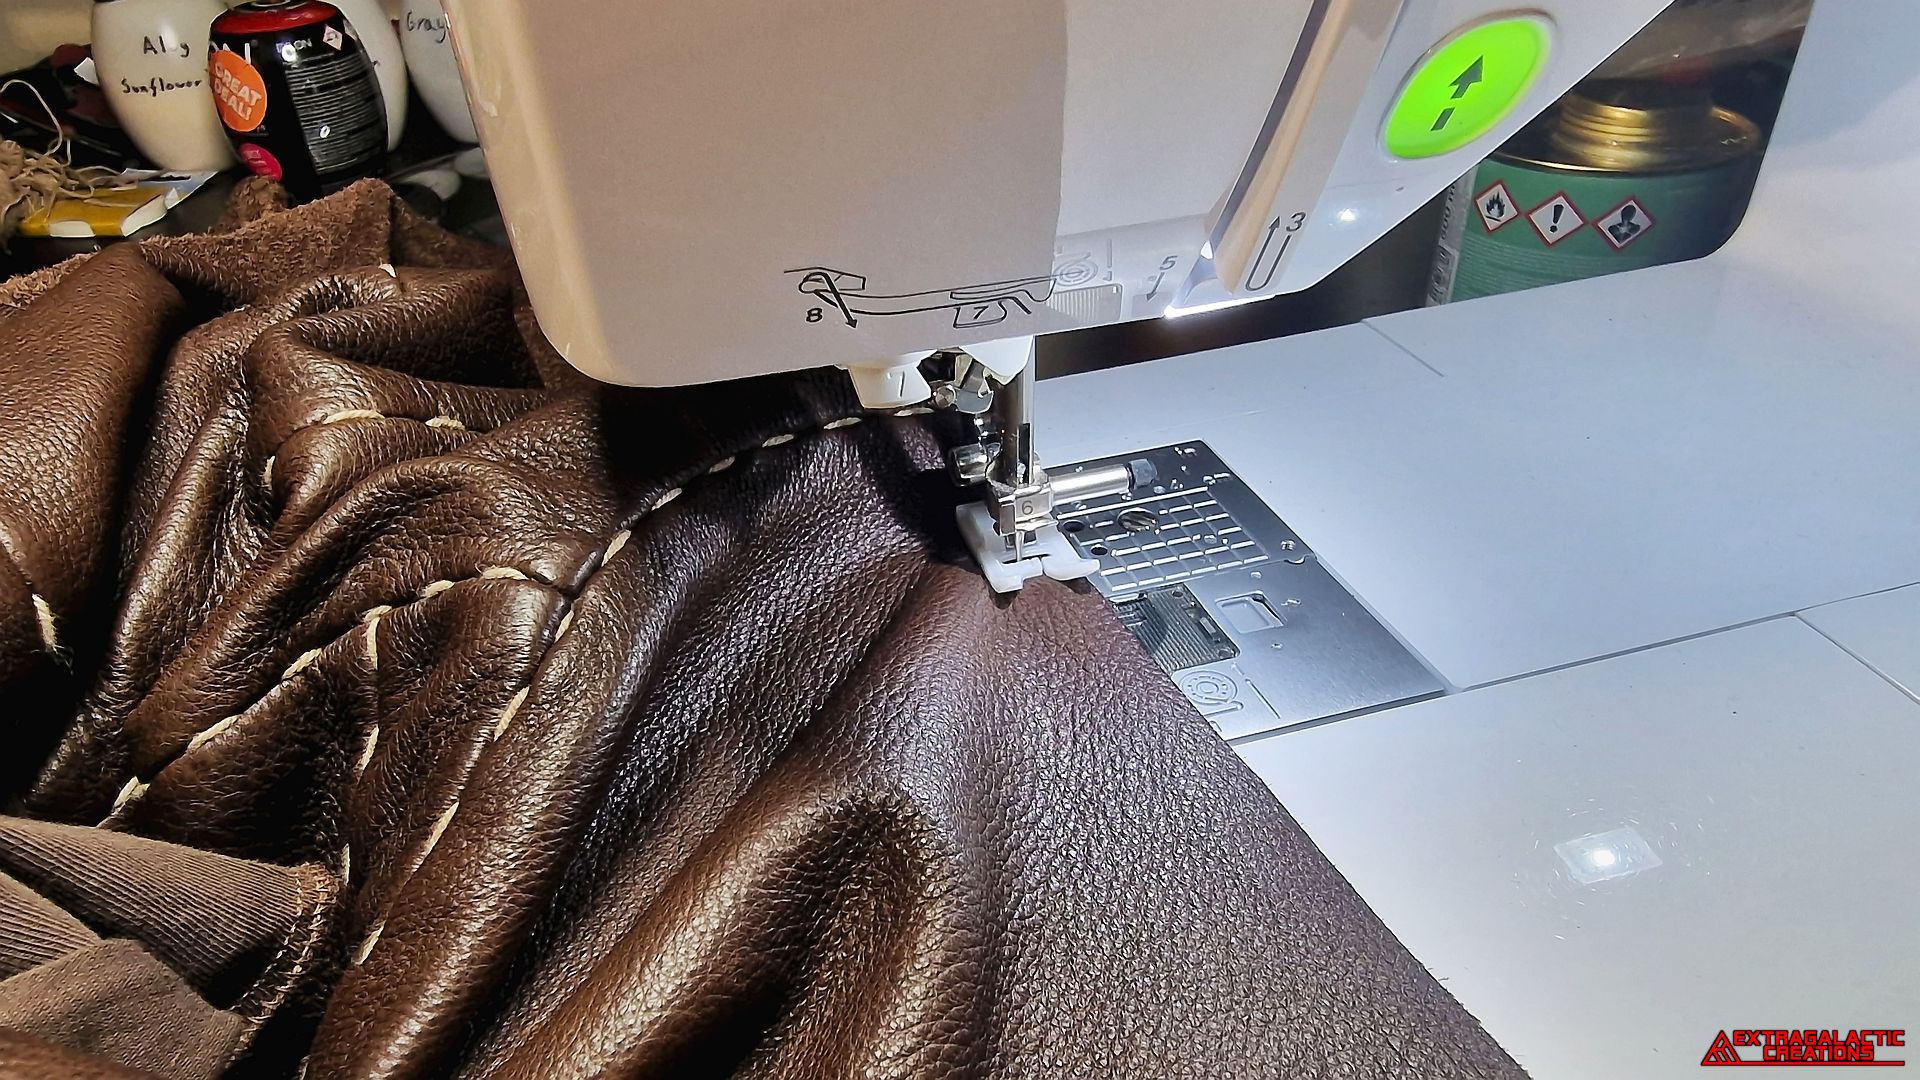
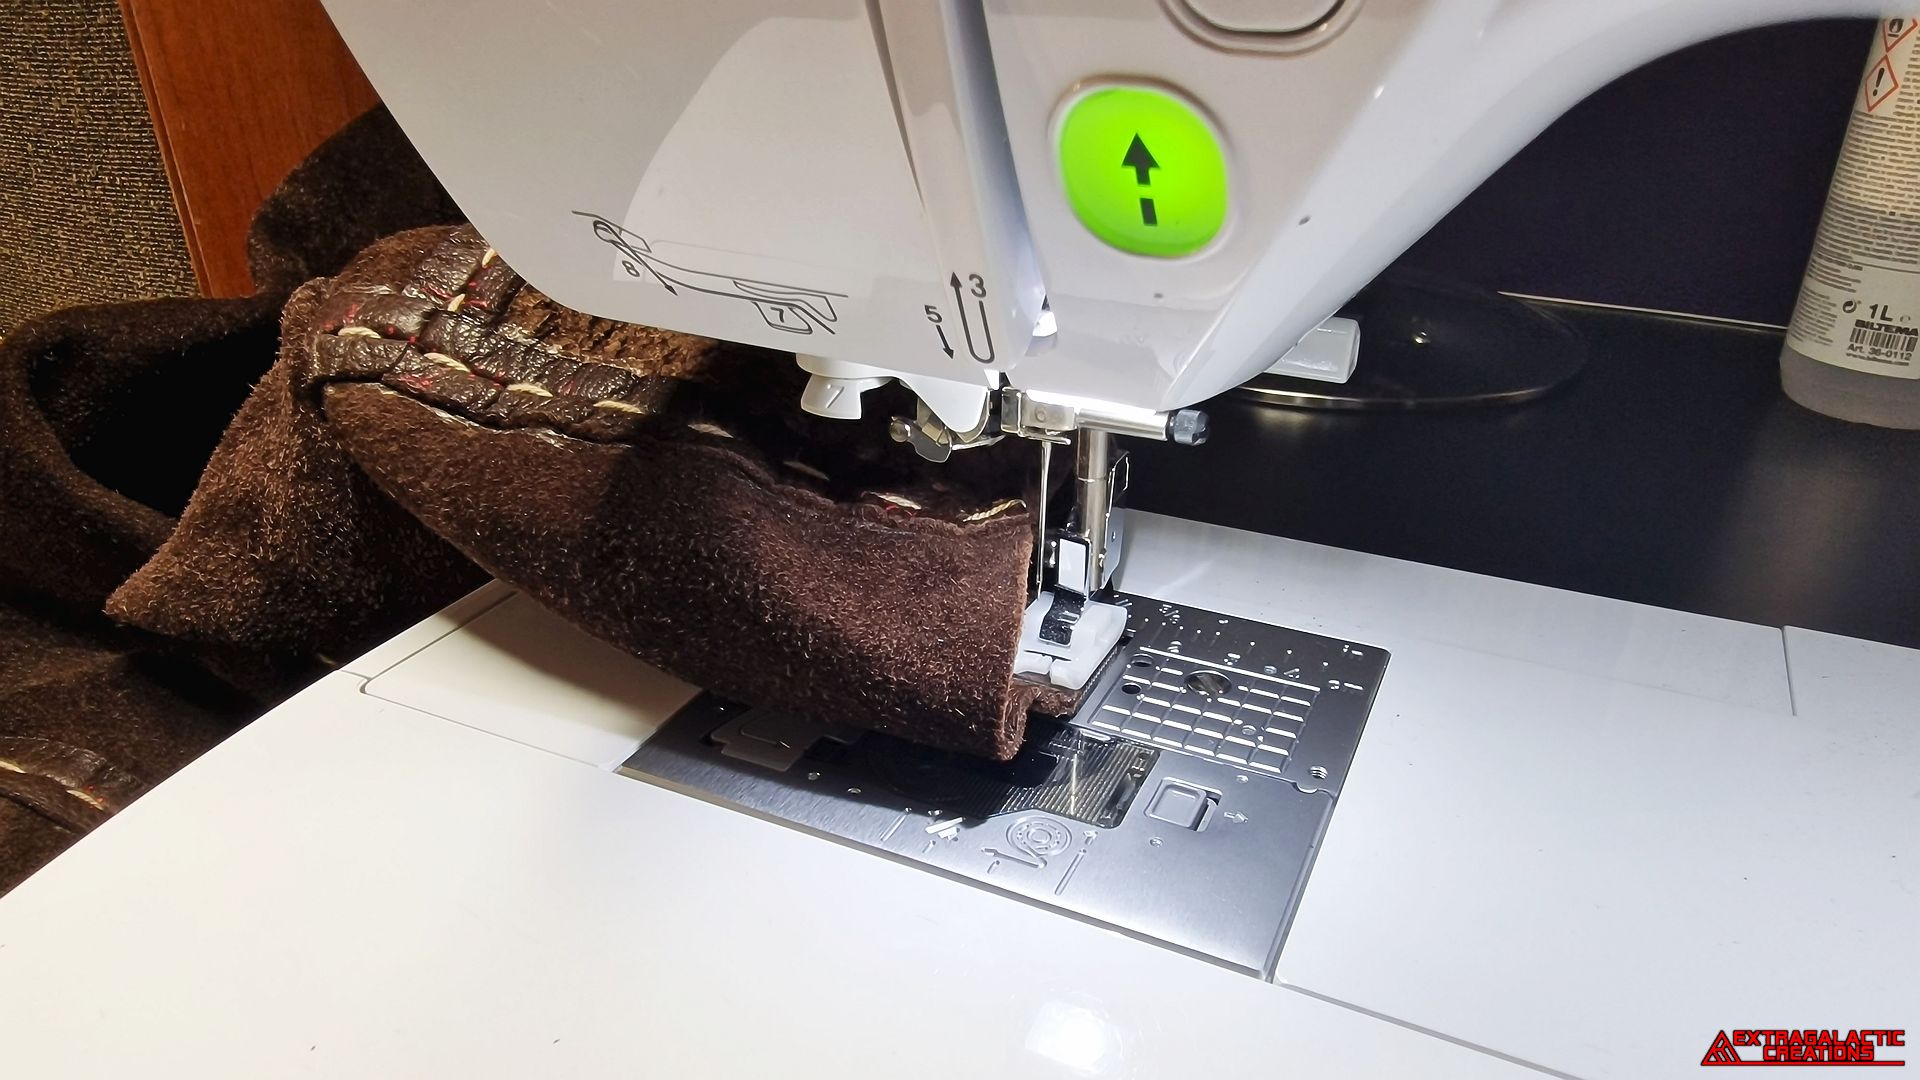
A sewing machine without thread was once again used to make the
stitch holes through the edge of the waist opening.
The seam allowance of the waist opening could now be glued down.
A few little stitches with regular sewing thread were added to the top
of the pants to hold the lining more securely into place.
A perfect width of seam allowance was folded into the lining with the
help of some masking tape, and some temporary red stitches were
used to simply hold it down while hand sewing the lining into place.
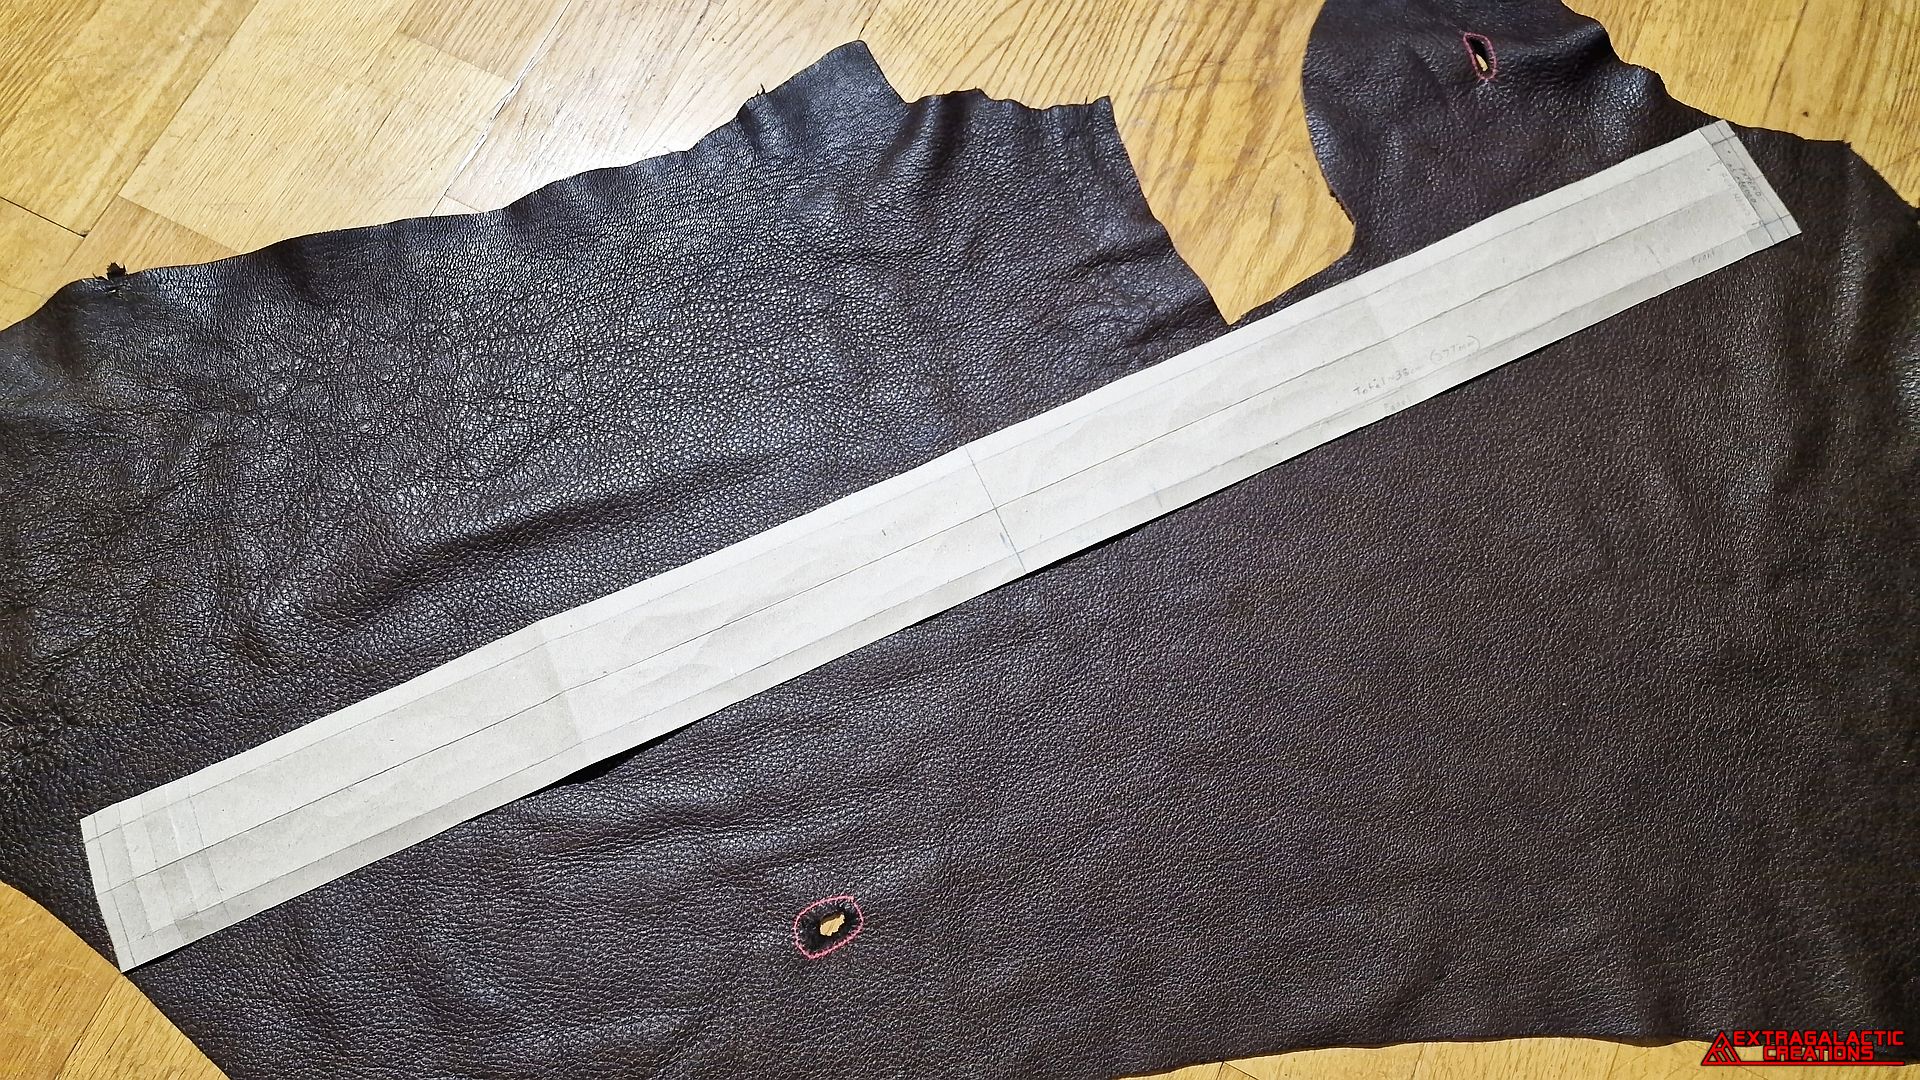
I luckily had a piece of deer surface left that was long enough for the
new waistband pattern.
I'm not at all sure if the elasticated waistband has the same thick cord
stitching as everything else, but seeing as damn well everything else
has thick cord stitching, I should very well think so and therefore
added just that.


