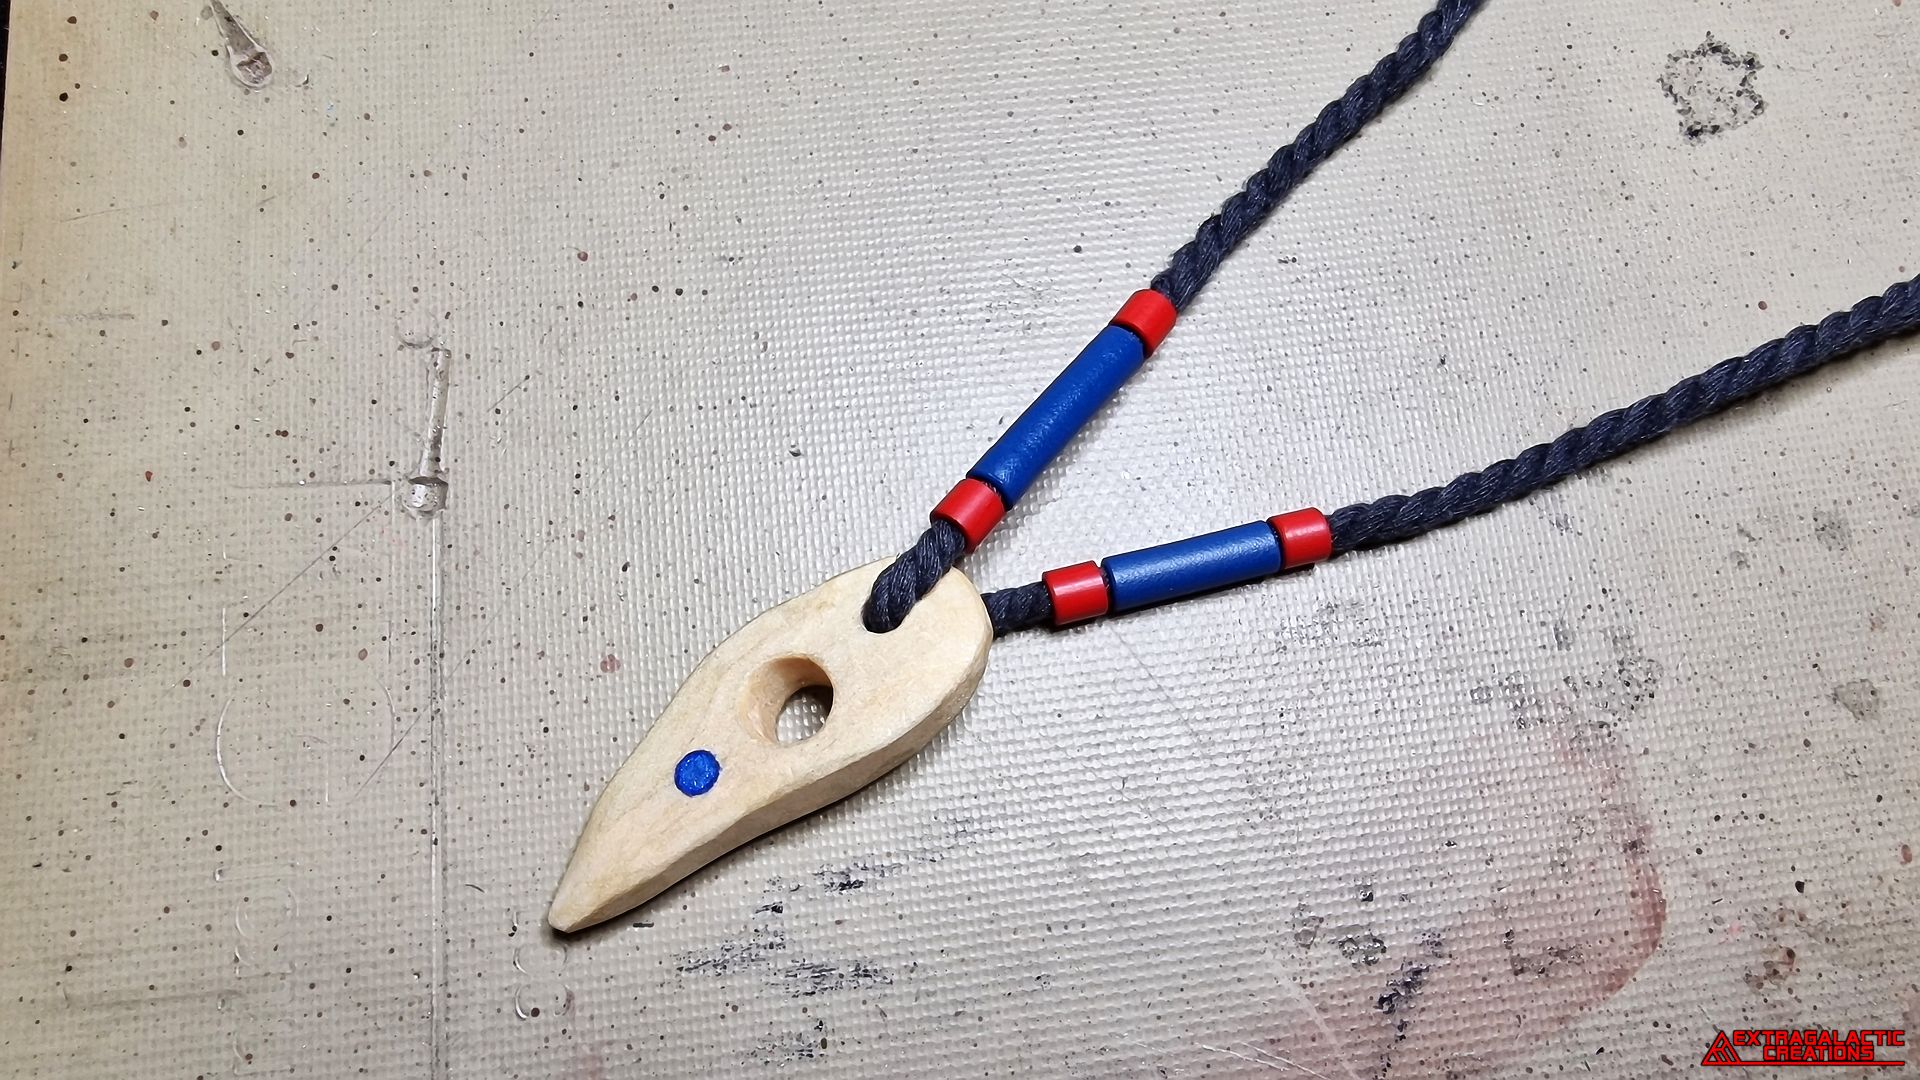
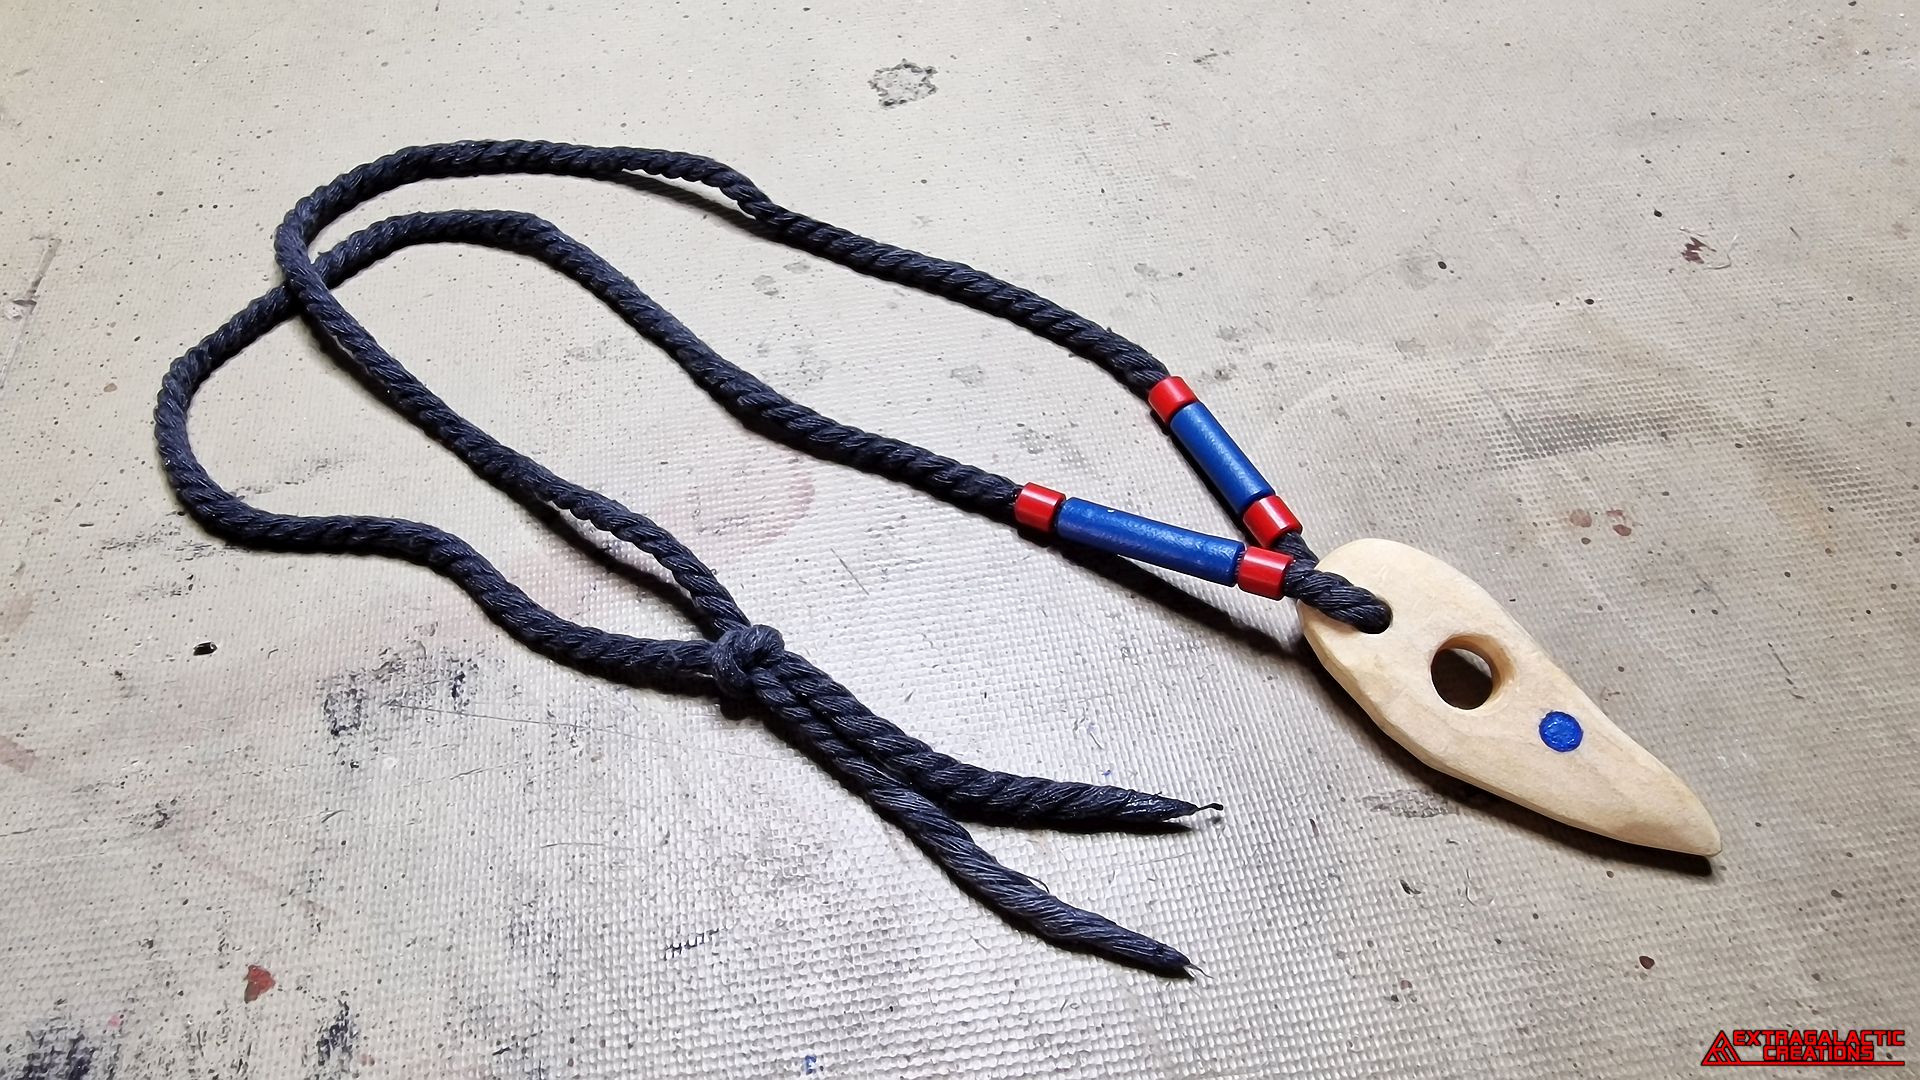
Aloy's pendant is basically hidden underneath all her intricate clothing, so it's not really a required part to make for her costume, but I still
wanted to make it just because it's technically there, and it would probably somehow bother me if it wasn't.
Creating the pendant
This simple project was a good start to making Aloy's Nora Huntress outfit, and I still don't have any idea what this pendant is supposed to
represent as it sort of looks like a crow's skull with the mark of the holy blueberry or something. Or maybe it's just an ornate toothpick.


Thanks to
Crazy31139 for publishing Aloy's undergarment outfit 3D-model.
Project duration
3 days.
Costs spent
Piece of wood - 0 NOK - Excess from my house.
Clear gloss varnish - 0 NOK - Excess from Aloy's bead necklace.
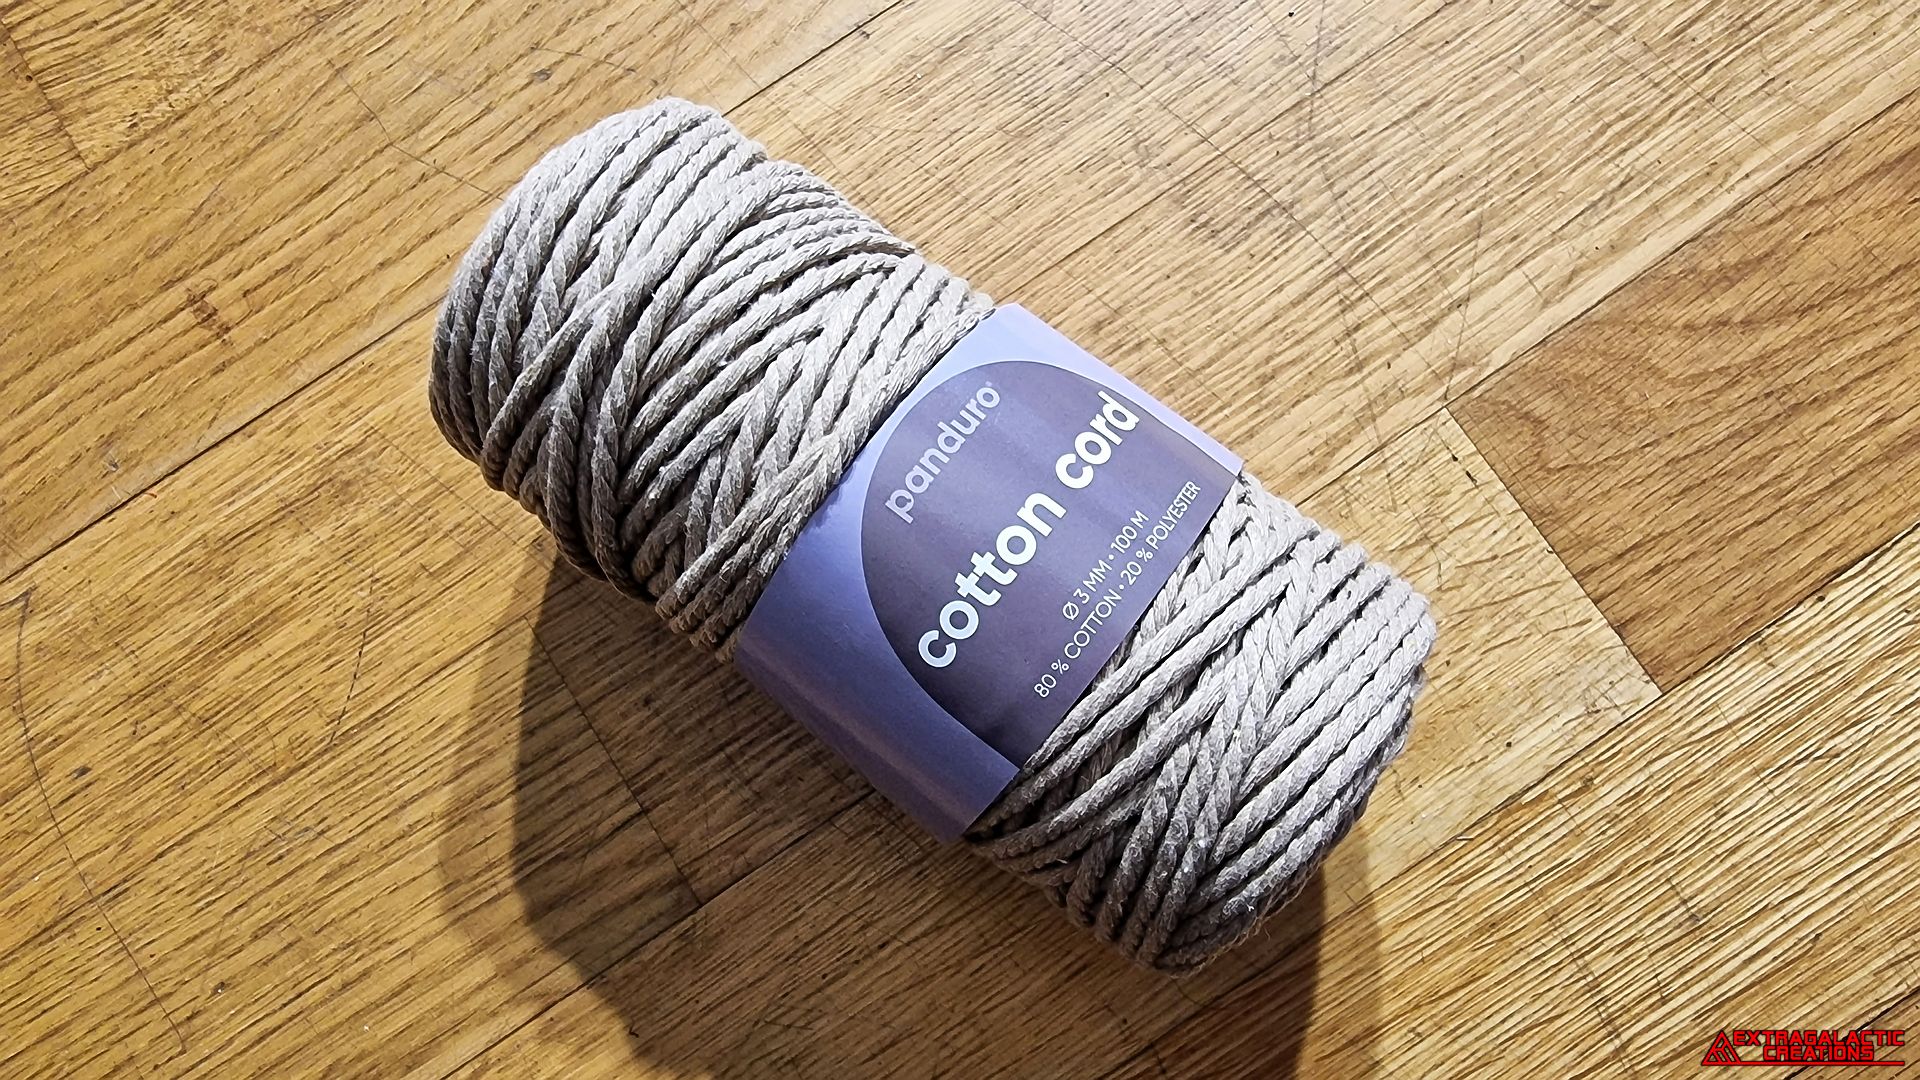
Cotton cord - 1,39 NOK.
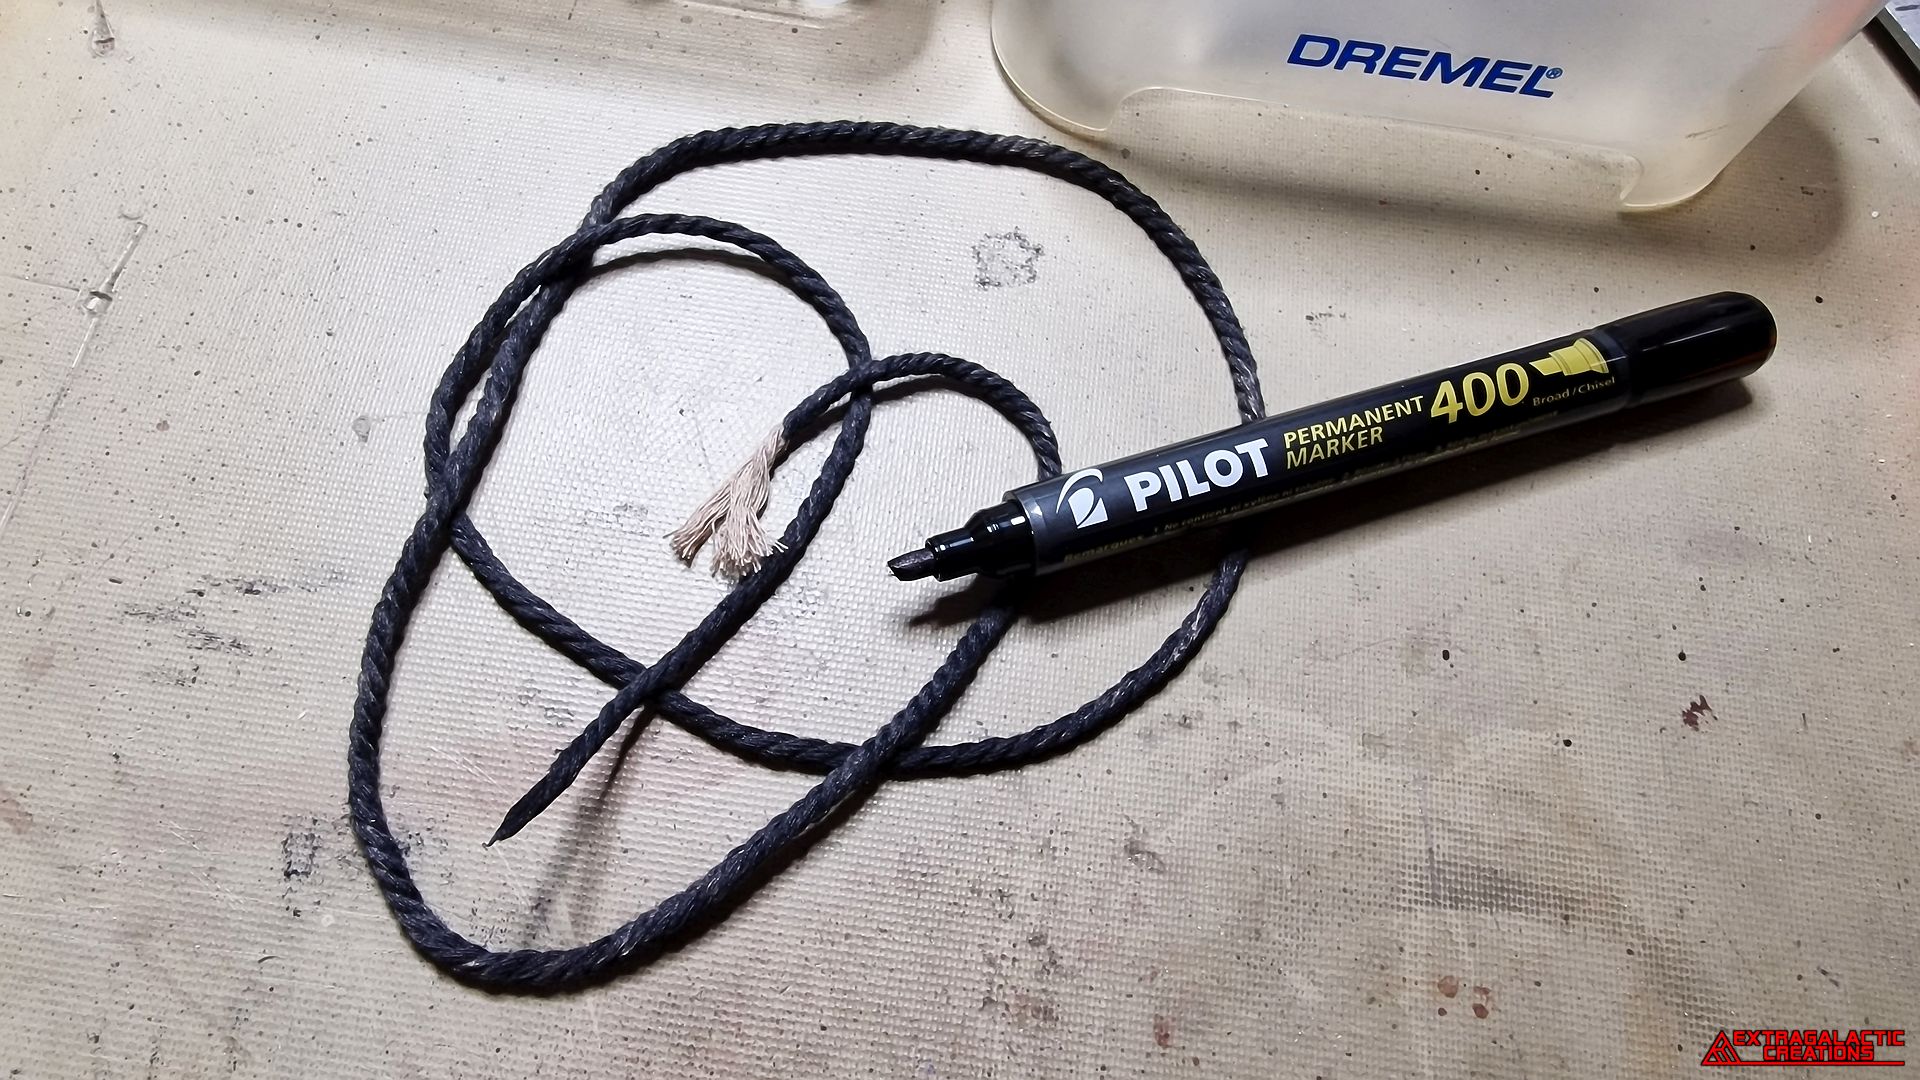
Black permanent marker - 17,47 NOK.
Knitting stick - 0 NOK - Already available.
Cable lug barrels - 0 NOK - Already available.
Total - 18,86 NOK.
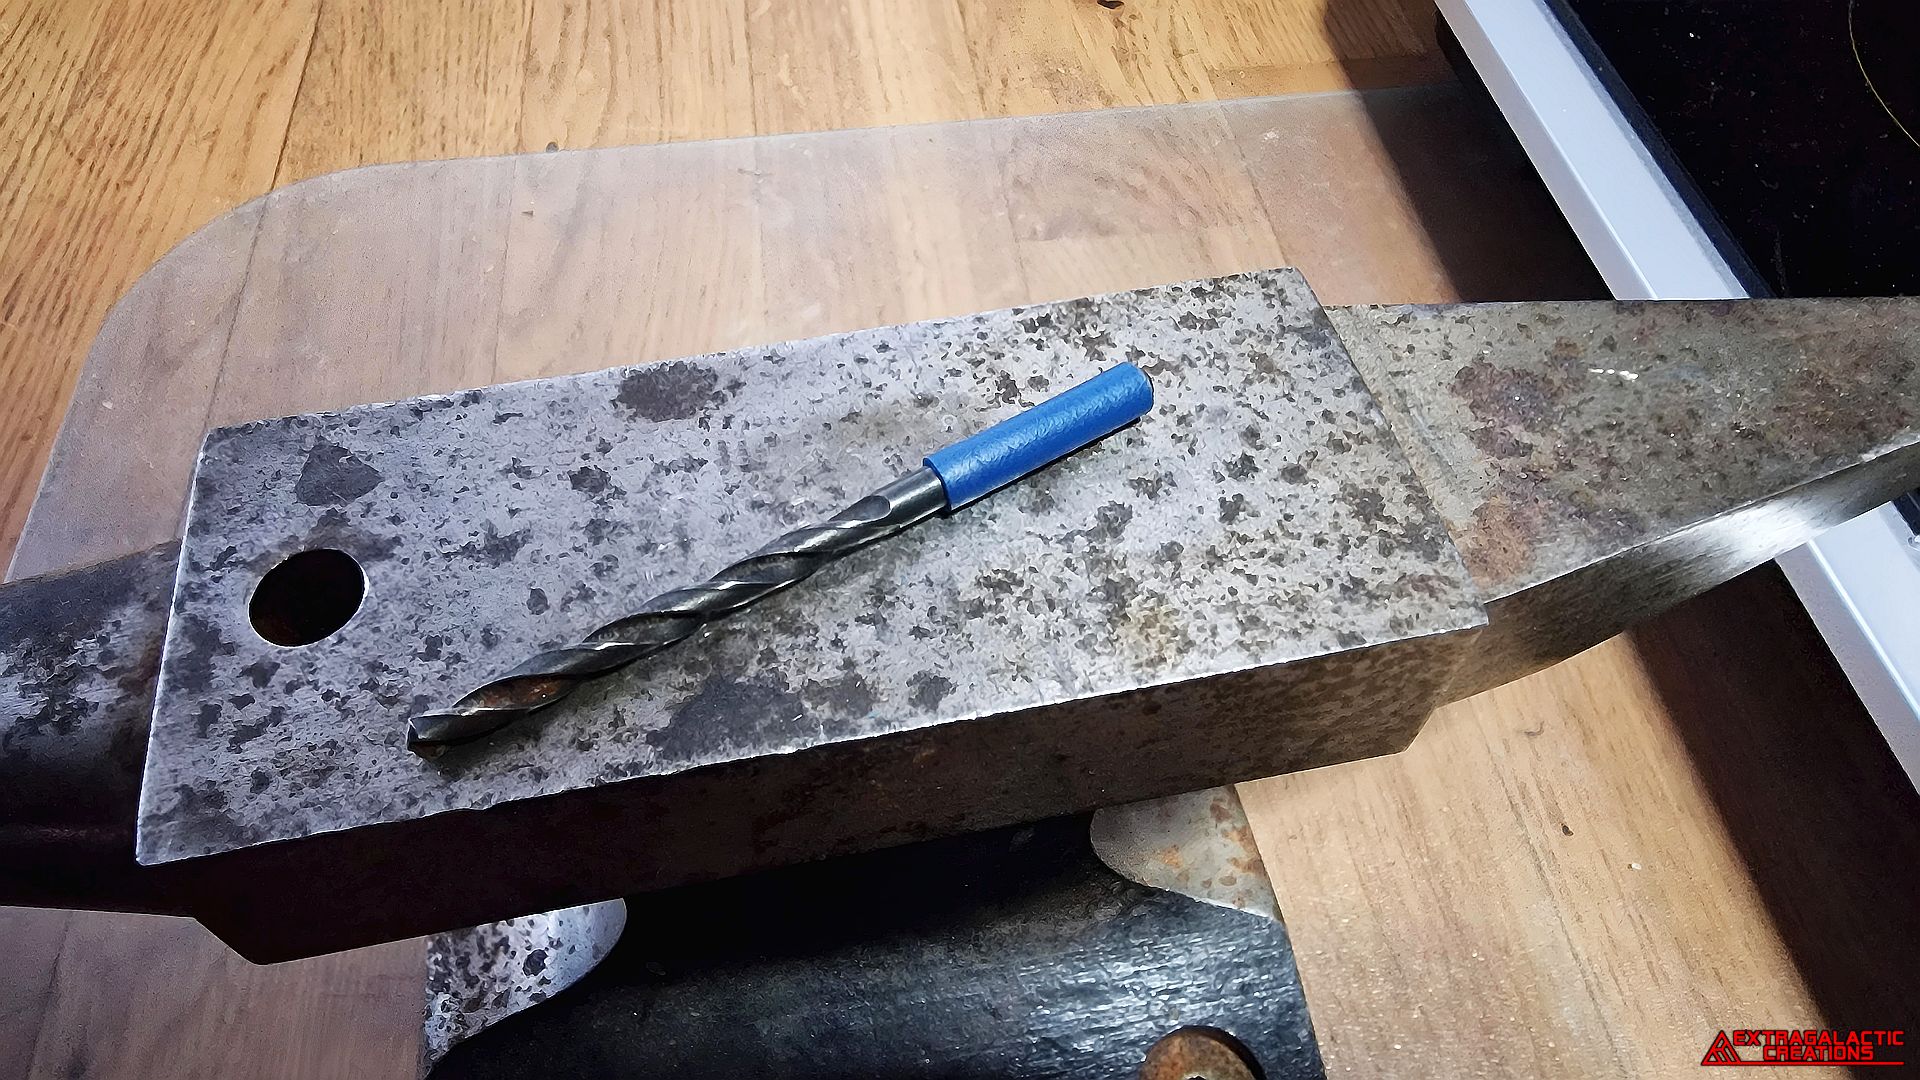
I found a drill-bit that had the same width as the flared edges of the
plastic tubes and hammered it through them until their whole length
had the same diameter, then this new shape was made permanent by
heating up the plastic in boiling water.
If you found this tutorial helpful, please support my future projects on Patreon.
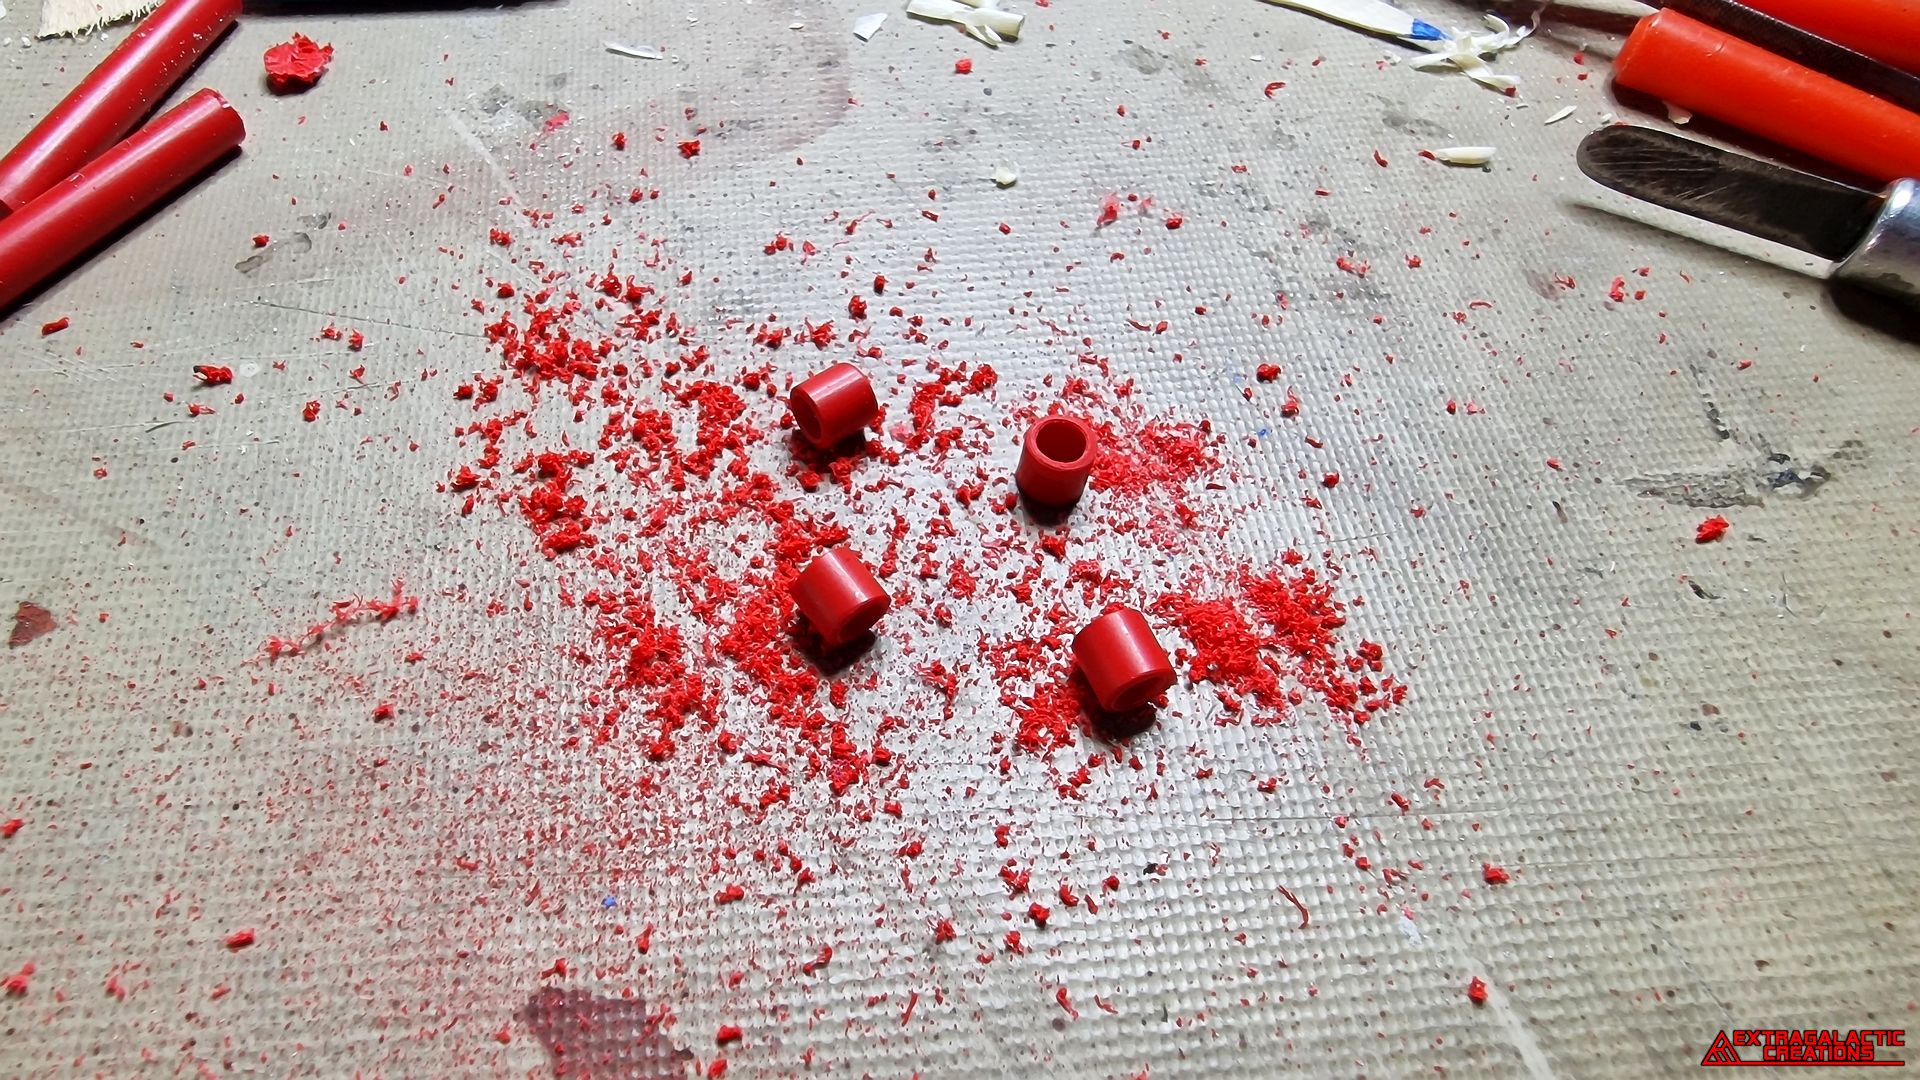
After carving and grinding through the beads with small chisels and
files, they now had holes through them.
Between Aloy's pendant and various clothing, there are twisted cords
in all sorts of colors and sizes, so I thought it would be easier to just
buy cords to dye myself instead of searching half the world for cords
in the right colors.
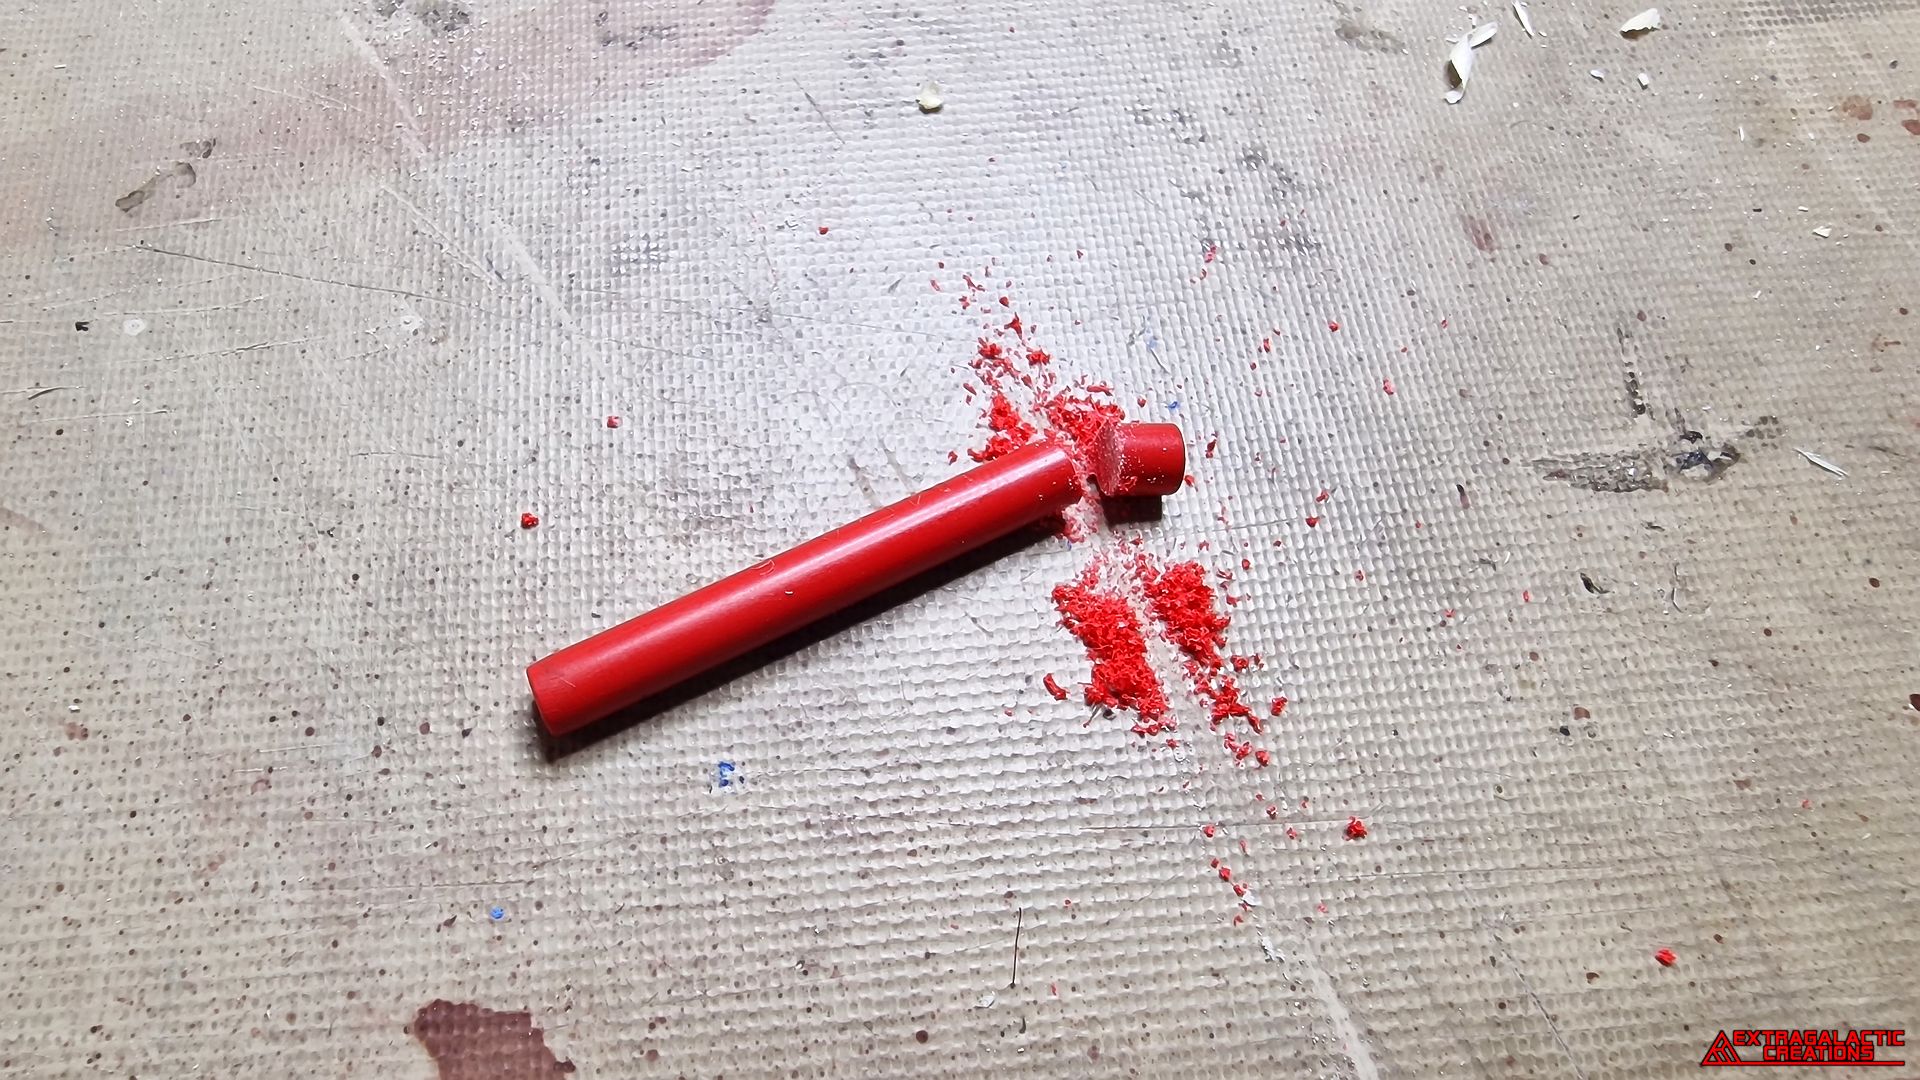
I thought the beads on her pendant would be too thin and fragile if
they were made of wood, and that they were most likely made of
some sort of machine part from a poor robotic critter she killed
anyway, so I decided to cut the smaller red beads from a plastic
knitting stick.
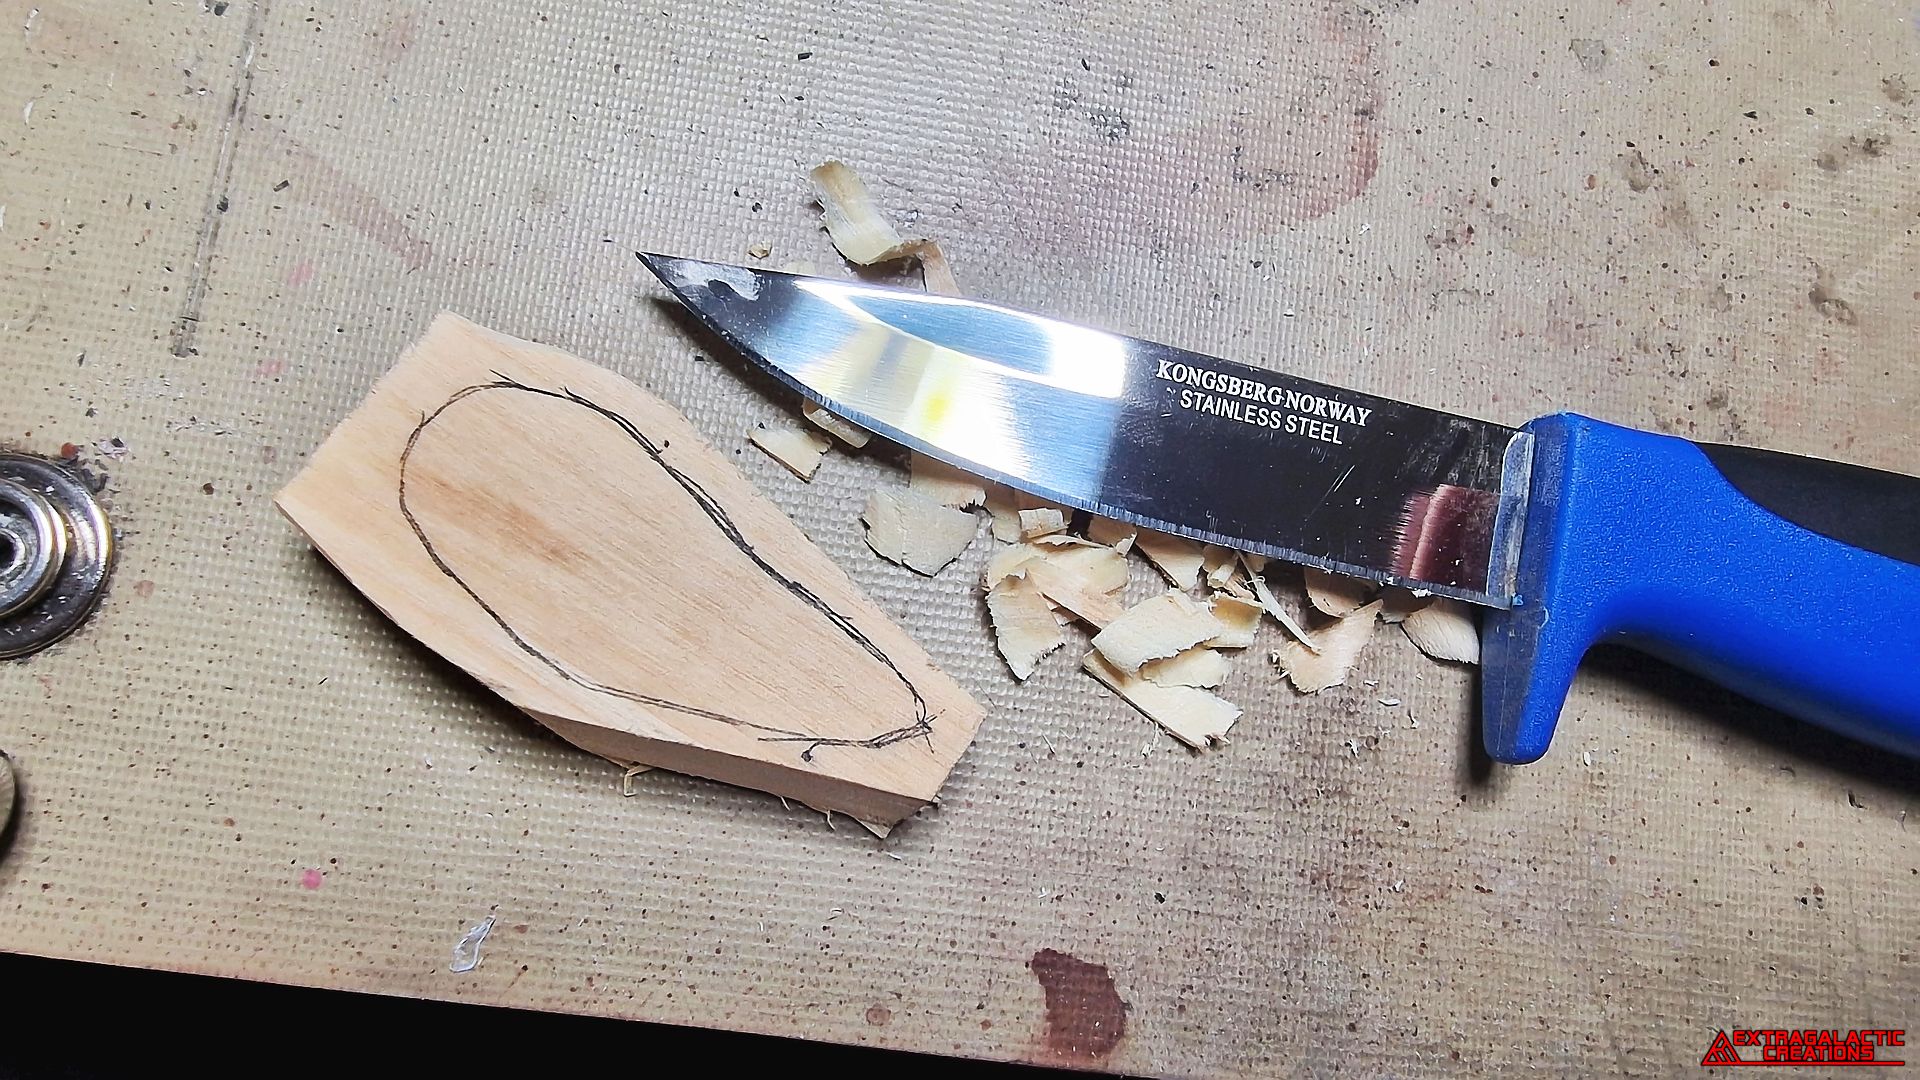
It would have been easy to carve out the pendant with a rotary-tool,
but I wanted to more appropriately carve it out by hand with a sharp
knife instead, just like the original probably would have been.
The 3D-model was also very helpful as a guide for carving out the
pendant as close to the original shape as possible.
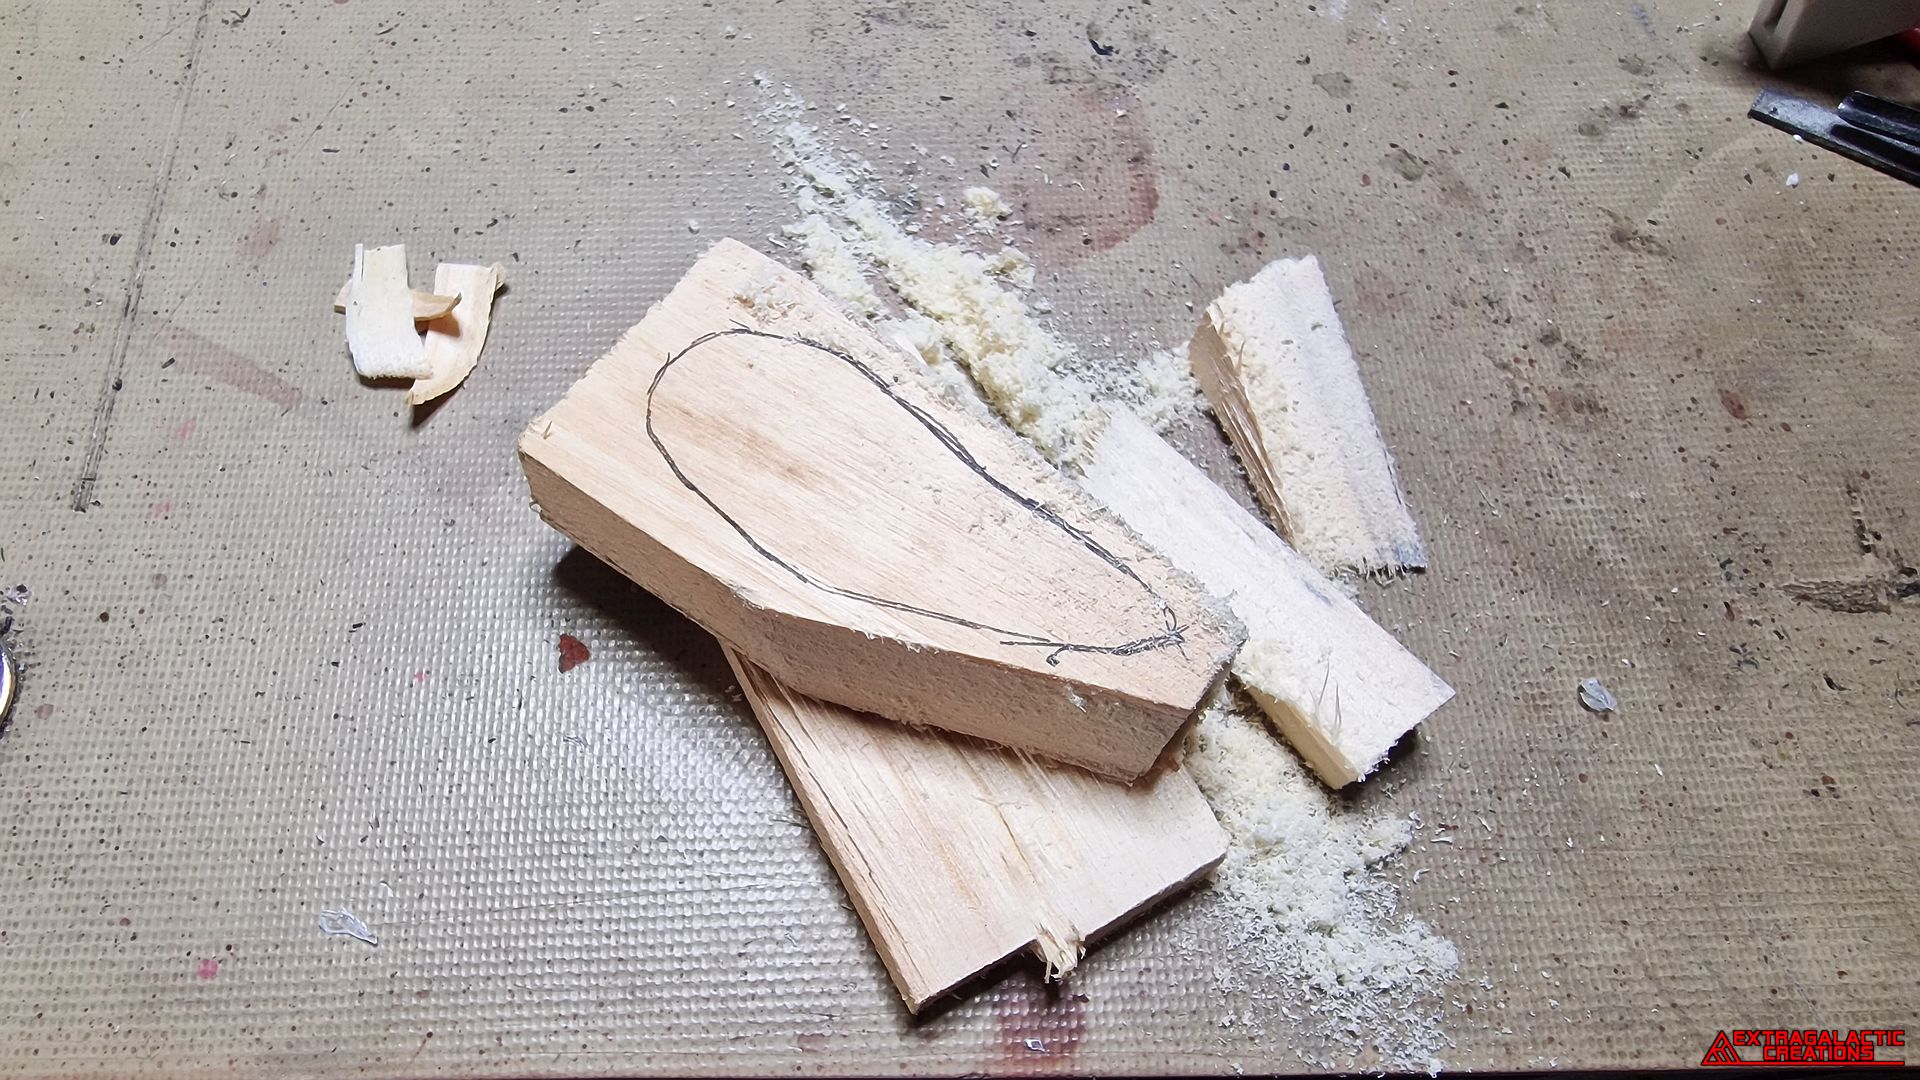
Finding a random piece of light wood was easy enough after all the
materials I've torn down from my house and garage.
After scaling a 3D-model of the pendant to the right size, its shape
was traced onto the piece of wood so I could cut away the excess
wood around it.
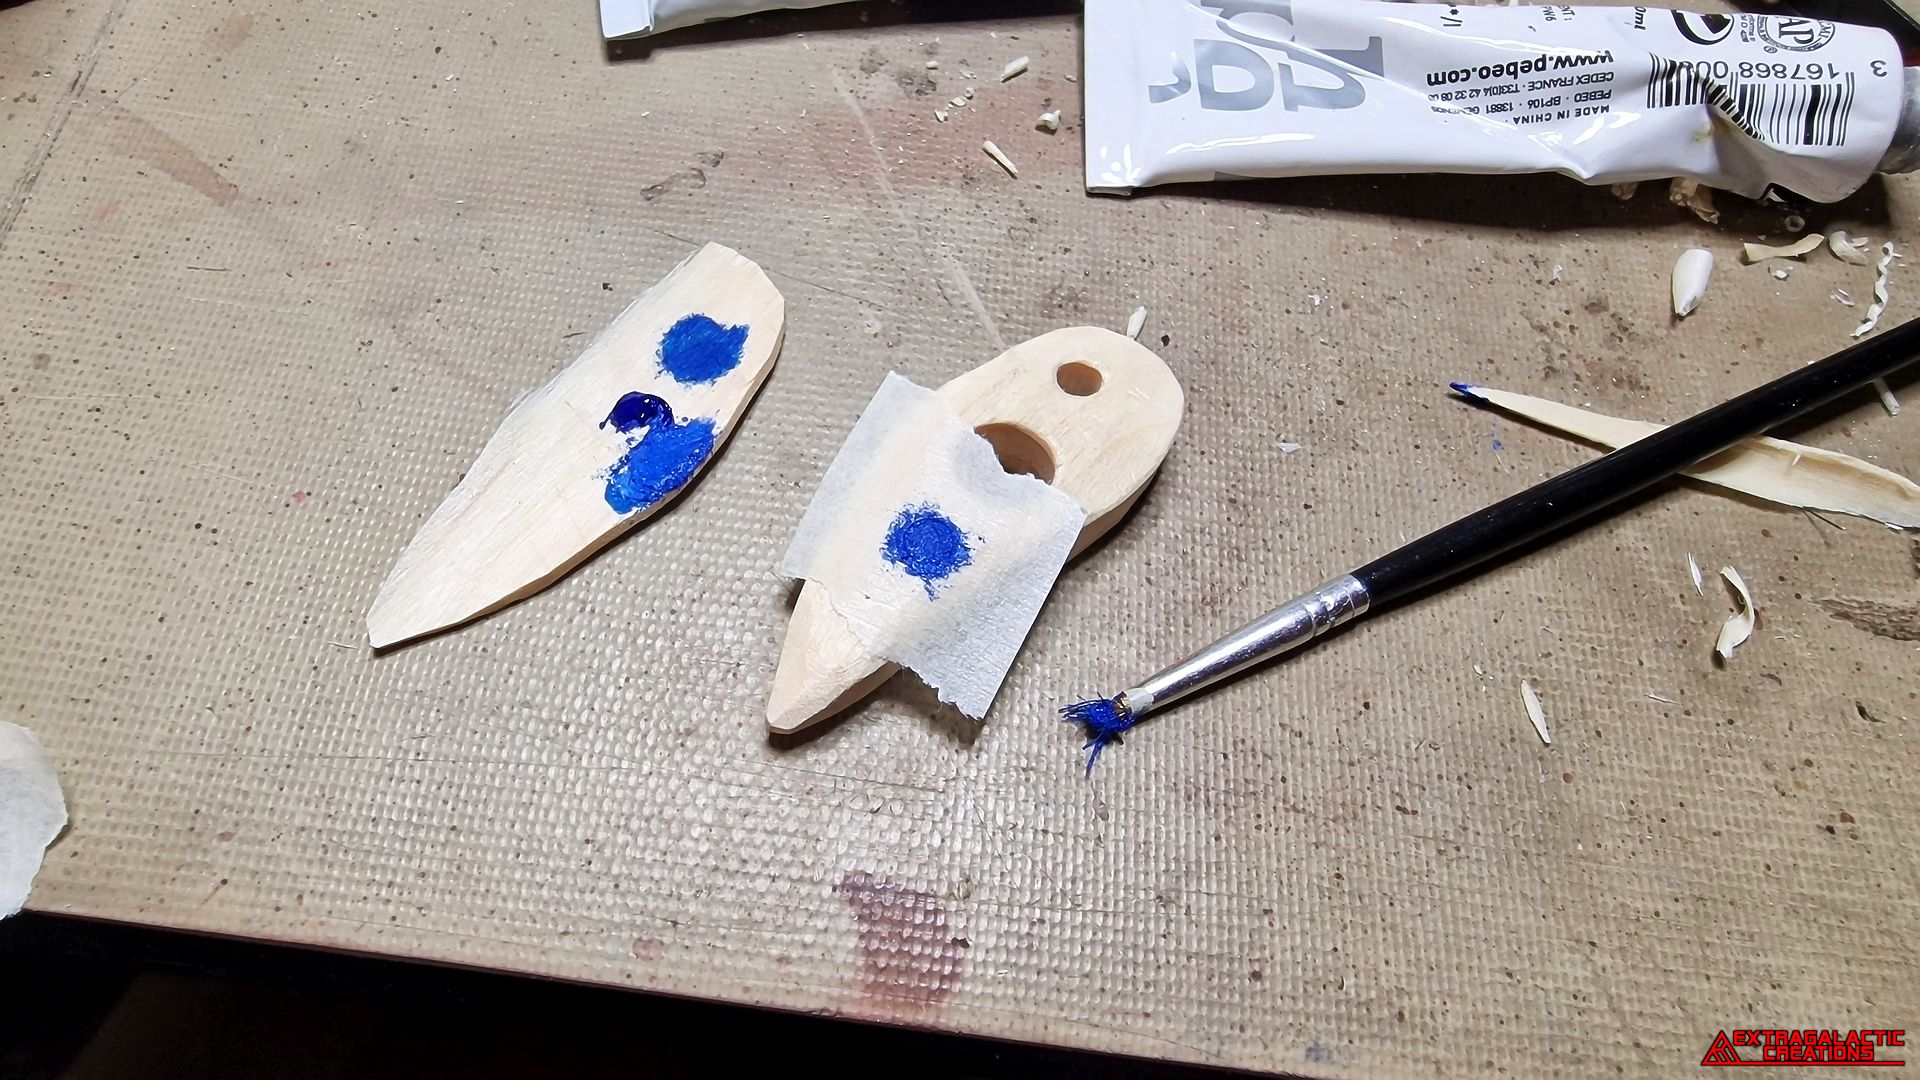
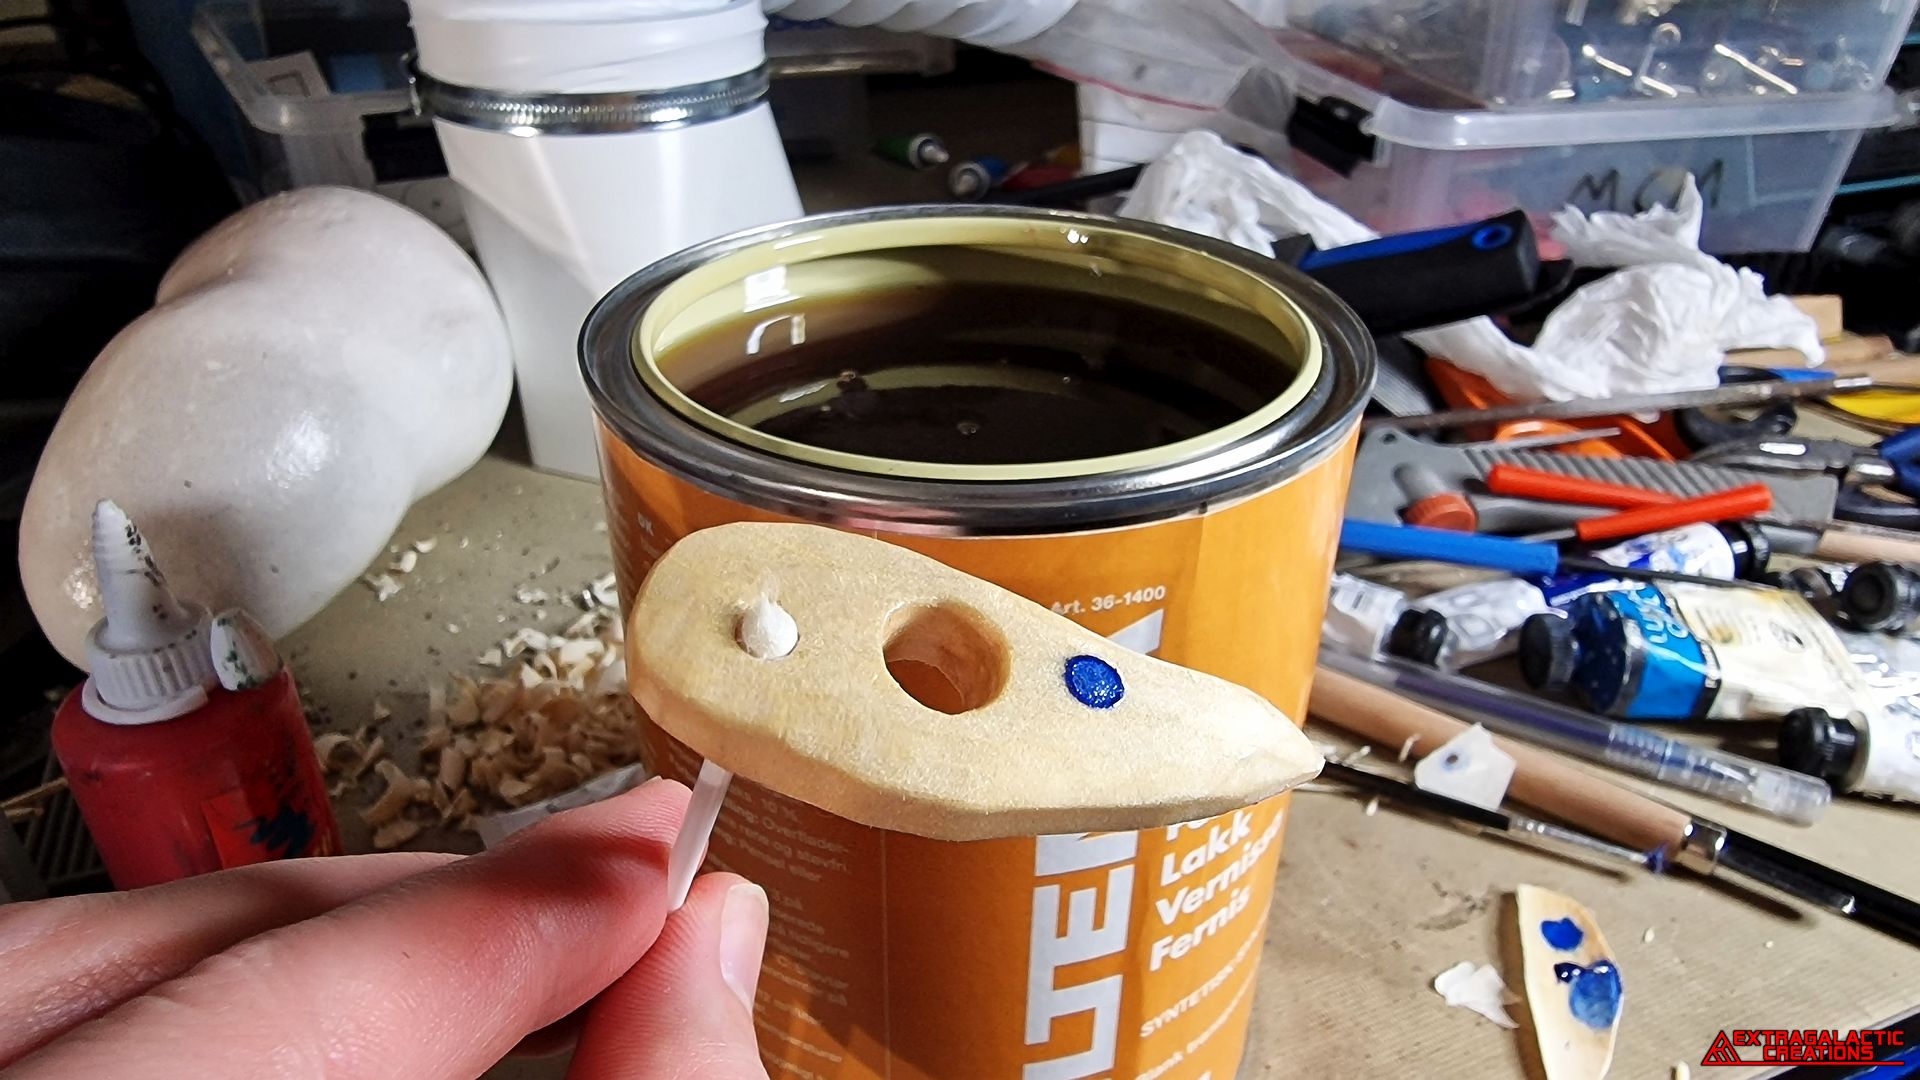
After mixing up the right shade of blue acrylic paint, the random blue
dot I have no idea why is there was painted onto the pendant with the
help of some masking-tape.
A blue pen was also used to make the darker outline of the dot that is
barely even visible on the original.
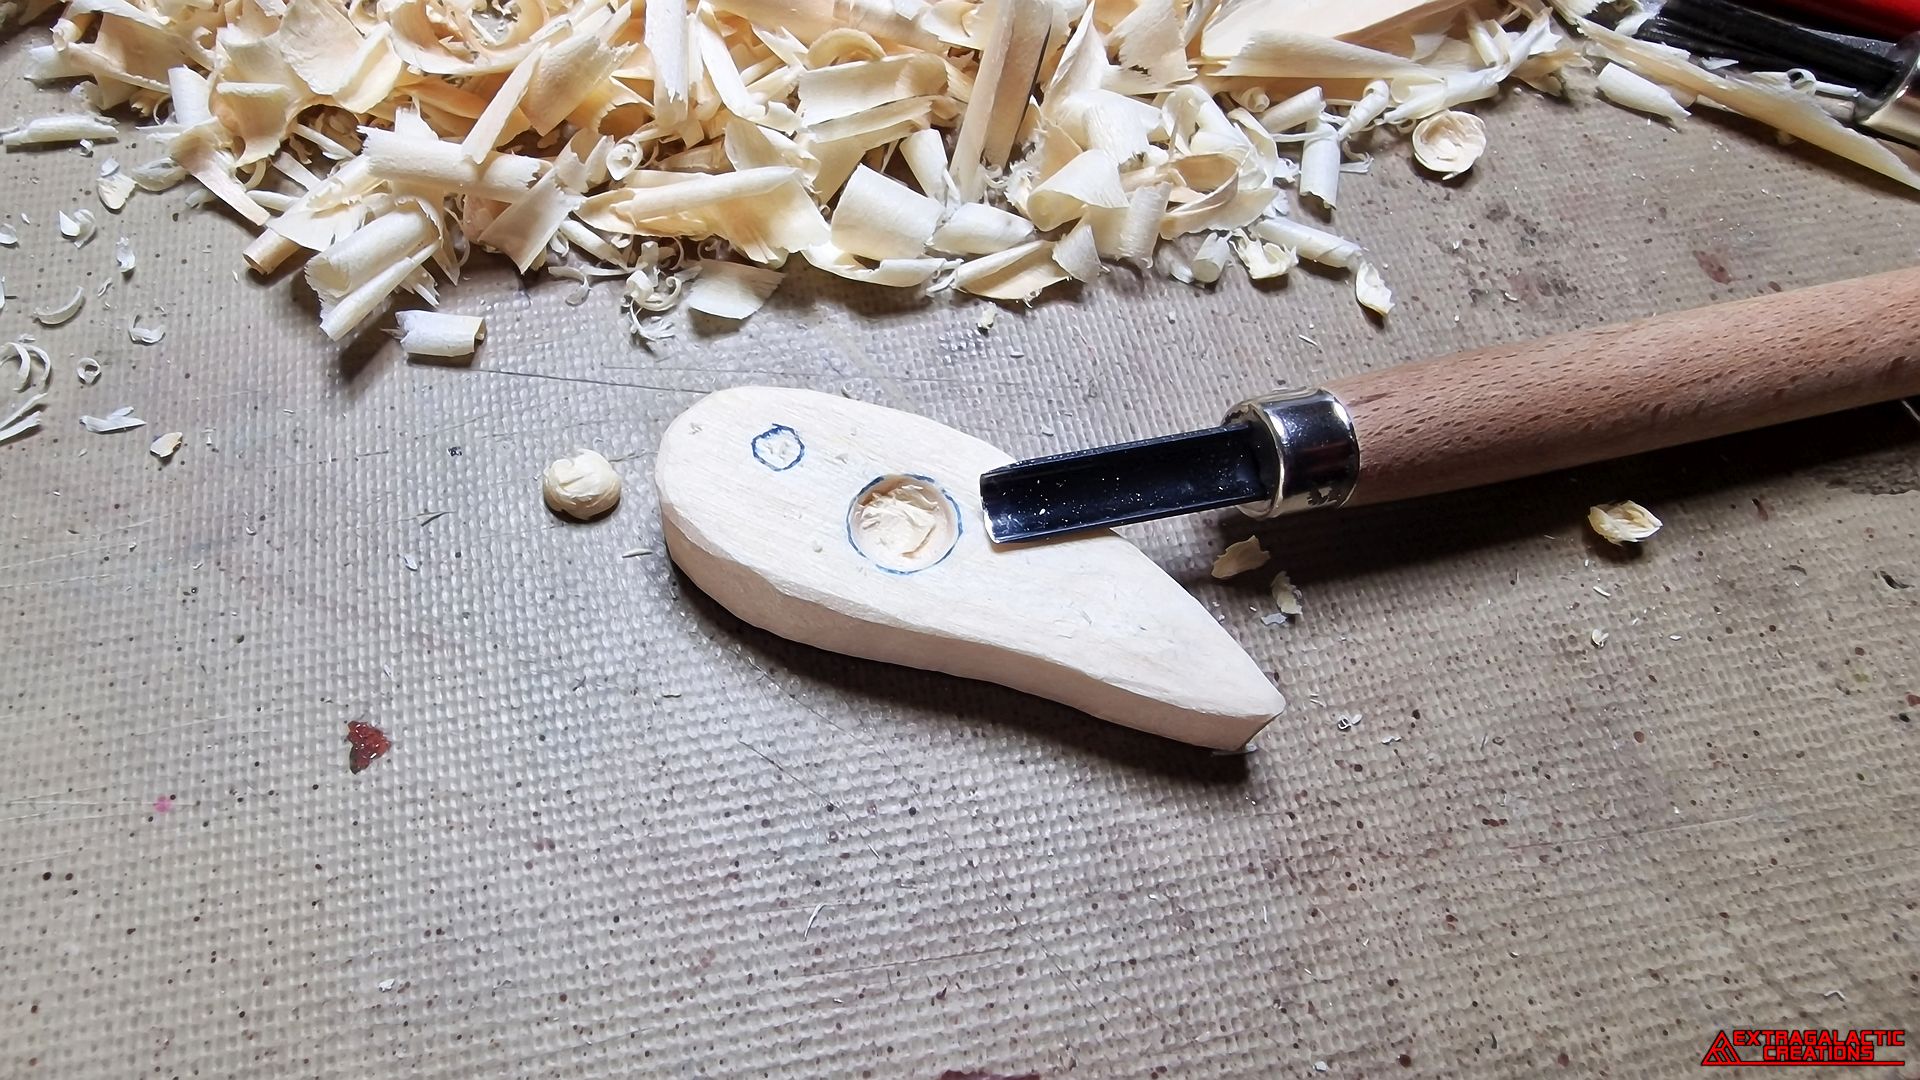
While it would also have been easy to drill out the holes in the
pendant with power-tools, I still wanted to hand-make the pendant as
much as possible, so I used some tiny chisels to make the holes
instead.
A big can of clear varnish was bought for all the various beads that I
would make later on, so I had lots of excess to use on the pendant
too.
While I would have preferred this gloss varnish to be semi-gloss
instead, applying only one coat of it would tone down the gloss
anyway.
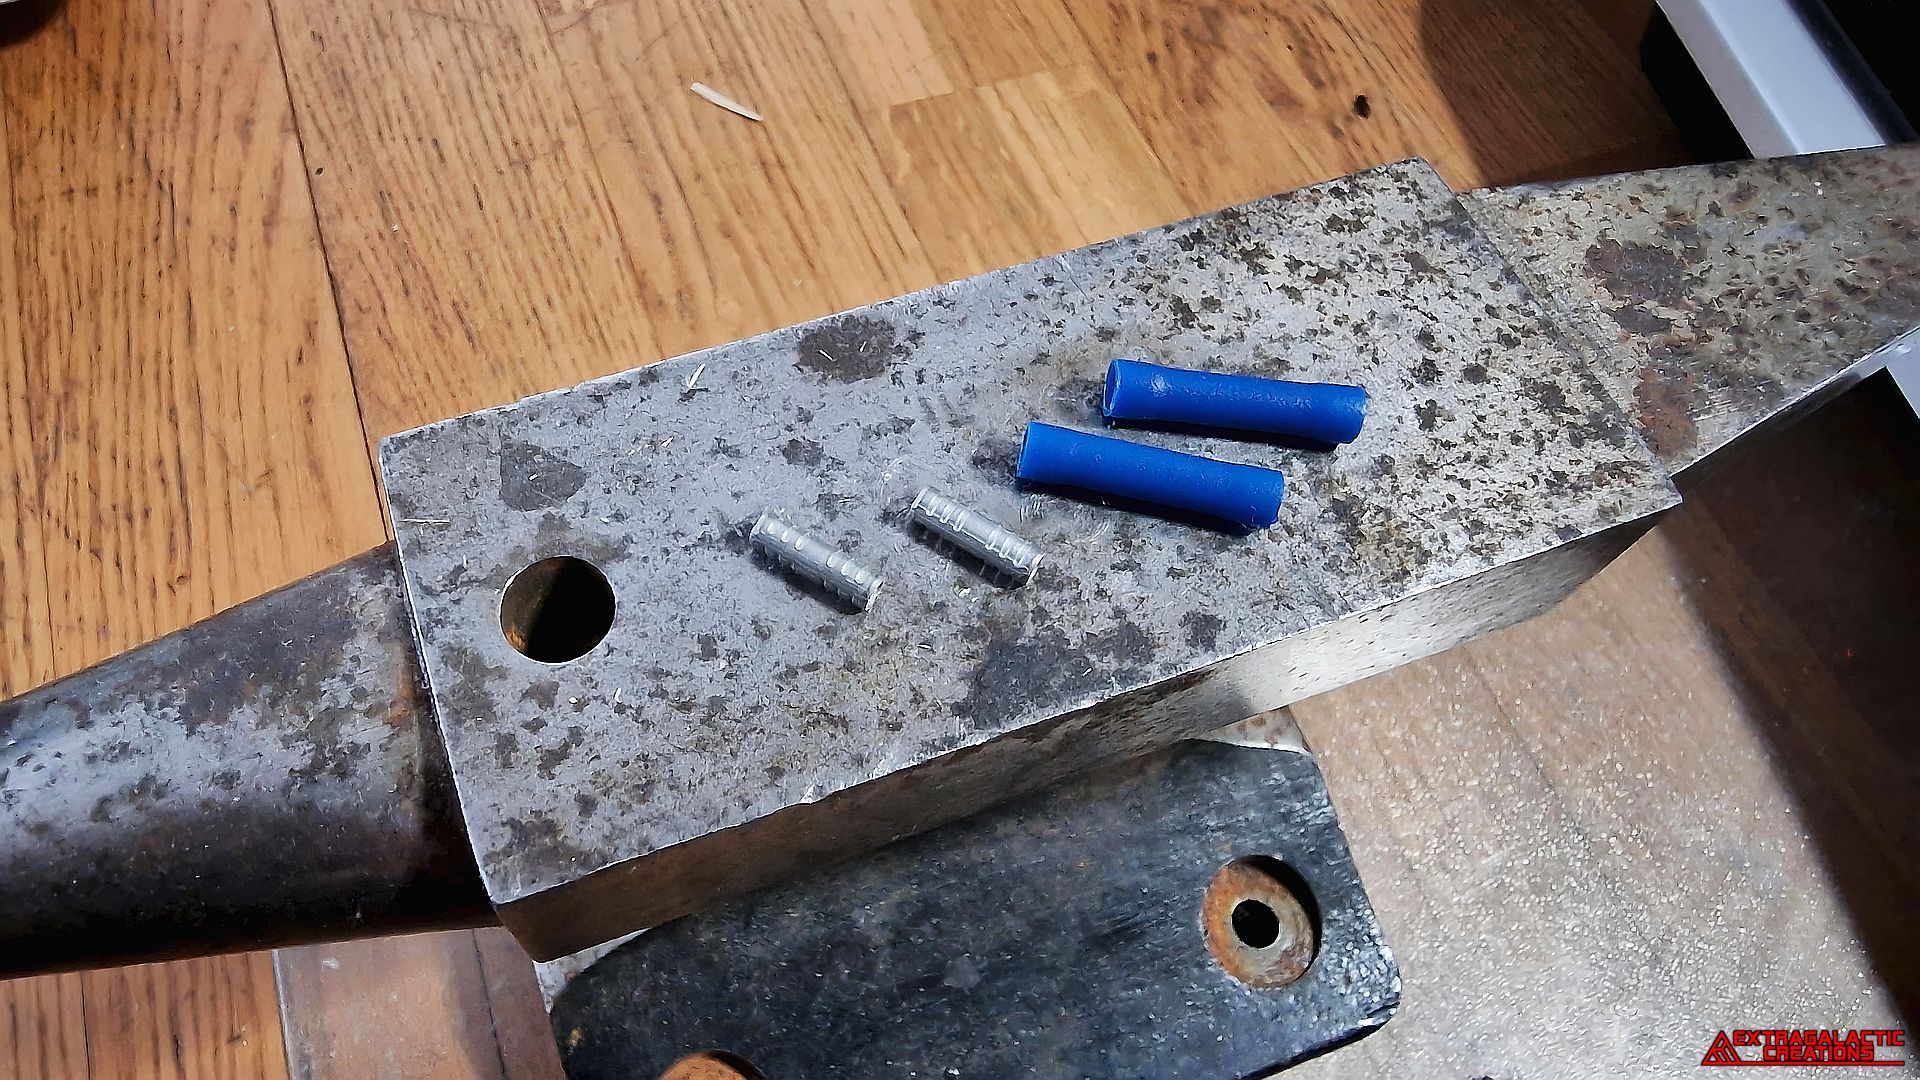
After days of searching for blue plastic in my parts bins, I stumbled
across an old wire with a blue cable lug barrel on it and thought those
would be just perfect as the longer blue beads if I could just reshape
them a bit.
The metal connectors inside the plastic tubes were easy enough to
beat out with a hammer.
The cord for the pendant was simply dyed black with a permanent
marker.
After washing off the excess ink to prevent the cord from staining the
clothes, it turned out a bit lighter in color than I had hoped, but I
guess it just looks more hand-made that way.
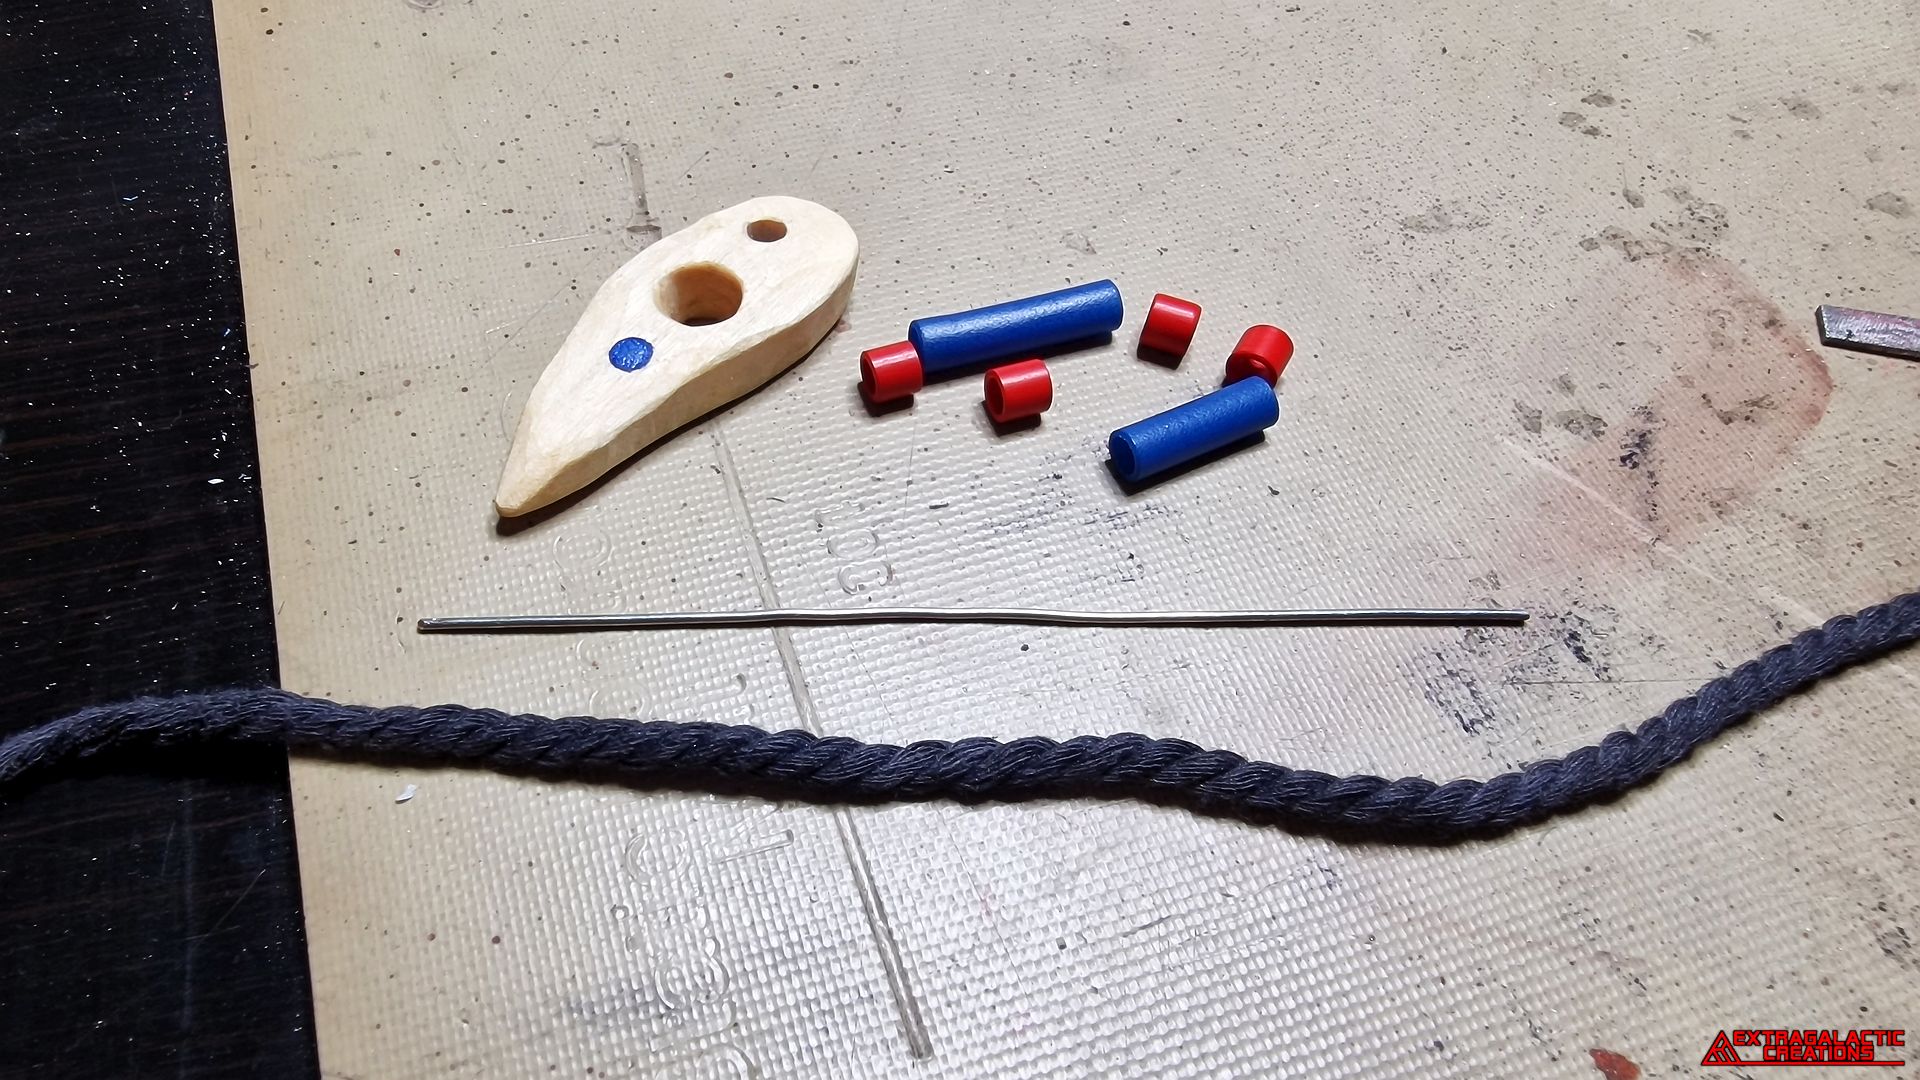
There is no chance in hell or anywhere else awful that a pendant with
a hole through its front would ever stay facing outward, so I thought a
good way to solve this would be to hide a metal wire inside the twists
of the cord, running all the way through to the ends of the beads.
After gluing the beads into place, the excess ends of the metal wire
were snipped off, and you could never even tell it's there to hold the
pendant facing the right way out.
After gluing the ends of the cord together with clear glue, a simple
knot was all that was left to finish off what was my first completed
part of Aloy's Nora Huntress outfit.


